https://youtu.be/-tvQbikGT54
Read moreIntroducing KAREN 12!
We proudly welcome the latest member of the JWM Acoustics family!
Karen 12
About a year and a half ago we introduced the KAREN series of turntables and accessories. A series driven by the quest for a sound almost forgotten from my youth. Since then, it has become the most popular product at JWM Acoustics.
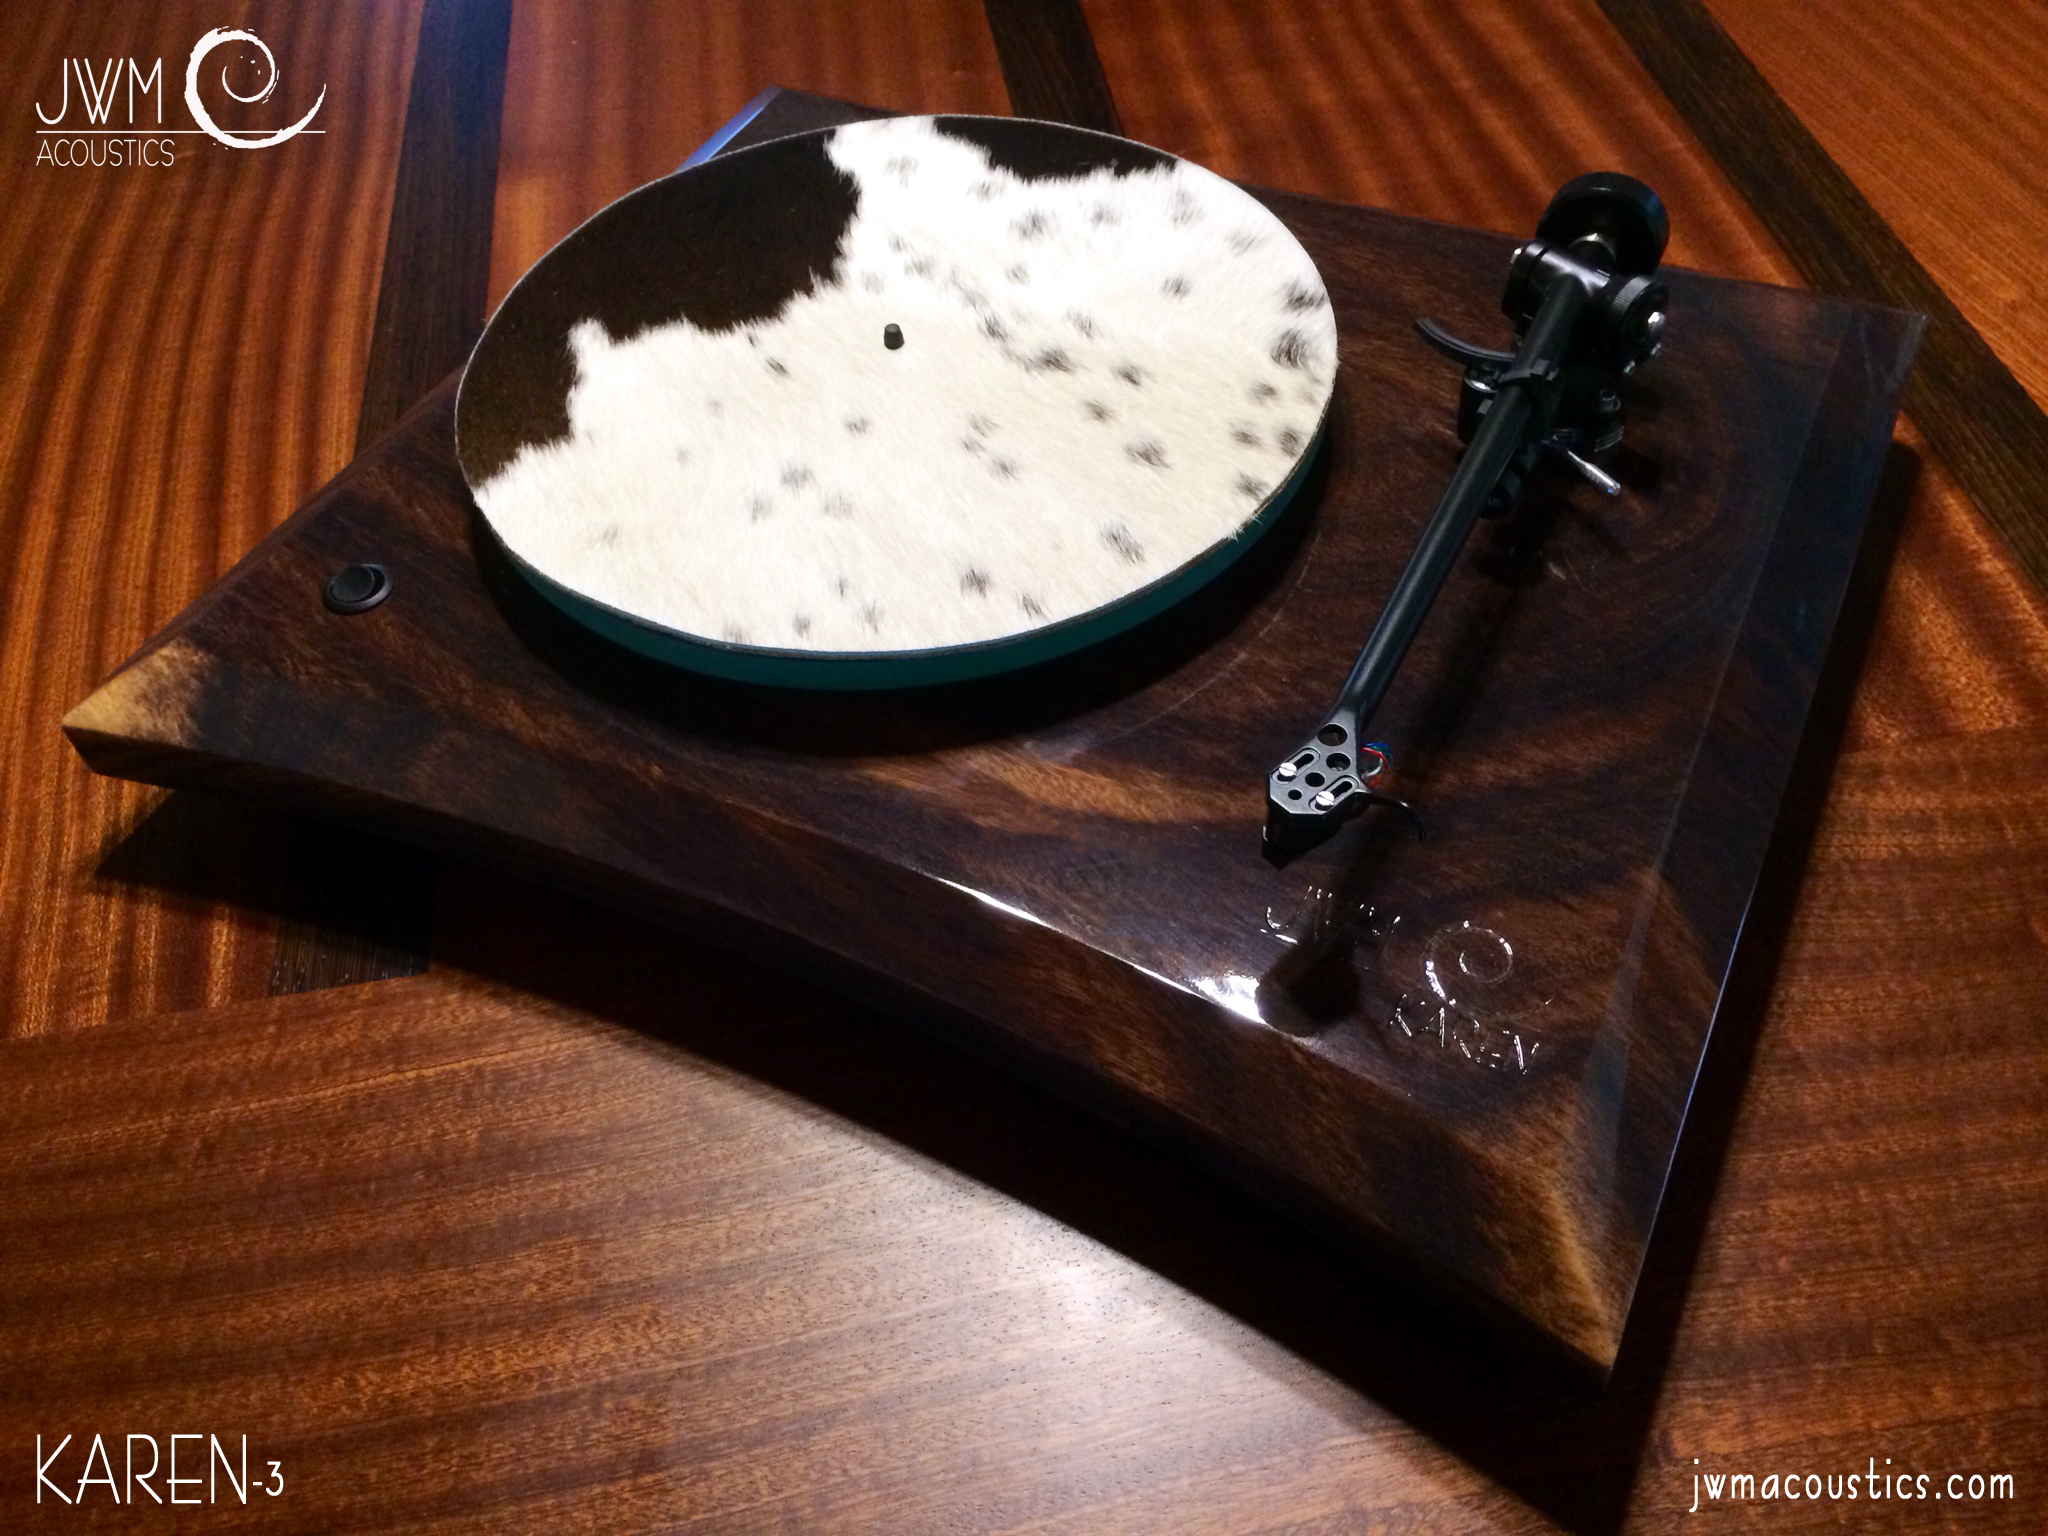
In May of 2015, JWM Acoustics introduced the KAREN 3 at Lone Star Audio Fest. A hand built, solid wood turntable based on the REGA platform. Completely designed and manufactured in Hawaii. The idea was to show people that our $1,500.00 turntable could easily perform with tables 3 times the cost. And we did.
Later that month at T.H.E. SHOW NEWPORT we introduced the next step, KAREN 6. A $2,400.00 analog solution that floored each show goer who entered the room. All agreed that this table pushed way above its price range and had little to no competition in this range period. A constant stream of show goers agreed. In only a few months, this table has now built its own cult following. From the solid handmade hardwood plinth, to the hand tuned power supply it is not hard to see why.
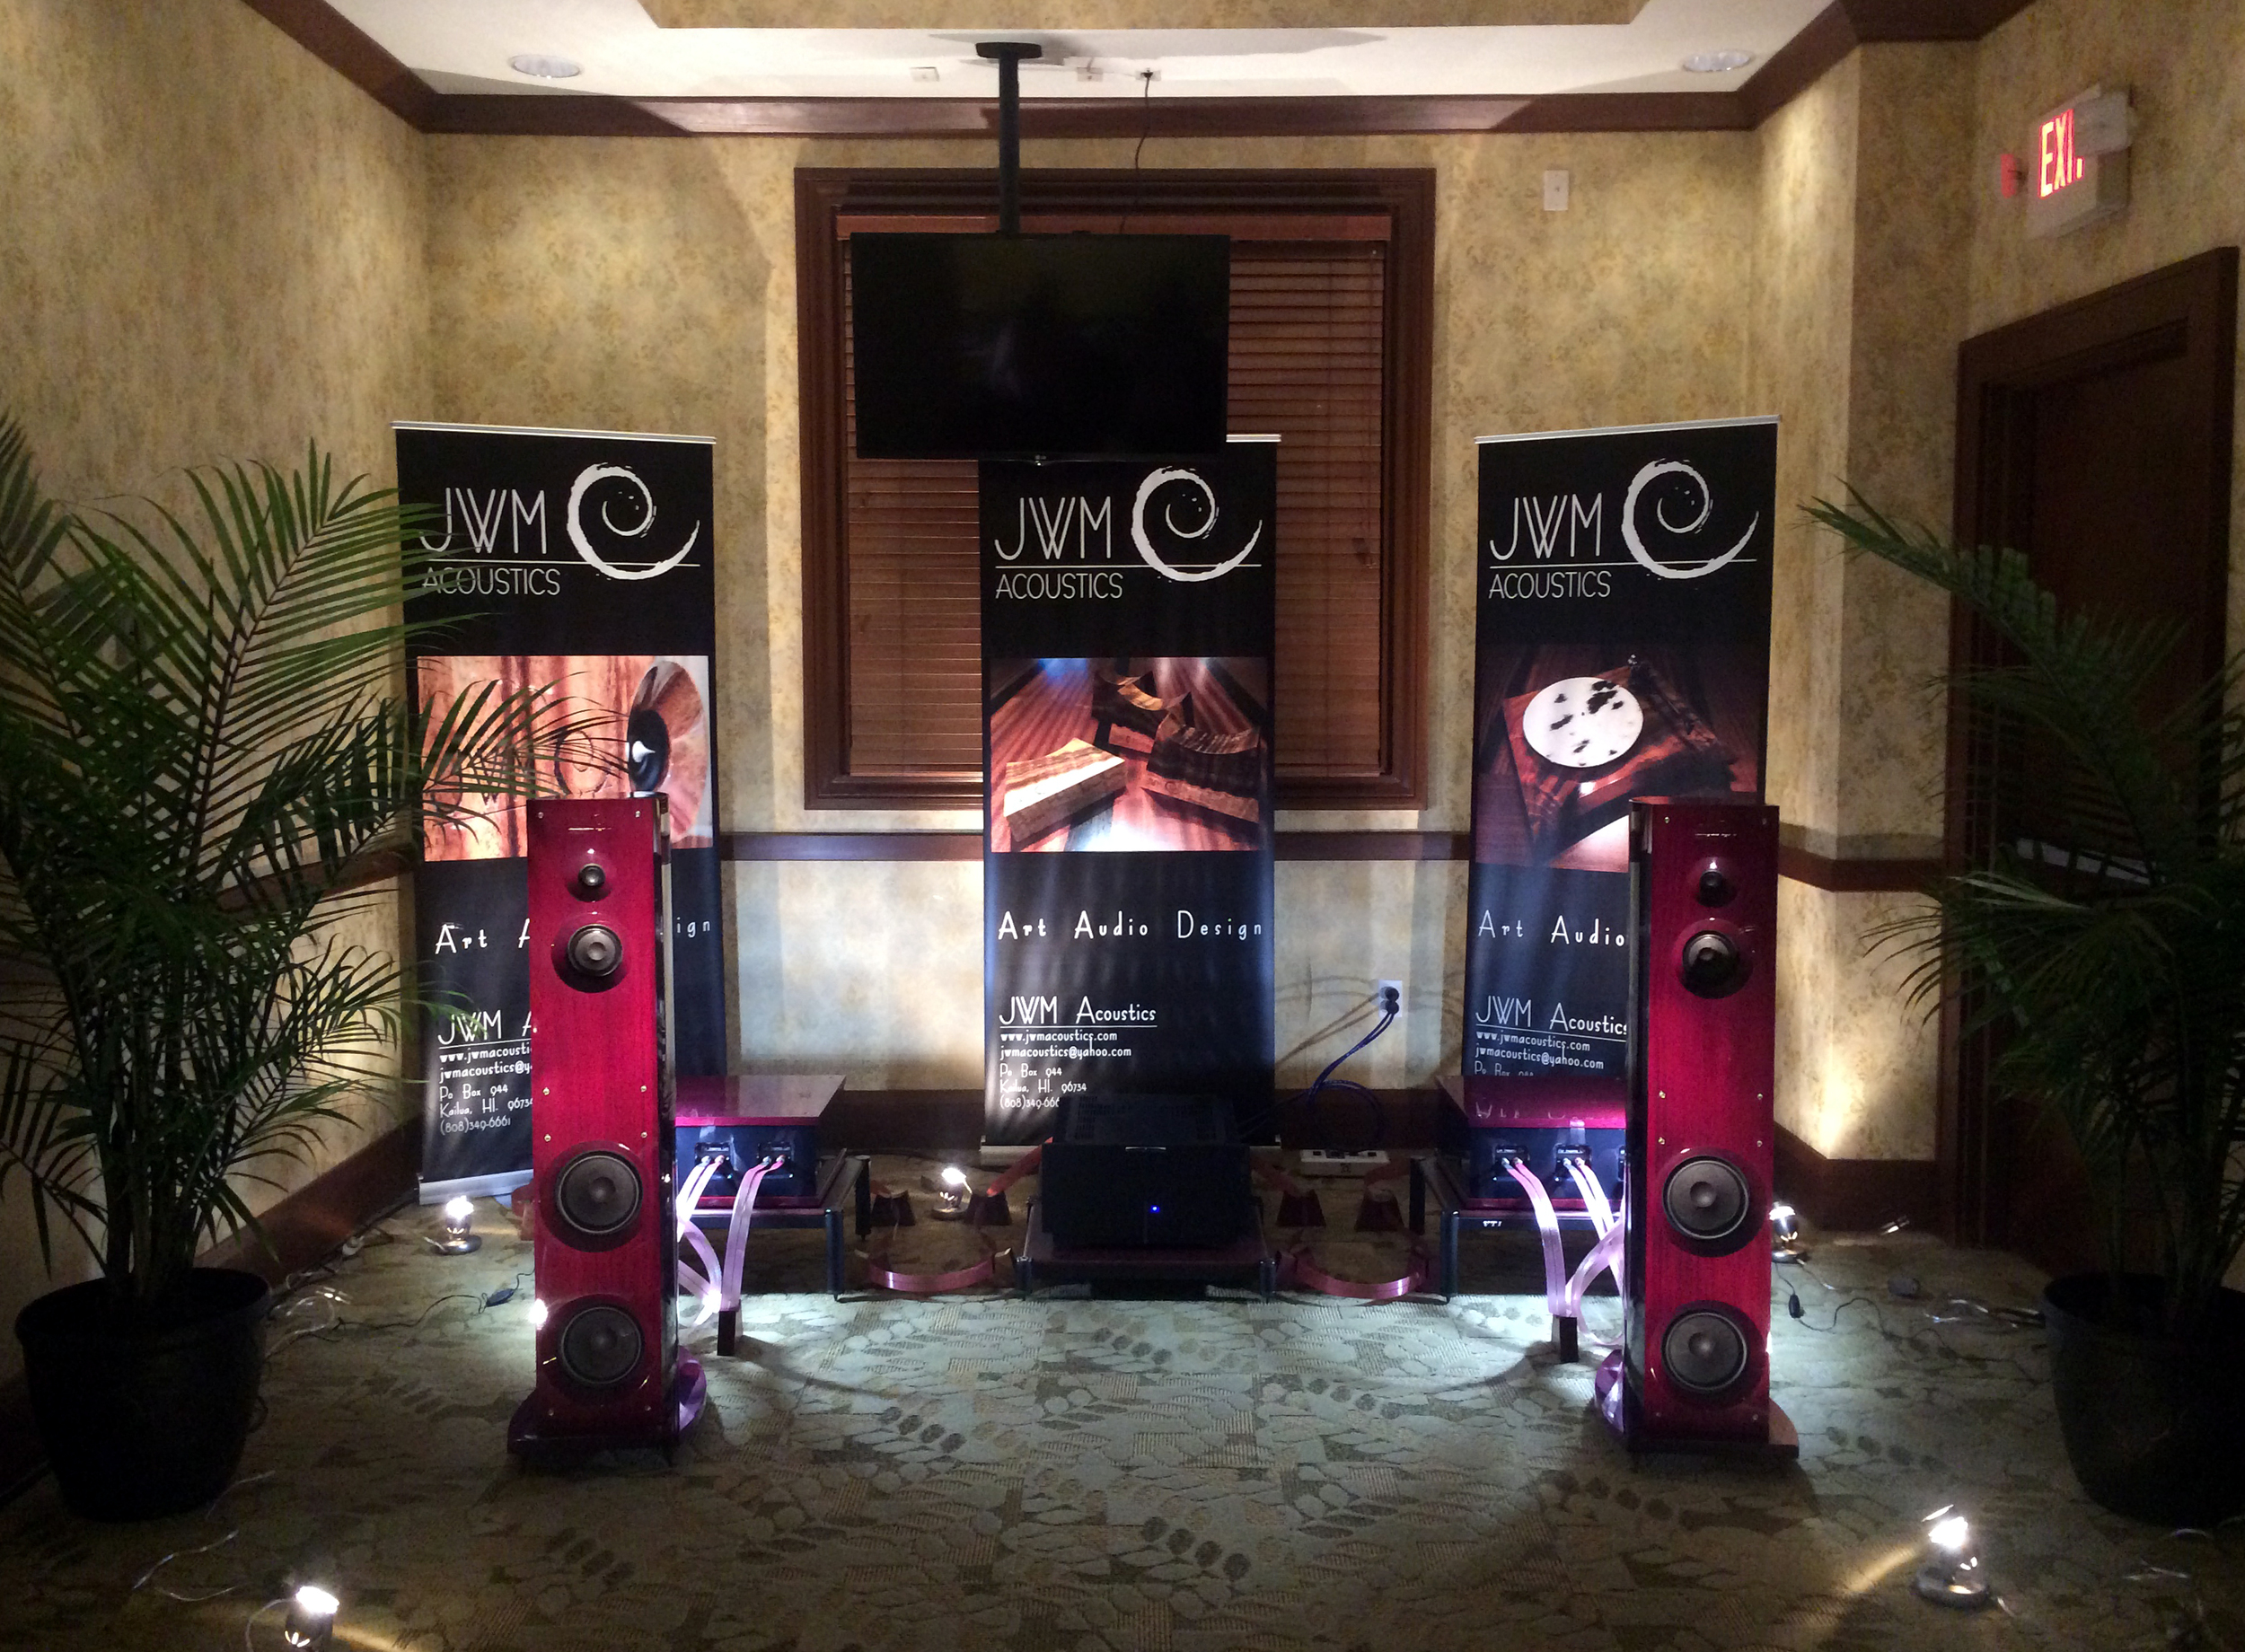
Now, once again, we decided to take KAREN to the next level. An all new concept with parts sourced from all corners of the globe. A collaborative piece that represents our finest table yet. In October 2015 at the Rocky Mountain Audio Fest you will see and hear what is possible when things are made to be simple, by hand and purpose driven.
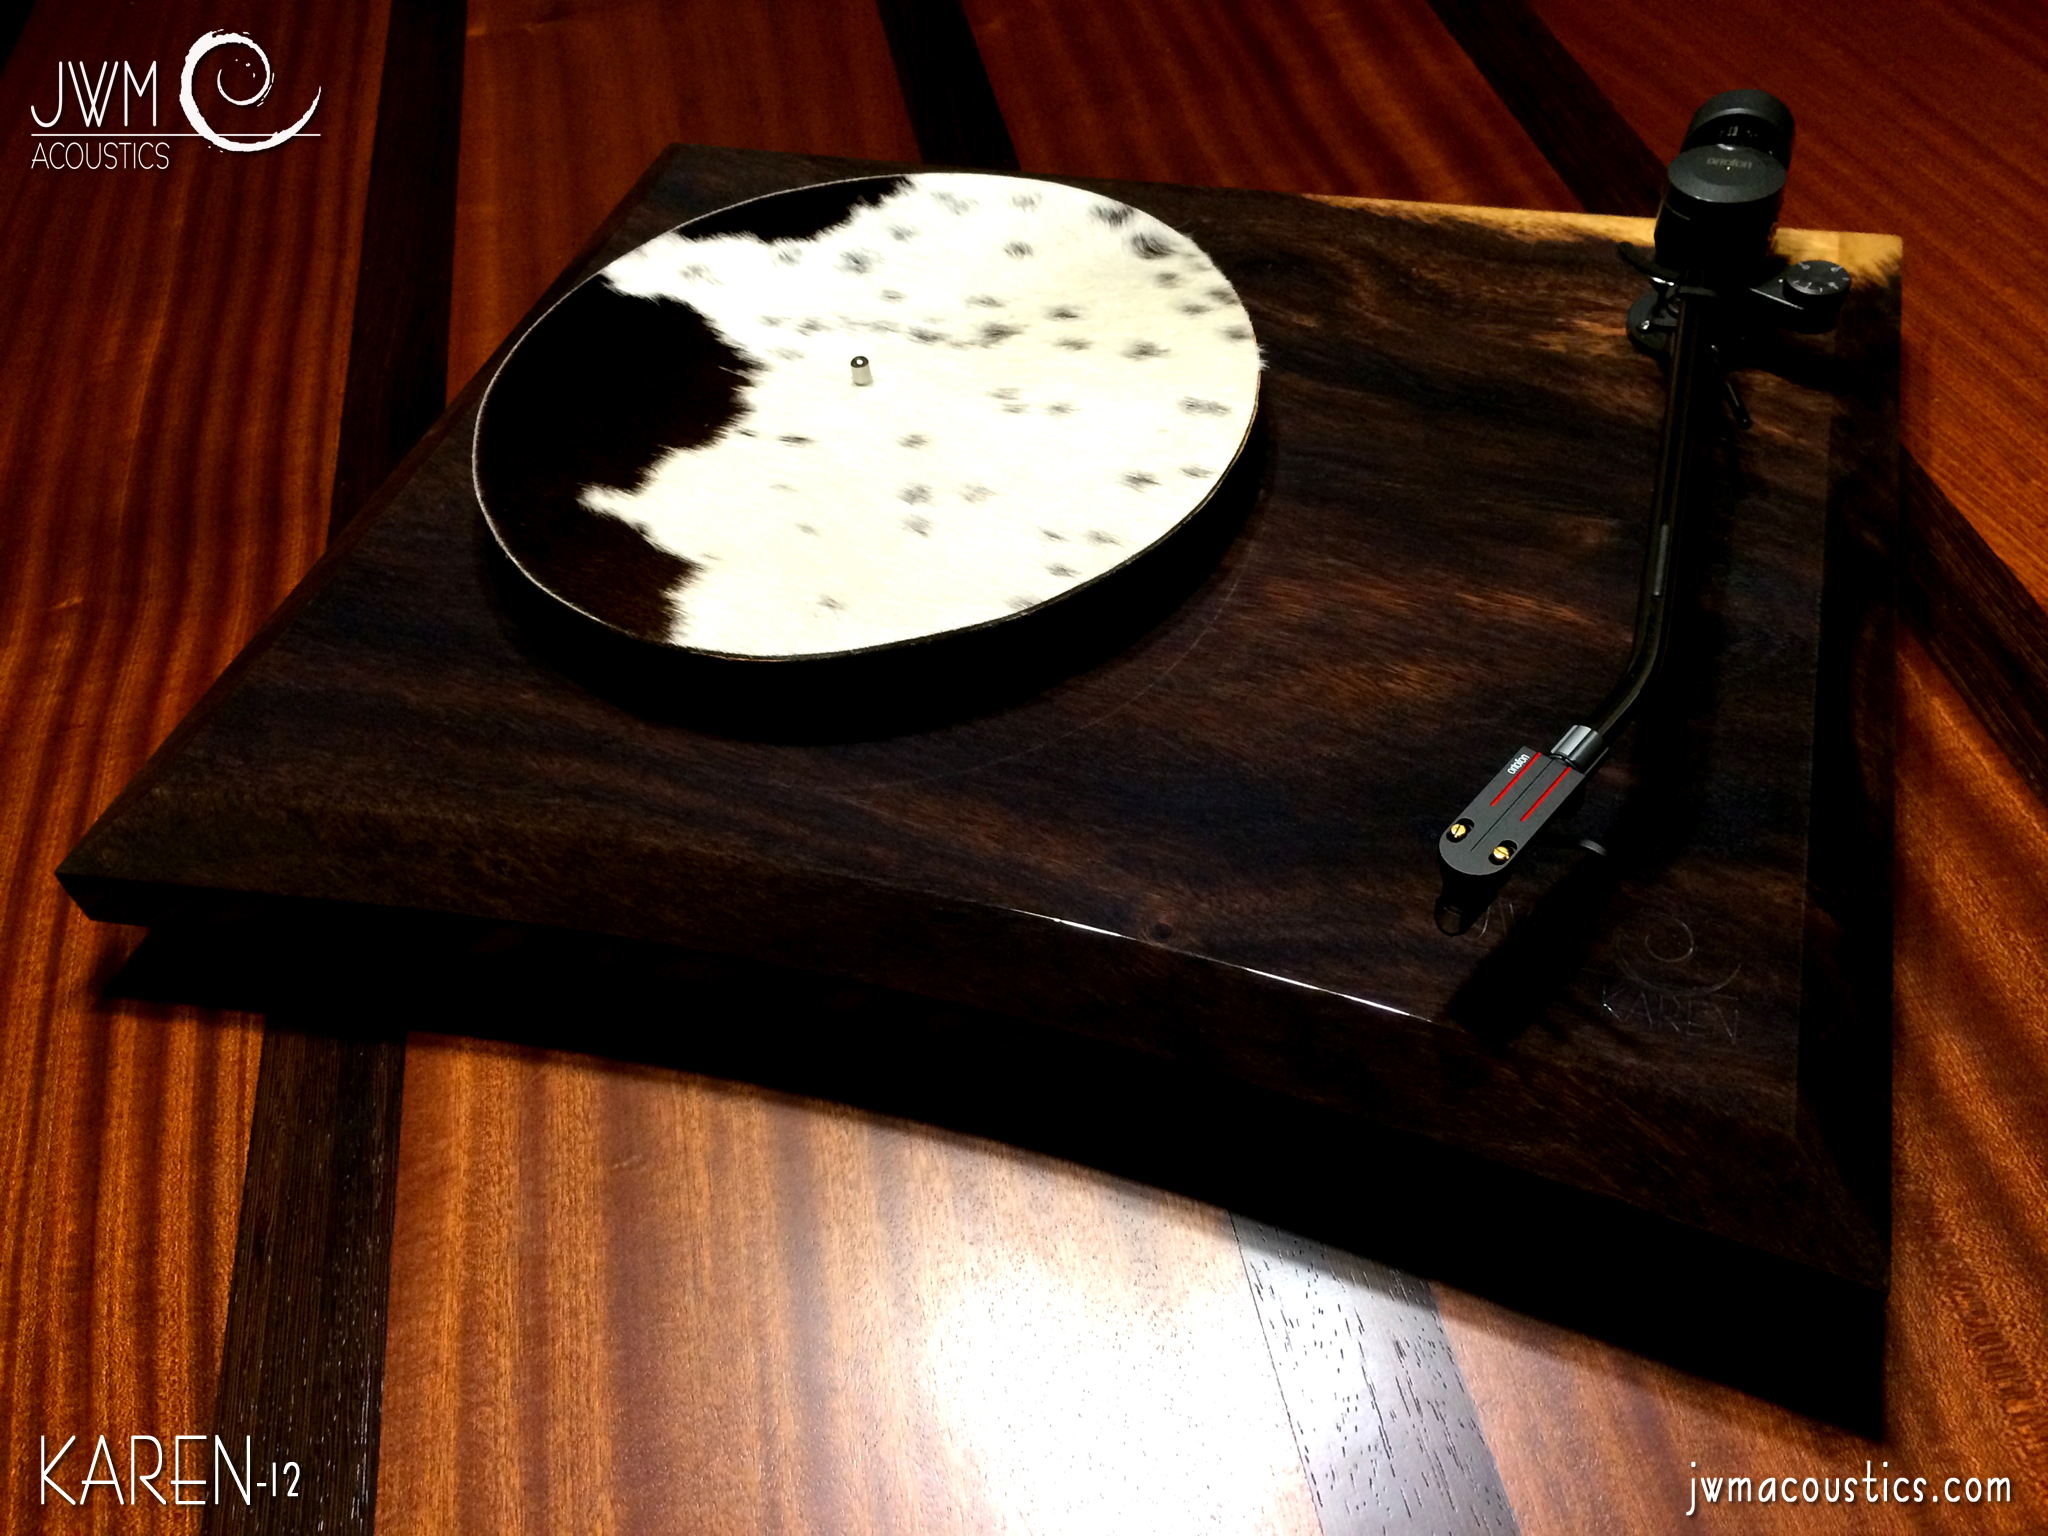
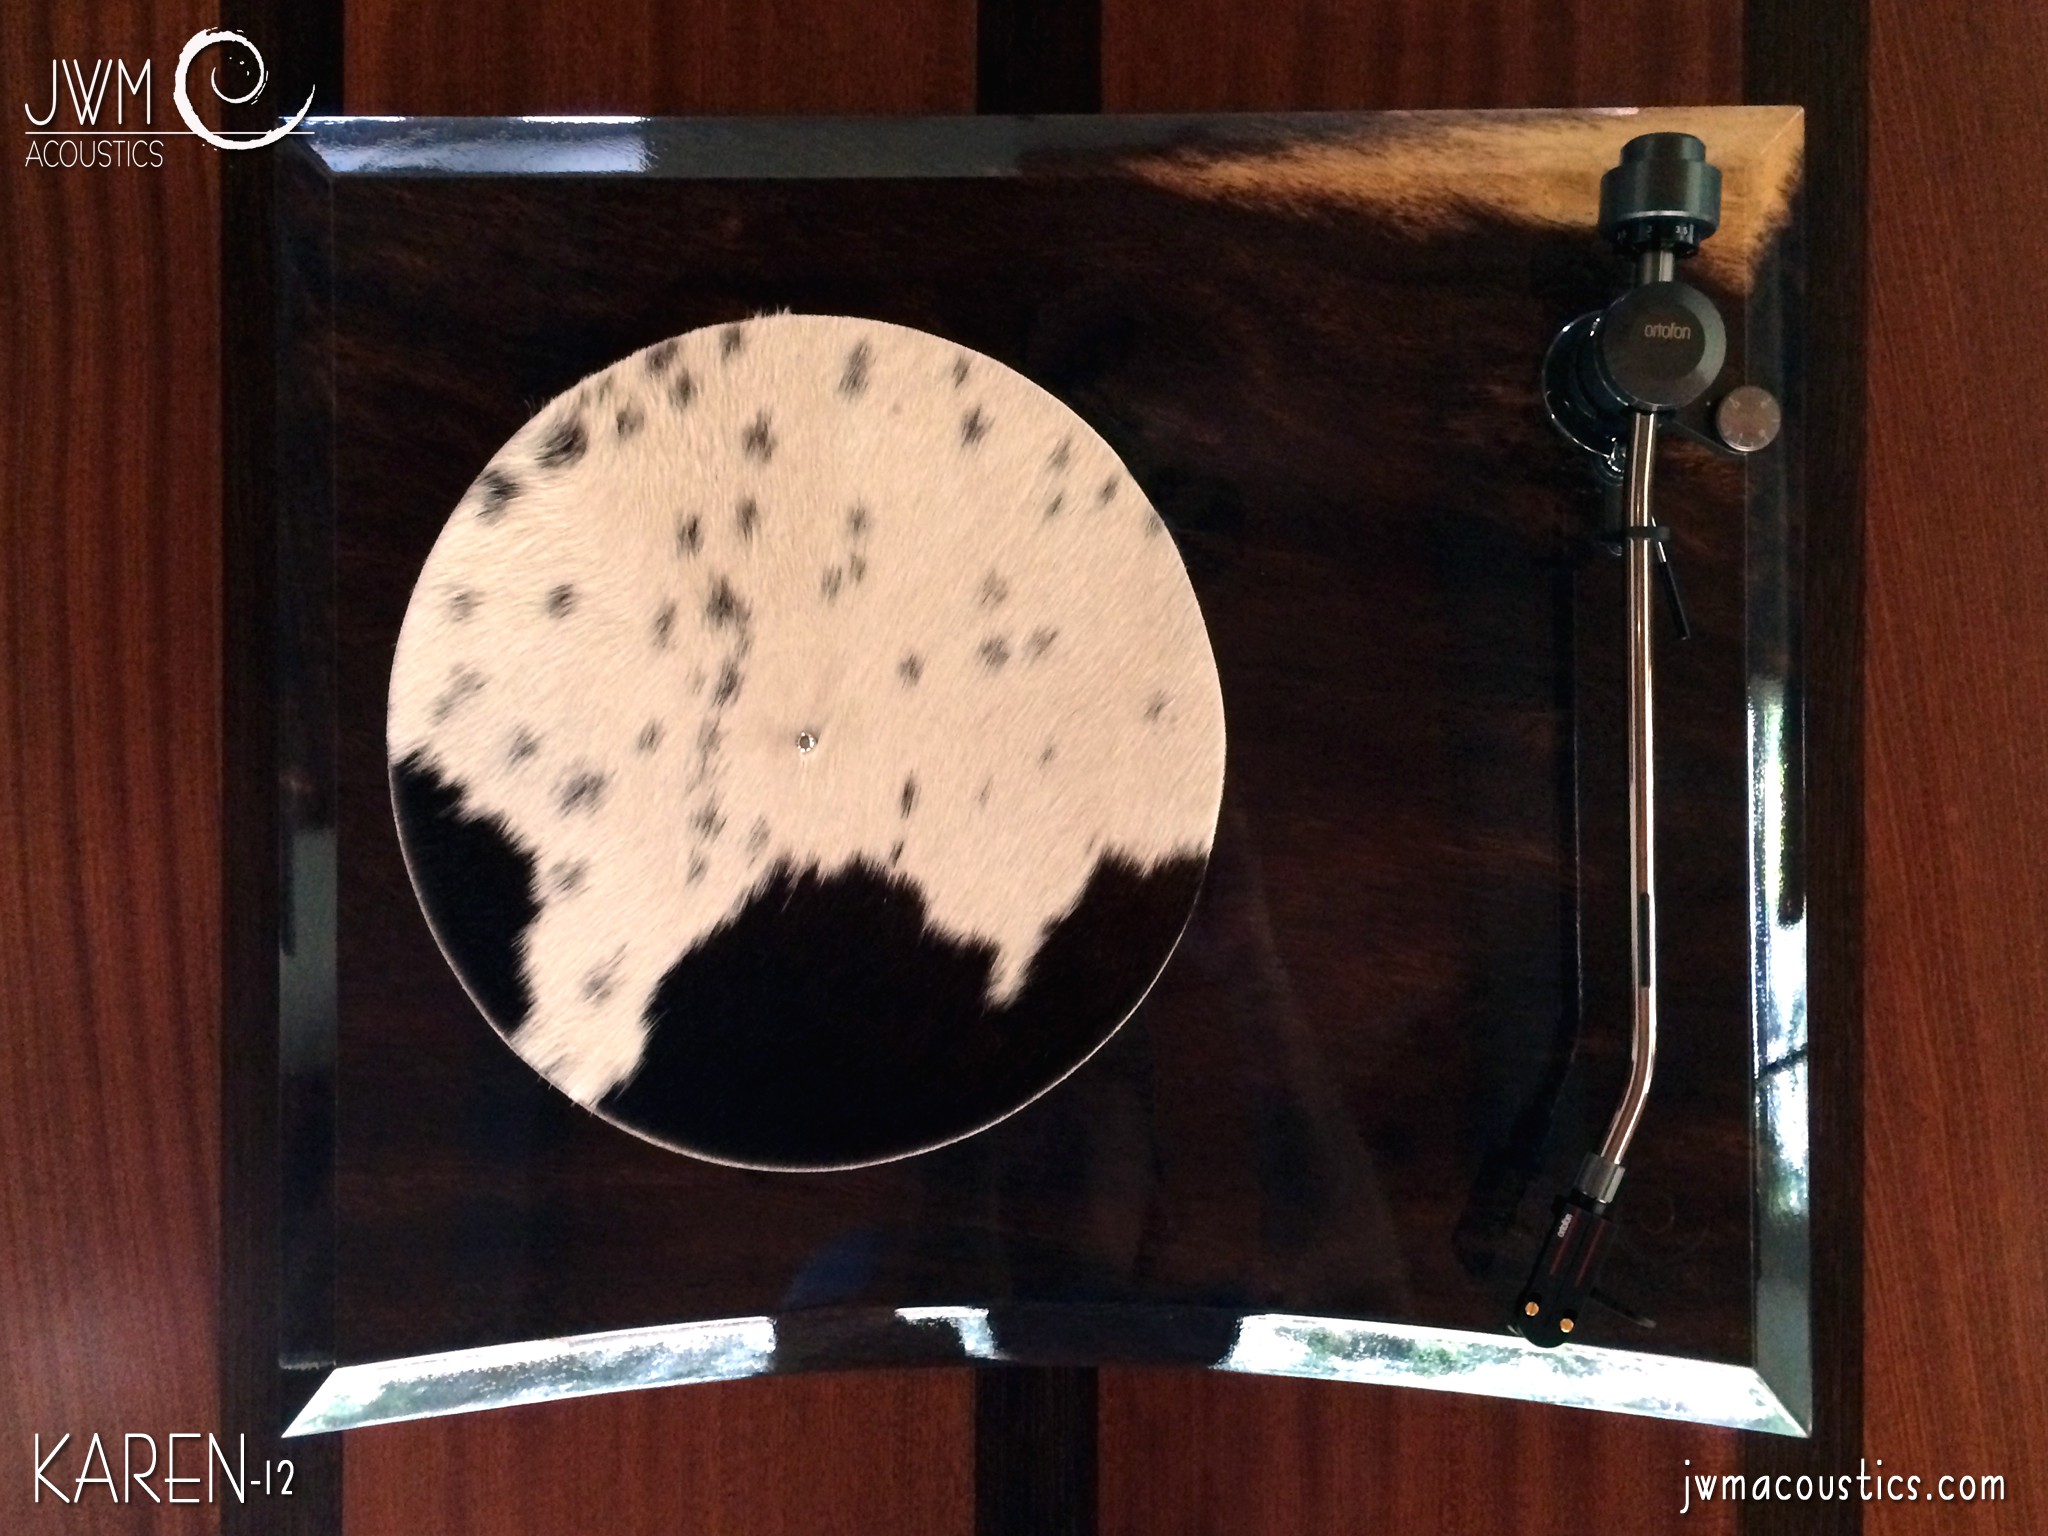
Beautiful, Elegant, KAREN 12
The KAREN 12 plinth is made from a single large and rigid piece of wood. Alone it weighs 30lbs. The KAREN 12 is indeed a large turntable with a tremendous amount of mass for its size. As with all the tables in the KAREN series, the edges are cut at a specific angle to reduce surface vibration. The original vibration damping shape of the KAREN design has been also utilized here, but to larger scale bringing the noise floor even lower than previous models. The signature curved front also serves a purpose in diffracting internal vibrations.
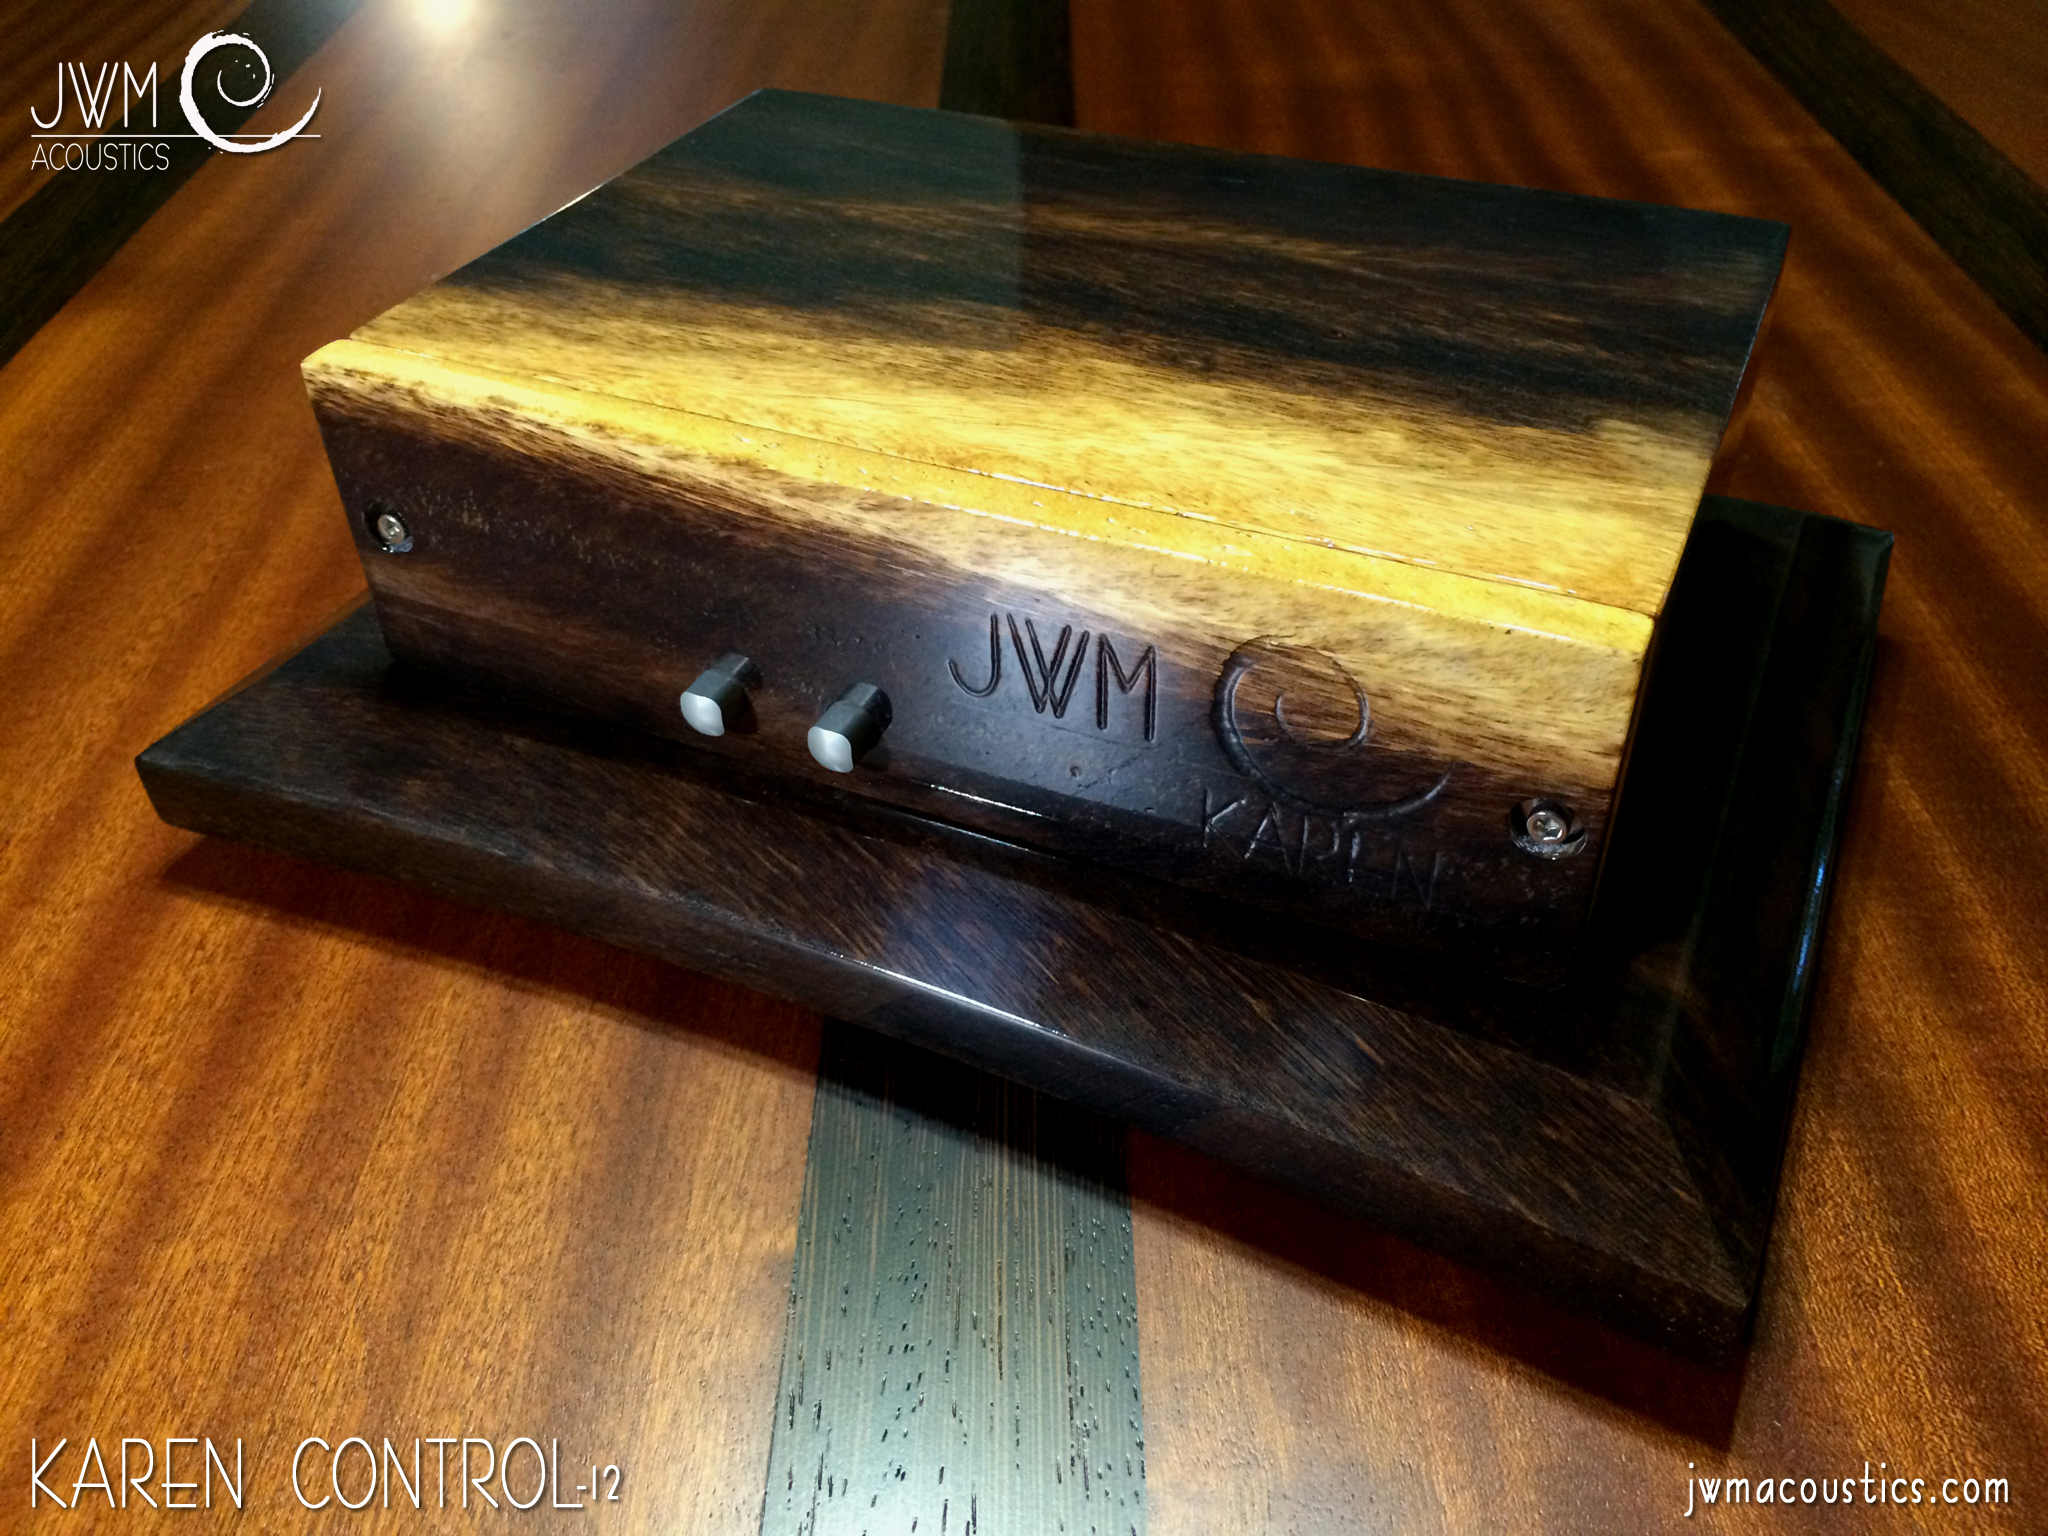 As with the KAREN 6 we addressed the motor and controller in the usual JWM Acoustics manner. With further simplifications and refinement to the vibration damping mechanism and power consistency, we have increased the accuracy and dropped the noise floor even further for the entire table. The motor and electronics are recessed into the underside of the table and treated to isolate from the bearing assembly and quiet the table further.
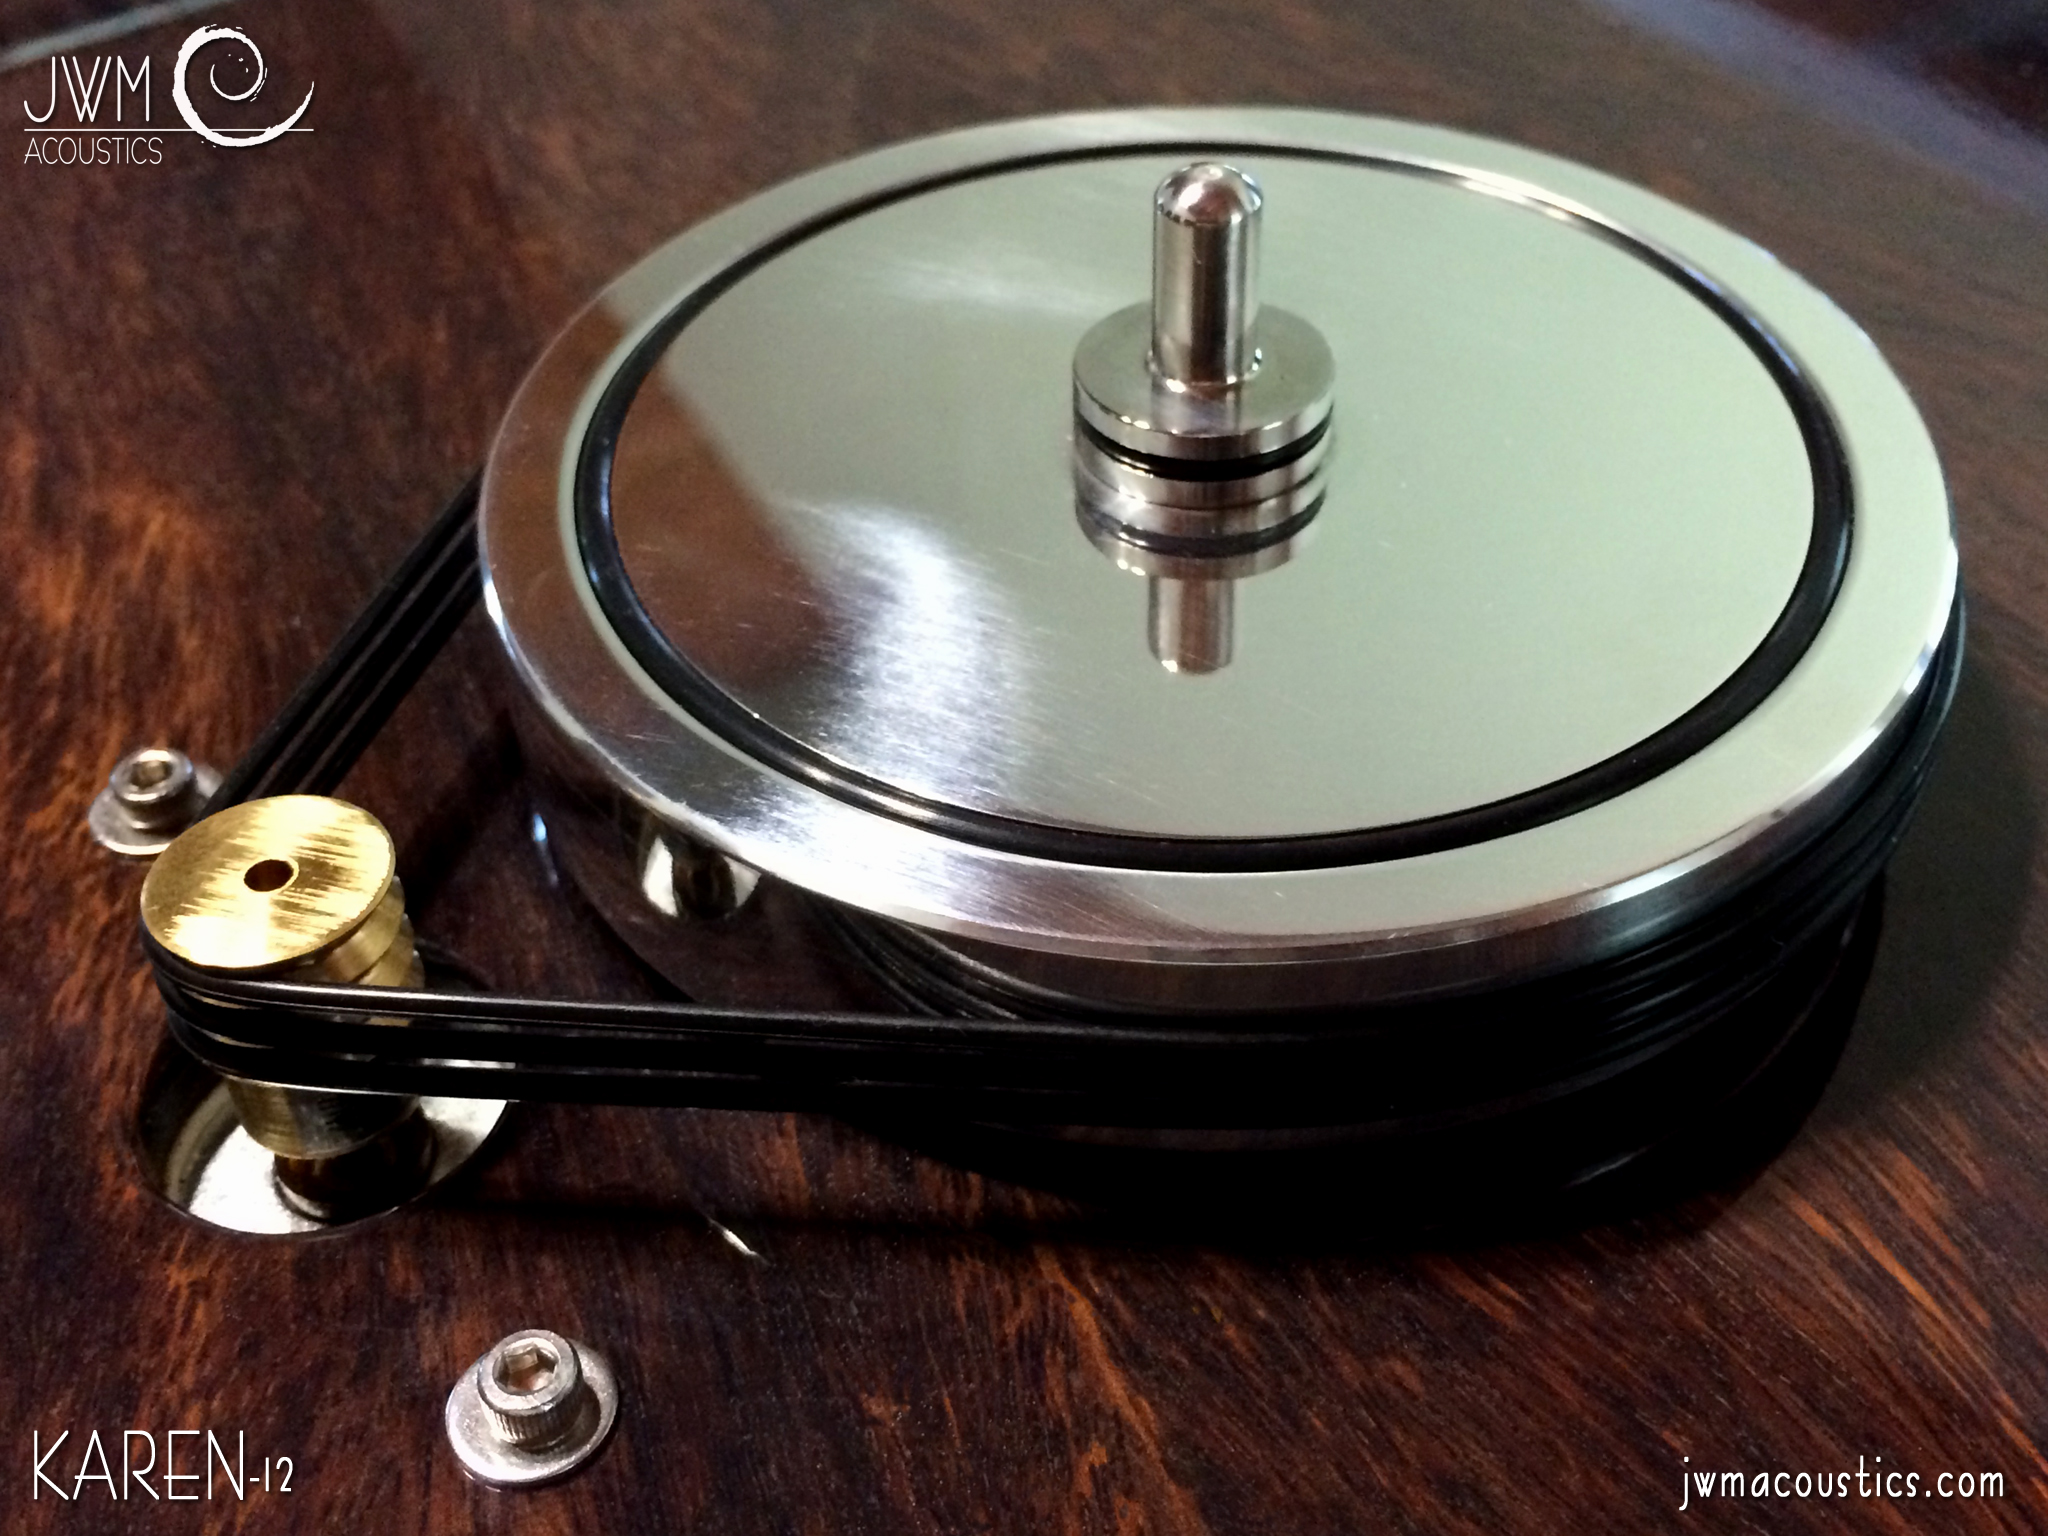 The bearing assembly, sub-platter and spindle has also been addressed with a handmade system sourced from Argentina and built by Tango Spinner. This polished drive mechanism and bearing has extremely tight tolerances and has proven to add accuracy, pace and depth to the presentation. The three belt pulley system provides copious amounts of torque and drives the two layer glass platter sourced from REGA with command.
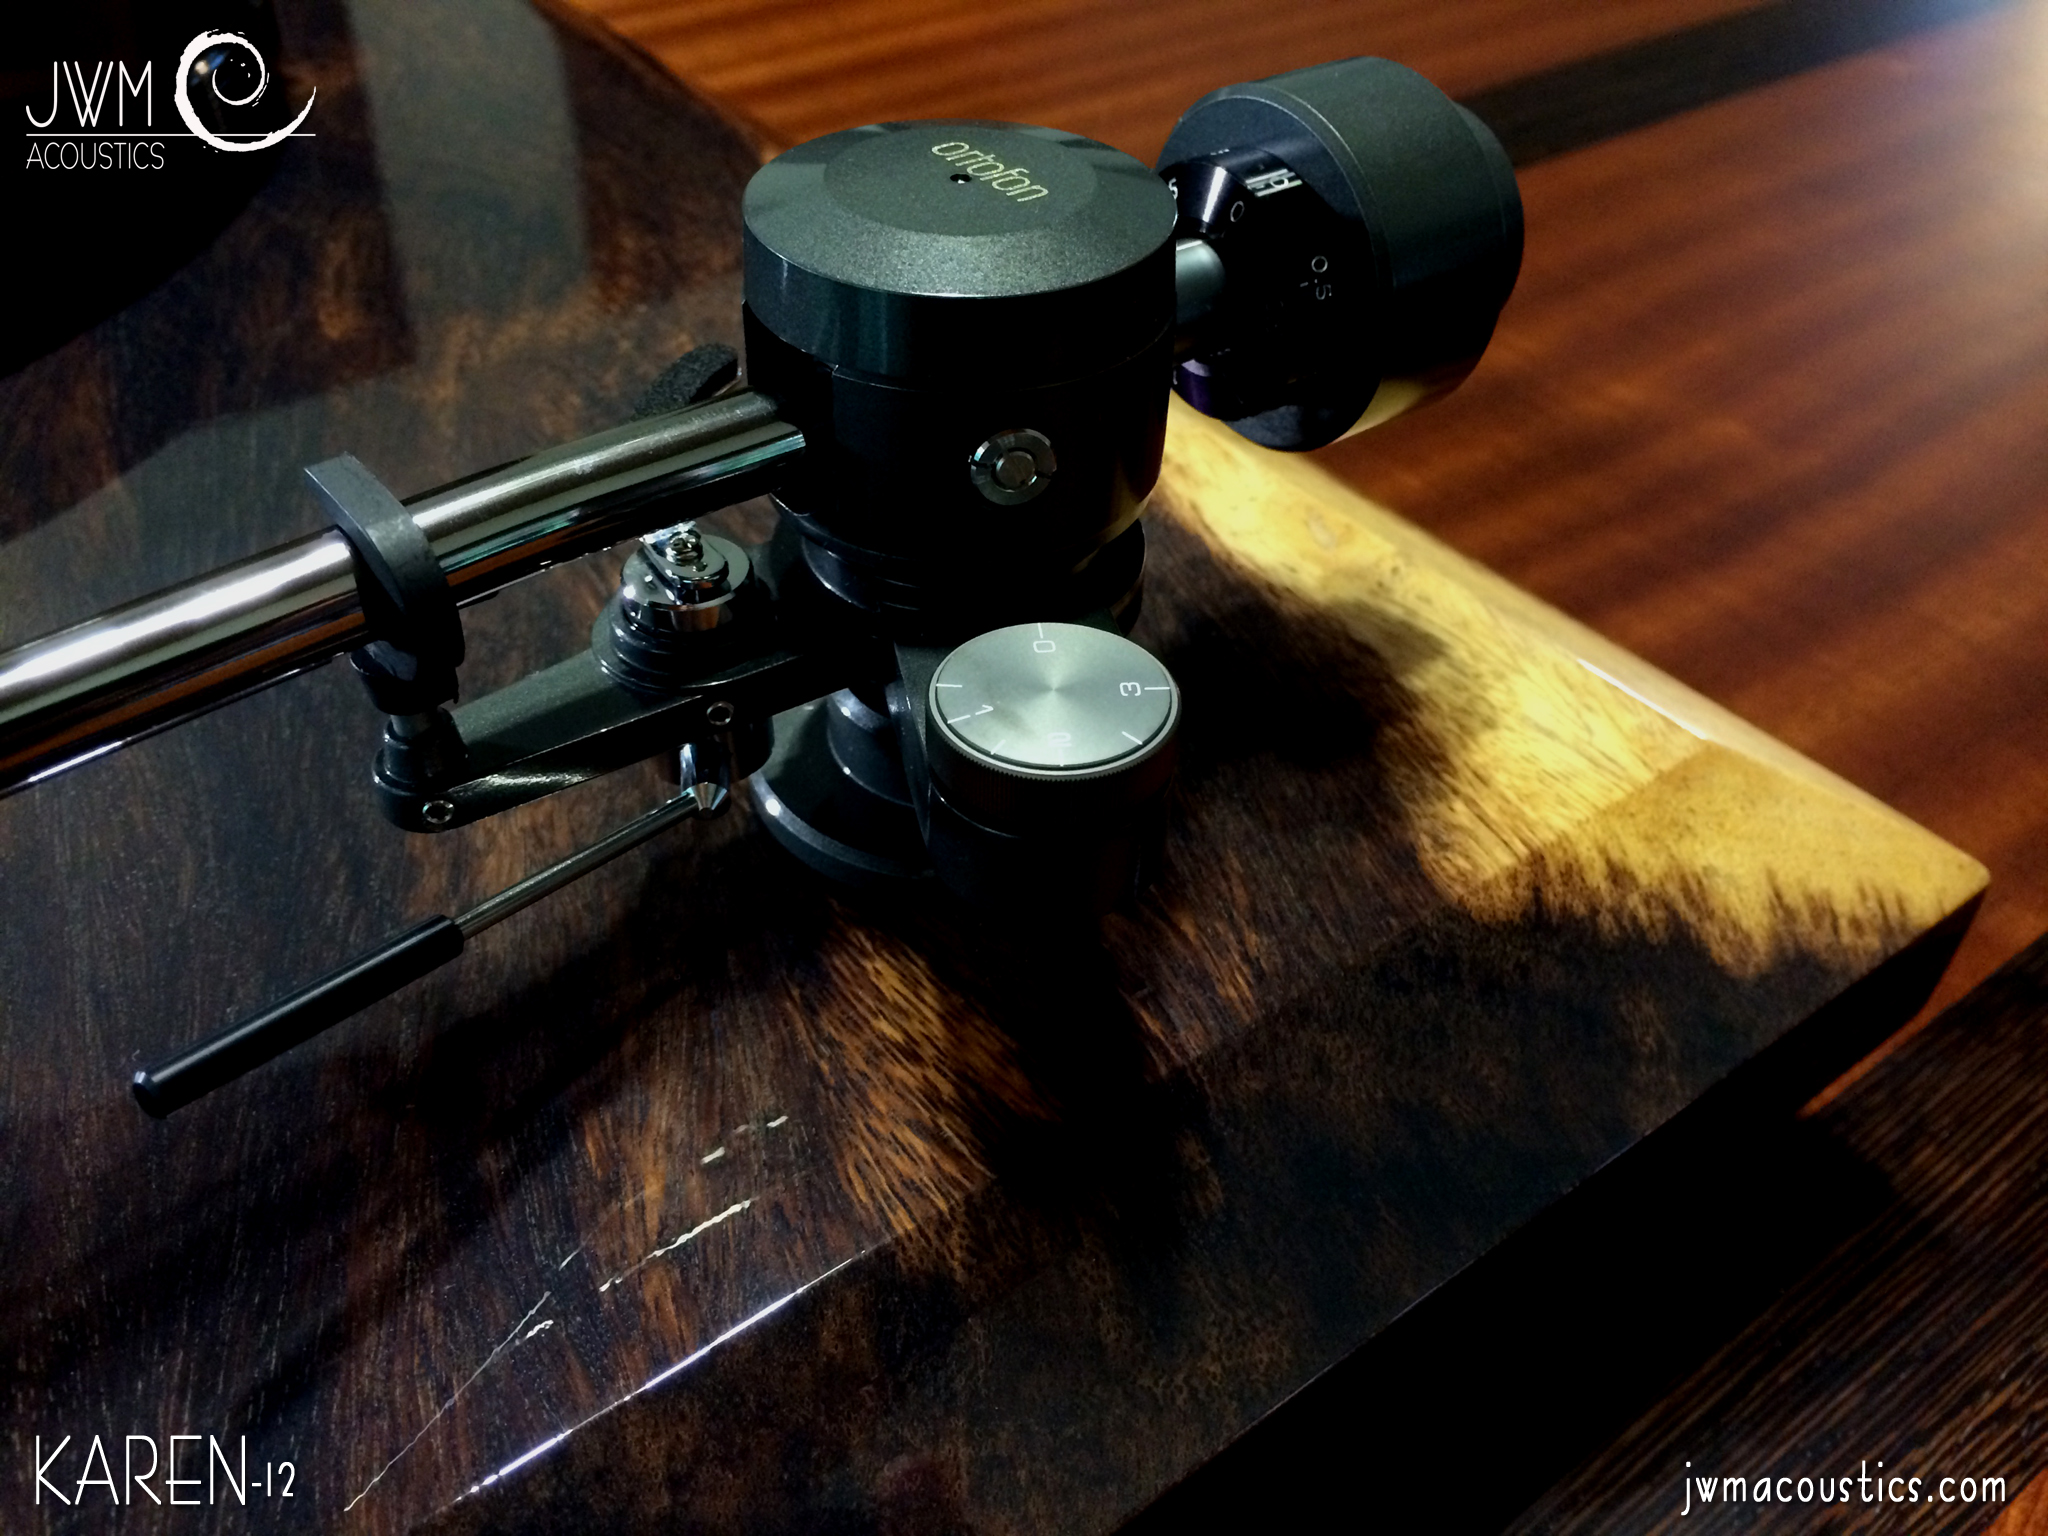
The stock arm for the KAREN 12 was carefully chosen to extend the same powerful signature sound the KAREN series is becoming known for. We chose the ORTOFON TA-210 12” static tonearm. We feel this arm/table combination possesses an elegant balance between analytical and soulful. Paired with most any cartridge on the market and you have a machine that will bring musical bliss to your home for many generations to come.
 As with all JWM Acoustics products, you may customize your KAREN 12 to suit your own tastes. We have a large assortment of woods and finishes to choose from as well as the desire to build your dream table exactly as you wish. Should you have an idea for something you don’t see on our website, feel free to ask if we can custom tailor your deck for you. It’s what we do.
 We are taking pre-orders for the KAREN 12 now, so feel free to contact us for further details, or a consultation on what we can do for you. We truly believe this playback machine will breathe a new life into your collection and reveal even more information locked in the grooves of every record you play. The KAREN 12 and her sisters should be on your short list of new tables to hear and we can’t wait to share them all with you.
Please join us in October for Rocky Mountain Audio Fest as we introduce the newest member of the JWM Acoustics family.
Beautiful, Elegant, KAREN 12
JWM
Final Thoughts On THE SHOW Newport 2015: "There's no place like home. There's no place like home". Closing words.
Sorry it has been a while. Spending time with my wife and dog has been top priority since returning from California. There is no substitute for family, big comfy beds and snuggle time. Ahhhhh…
Folks, let me tell ya. I have had some great times and I have had some REALLY great times. Without a doubt, THE NEWPORT SHOW 2015 will absolutely be filed in the REALLY great times folder.
First off, I have some thank ya’s to hand out. Not small ones either. BIG MONSTER ONES!
Mom, I can’t tell you enough… Mitch and Rece (our new California team!!!) We love and adore you. Many mahalos for everything. Michael Koetsier from GreenHIFI.com , for the awesome chat about green and sustainable audio. Alun Yun from Silverline for the smiles and friendly listening session. Peter Hansen from Synergistic Research for just being a nice guy. (I’ll giv’m a shot before RMAF!) Rick Vides from Brooks Berdan for being a great hall mate and the fun, but short chat about the state of the industry. Mark Freed, I will certainly heed your advice and also see you in Chicago next year! Paul Mah!!! What a great time I had talking with you! I appreciate all your words and look forward to more of them in the future.
To you Mr. Reichert of Stereophile Magazine. Read here. “I’ll take hearts and stars all day long”! I can’t thank you enough for the amazing words in the Reichert Report. The description you used, “Luscious detail” nailed it. There is a secret place that exists somewhere near laser detail and a true warm live experience. We hope to bring each and every music lover into this place.
Your report brought smiles to my wife and I and a tear to the eye of my amazing Mom. The time you spent in our room was above and beyond. For a new guy on the scene, it means the world. You certainly have a new fan out here on the islands and I look forward to reading more from you in the future.
Sasha Matson of Stereophile Magazine! Read here. Your description of the sound coming from the ALYSON AML as “very full-range, with a burnished warm dimension to the sound” is EXACTLY what we are aiming for. Being accurate to the source does not mean that one needs to have laser beams aimed at their ear drums. Nor does it mean the need for 8 foot tall cabinets full of huge drivers. Especially for the recording engineer who must sit in front of monitors for 8 hours a day. Our speakers may have a pedigree that originated in the studio, but we feel that taking the studio-to-home approach in speaker design is working beyond our greatest expectations.
Also, Thank you for recognizing the “hard work” that goes into hand crafted equipment. I for one, never want to see “Hand Made” disappear. The art of building speakers, turntables and other pieces in our shop is taken extremely serious. Except for the machine we use to burn in our logo, no CNC is used at this point and we will hold out as long as we can. If one is to spend so much time and expense seeking out that perfect piece of equipment for their musical passion, it should have all of the same attention to detail as a fine piano or cello. After all, should it not last for as many generations as well?
A giant Aloha and thank you to Michael Koetsier of GreenHIFI.com Read here. I can’t thank you enough for the write up on GreenHIFI.com! Although we are not perfect stewards of the planet, by golly we are trying. My wife Jeanette and a few of her friends, including the amazing furniture maker Thorbin Wuttke, have truly influenced us over the years. They have made us aware of the simple things that anyone can do yet few bother to put in motion. For instance, saving our sawdust for the local farmers. We also create accessories such as Cable Cradles and turntable record clamps from the smaller cutoffs in the shop rather than discarding them. In addition we collect small scraps from other wood workers to be repurposed. As JWM Acoustics grows, we will continue to implement conscience practices to balance our production.
If you are ever interested in how we offset our audio material use by planting trees and donating to the Hakalau Forest Reserve, look me up and I will be happy to elaborate.
Again Michael, thank you and mahalo for the mention and for recognizing our effort towards sustainability. Being green does not require that we compromise quality on the quest for perfect sound. For us, the two just work together. Simple as that.
Last, but most certainly not least. Many, many mahalos to Robert Lee of Acoustic Zen Technologies. I won’t even try to tell you how our time together impacted me. Your kind words and encouragement are so special to me. The huge time you took in my room was above and beyond. The ensuing critique of my work I will cherish for many years to come. From afar and for many years, you have influenced my work and sound. Now, from in front of my own creation. Thank you from the bottom of my heart. I hope to see you again soon. And yes! I too hear the wood in the instruments when played on my speaker systems. I assure you, it was no accident. THANK YOU again Mr. Lee!!!
So many more deserve my MUCHO MAHALO! You know who you are, so hugs!
We arrived early on Tuesday. We had hoped to get into  the rooms early enough to get started with setup and perhaps rest after the long flight from Hawaii. Mom flew in from Texas, but still, not a short hop. Unfortunately, the hotel made it clear that running behind was the theme of the day and we may not get our room until that evening. “OUCH”! Well, no matter. We ended up in the fine restaurant in the hotel lobby. We set up a computer and proceeded to stuff ourselves with pancakes, eggs Benedict and mimosas. I got to tell ya, that was some good Eggs Benny. The mimosa, not so much. It did hit the spot though.
Fortunately, the ring came around 1:00 PM that our sleeping room was ready and we could check back around 3:00pm for our show room. It was sooooo nice to get a shower after traveling overnight. Nap time! Ahhhhhhhh…
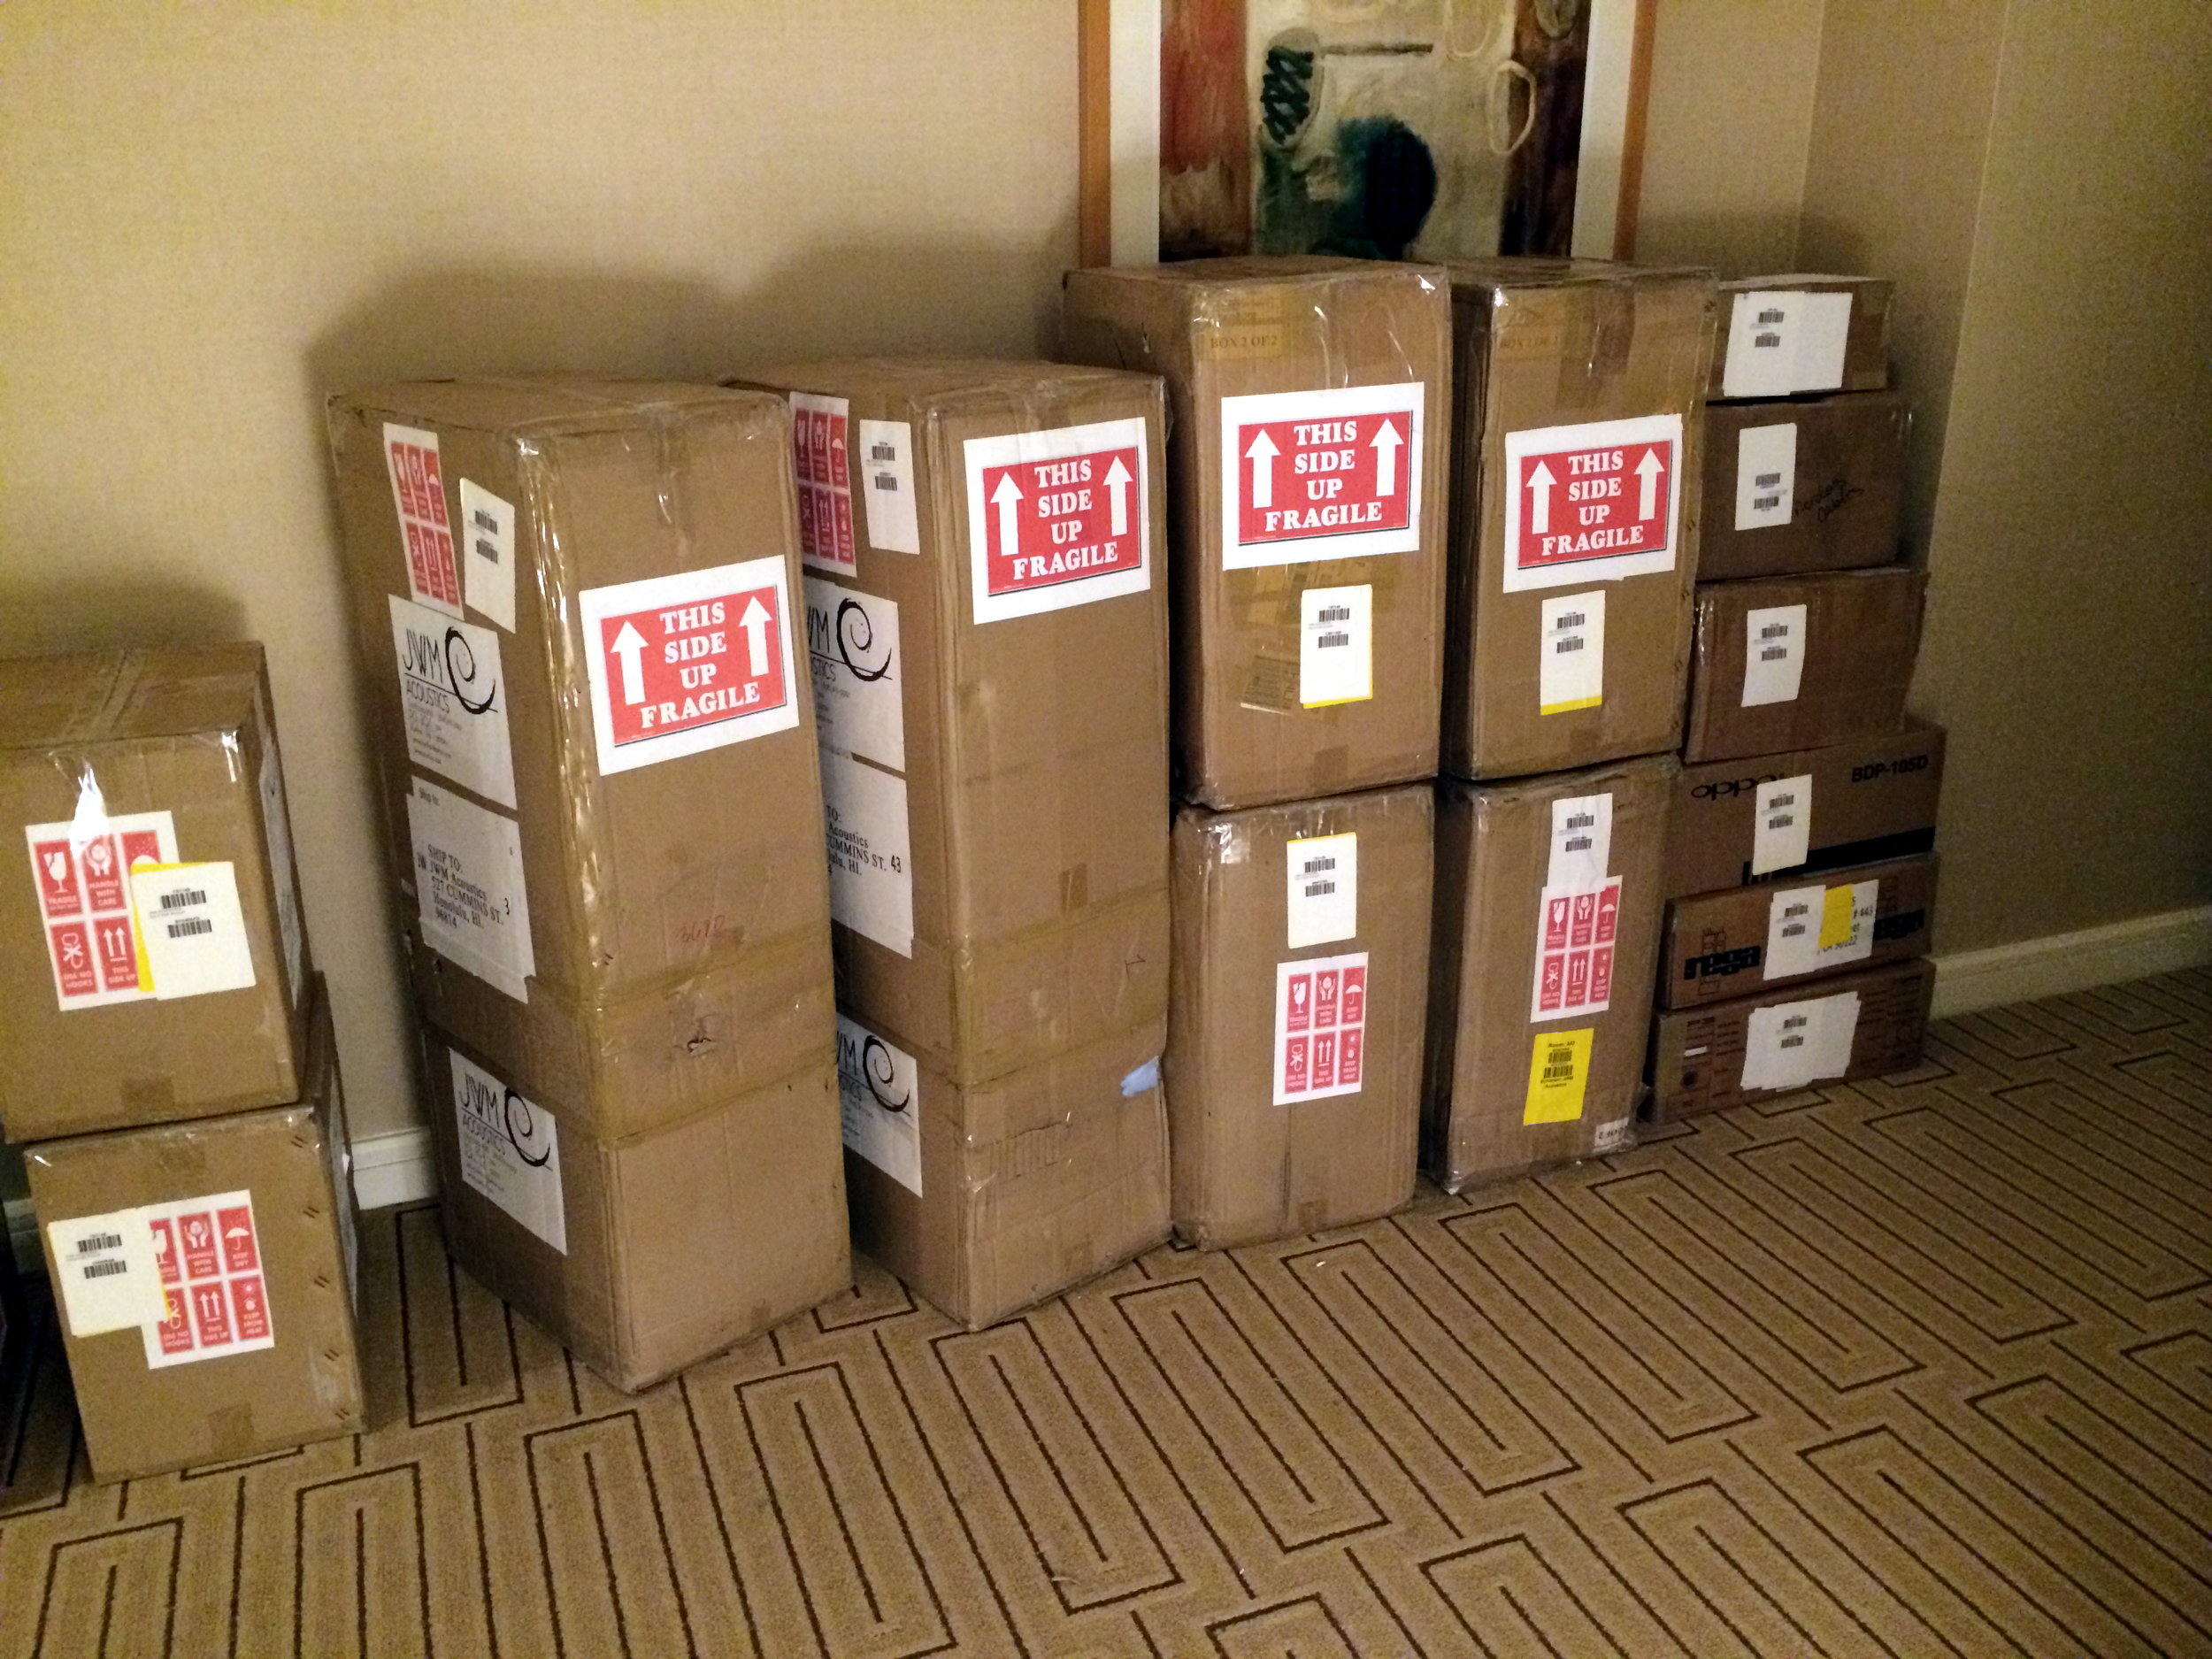 The equipment began to arrive and setup began around dinner time. We had the system up and running by 9:00PM. No small feat considering the amount of gear we were traveling with. Wednesday by noon, the dial in of the room was really coming along.
 First, we tried and tried to get the best staging possible with a wide frequency range using the JANE JKM. Over and over again, the speaker would either have one or the other, but never both. This speaker must have a large room to breathe in, but I really wanted to give people an idea of what she can do. By 10:00pm Wednesday night, the conclusion was made that I would be shooting myself in the foot by trying to show a speaker made for a room 10 times the size of this 13’X19’ shoe box. The decision to use the ALYSON AML and NET-1 as the primary speakers in the room was made. We left the JANEs in the room on static display. We did manage a few demos for select attendees, but they too agreed that the ALYSON was perfect in the room and I should let them sing. And boy did they sing!
 We also had two KAREN turntables up and running. One outfitted with one of my favorite cartridges, the Ortofon Windfeld, the other with the amazing Ortofon 2M Black. Using the new Balanced Audio Technology VK-P12 SE Phono stage, both carts sang like the wind. I am so happy to also announce that as of THE SHOW 2015, JWM Acoustics is now offering Ortofon cartridges as package deals on all of our decks! WoooHooo!!! By the way, the P-12 was so good we bought it…
The BAT Phono stage was not the only BAT in the room. I was running the whole thing with the killer REX preamp. As usual, this preamp demonstrated that tubes may be neutral while still allowing for that perfect and lush vocal range we all love so much. I threaten to upgrade to the REX II almost weekly, but if it ain’t broke, why fix it? I’ll revisit the idea with Geoff Poor from BAT before the RMAF, but as it stands, this machine works beautifully in our reference room back on the island. It is nice to have a piece you can count on to deliver the goods, day in and day out. Stay tuned!
 The amp was also from BAT. The VK-655 SE was in the house and powering anything we threw at it with ease. You know, it is a brand new amp. Hardly any break in time, except for the LSAF and a few late night sessions at THE SHOW. Yet, it still manages to not sound constipated or rough! I was warned by BAT and a few show goers, that running this new machine could be a mistake, but I have to disagree. The combination of all of these pieces was stellar. The synergy with my speakers was heavenly to say the least. BUY THIS AMP!!! ESPECIALLY if a set of JWM Acoustics is in your future. Great combo…
I was never a big digital guy. Kicking  and screaming, I am being dragged into this world of Bips and Bops. I was finally convinced that I needed to load J River and begin the task of collecting files. So I did. The verdict is in. I like it. Yes I said it. I LIKE it. Don’t love it, LIKE it. There comes a time in every audiophiles life when he has to admit that one thing may be as good as another, or at least close. Horns verses electrostat. Maggies or Kings. MC or MM. 10101010111010001111000 or analog. I guess 10101010101100100101011000 now has a place in my living room alongside the record spinner. Just need another shelf for the DAC! Speaking of!!! The DAC for the show was the kick butt one in the OPPO BD105D! The files were being fed by my HP ENVY laptop. HOLY!!!!!! That be some good sound folks. If you have the budget for a DAC, do consider the all in one option with the OPPO. You will love it. It was nice to have the option to spin up some of the attendees discs when asked. We actually got to keep a few of them for our own collection! Thanks attendees!!!
 I can’t forget to mention the cables. Oh the cables. NORDOST was so kind to lend us some fantastic specimens for the last two shows and I can’t thank them enough. We had everything in the room from the Blue Heaven line, up to the Hiemdall II. And I must say. WOW. They just worked in this setup. Not only did people notice their quality, when I did a few demonstrations between levels of cable the distinction was unmistakable and stunning. If anyone tells you there is no difference in cables, invite them over to our reference room for a demo. ‘Nuff said.
You know, I forgot to mention our cable cradles! More of 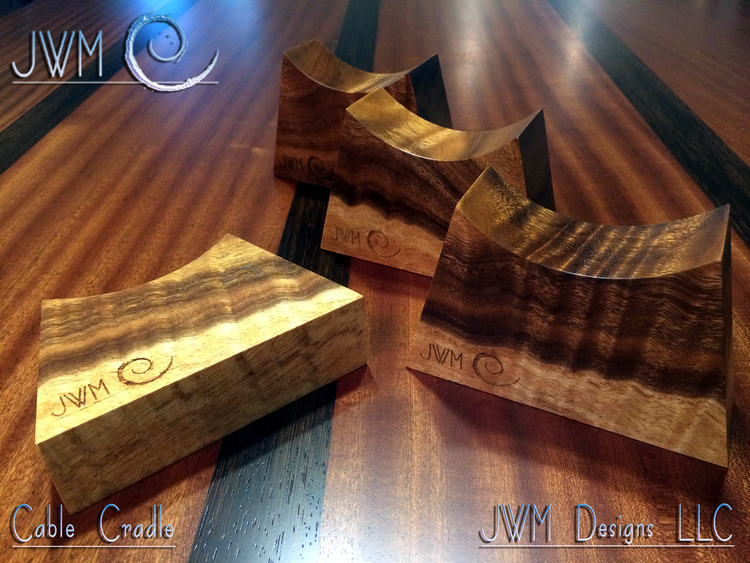 those little fellas walked out the door than I had anticipated! We sold them to the likes of D’Agastino, Silverline, even Mr. Lee from Acoustic Zen grabbed one because he liked the wood! Since getting home, all the rage is for NORDOST and other ribbon cable users to have a set of the Split Cable Cradles for their system! We love that! The Cradles started as a way to cut down on the waste in the speaker shop. We needed to find a way to utilize as much of our scraps as possible. Mostly because waste is not an option for us. We try to use every part of the tree. To have people embrace the idea as much as they are is wonderful! Even if you don’t believe in the sonic characteristics of lifting your cables away from statically charged floors, the organizational benefits of the cradles is fantastic! Thank you folks! We will make more for RMAF!
Well the show ended and it was time to pack up. Two of our best friends Mitch and Rece showed up just in time to begin the work. It took us until 3:00AM to pack it all up, but we did it! Oh man! We were beat. I crashed HARD!!! Honestly, as fun as this show was, I was so happy it was over. I definitely need the break before RMAF comes along. We certainly hope it draws the crowds we had at THE SHOW. So tell all your friends! Speaking of friends, we made some great ones. We had hundreds of people come through the room. I sincerely remember almost everyone that wanted to engage in conversation. Thank you all!
Thanks to all involved. We will see you next year! Now it’s time to build more stuff…
Josh
T.H.E. SHOW NEWPORT! On the road again!
Aloha Audiophiles! We are on the road again!
Well, for those of you who didn’t have a chance to make it to Lone Star Audio Fest 2015, you missed a great time. You also missed the first showing of our new design! The JANE JKM. Our flagship floor standing speaker and external crossover system. Don’t worry though, your next opportunity to see the JANE and several other products we build will be at T.H.E. SHOW Newport! That’s right! We are on the road again folks! May 29th-30th we will be rock’n the paint off the walls in room 443 at the Hotel Irvine!
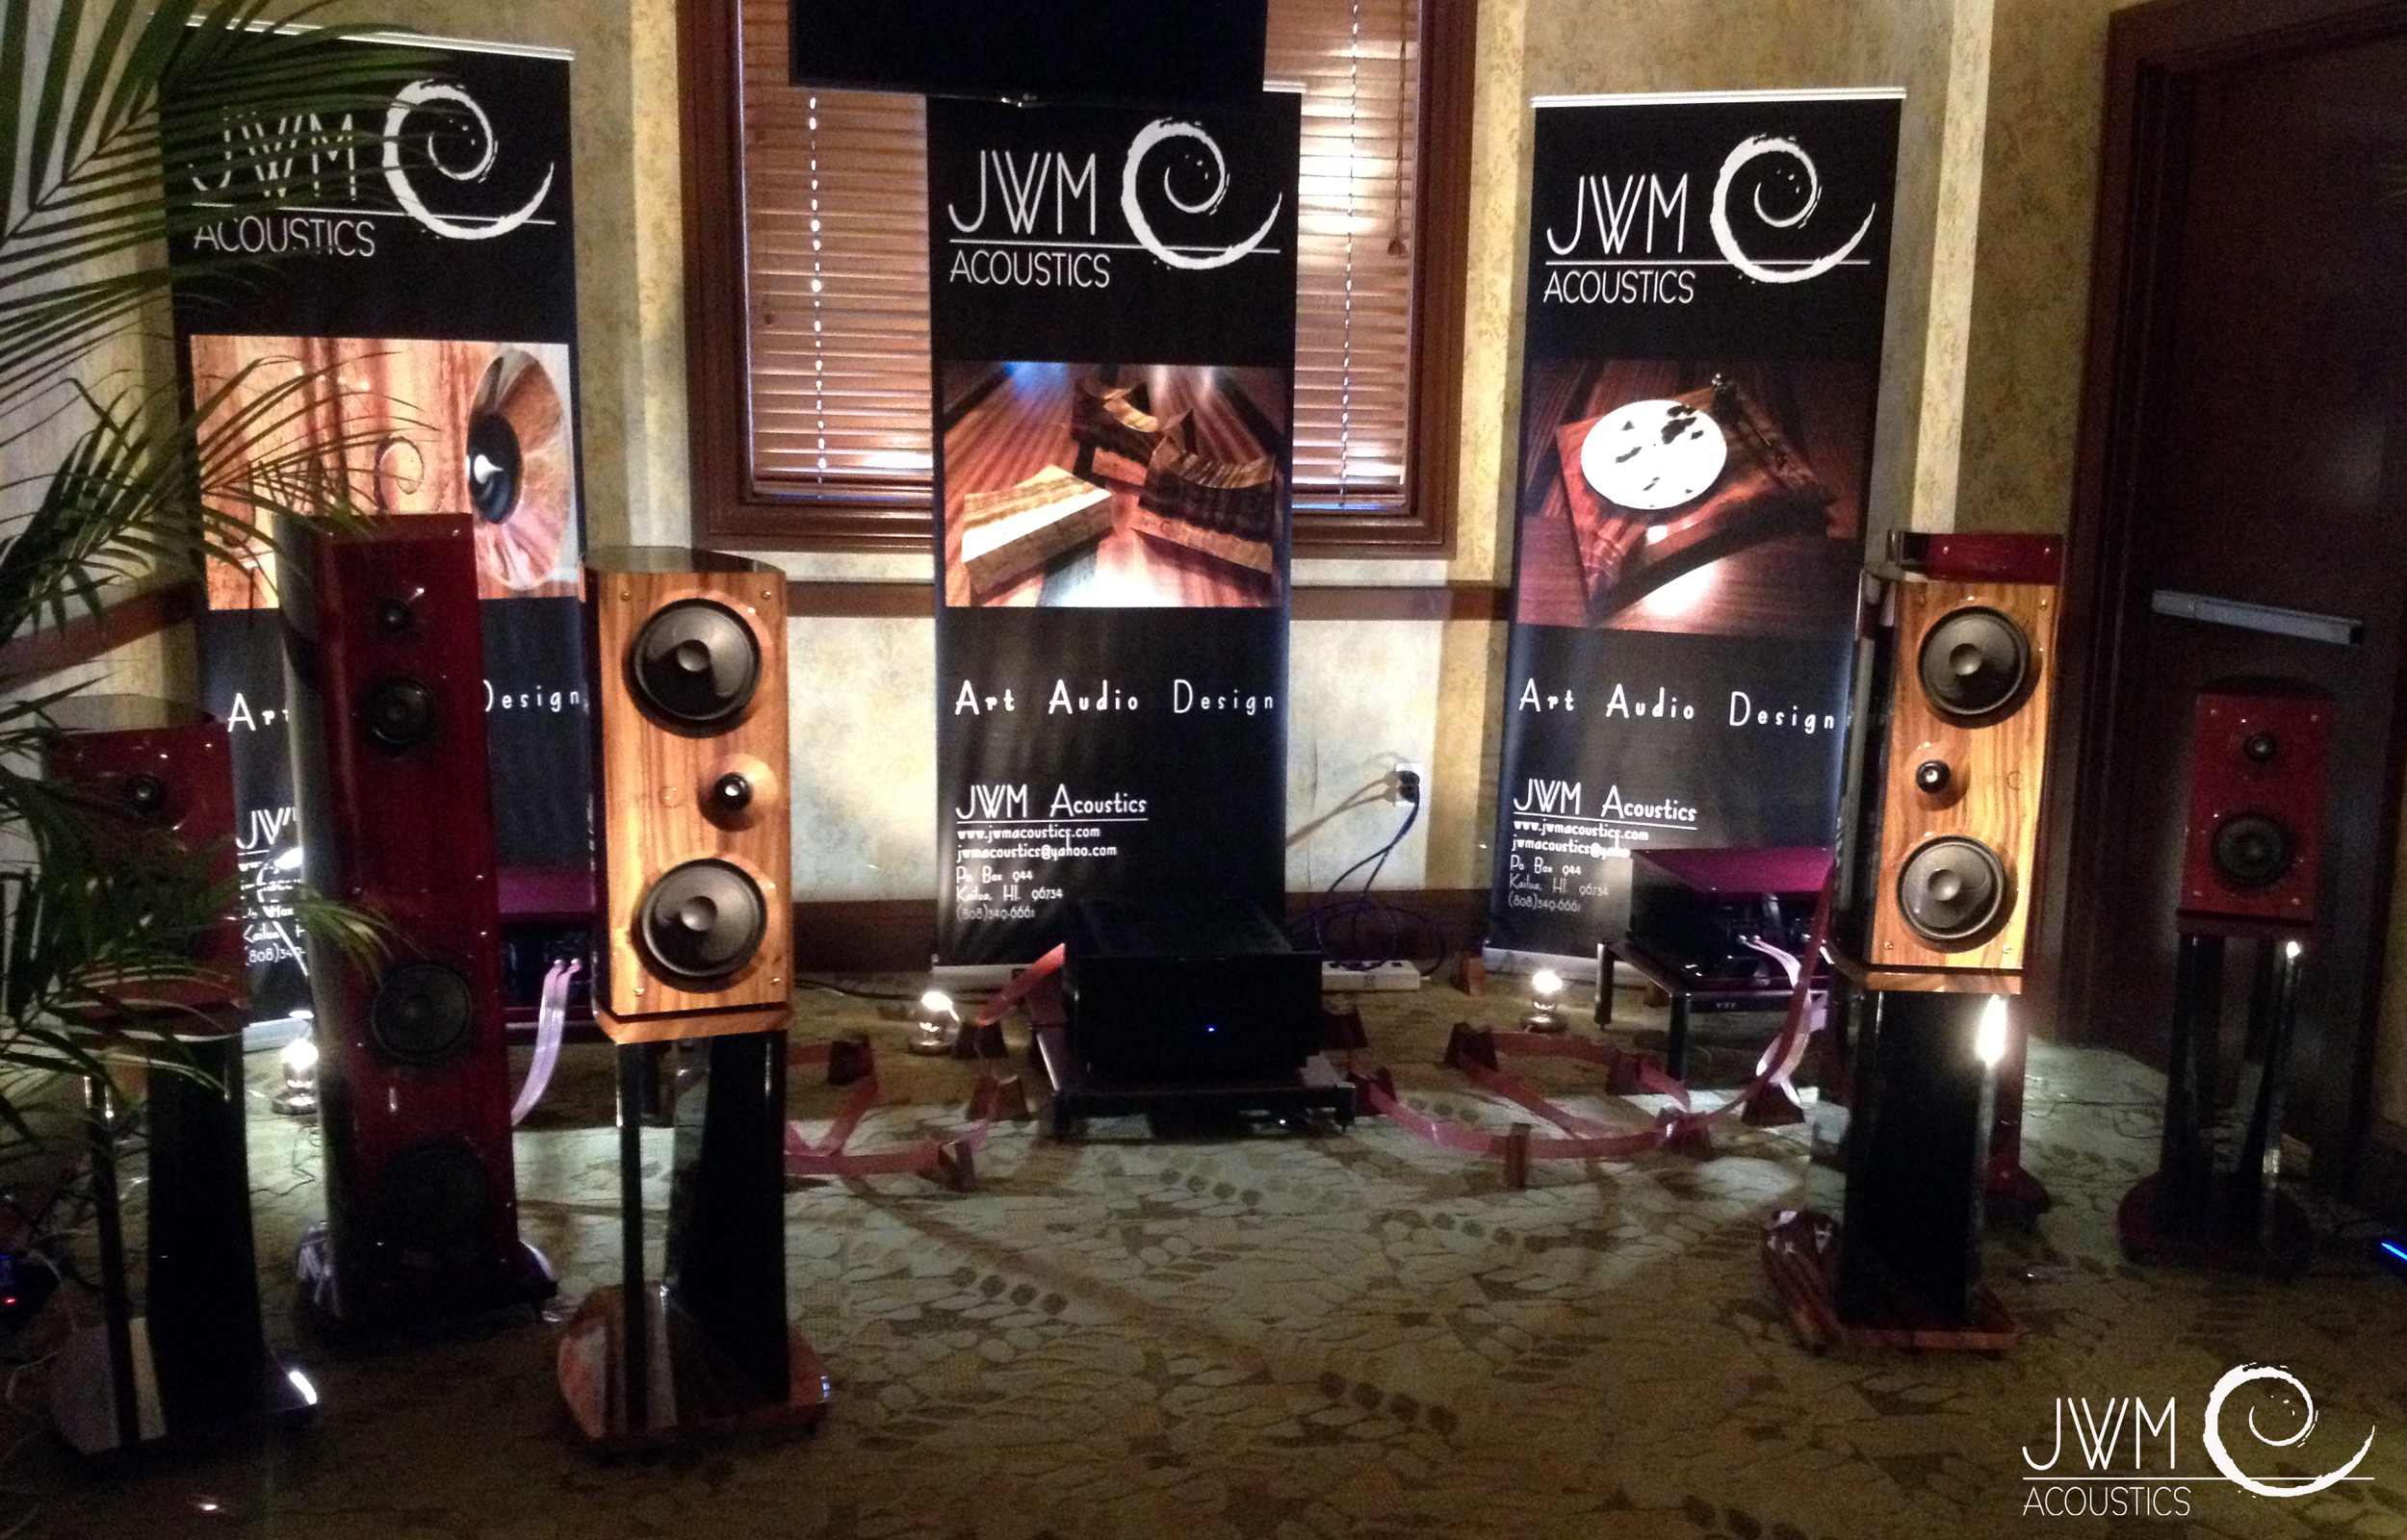 For T.H.E. SHOW, JWM has chosen to bring 3 sets of speakers. The NET-1 mini monitor, the ALYSON AML large monitor and the JANE JKM floor standing flagship. Also included in the collection will be the KAREN 6 and 3 turntables and several examples of HI-FI accessories including Cable Cradles in several wood species and sizes.
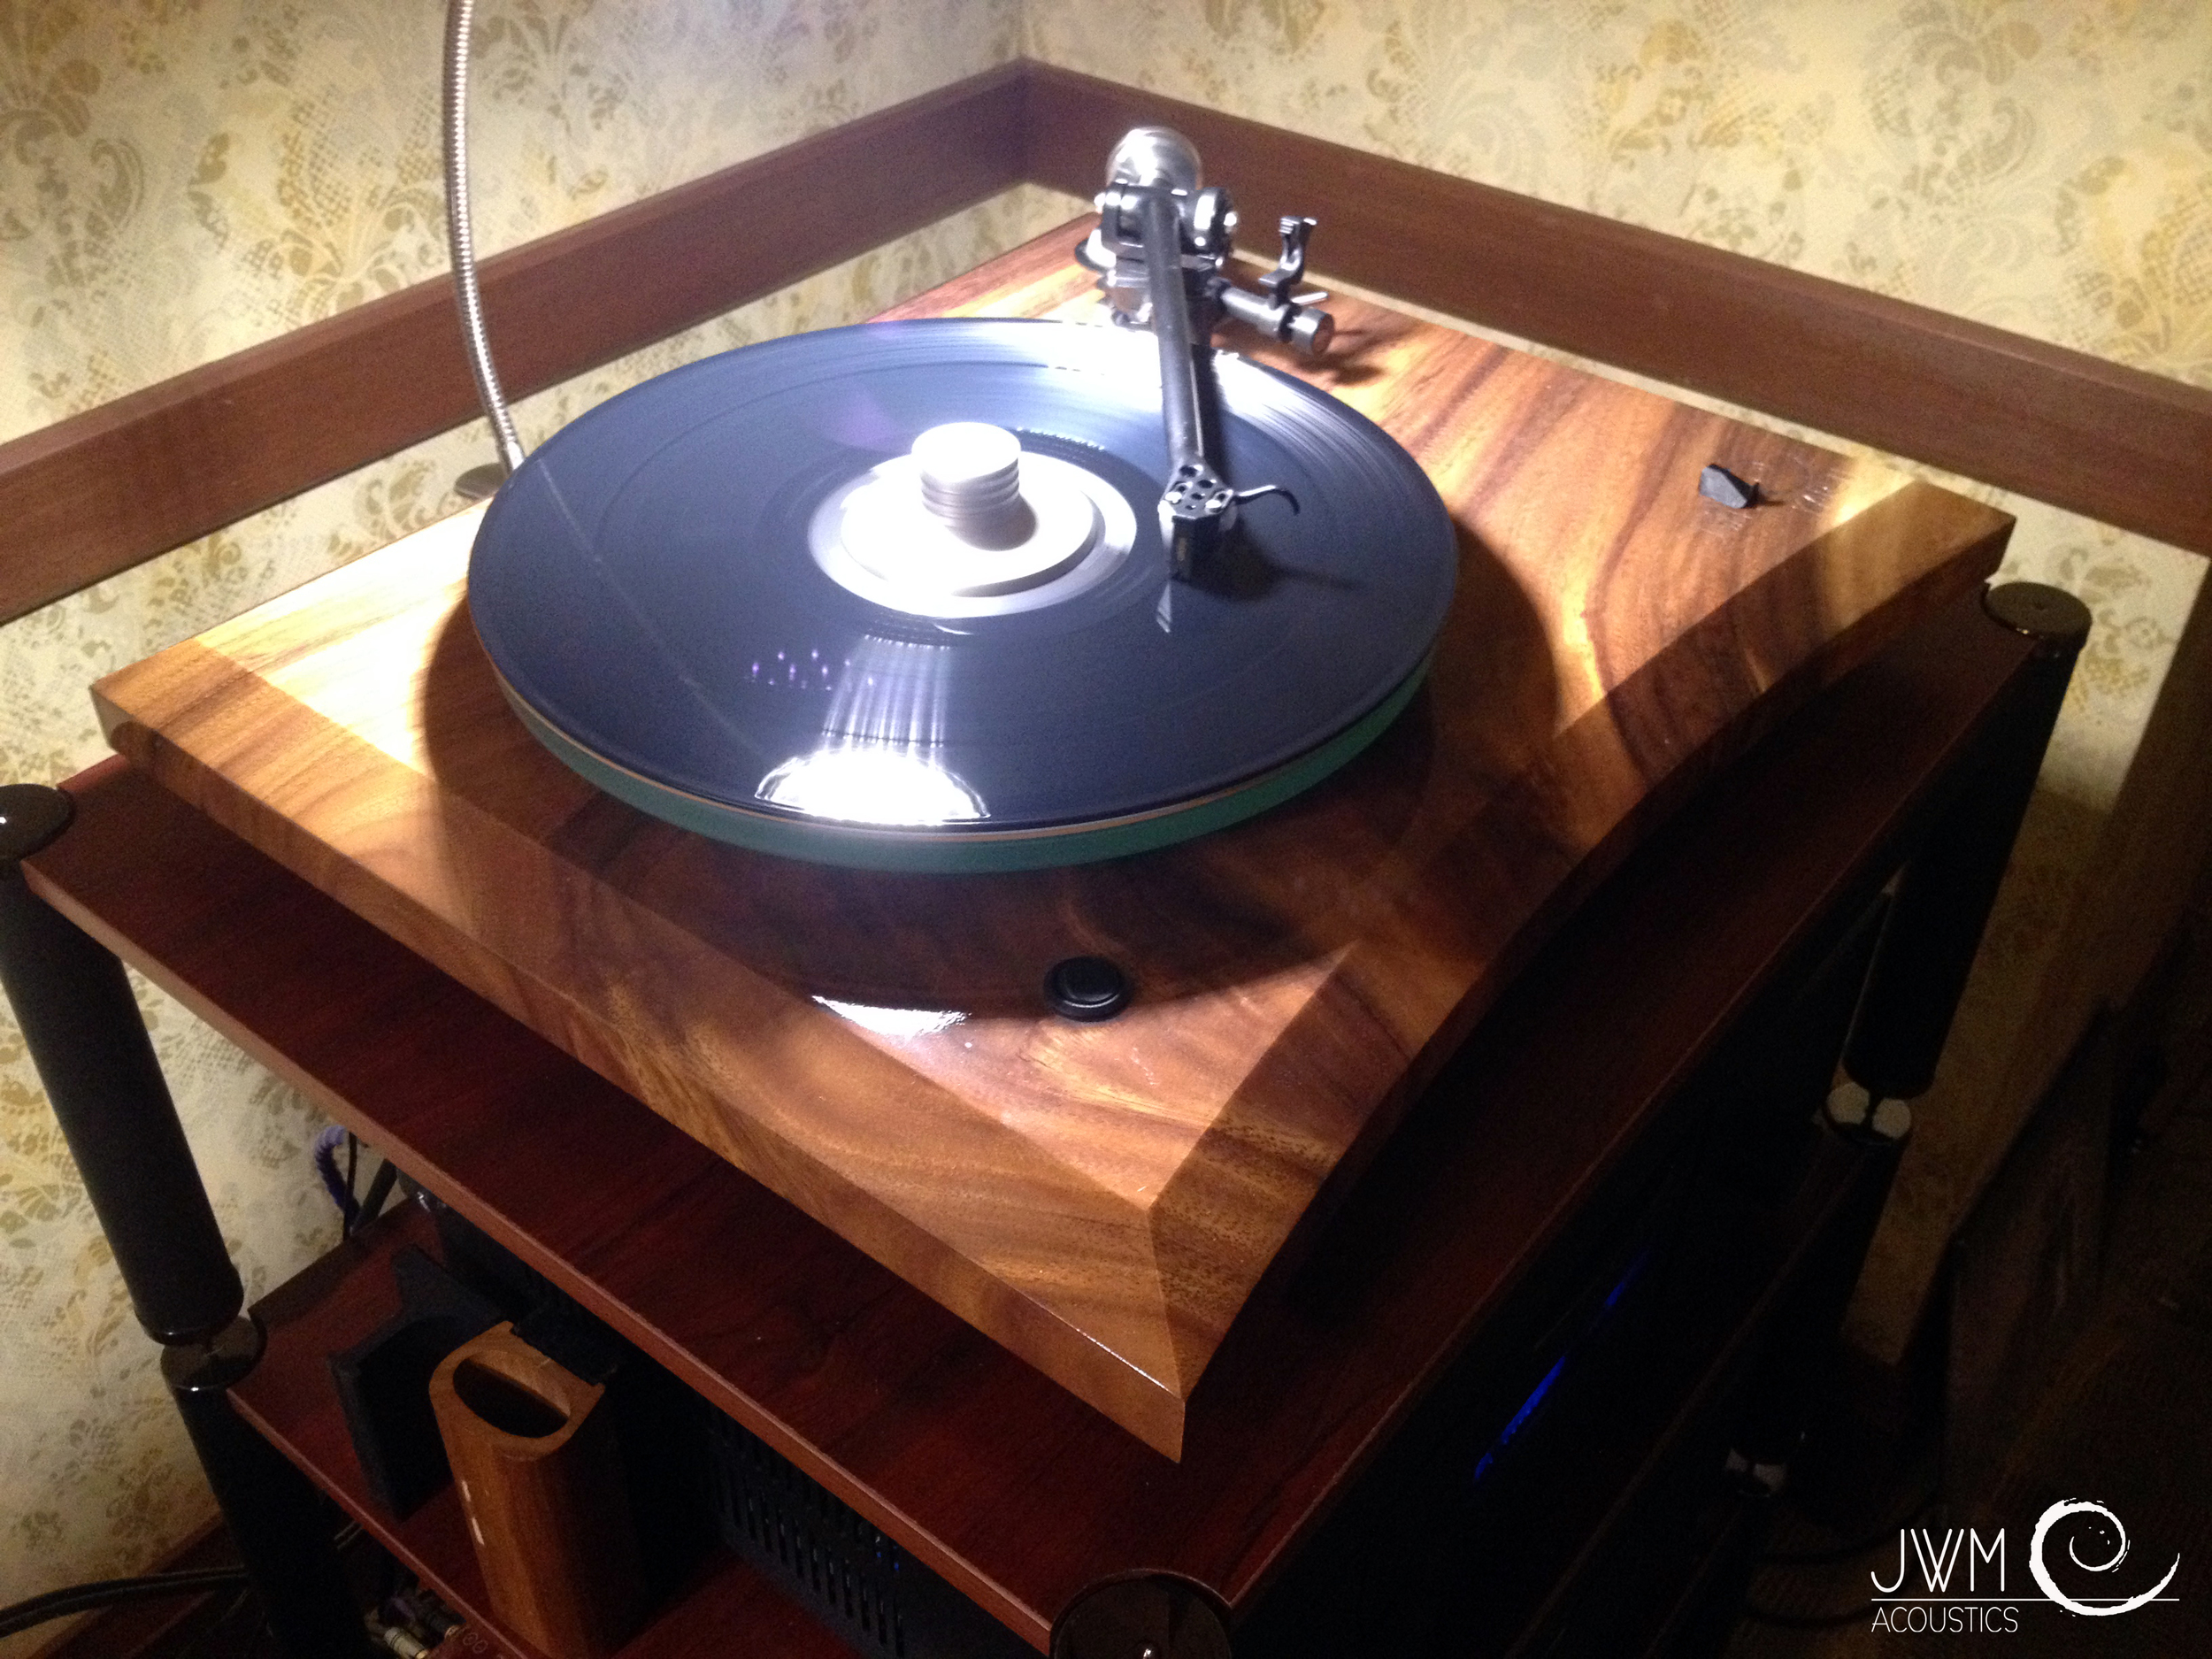 As before, We will be showing with a great system. We are proud to have names like Balanced Audio Technology, Nordost, OPPO and Ortofon in the room with us and we certainly plan on making a splash. If you care to join us, don’t hesitate to contact us, or simply show up and bring some tunes! We will have the ability to spin discs, files and of course vinyl so feel free to ask for a demo with the stuff you love to hear.
JWM Acoustics will be showing the following systems:
JANE JKM Floor stander and external crossover in Bubinga  ALYSON AML Large monitor in Monkeypod
NET-1 Mini monitor in Purple heart
KAREN 3 Turntable in Monkeypod
KAREN 6 Turntable and external power supply in Monkeypod
In the racks we will be using the following system: 
Balanced Audio Technology REX Preamplifier
Balanced Audio Technology VK-P10SE Phono Stage  Balanced Audio Technology VK-6550SE Power Amplifier
OPPO BD-105D Digital player
Nordost Qbase Power distribution
Nordost Qv2 and QK1 Line conditioning Units
All the audio cables and power cables will be provided by Nordost
  including examples of the Heimdall, and Lief lines.
We will also be letting the entire system go at a fabulously low show price! You are welcome to inquire in the room and pick up a price list of all the components present. Also, we will be giving a show discount on all products on our website until the end of June! Just enter the code THE SHOW at checkout for a full 20% off your entire shopping cart!
We truly hope to see you all in Newport and really wish to show you what has been happening to High End Audio out here in the islands!
Aloha!
Joshua W. Miles
Lone Star Audio Fest 2015! Mama said there would be days like this...
Before I even begin, let me thank Steven Solazzo for all his efforts with LSAF! Great work man! Additionally, I’m not sure who took all the images in this post but certainly much credit goes to Kelly Parham, wife and obviously cuter half of Wayne Parham and PI Speakers! What a pleasure it was meeting you folks! Mucho mas aloha as well to Dave and Gabrielle Thomson. You two are an inspiration and we hope to see you again soon. OK OK. There are more credits to give out including those earned by my family and friends, but you know who you are. A big hug to all of you! Onward!

Mama said there would be days like this…
 Then she told me those days would be followed by ones filled with amazing music, art, people and libation. That is exactly what Lone Star Audio Fest was. I can’t tell you enough how wonderful this little known show is. With a little word of mouth and a lot of commitment, this humble show will become something huge one day. Or not! Frankly, this show is one of those things that file neatly into the “Ain’t broke, don’t fix it” category.
This show was a first for us. With the prodding and encouragement of our friends, family and clients it was time to take our products on the road. What better place to do it than back home in the state where it all began for this little company? TEXAS! I had heard about LSAF on a few forums and web pages, but had never attended. When I saw that RAVEN AUDIO, a company based in Texas whose growth I had been tracking with keen interest for quite some time, was making an appearance at this little show I knew I had to look into it.
 I wrote letters to Dave Thomson, the owner or RAVEN AUDIO, Steven Solazo who for all intents and purposes, runs the show, and reached out to a few others who had attended in the past. As the show approached the LSAF social network began to grow and come alive. It started to become clear that LSAF was not just another audio show. This was more like a family of music lovers, gearheads and deep audiophiles, who have found a place to share their love and art. I say art, for more than half of this community of geniuses is DIYrs! Not your run of the mill garage type.
 We are talking the upper crust here folks. For anyone who thinks that the HIGH END needs to come with a gold plated logo and genuine Corinthian leather baffle, think again. Get in the car, plane or train and high tail it to this show next year. You will be floored and maybe a bit upset that those $40,000.00 leather speakers you bought last week don’t measure up! HEHE...
 I was a bit concerned at first, for the talk on the web and forums were inconsistent. One week the chatter was loud and colorful, the next it was gone. For a small company like ours, this is not very comforting. We have a long way to travel from our home base in Hawaii and 2,000lbs of speakers, turntables and heavy equipment don’t travel cheap. “Will anyone be there”? “Is the show still a go”? Only a few of the questions I kept posing to the groups and to the community at large. I never got a clear answer actually. But what the heck! Even if not a single soul was to show up, WE WOULD! For us, this show would have to become a dry run for the next few shows we have on our schedule. Test run if you will. This was a chance to weed out what we would need for the next bigger and more published audio shows. Time to polish up! As for our concerns of attendance, that most definitely was not an issue…
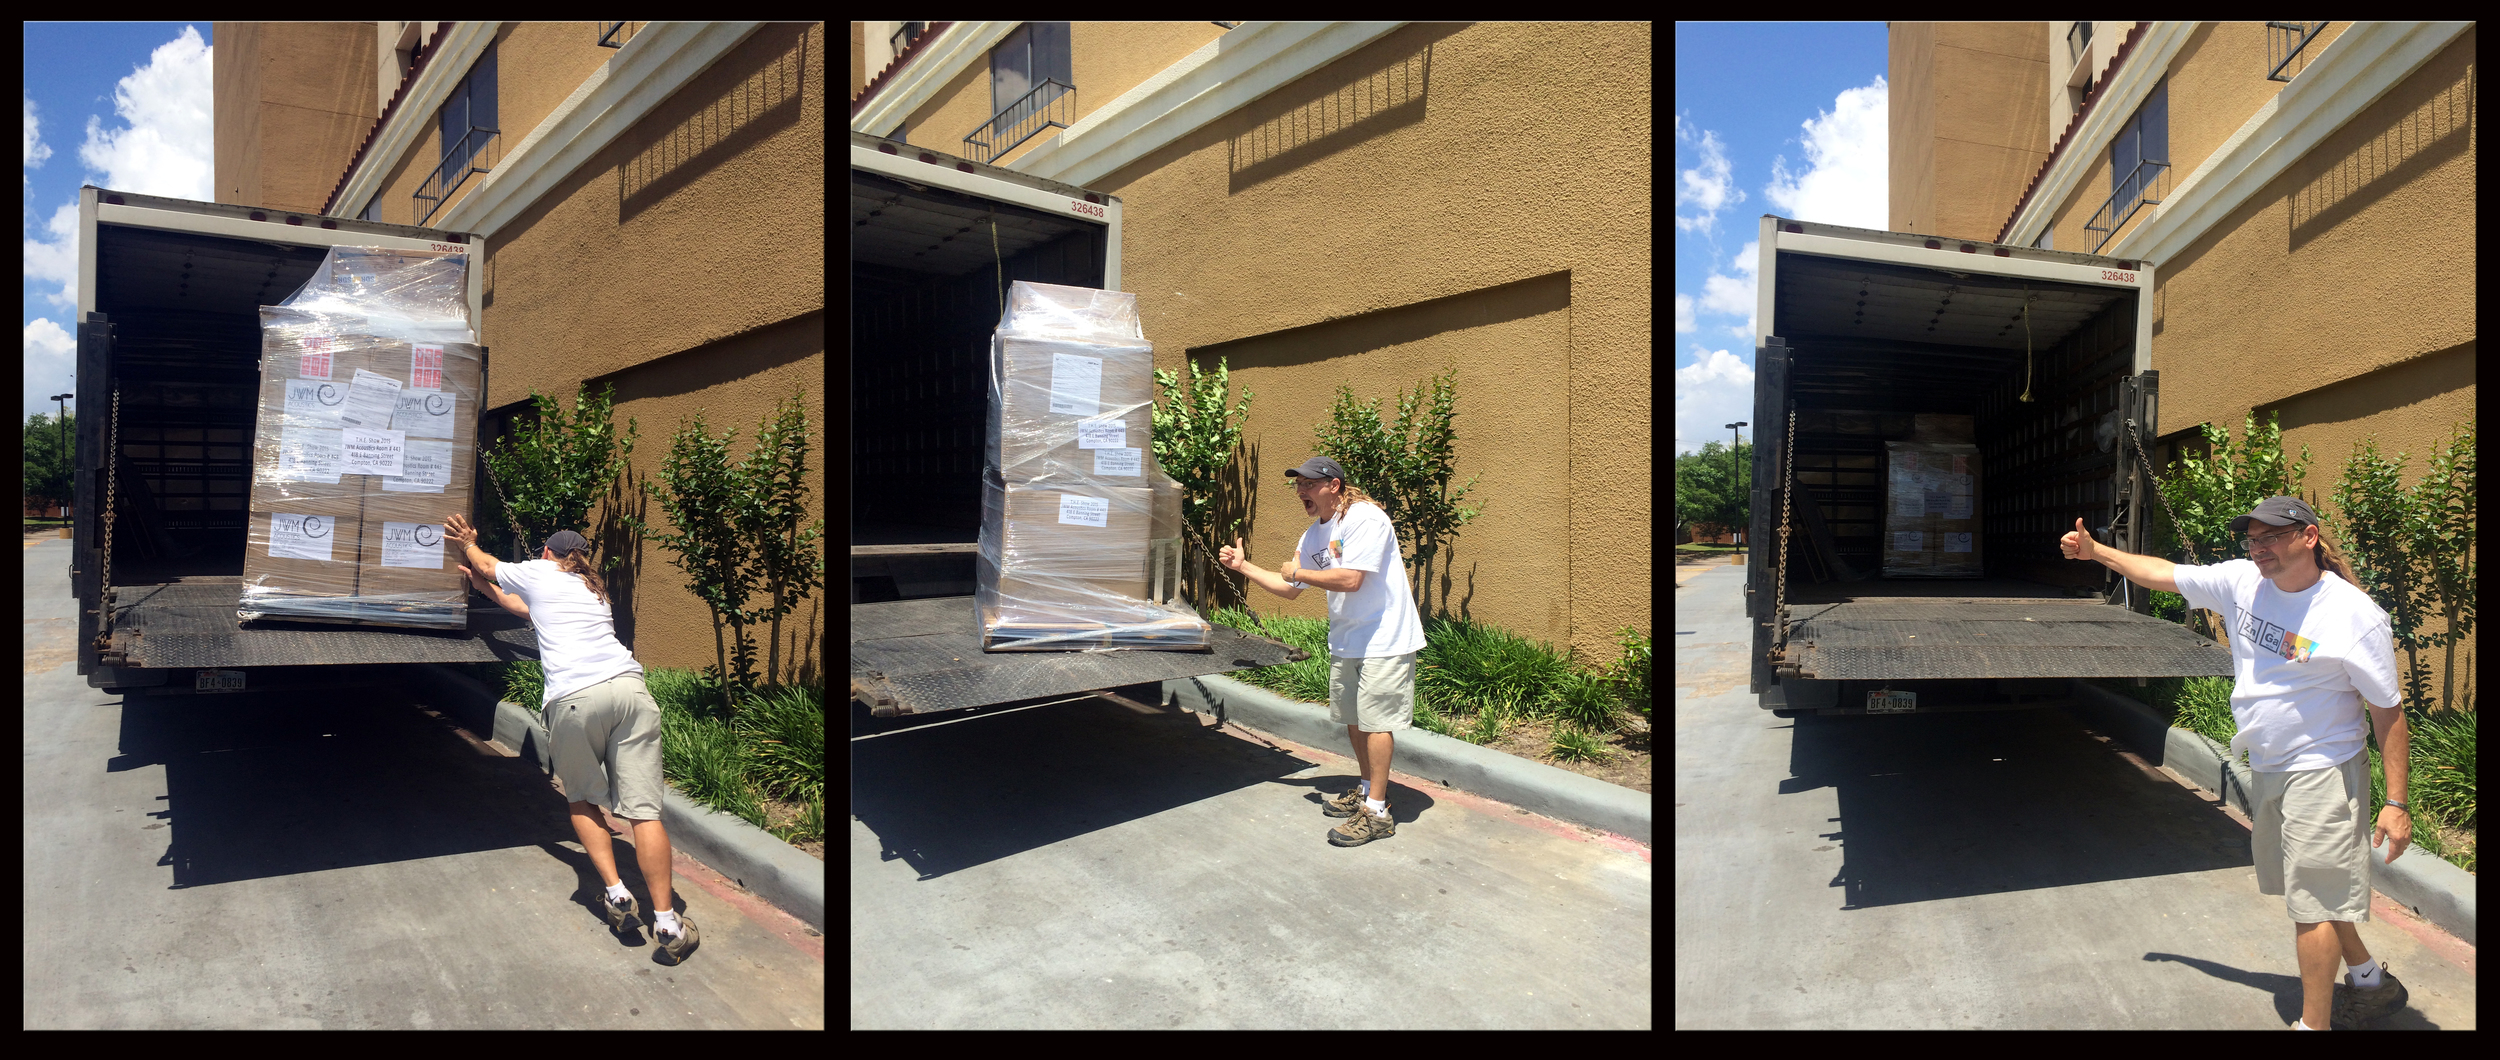
Setup begins: We were a bit concerned at first, for one of our pallets looked like it had been pushed out of the plane from 30,000 feet into the parking lot of the hotel. Perhaps to save on fuel? Well, it turns out the damage was only minor and was not going to be an issue sonically. Lacquer can be re buffed. For our first show, I think we did OK on time when it comes to unpacking and setup. For the next few shows, we will clearly need to tidy up this part.
We were glad to have booked the room 2 days before the opening of the show because we ran into a few issues that nearly had us a “NO SHOW”. While tuning the room, Our Phono stage suddenly lost a channel. NOOOO!!!! Early birds were already entering the room for listening sessions and our finest KAREN 6 Turntable was dead in the water. Luckily, we had a second entry line KAREN 3 already setup with a small MM phono stage to take up the slack for the day. My hat’s off to Balanced Audio Technology. I got Geoff Poor on the horn. He immediately got me on the line with the gentleman who built the amazing VK-P10SE Phono stage, Victor Khomenko. He walked me thru a series of diagnostics to determine the cause of the lost channel. The conclusion was a power supply issue that could not be fixed on the spot. OUCH! BUT WAIT! The next morning, waiting at the front desk was another Phono stage sent overnight! Now you tell me, have you ever had customer service like this? Have you been put on the phone with the designer of any piece of equipment that is down for the count? Have you had a replacement waiting for you before you could finish your breakfast bagel at the hotel restaurant? BUT WAIT! THAT’S NOT ALL! The hotel had a surge that killed the left channel in the brand new VK-6550SE amp we are showing with as well! WHAT?!?! One more call to Victor and that problem was solved in about 5 minutes as well! “HOLY BLOWN FUSES BAT MAN”! Again, I can’t tell you what it means to a little company like ours to have support from a big company like Balanced Audio Technology. Thank you BAT!!!
Remember the part about “Mama said there would be days like this”? Boy howdy, was that one. Thank goodness Mama was right about the following as well… those promised days filled with amazing music, art, people and libation! That is exactly what LSAF was. My wife Jeanette and I met some of the coolest folks over this long weekend. We would name them all here, but my long windedness would become tiresome quickly if hasn’t already. Let me just put out a blanket ALL THE FOLKS AT THIS SHOW ARE AWSOME!! Each day we shared breakfast with the group, tossed around ideas and talked tunes. Usually, most of us would head to our systems after this in order to get ready for the day. In some cases we were able to get out and see some of the other systems before the spectators would arrive. Not for long though! For a show that is supposed to start at 1:00PM each day… Ummmm… well I think it was more like 9:00AM! In the JWM Acoustics room we had a steady stream of folks from about then till 11:00PM each day! By 11:00AM (which happens to be when the hotel bar opens) that stream of people was also carrying colorful bottles as well. Like I said before, this is a fun show folks!
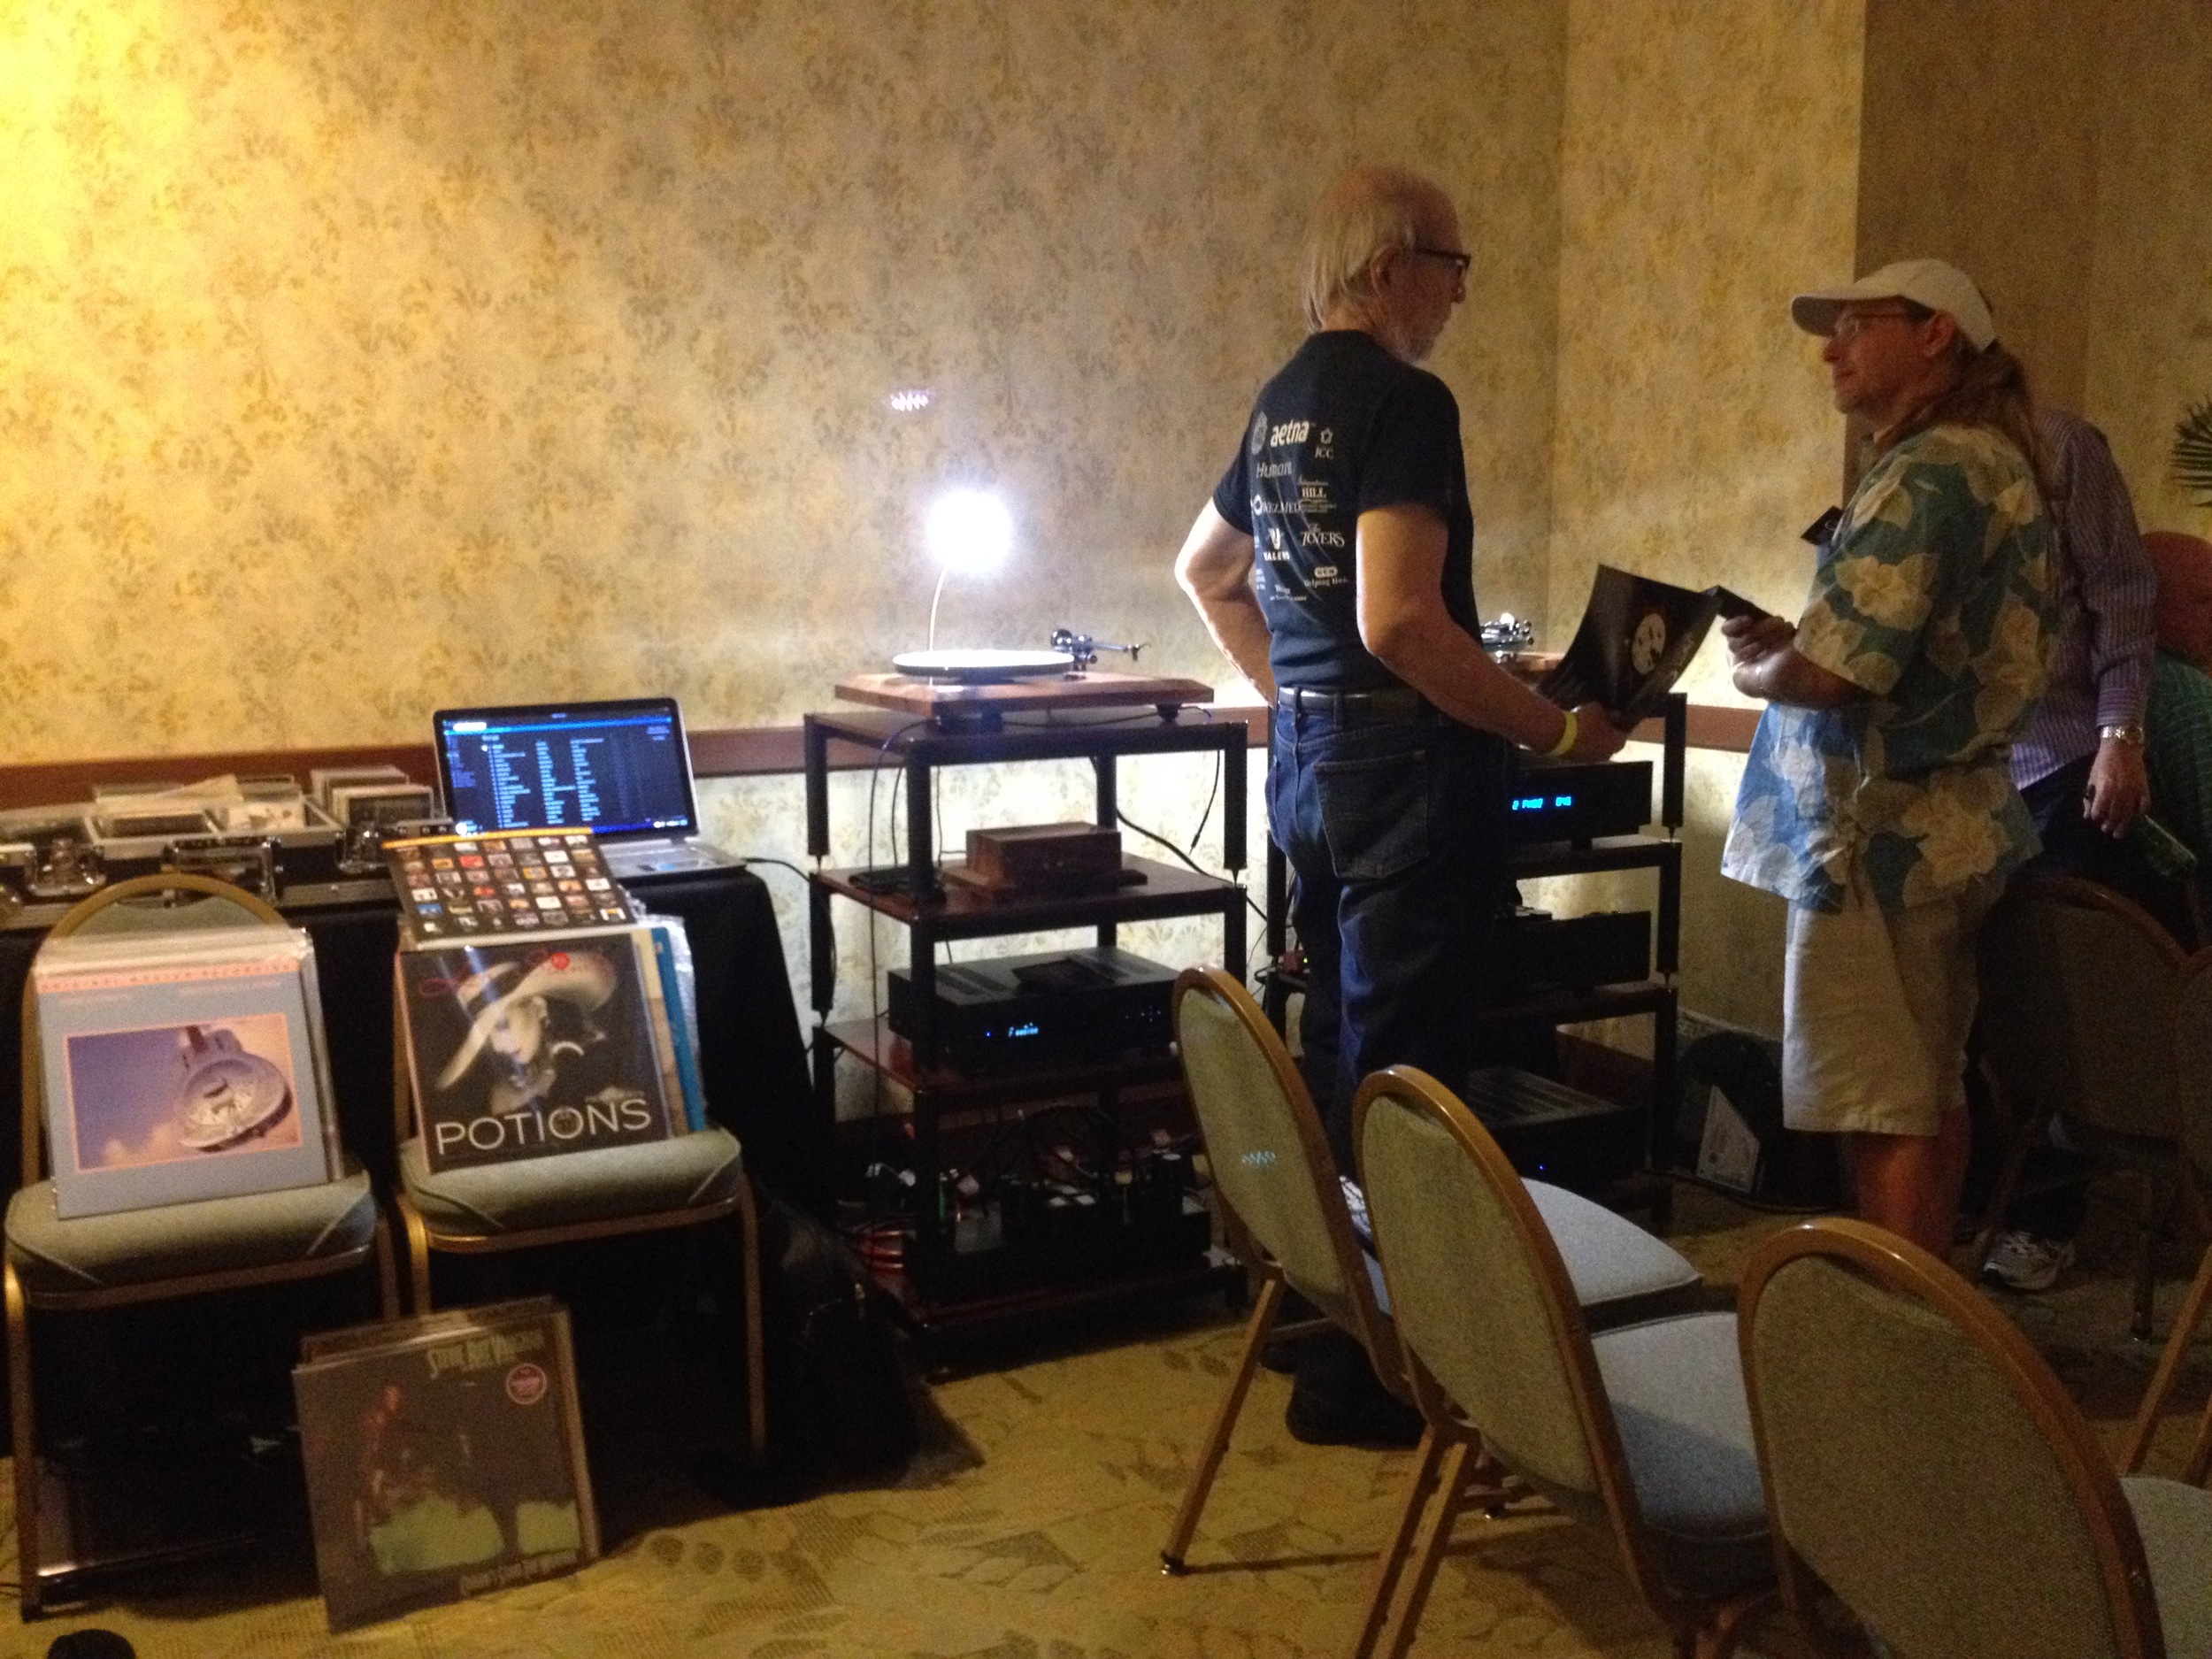 We had great music in tow, but of course many brought their own to spin up. A few folks were even kind enough to bring JWM Acoustics into the 21st century and load up JRiver on my laptop and stuff it full of great music. Who knew digital could bring a smile to this old analog geeks face? Well it did with the help of the OPPO BD105D we had in the rack. It turns out the internal DAC is FAR better than I had known! The DSD files streaming from the laptop were divine to say the least. (I better not say too much. I’m trying to sell turntables!) Now it looks like I’m going to need a lesson in organizing all this music into playlists for the next show. One more reason to love analog, alphabetical order is about as deep as it goes! Hehehe.
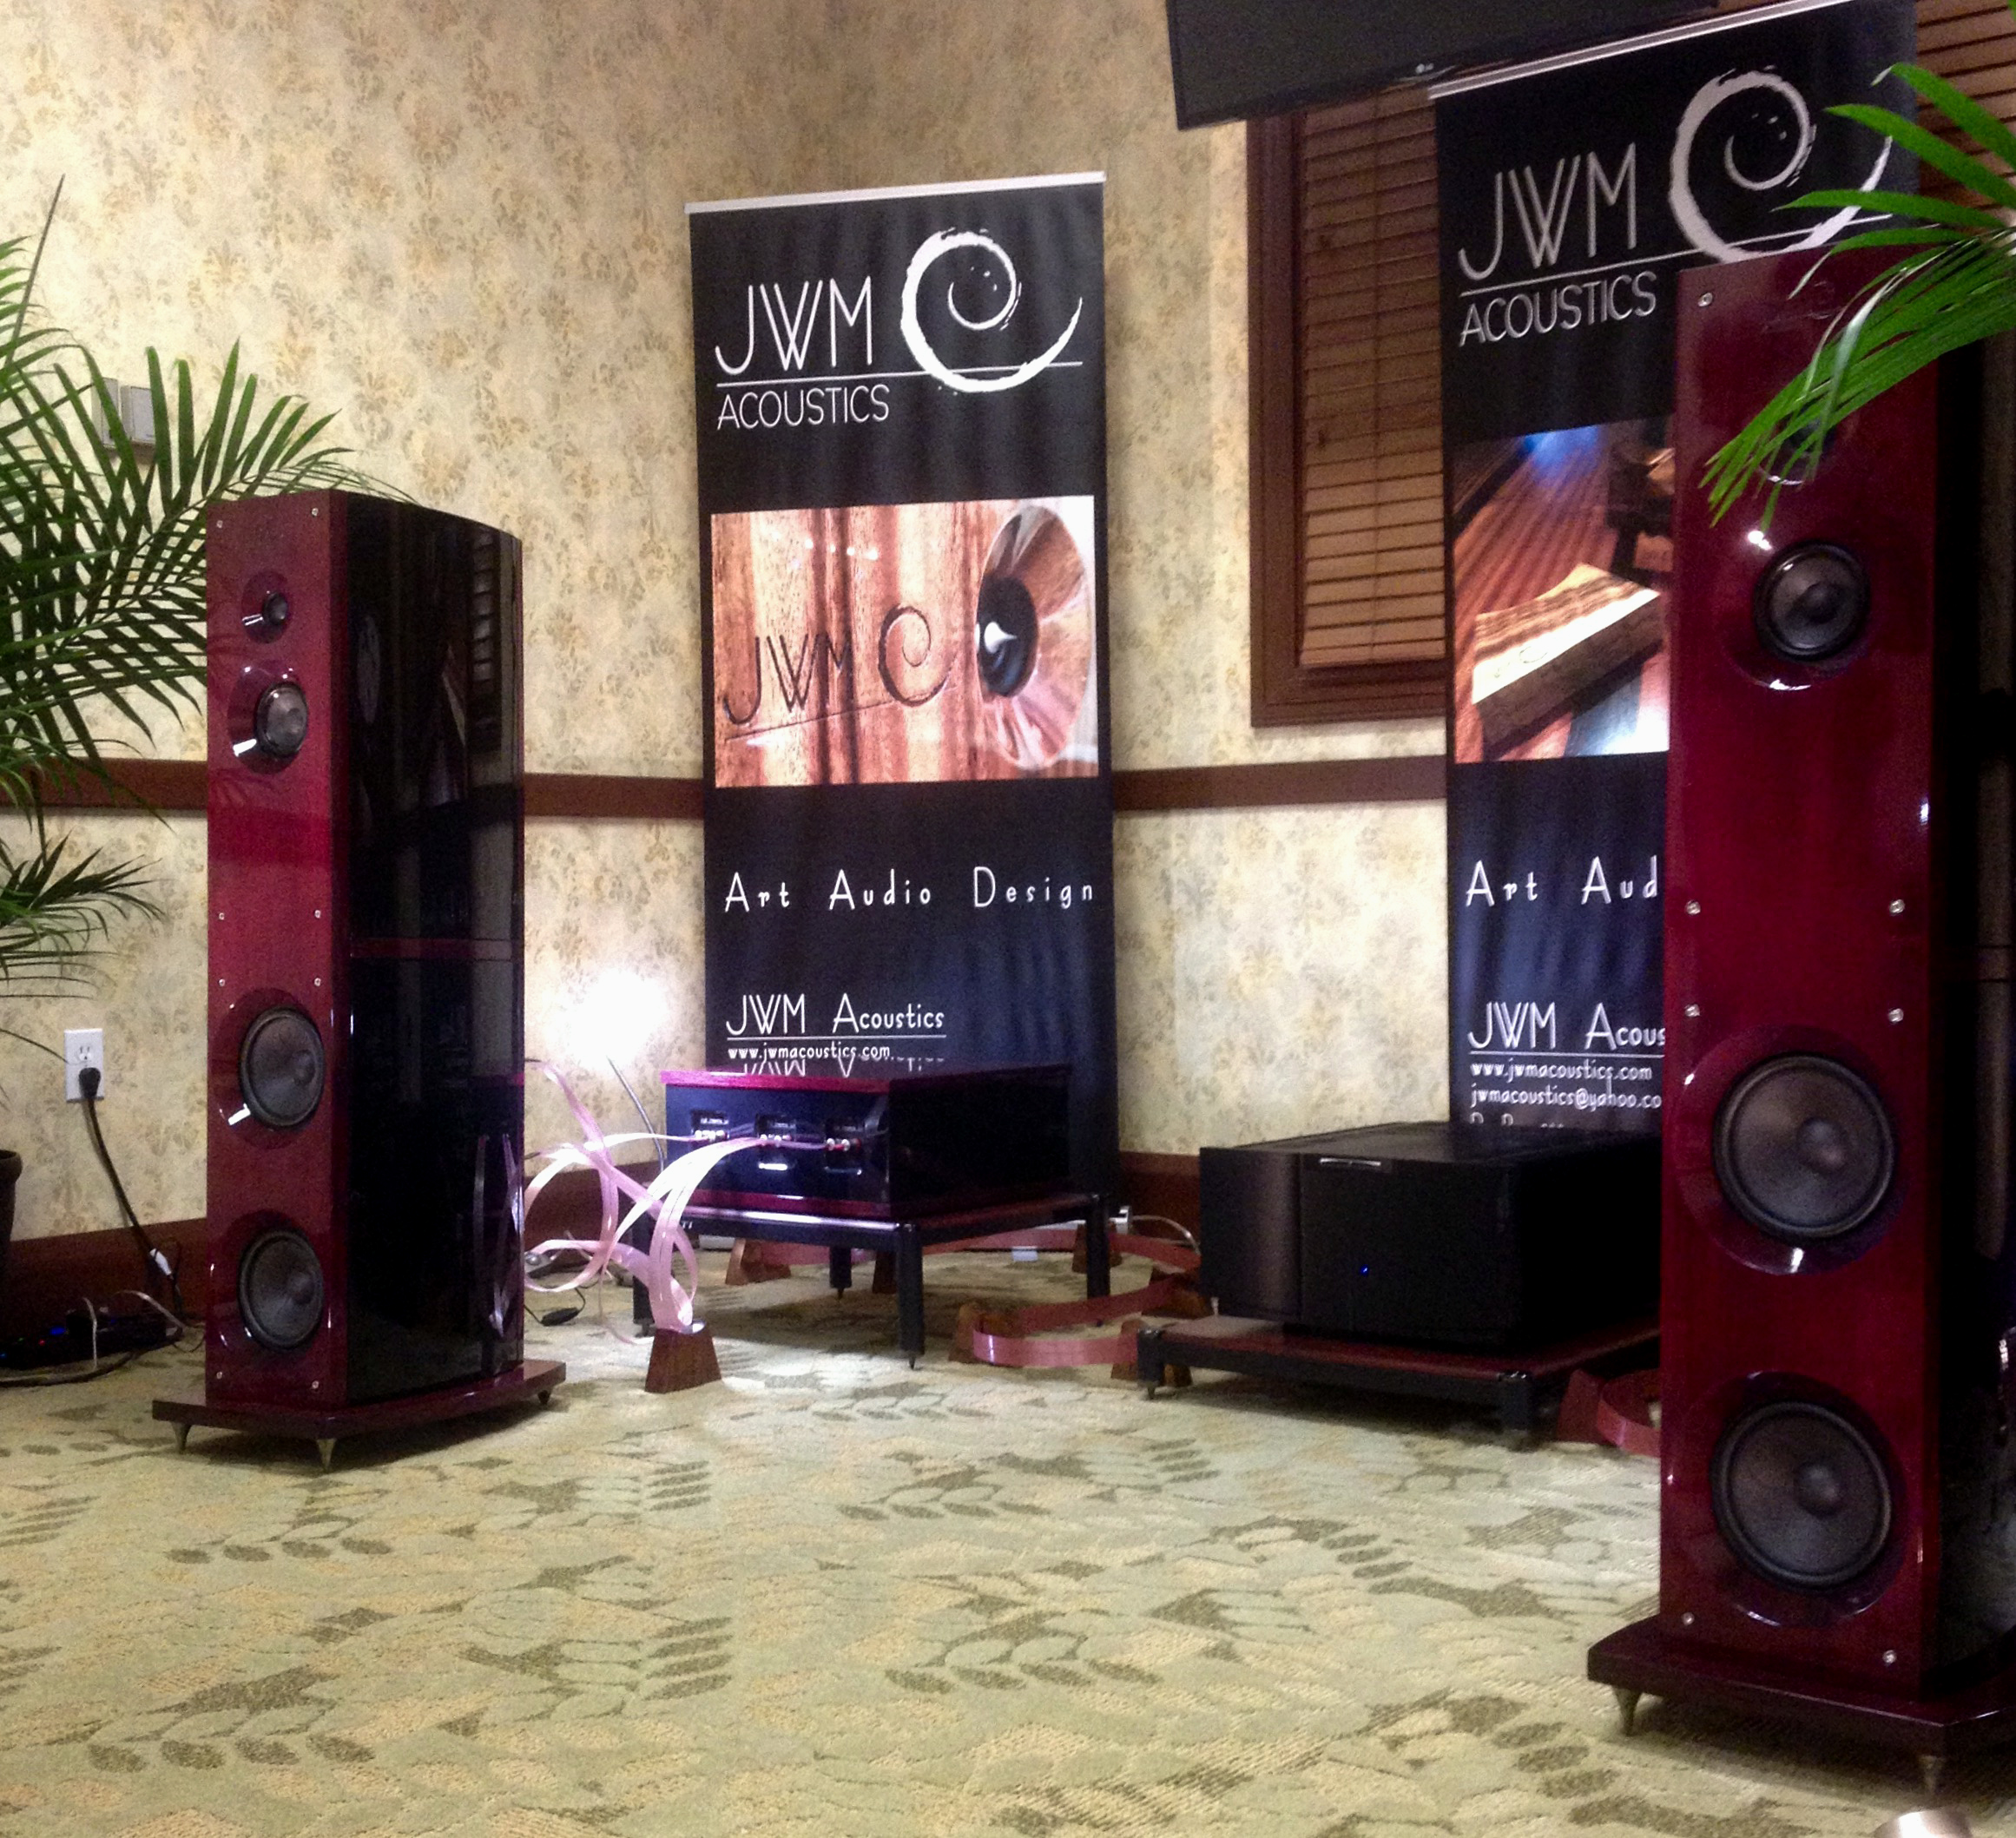 The system worked perfect. The REX preamp fed the mighty VK-655SE power amp with gusto. Having one of the quietest all tube preamps in the world powering a true super amp is nothing short of stunning. Put one of the best Tube phono stages in front of that and now we have something to marvel at. Now, pair the famous PW Windfeld from Ortofon on our new KAREN 6 turntable and I simply can’t explain what happens in words. Cables you ask? A full set of Nordost all the way around, including the Heimdall II speaker cables, Blue Heaven and Red Dawn interconnects and power cables. To clean it all up we added a few QV and QK line enhancing units to our power distribution systems.
The results were fantastic. Yes, we already knew what this system is capable of because many of the components are integral to our reference system at home. What fun we had with that conference room and all three of our newest speaker systems to play with! And boy did we play! For the first day, we tried as hard as we could to break in a brand new set of the JANE JKM speakers that had only been put together a week prior to their debut at LSAF. We moved them all around the room trying to get the most out of them. In one spot the imaging literally had them disappear, but bass response was lagging. Move them 5 inches and suddenly the low end enveloped the room, but staging began to lag. This is a common dance we do in almost any environment the speaker will live in permanently. The toughest part of this room was the drop ceiling and lossy walls. The whole room wanted to become an echo-y rumble chamber to say the least. In the end, we decided on a compromise and the entire system locked into place. Ideal? No. Pretty freak’n good for that room? Absolutely! Even on a bad day setup in a cardboard shoe box, this system would still be better than 90% of the systems I have ever heard. The synergy of these components is that good.
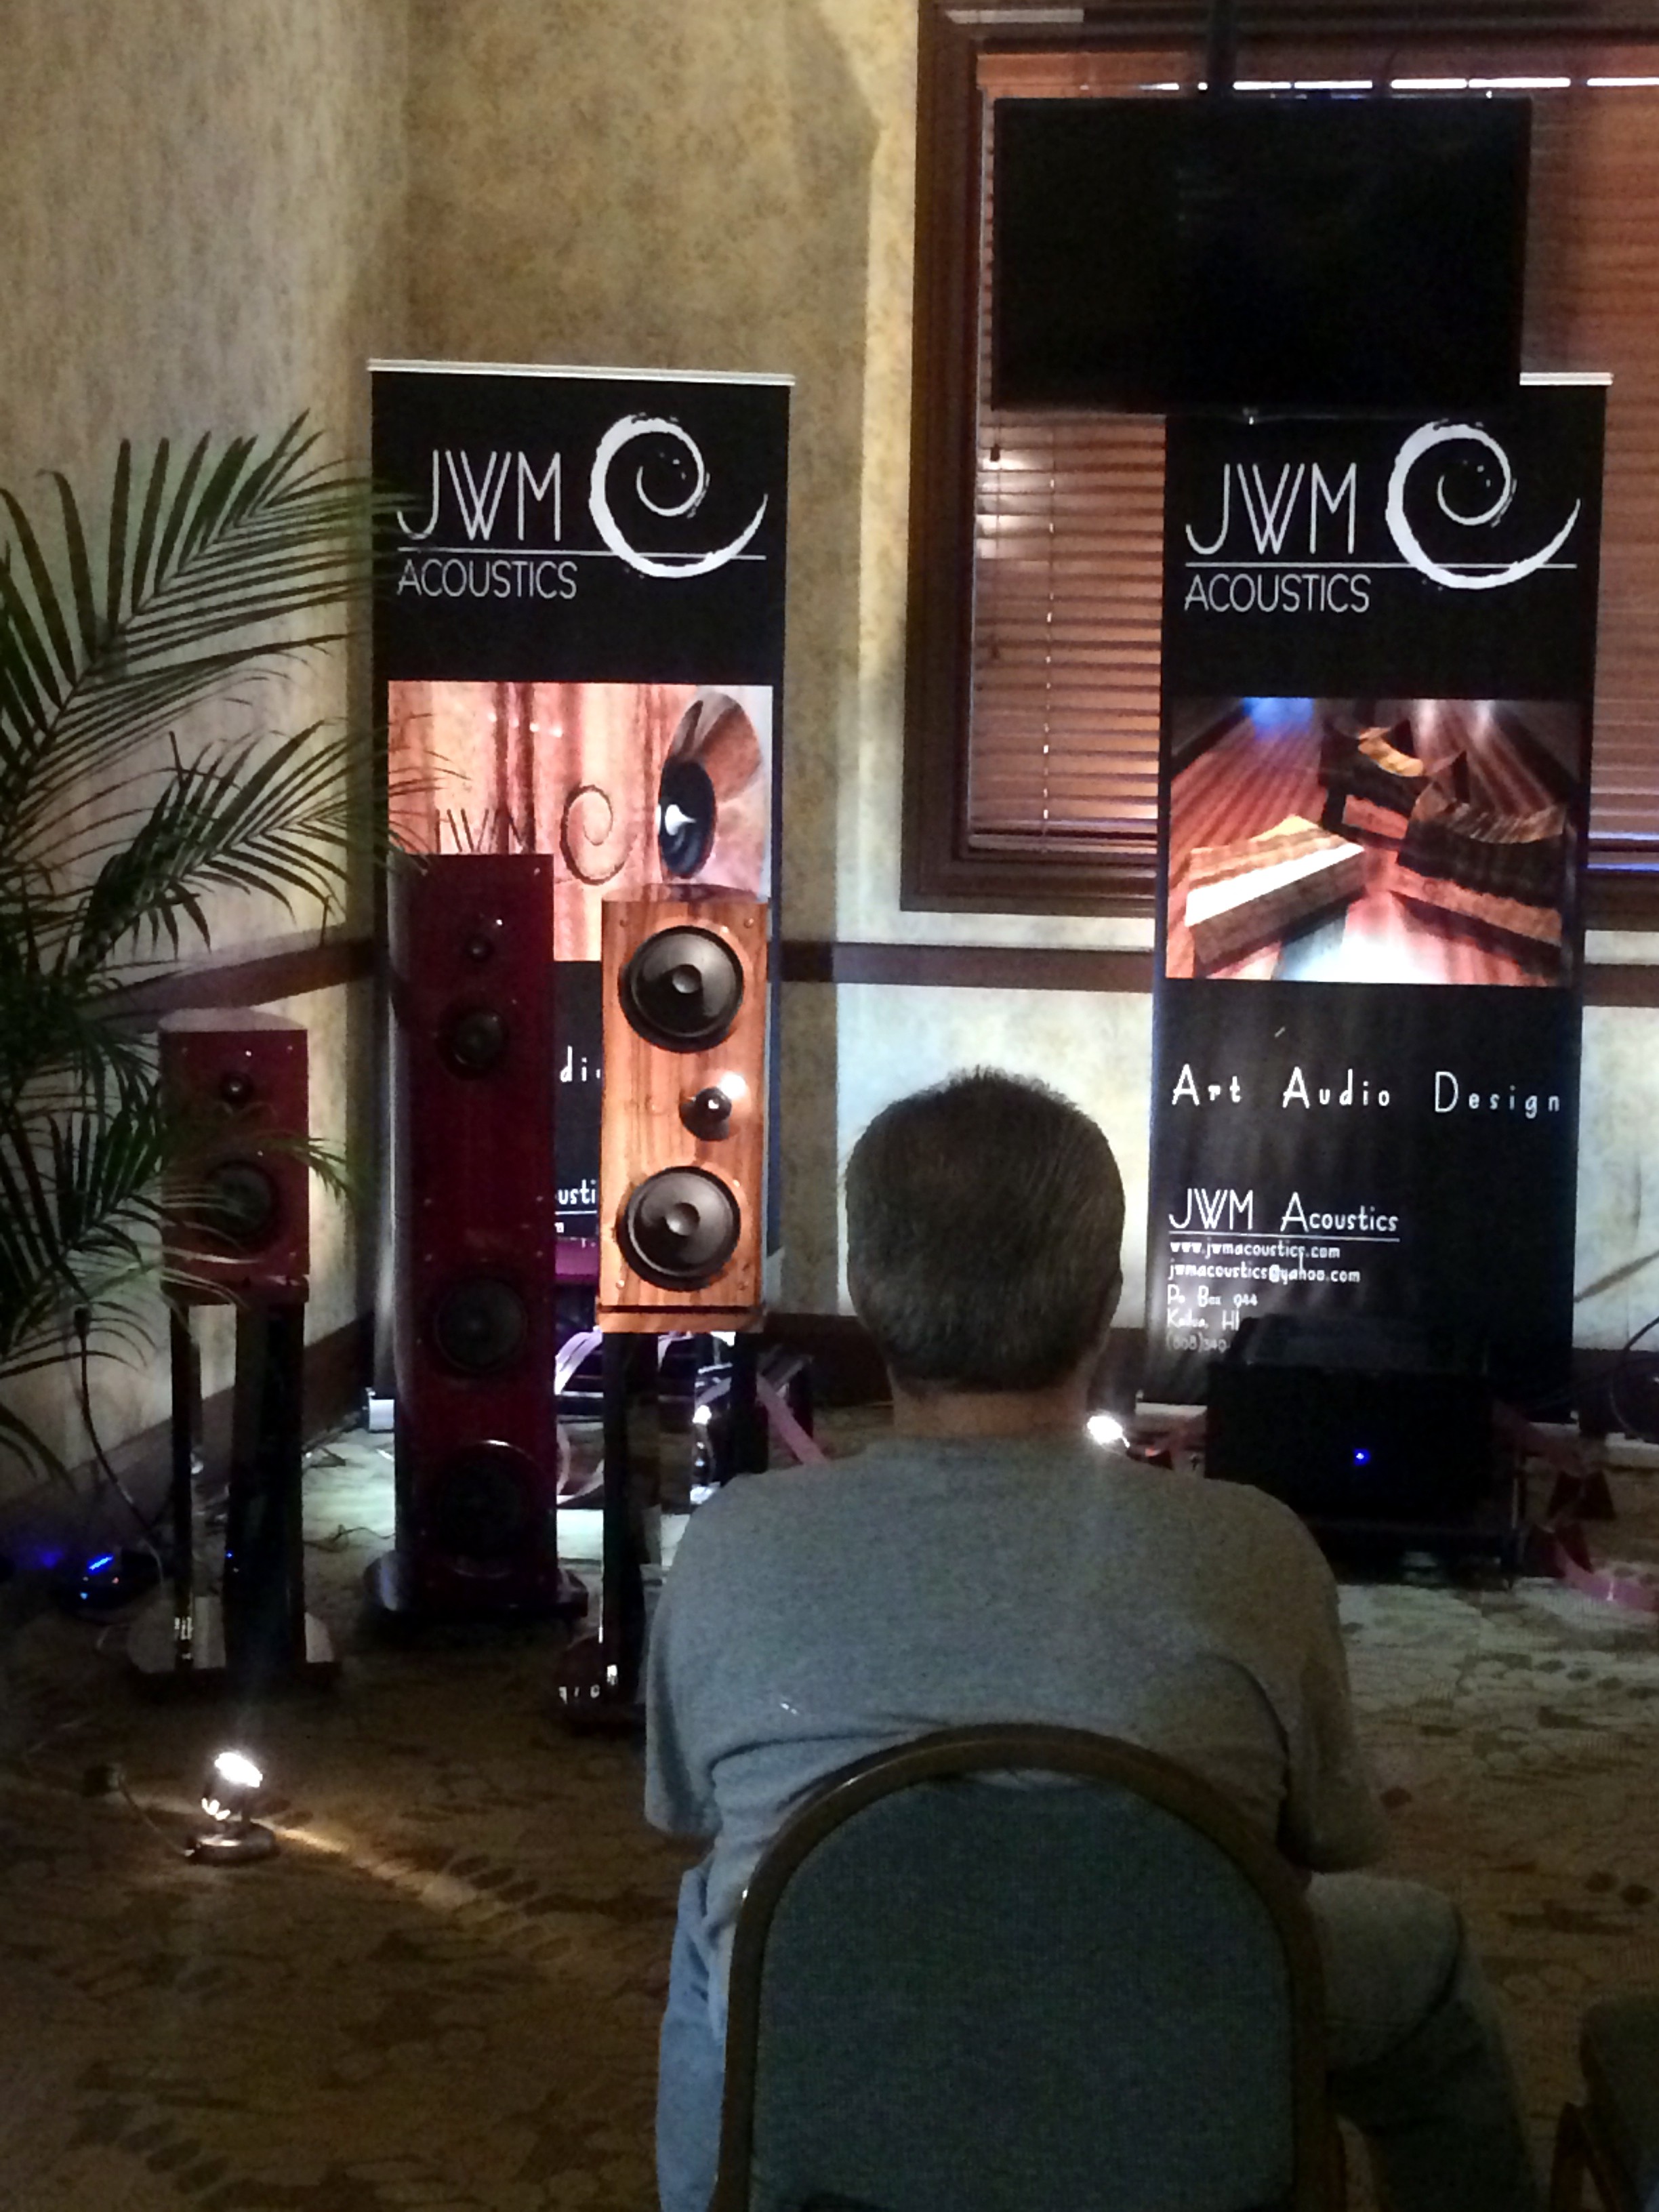 On day two and three we began playing with the other speakers in the lineup. First the ALYSON AML, then the NET-1. It took less than 3 seconds of Fever on Lyn Stanley’s Lost in Romance LP before the entire audience looked back at me and said “NO WAY”! The room locked in with grace and a sense of ease I had not heard even in our studios. We didn’t even attempt to voice the room or go through the usual speaker placement steps. It just worked. Obviously this speaker was a FAR better match for the room than the giant JANE floor stander. Why? Great question! For anyone interested in dropping this kind of coin on a system of their own be advised. Bigger is not always better in your particular room. In this case, you would have saved yourself $10,000.00 between the price of the two speakers and would easily have doubled your capabilities. I have a renewed pride in our smaller speaker offerings, but as always, we recommend hearing our entire line before making the determination we did on this day, in that room.
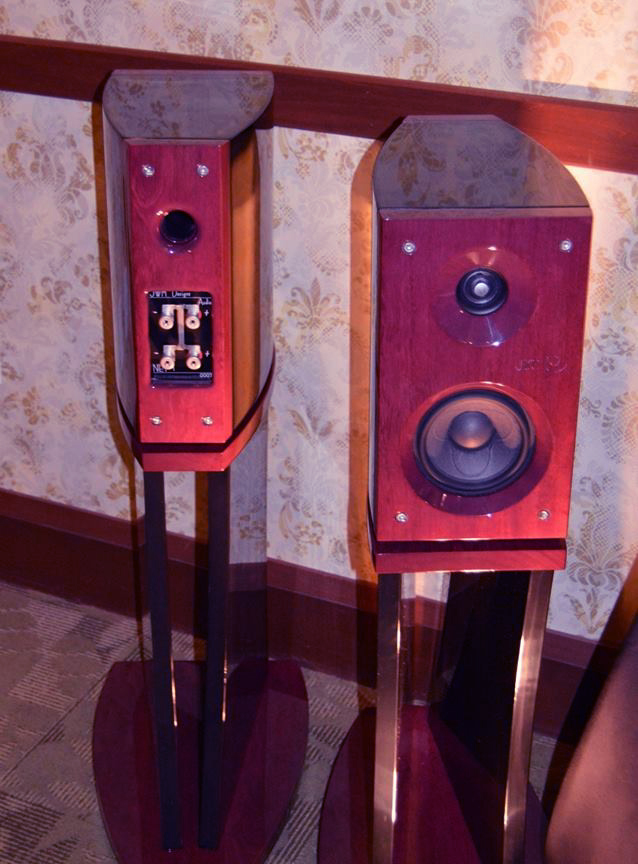 The fun didn’t stop there! How small can we go was the next question? Well, let’s see! The NET-1s were dropped into the same footprint of the ALYSONs and away we went. REALLY?!?!? A two way mini monitor filling a 4,620 cubic foot room full of people like a full range floor stander is simply not heard of. (Pun intended) The NET-1 did exactly that. I built the damn things and still had no idea of what they could do in a room like this. I heard of such sound coming from our designs, but never paid much attention to what was said. This was not the design goal after all. This was supposed to be a mini monitor turned into a near full range speaker for small environments. BUT I’LL TAKE IT! The little NET performed like a rock star without a hiccup. I am so proud of this little giant killer and will yell it from the roof tops! “Viva la NET”! “Viva la NET”! “Viva la NET”!
Raven Audio:
We had a chance to meet and get to know the owner of Raven Audio, Dave Thomson. I had only seen his equipment in reviews and on line, but as in art and fine wine, this never does justice to the actual piece in person. Trust me when I say you owe yourself the pleasure of giving these pieces a listen. Although our time with the equipment was limited, what I heard in the Raven room was fabulous. What I heard from Raven paired with our speakers was fabulously promising! On the last day before packing up the show, Dave was kind enough to bring down his killer new BlackHawk integrated amp to our room and plug it into our ALYSON ALM and NET-1 Speaker systems. The pairing seemed the most logical for the size, price point and output capabilities of the pairing. With limited time, in less than ideal conditions, every eyebrow in the room was raised and the tiny NET-1 opened up like a Oklahoma double wide in the middle of storm season! No tight lipped brick and mortar mini monitor sound with this pairing folks. PLEASE go hear this amp if you get a chance. The NET-1 is not the most efficient speaker in our lineup, nor does it have the depth capabilities of our larger offerings, but for some reason, in that room, on that day, with that amp, like we never heard, they blossomed.
Next, Dave was kind enough to allow us to bring a set of the ALYSON AML up to the Douglas Connections room to hear them paired up with the Spirit MK2 300B tube mono block amps and Silhouette Reference preamp. Folks, The specks on the ALYSON mean nothing when combined with this system. The true monitor characteristics were apparent from the first track that was spun up. Focus and detail were my first impressions, and then I realized that the low end of the drivers was being taken down to a level by that 300B tube I had not heard before. It is true that the 300 may not have the grip of other tubes I have heard on our speakers, nor the power, but the rumors of that tube bringing chills to your spine are all true. I WILL be looking into purchasing this amp in the future. It is truly a reference design that needs further investigation. Don’t believe me? Look into what Art Dudley said about it in the May issue of Stereophile magazine. Still need more proof of this design. Get off your butt and go hear it. It is impressive.
We truly hope to have a chance to hear some of RAVENs other offerings in the future. Not only for the obvious stellar sonic quality, but also for the fit and finish of the product. Perhaps I’m picky due to my industrial design background. This is truly well put together equipment kids. I have a few other reasons for wanting to explore RAVEN as well. This is a true American product built in Texas with love. If you hadn’t noticed, the system we are showing with for the next few events is all American as well. As a proud MADE IN AMERICA company, this means a lot to us. We plan to keep it that way. Lastly, much like JWM Acoustics, it would seem that RAVEN is a family affair. We were so happy to meet Dave’s wife Gabrielle, Mrs. RAVEN herself. Talk about lighting up a room! If you guys are reading this, it was a great pleasure meeting the both of you and we will keep the porch light on for ya if you ever decide to come out to Da islands…
 Enough already! Here are some pics we collected from here and there. Enjoy! We will see you next year!!!
Aloooooha!!!
OK FOLKS! That's enough for now. Again, big thanks to all responsible for this awesome weekend. Hope to see ya'll next year, ya hear!
AloooooooHaaaaaaaa!!!
JWM
Taking the show on the road!
 Aloha!
Time to take the show on the road!
Where we headed?!
After 15 years in HAWAII, in the month of May, JWM Acoustics is coming home to TEXAS! JWM will be showing the latest creations at the Lone Star Audio Fest in Dallas, Texas. The show runs May 1-3 at Embassy Suites Dallas - Park Central, 13131 North Central Expressway, Dallas, Texas, 75243
JWM Acoustics will be showing their newest equipment in the Carrollton Room on the ground floor off the main lobby of the hotel. JWM plans to bring all the music that can fit into a suitcase, but feel free to bring your favorite vinyl, CDs, SACDs or files to hear on the system. JWM’s goal is to introduce as many people as possible to what this growing audio company has been doing out in the Pacific Ocean.
 For the Lone Star Audio Fest, JWM has chosen to bring 3 sets of speakers. The NET-1 mini monitor, the ALYSON AML large monitor and the JANE JKM floor standing flagship. Also included in the collection will be the KAREN 6 turntable and several examples of HI-FI accessories including Cable Cradles in various wood species and sizes.
 We are proud to say we will be showing with some great American companies as well. The main system will be largely comprised of Balanced Audio Technology, including the REX Preamplifier, VK-P10SE Phono Stage and the newest amplifier in the line, the mighty VK-655SE. Sources will include the OPPO BD-105D Multi reader and files supplied from several storage mediums. Ortofon cartridges will be in use as well! We will have examples of MM and MCs on hand including the 2M BLACK and Windfeld. Cables and Power supplies are being provided by NORDOST and we will have numerous examples on hand to sample, including the Leaf, Frey and Norse lines.
 In short, this will be one heck of a system that is guaranteed to raise some eyebrows and the hairs on your neck. The goal was to create a system that was as neutral as possible, with the ability to provide the extreme dynamic capabilities inherent to JWM Acoustics designs. Whether you are a fan of Opera, Rock or Jazz, this system provides a black background from which the performance can project in stunning transient fashion, yet whisper the most subtle detail.
As some of you know, JWM Acoustics is a custom  audio company catering to the individual needs of the client. Each product is handmade and as unique as the person who chooses it. JWM is pleased to create one of a kind pieces that will enhance the life of each person who experiences it. JWM products are not only built as sound reproduction tools, but as instruments that will last for generations.
 Joshua Weston Miles has a background in visual arts, music, industrial design and audio engineering. Combining them has been a lifelong passion. Miles has succeeded with the products being shown at the Lone Star Audio Fest in May, representing state of the art sound reproduction and timeless design. Each product is designed to be equally at home in the recording studio, home theater or audiophile listening room. Nearly unlimited combinations of custom woods and finishes enable him to design a system that will perfectly fit within your space.
JWM Acoustics is located in beautiful Hawaii on the Island of Oahu.  Currently, there are two locations where these instruments are created. The woodworking and finish facility is located in the heart of Honolulu. The electronics, testing and listening studios are located in the town of Kaneohe on the East side of the island. Visitors are always welcome if you would like to see the works in progress. Accommodations for private viewings and listening sessions are available in the Kaneohe location by appointment.
We hope to see you all there.
Aloha, Mahalo and Thank you.
JWM Acoustics jwmacoustics.com jwmacoustics@yahoo.com (808)349-6661 PO BOX 944 Kailua, HI. 96734
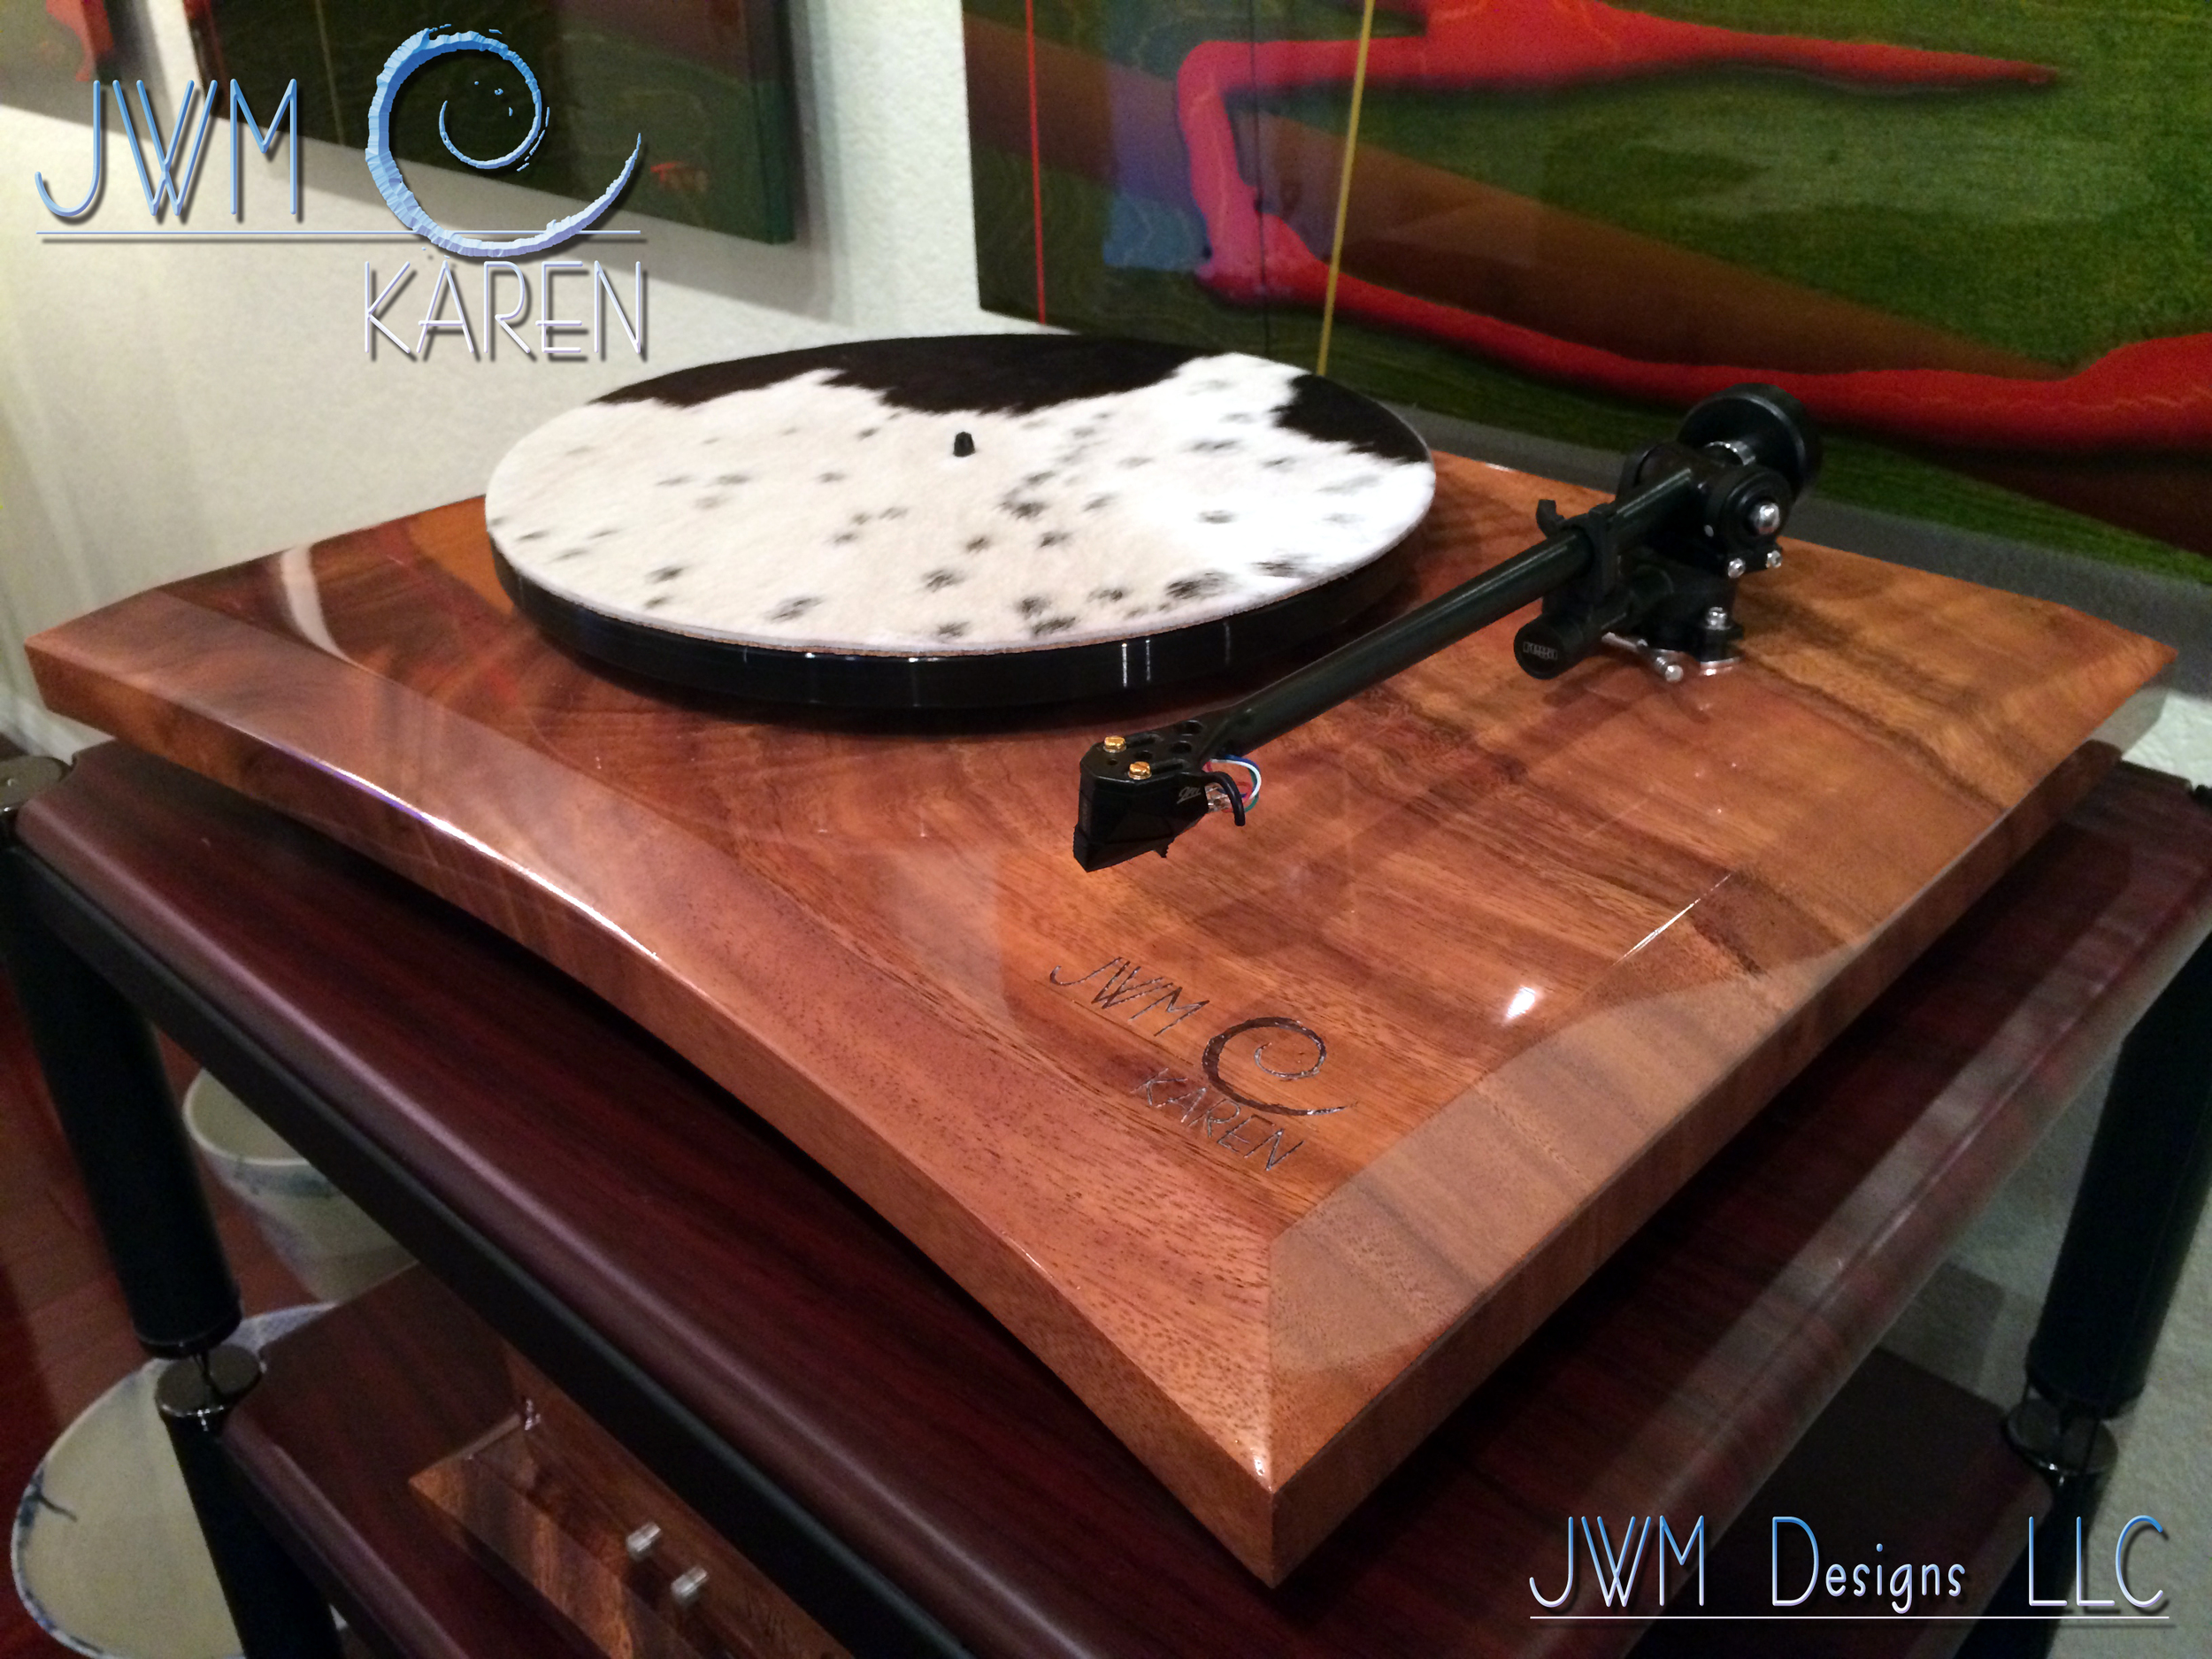
Introducing KAREN From JWM Designs LLC
LOCALLY GROWN TURNTABLES NOW AVAILABLE!
“Over the course of our lives, many things will come and go. The most important, will come back again and again. Each time they do, we gain a greater appreciation for their presence. A new respect. We begin to covet and value this presence and influence on our lives. In reality, these little visits mold who we are. The trick is to never take the return of these things for granted, or expect more than we deserve from them. This is true for things such as as a favorite record. Every few years, it seems you stumble upon one in the bin of a local flea market. Perhaps it is a certain flavor that hits you while dining at a new restaurant. It reminds you of a childhood friend, or a long lost aunt. Have you ever heard a sound that brings a flood of memories gushing in? A tear forms in your eye and you wonder where all the time has gone and what happened to tear you away for so long. For me, those things are far too many. One is a sound I have been chasing for many years, but remains elusive to say the least. Until now that is. A sound I longed to know again. An analog voice heard in childhood now rendered less scratchy and void of pops. A sound more rich and clean and deeper than ever before. For me, that thing also comes in the form of one next of kin. Her voice, like that sound, has had more influence on me than she knows and the respect I have for her grows by the day. Her voice may come and go like other things, but each time it returns, it is as rich and more comforting than any sound I know. These pieces will be named for that voice. My sister, Karen”…
I have been messing around with turntables for at least ¾ of my life. When nobody was home, I started tearing my Pops deck apart. I was too young to understand how it worked. That was the idea though. I had to figure out how that song from The Sting could make its way from that black disk into those AR speakers! HOW!?! As luck would have it, the answer really was not that complicated. Much like a microphone, a needle or stylus is vibrated by a groove in a record. That vibration is transformed into an electrical signal that flows to an amplifier. That amplifier boosts the signal to a higher power in order to feed a transducer, or speaker. That speaker transforms the electrical signal into pressurized sound waves that our ears can detect as music or your favorite comedy album… Viola!
Options, options, Options…
Ok, so now that we worked that out… the fact is that it ain’t that easy. “Ugh”. Fortunately, we have many tools available in this day and age to make it a bit easier than it was even a few years back. For instance, individual parts like tone arms and motors are so much more available and better than ever before. The parts are so much easier to modify and tune to your own taste as well! Do you want a DC motor? Done. A Sapphire bearing? Done. Computer controlled speed adjustment? Done. Glass platter? Done. Etc. Etc. and so on. Did I mention materials for the plinth yet? Oh, how about Padauk? Monkeypod? Wenge? All of the above?
REAL WOOD?!?
 Modern technology, as pertaining to damping materials, has made it possible to throw away the old ideas of what to use. In the past, it seemed the only material that worked for a plinth was the consistency of MDF or some other cheap material. To me, when I see a piece of furniture made from MDF and laminated with a fancy veneer, I simply can’t get past what is underneath. I understand that cost is important in manufacturing for the mass market, but really? The excuse that MDF has a repeatable consistency and its acoustic properties are far more predictable than that of wood is malarkey. Yes, I use MDF in some of my designs, but only FOR its acoustic properties. Not
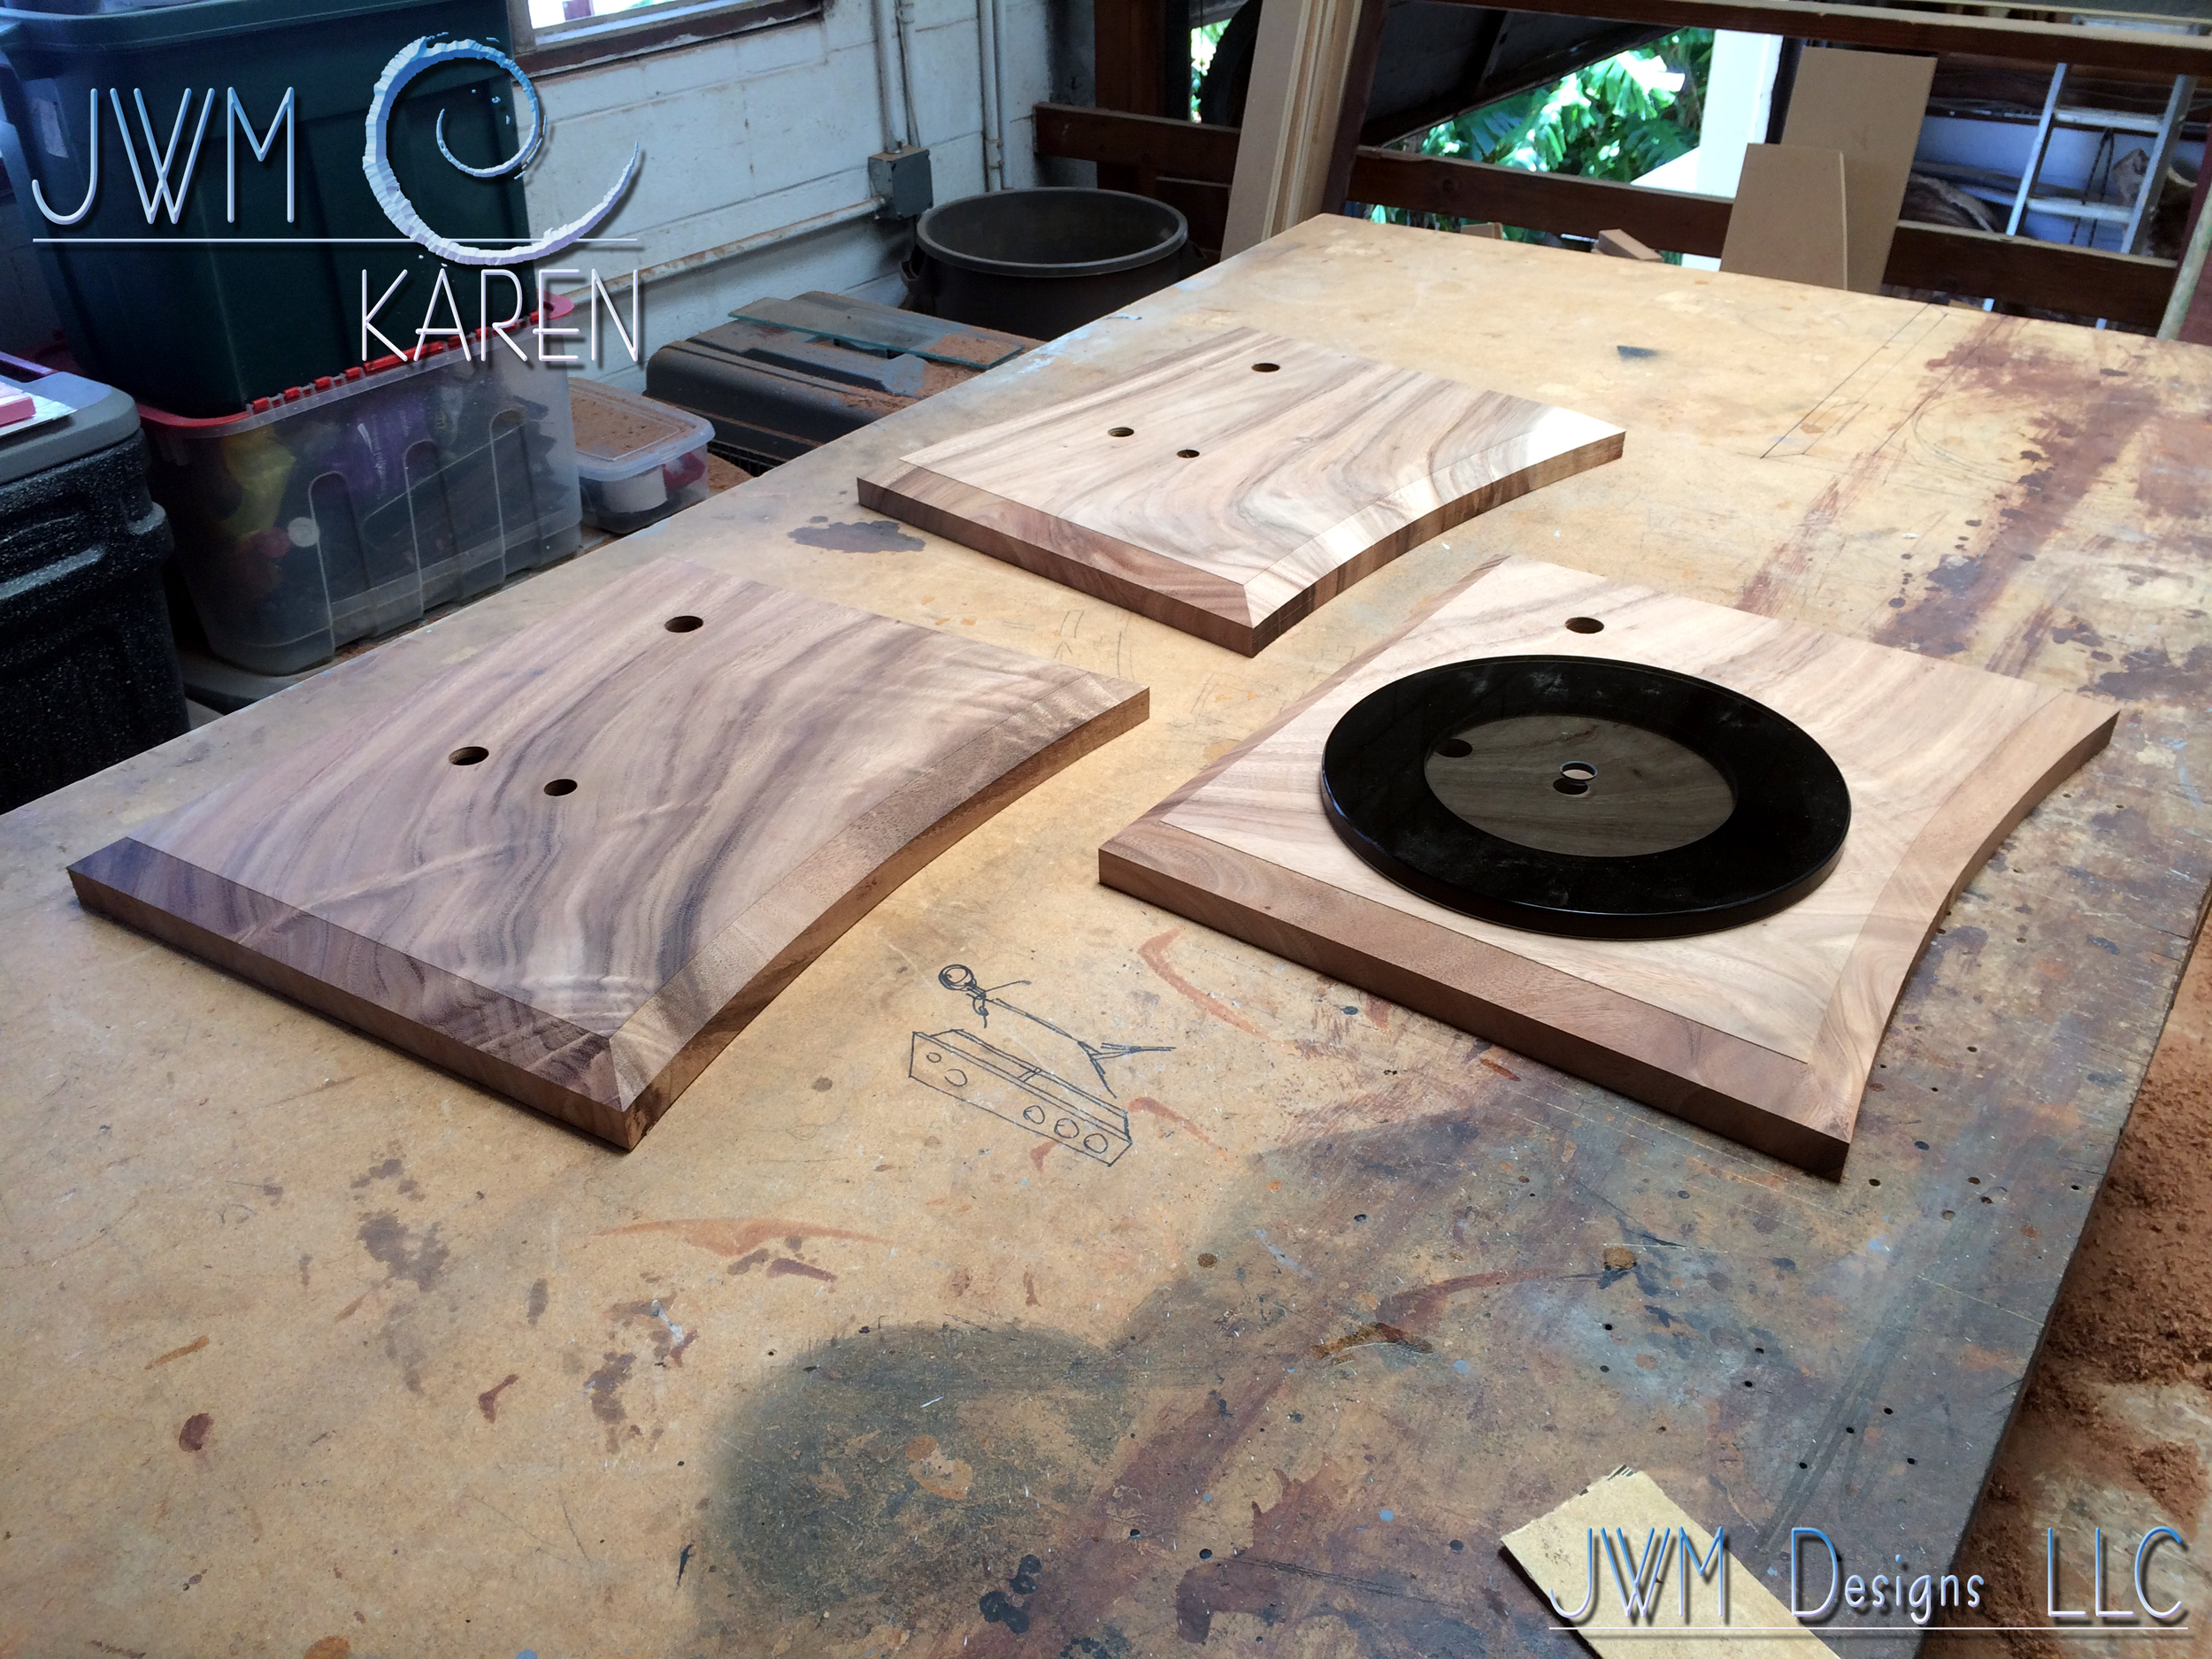 as an excuse. In the case of the Karen turntable, MDF or cheaper materials are simply not necessary or desirable. I look at these machines as a permanent fixture of the end users system and home. As you may know by now, I don’t build pieces as disposable electronics. I build instruments. Ones that should, like my speakers, be chosen as such. It will last. A very long time. Thus, the plinths and case work are treated as such. Solid hardwoods of any species you like may be selected. Choose wisely. This is the last turntable you will ever buy!
Down to business:
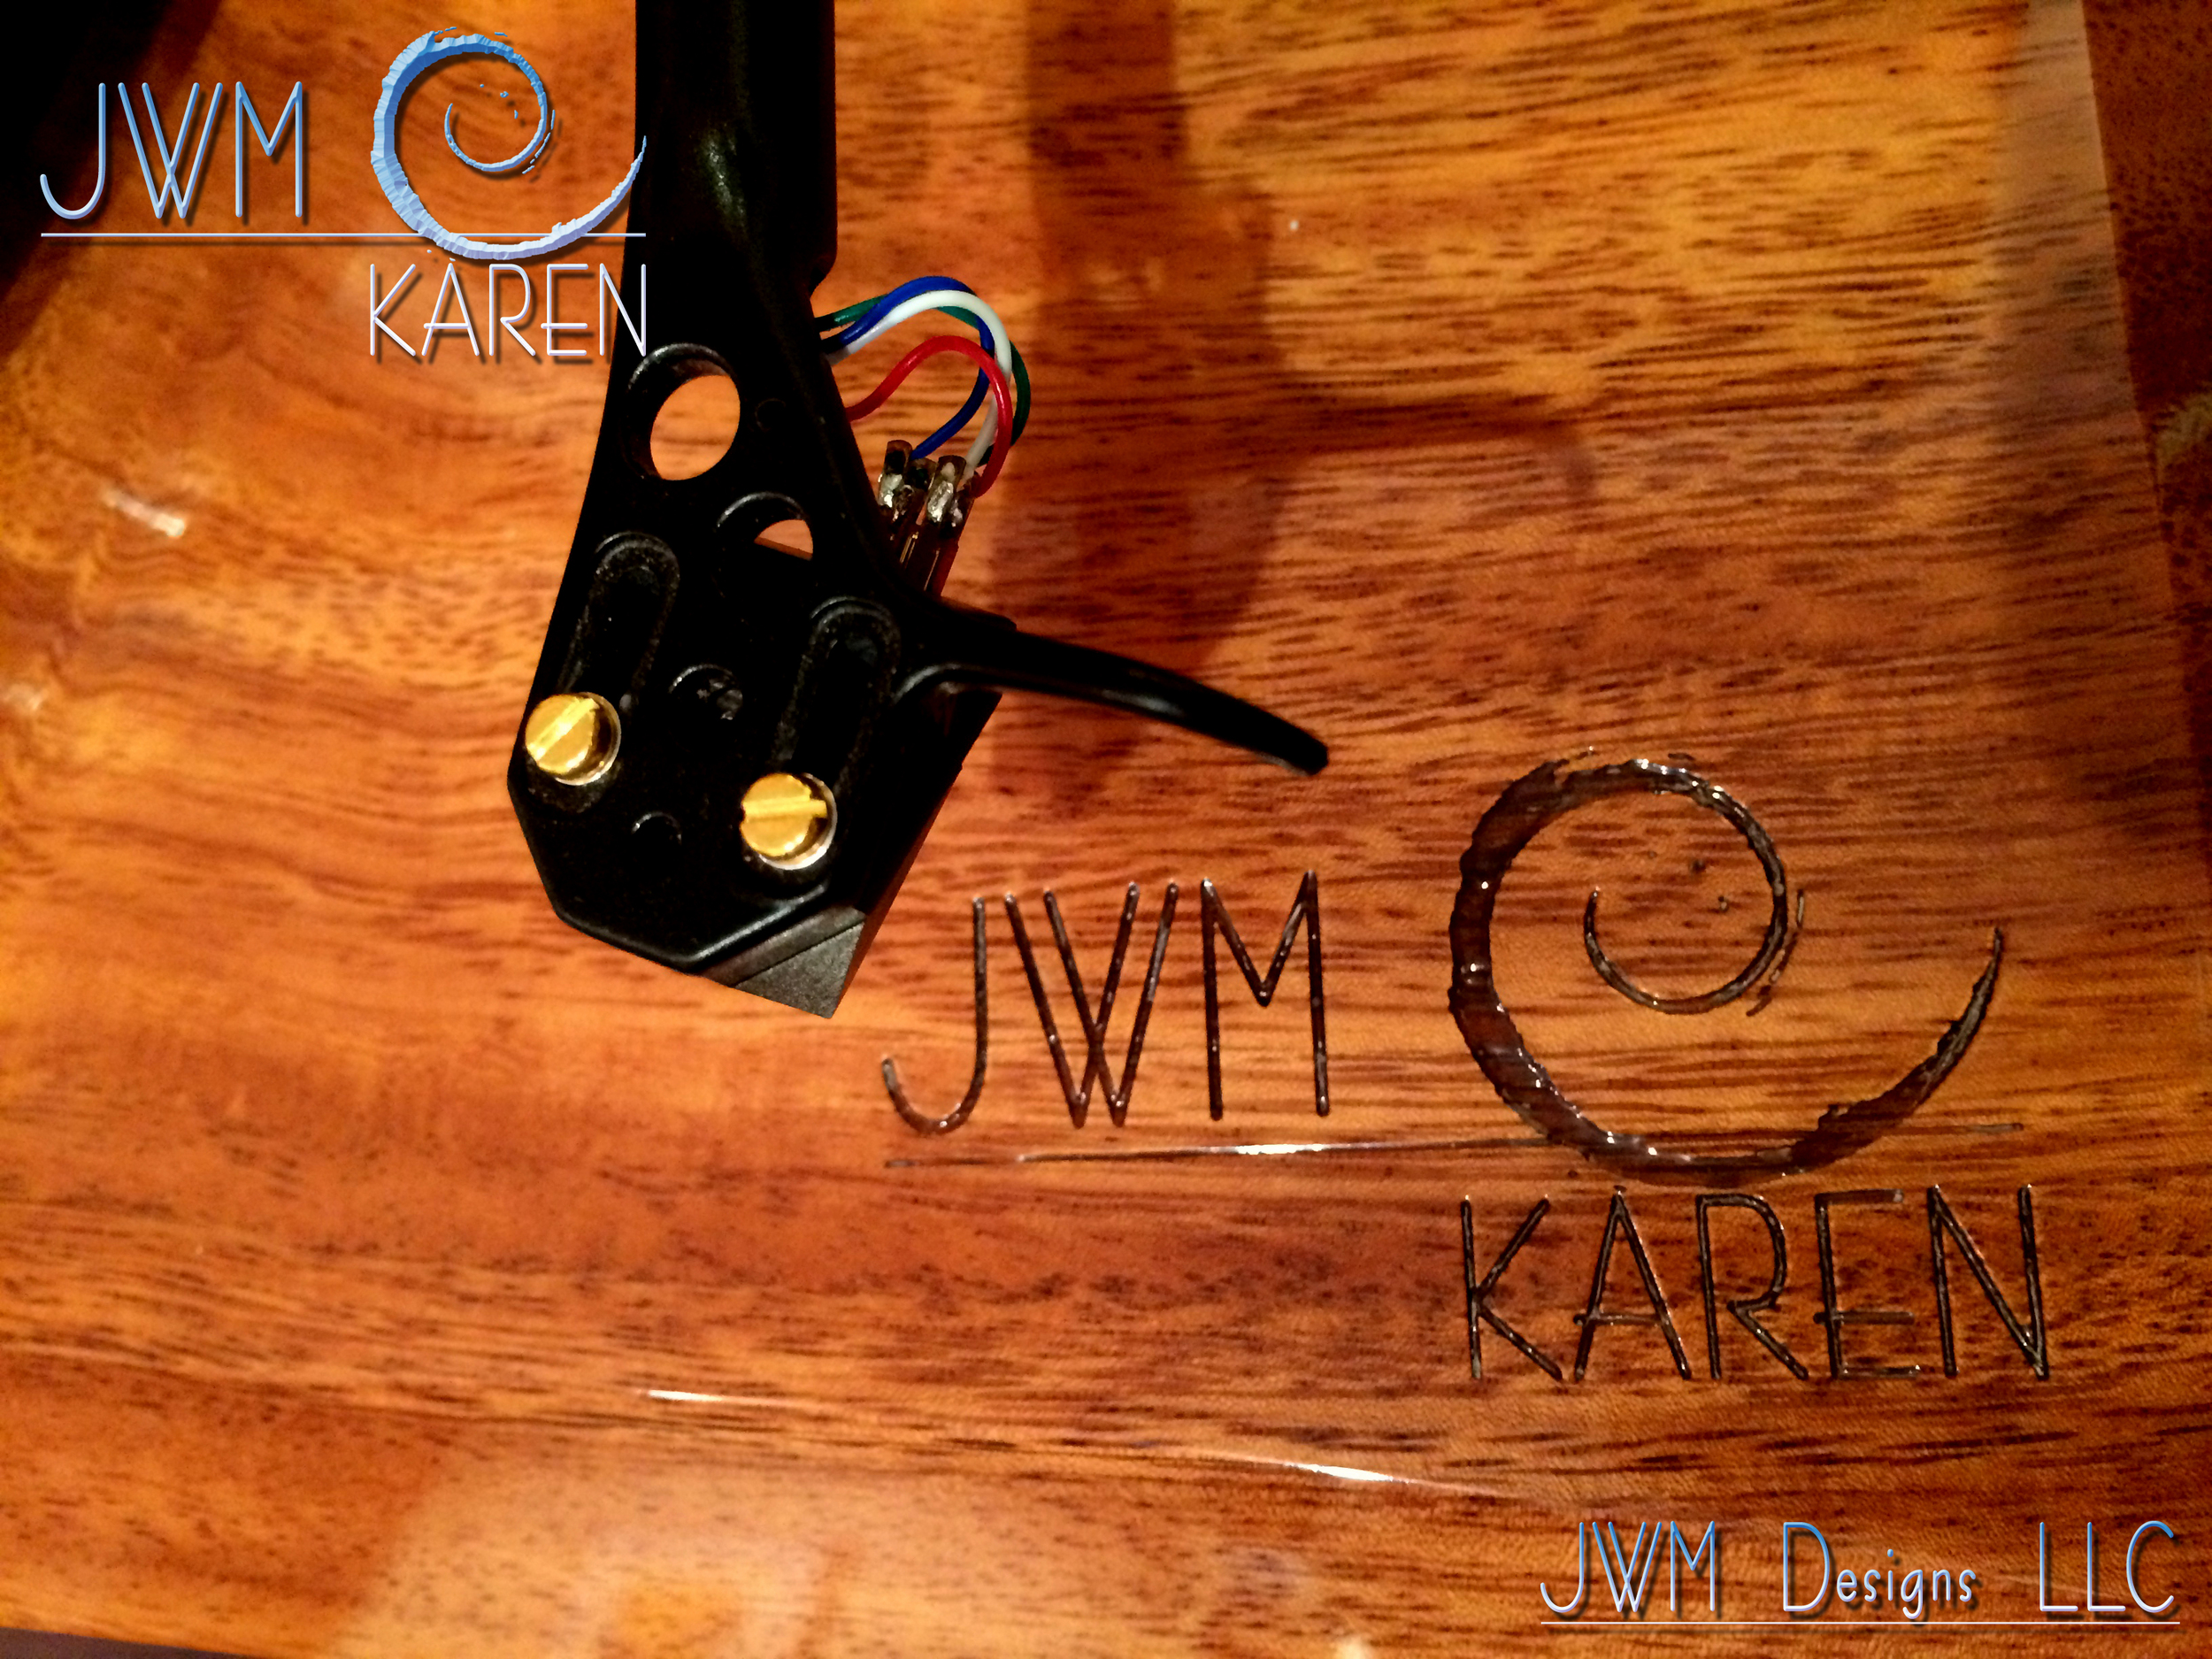
The Karen is a direct modification for the P series turntables from Rega. Any of the tables in this line are a direct drop-in. Also, being that the pattern and holes are tapped to Rega and SME standards, any other manufacturers parts using this mounting pattern can be fit to each plinth. The plinth is designed to be a functioning modern classic. Each is constructed of solid hardwoods and finished in the very same 12 step process as my speaker systems. Each plinth is as unique as the trees in the forest and can be ordered in any wood desired.
Vibration:
The use of hardwoods is now as easy and predictable as any other material available. In the case that stray vibrations need to be damped, I use many of the same materials I have in my quiver for my speaker cabinets. As you would guess, the harder the wood, the higher the resonant frequency of the plinth. The grain variations within the wood help to break up standing waves within the table. I also use any number of vibration control feet depending on what the end user feels most comfortable with. All of these factors are looked at on a table to table basis, thus each machine is as unique as the person who chooses it. Now how could this possibly be more fun!
Technical stuff and more options:
 The arm cutout is at the 222mm position from the center of the platter bearing. Meaning you are welcome to choose any 9” arm you prefer with only a slight up charge for installation. If you choose to buy a complete setup, the standard package features a Rega arm. Again, you may specify which arm you like, and I am happy to make the necessary adjustments. Should you choose a custom arm length from another manufacturer, just say the word. I am happy to create a custom piece to your specifications.
 The motor is mounted in standard Rega fashion. Well, kind of! The length of the belt and pulley is standard, but that is where it ends. I have created a system that will fit most standard Rega mounts. I have also chosen as my standard the same motor assembly as the P1-3 and 6 tables from Rega. (Do you see a pattern here?) I
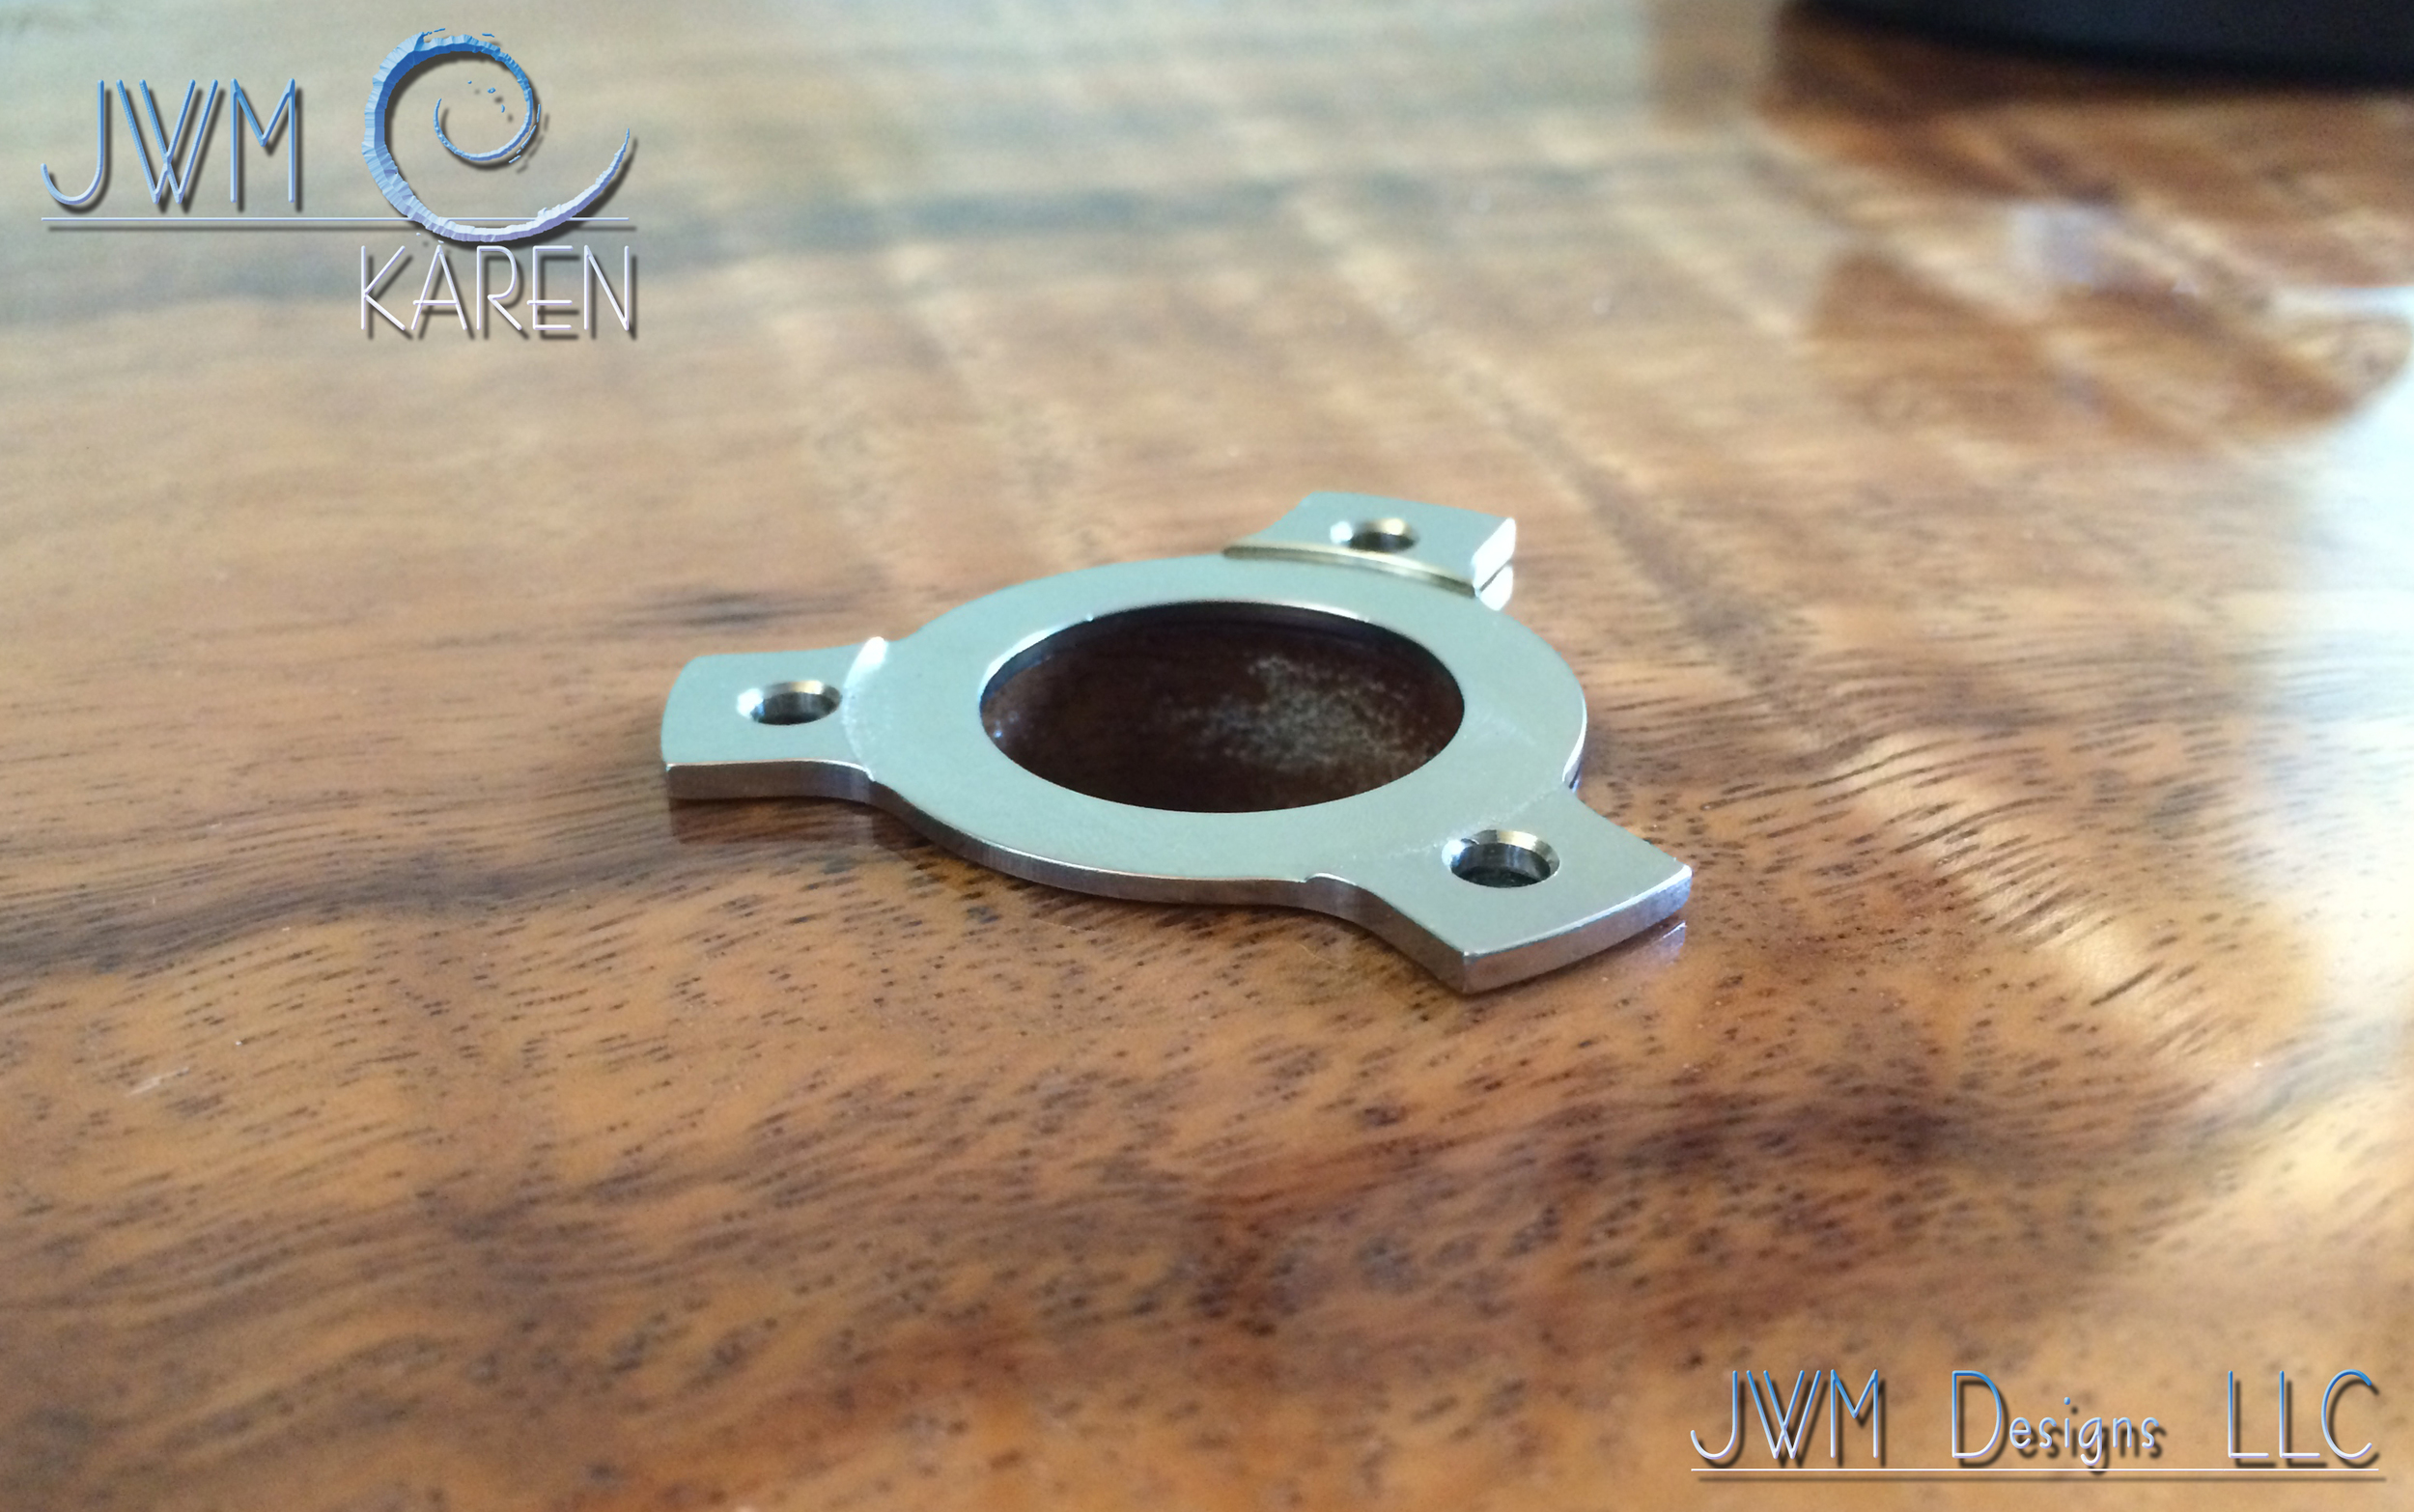 bolt the motor through the plinth and isolate it with further damping. The materials I use are similar to those used for vibration control in my speakers. This significantly lowers the noise floor. Stable and quite is the name of the game in good analog sound reproduction. That is exactly what you get from the Karen.
Voila!!!
Whether you are a seasoned audiophile, or still wet behind the ears, these machines will bring a smile to your face for many years. The sound is rich and clean with serious transit response and timbre. For pop, modern rock, or jazz they have pace, depth and speed. For those inclined to the classical side of the spectrum, these decks throw a deep and wide sound stage with great placement resolution of each instrument. Frequency extremes are well defined and so are the presence regions of the spectrum for vocal recording. In other words, this deck does it all!
I hope you enjoy the Karen as much as I do. After all, music is what it’s all about.
Keep your records clean ya’ll!
Joshua W. Miles
PS: These pieces are hand made in Hawai'i!
Each one of these turntables is lovingly hand made on O'ahu. When possible, I use locally grown wood. Each piece is chosen, milled, sanded, cut and finished in Honolulu.
If you would like to see, hear, or better yet, order one of these musical creations please feel free to contact me any time. Dealer inquiries are always welcome!
Joshua W. Miles Designs LLC (808)349-6661 (808)421-9991 PO BOX 944 Kailua, HI. 96734 joshuawmilesdesigns@yahoo.com
Introducing The Alyson AML from JWM Designs LLC
“Many years ago, our father named a beautiful boat for my sister. Unfortunately that vessel sank and too did the name. I never thought that was fair. It was like my sister had been cheated somehow. I know if my father were still alive, he would have named another vessel for her. I am proud of the machines I build, much like my father was of his boat. I know my systems don’t float, or provide a steady platform for sunbathing in the gulf, but perhaps they should be named for my sister anyway. After all, there was enough pride in my father to name his vessel for this amazing woman. Like my sister, and that boat, I feel these machines are not only powerful, assertive and poised, but delicate and graceful at the same time. So be it then. I give you the Alyson.”
The idea:
The idea for these machines came while working on another design. A design I am still working on as a matter of fact. They are floor standing, rear horn loaded, transmission line speakers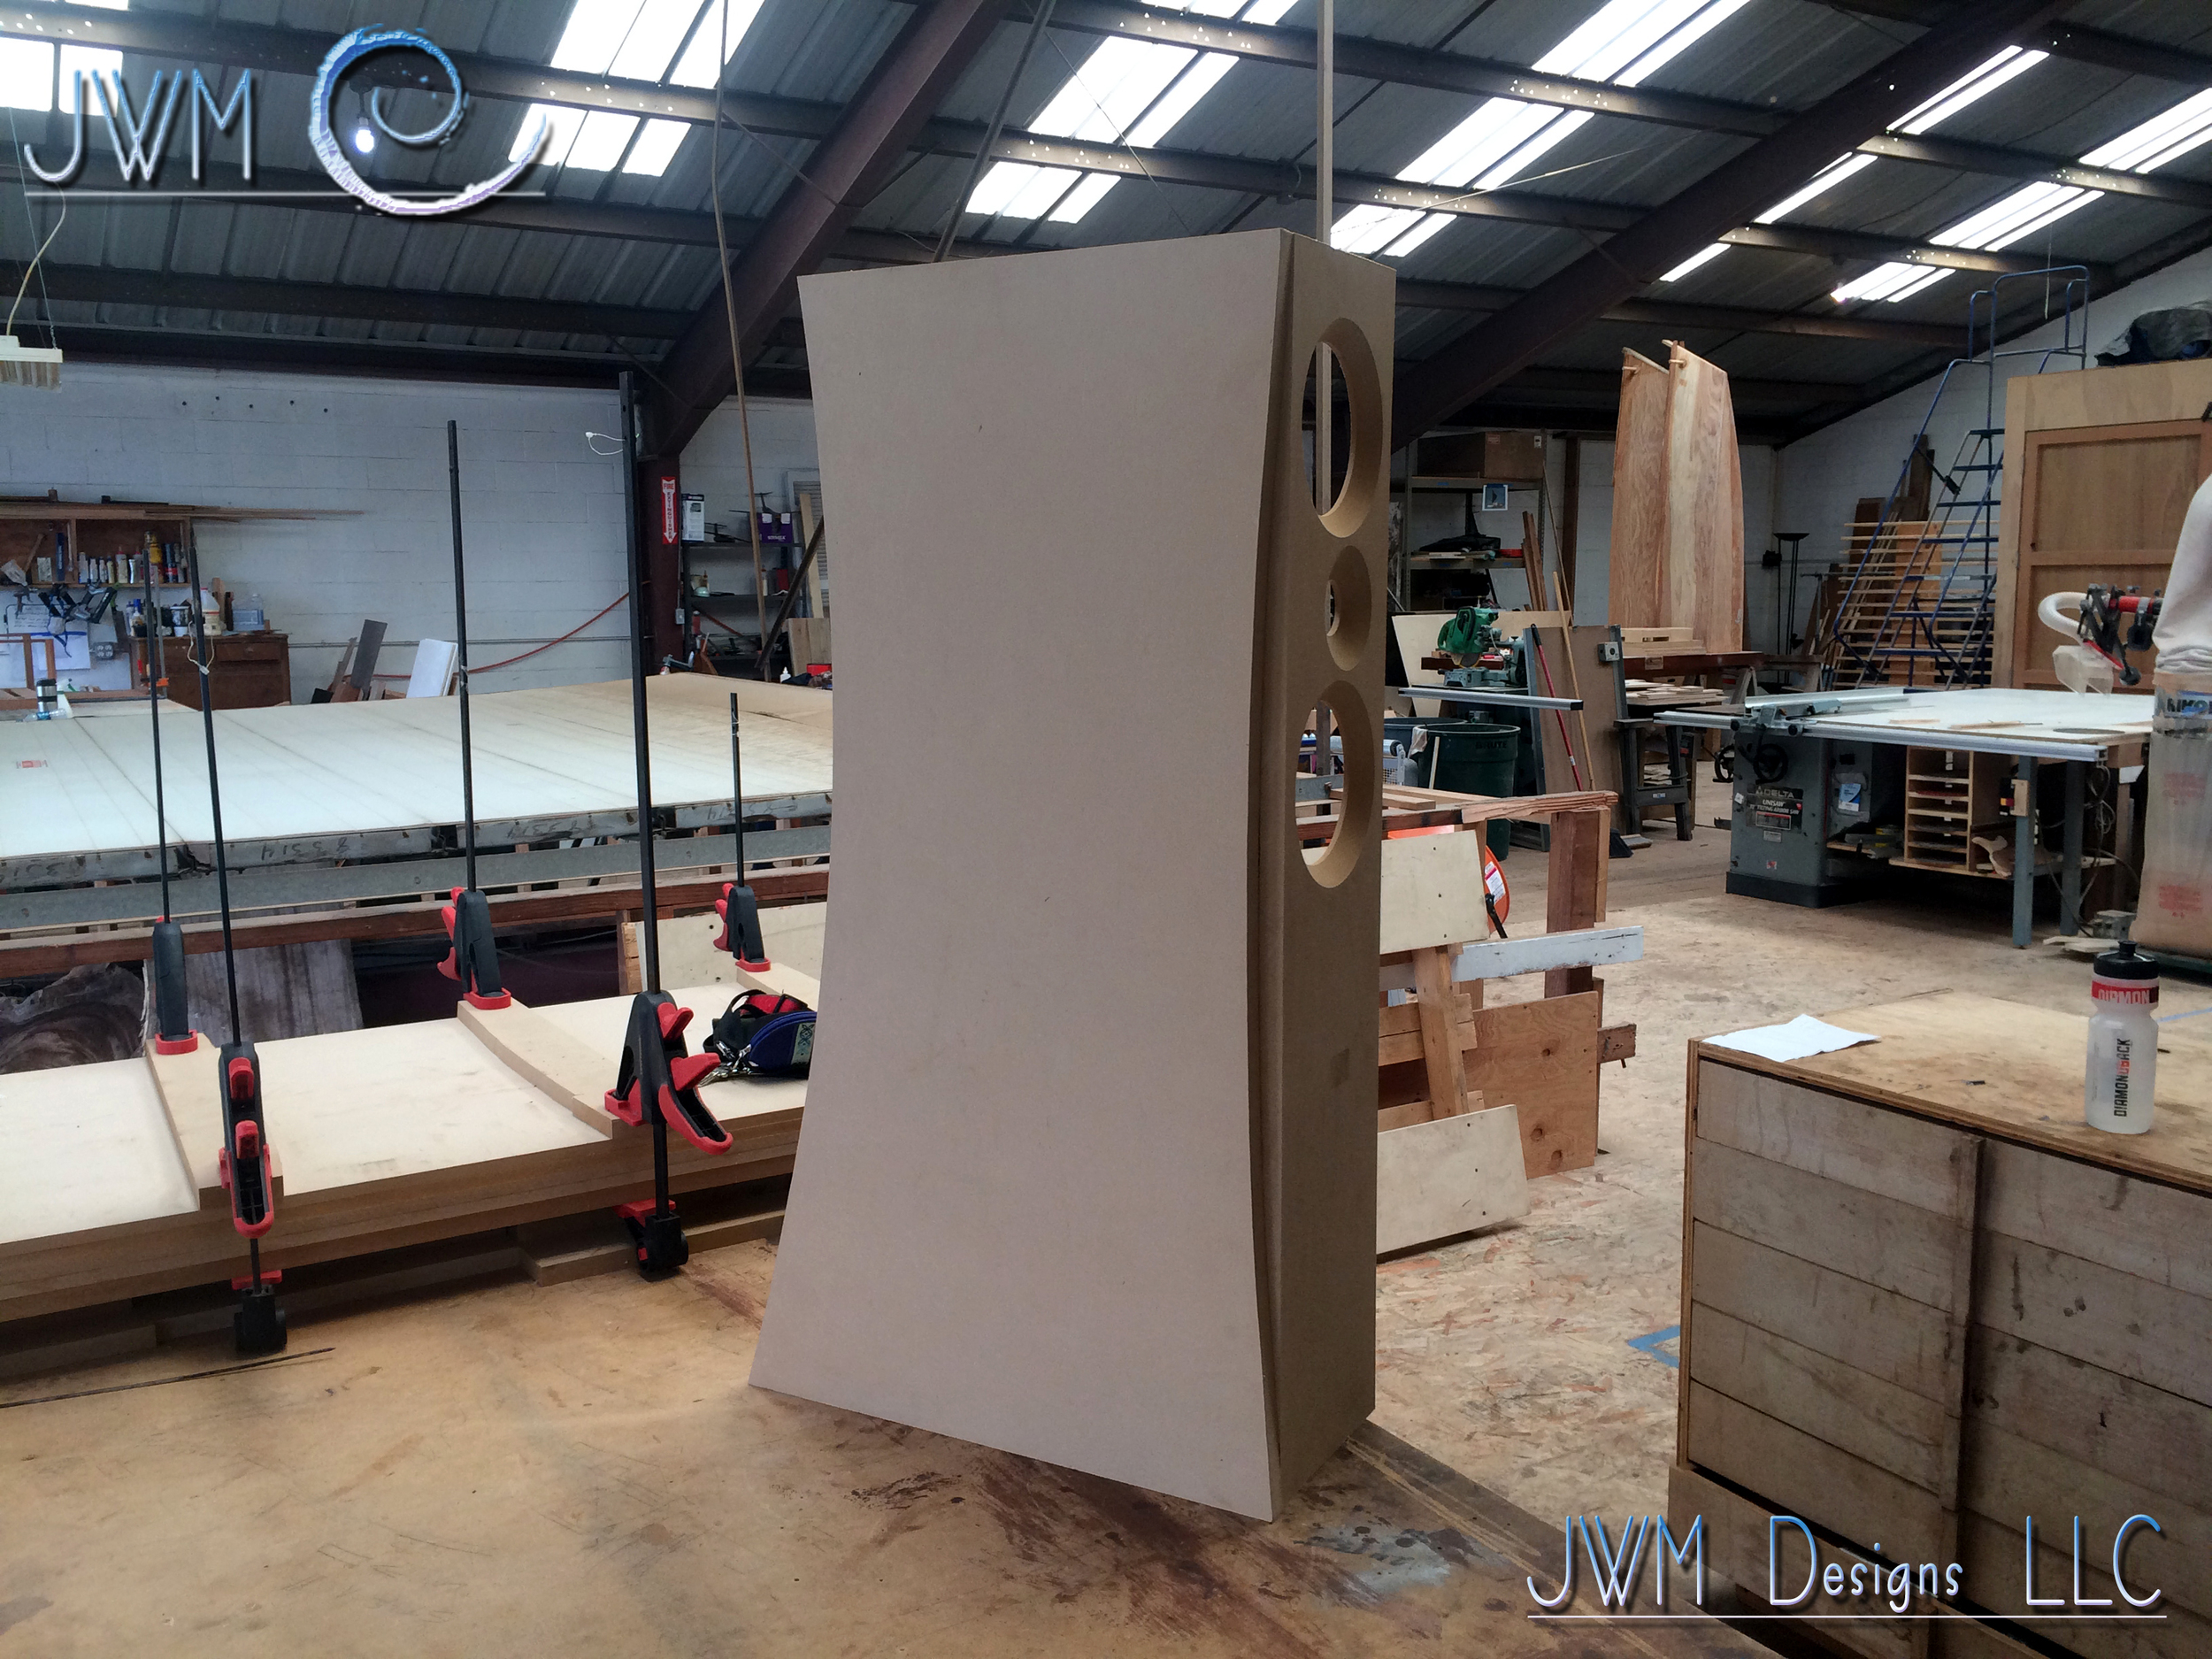 that I have been building for many years. The design has always been a challenge though. Don’t get me wrong, after 15 years of research and development, they are remarkable. The trick has been downsizing them into a real world size that can be aesthetically pleasing for, well; let’s just say the average spouse. (I hope I’m not in trouble here.) To do this, one must do a ton of dancing with the tuning of the machines. This takes time and patience. Both of which I am running out of. Often, I must take a break from the project and turn my attentions elsewhere. Call it a hiatus if you will. This is my way to get a fresh perspective when I return to the project. This also stands true for my other artistic endeavors. Stay tuned. They will be great indeed. Some day.
In the meantime:
About 5 years ago, several people asked if I had any smaller monitor designs. During this time, I had also noticed a trend toward smaller and simpler systems. In other words, more compact audio equipment that has less of a footprint on the living environment. Also around the same time, I had received a phone call from a studio where I had installed a set of my monitors many years ago. They had asked if I was still building and if I had made any improvements or updated the designs I had built for them. Truth is, I had thought about it many times, but the answer was no. I had not put thought to paper on these designs in a long while. Perhaps there was never a demand big enough to sustain building small near field monitors that cost as much as a Hyundai. Building one-offs specifically for the environment the client resides in was always my way. But alas, it may be time to open this can of worms again and see what I can do!
The research begins:
I spent several weeks in the shop revisiting the design I had built for the studio. I built a set identical to theirs and began tearing it down. I found so many flaws in the design, it was almost embarrassing. Not the overall sound mind you, just the overall lack of life and timbre. As a studio monitor these pieces were wonderful, but they would never pass the muster in a real world HI FI system. At least 10 times, “Clinical and flat” was scribbled in my listening notes. But that is what the client wanted! They wanted me to tune this system to sound like “NOTHING!” flat frequency response with as little coloration of their own as possible. The system they would be driving the monitors with was also as flat as it gets with no sugar coating what so ever. Spectral Audio amplifiers and preamps were chosen to feed the system from front to back. Flat, flat, flat…
Why did it sound so bad to me now? Why I ask?!?!
To me it all boiled down to two things. First; my lack of knowledge at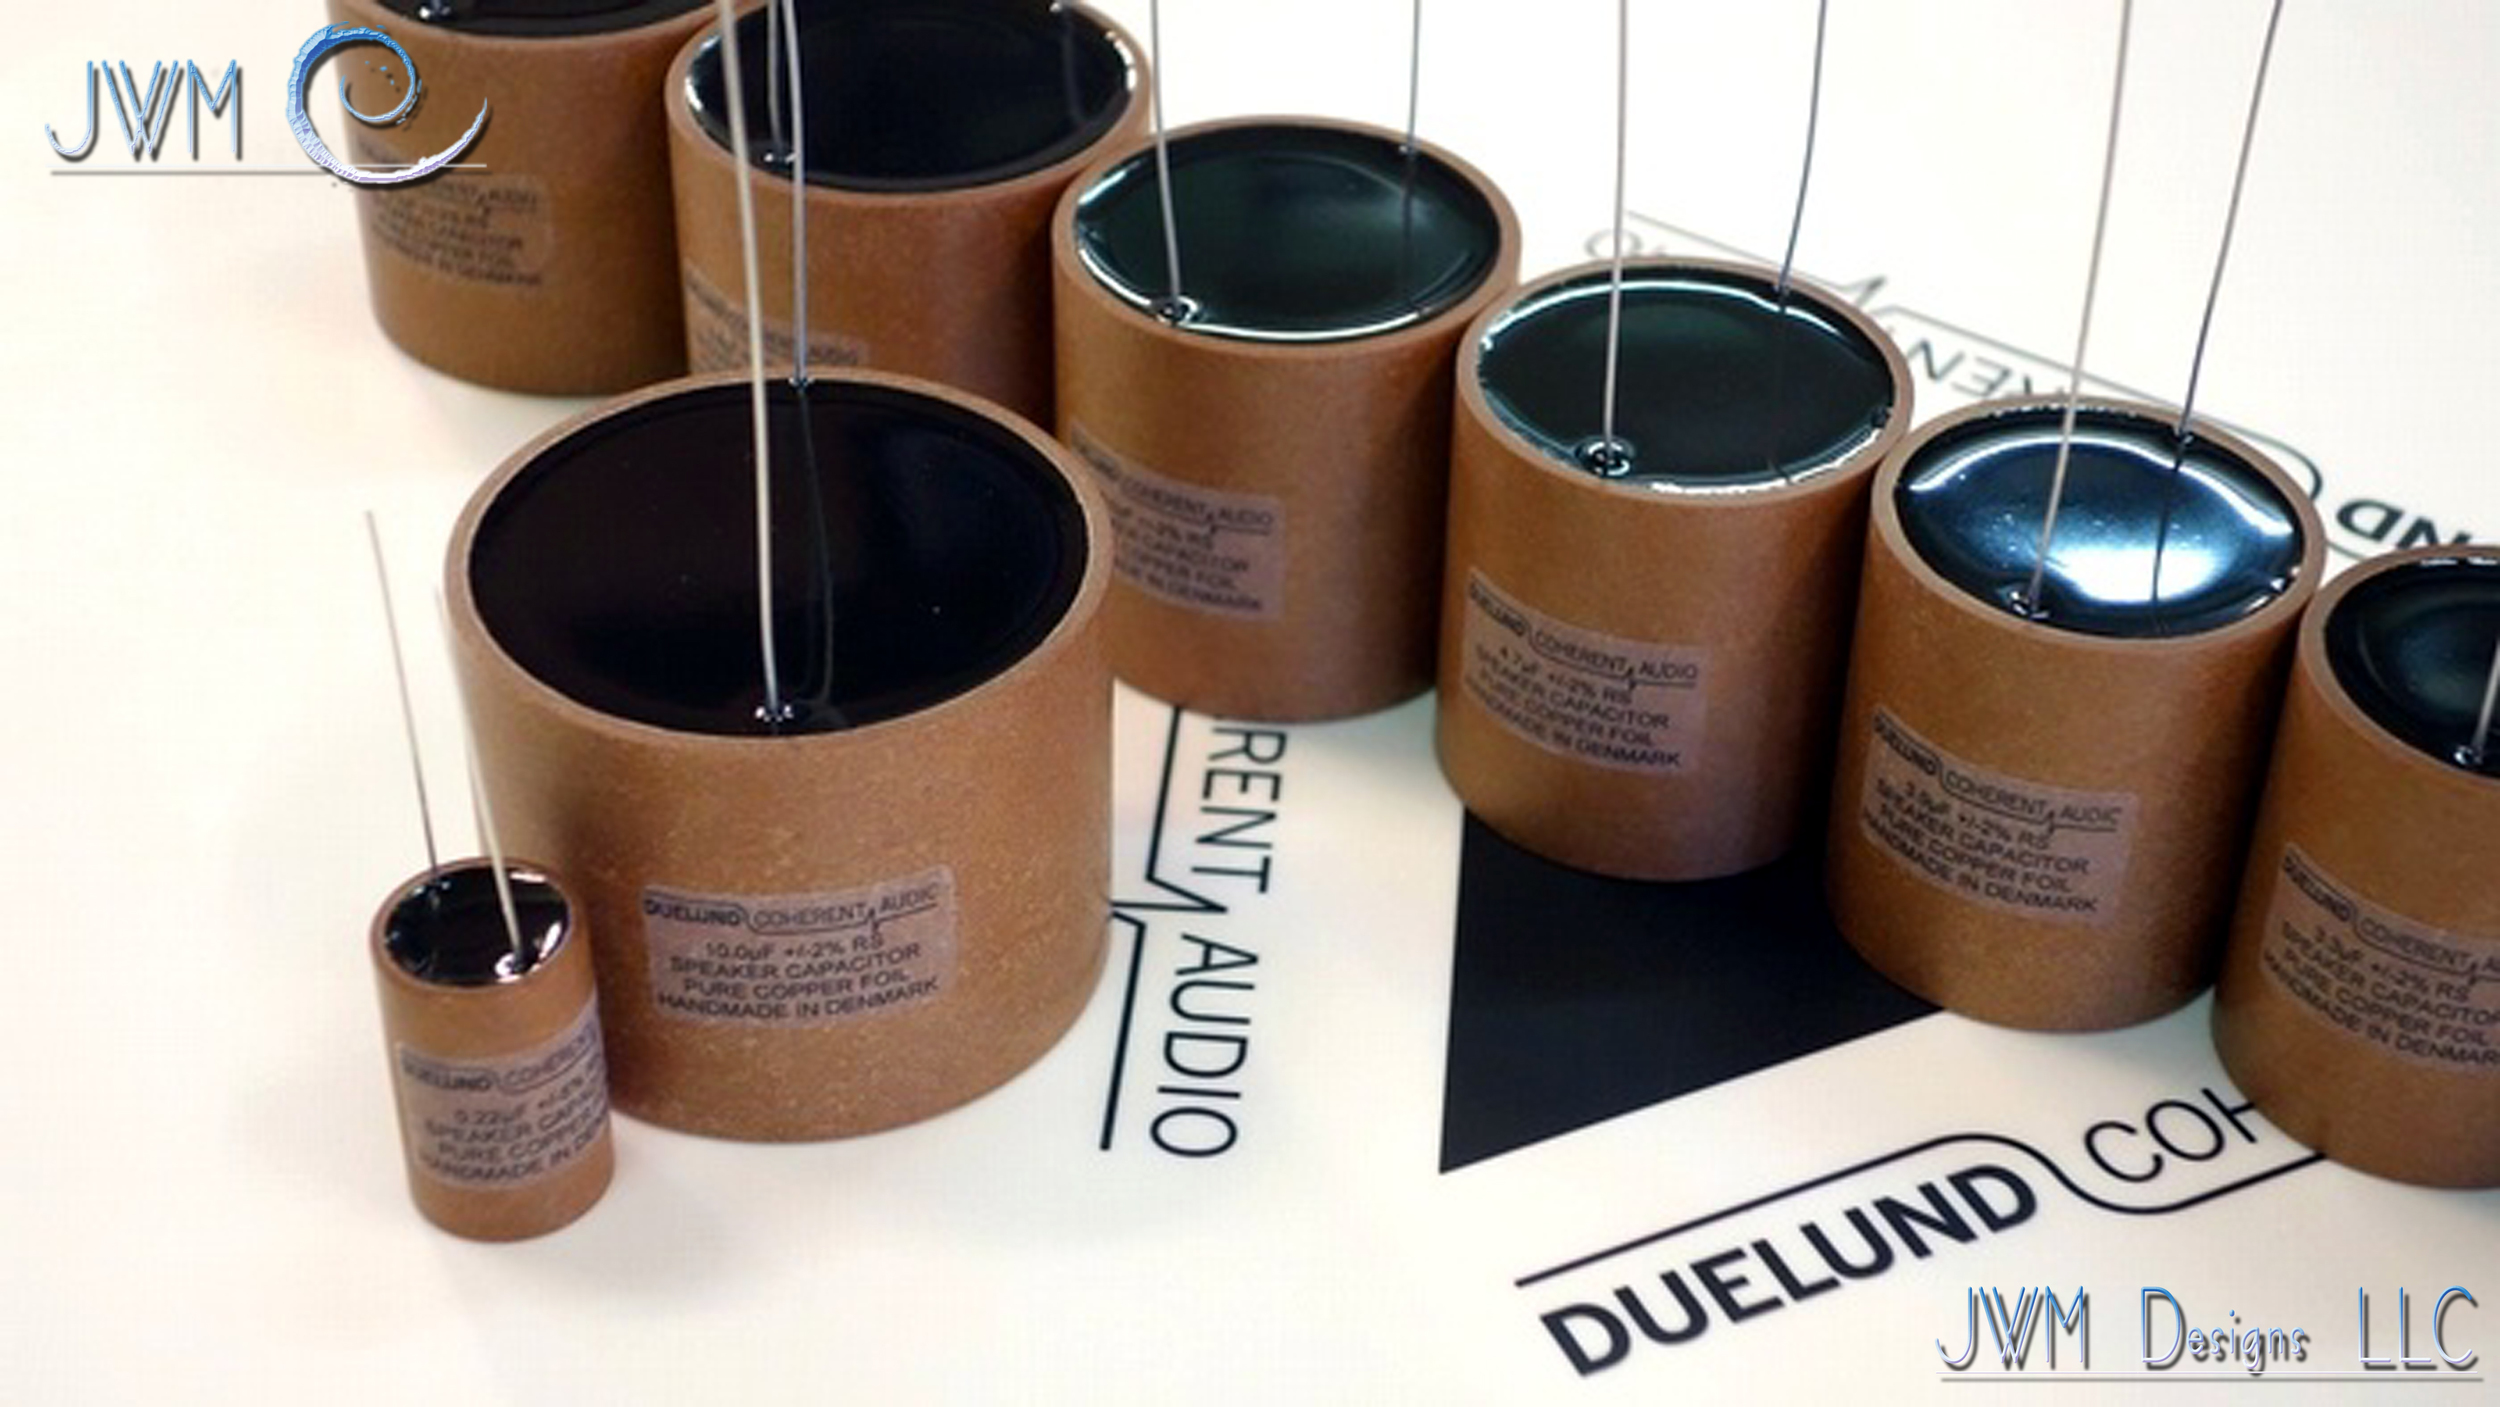 the time of the original design execution. Second; the lack of technology at the time. The fast and silky capacitors of today simply did not exist. Nor did the amazing new foil inductors and Vishay resistors modern designers use now without a thought. Yes, back then the thought of spending 200 bones on a single capacitor was unheard of, but for a few
  manufacturers. Today, not so much. I’d spend 700 without a flinch if it is what it takes to get “That Sound”. And “That Sound” is exactly what I set my sights on. Don’t forget, the speakers in the studio were more than 10 years old now and permanently installed. I had to do this from 4,000 miles away. Challenge accepted!
I called the studio back a few months later and gave the news about the new crossover system. I made it clear that this may be just what they wanted. “Same system, just with new life and a powerful new sound”. I explained. They took the bait and off the crossover boards went to the FedEx shop down the street. It’s always hard to see your children off for the first time. Especially when some other technician will be in charge of the installation and final judgment. Studios don’t usually mess around and having their main monitors out of commission for two days is a BIG deal. So, cue the fingernail chewing Maestro!
 Shortly after I ran out of valium while waiting on the verdict, the call came. That call set the stage for what I decided to spend the next period of time and energy on. That time ended up being 5 years. “Josh, thank you! This system has never sounded as good. You really should build this design for the commercial market. It may work. How much do we owe you?” Let’s just say he was not as happy as he was when the phone call was initiated. None the less, he agreed it was still one hell of a bargain! Remember those $700 capacitors and inductors I mentioned earlier? I integrated a LOT of them.
What next?
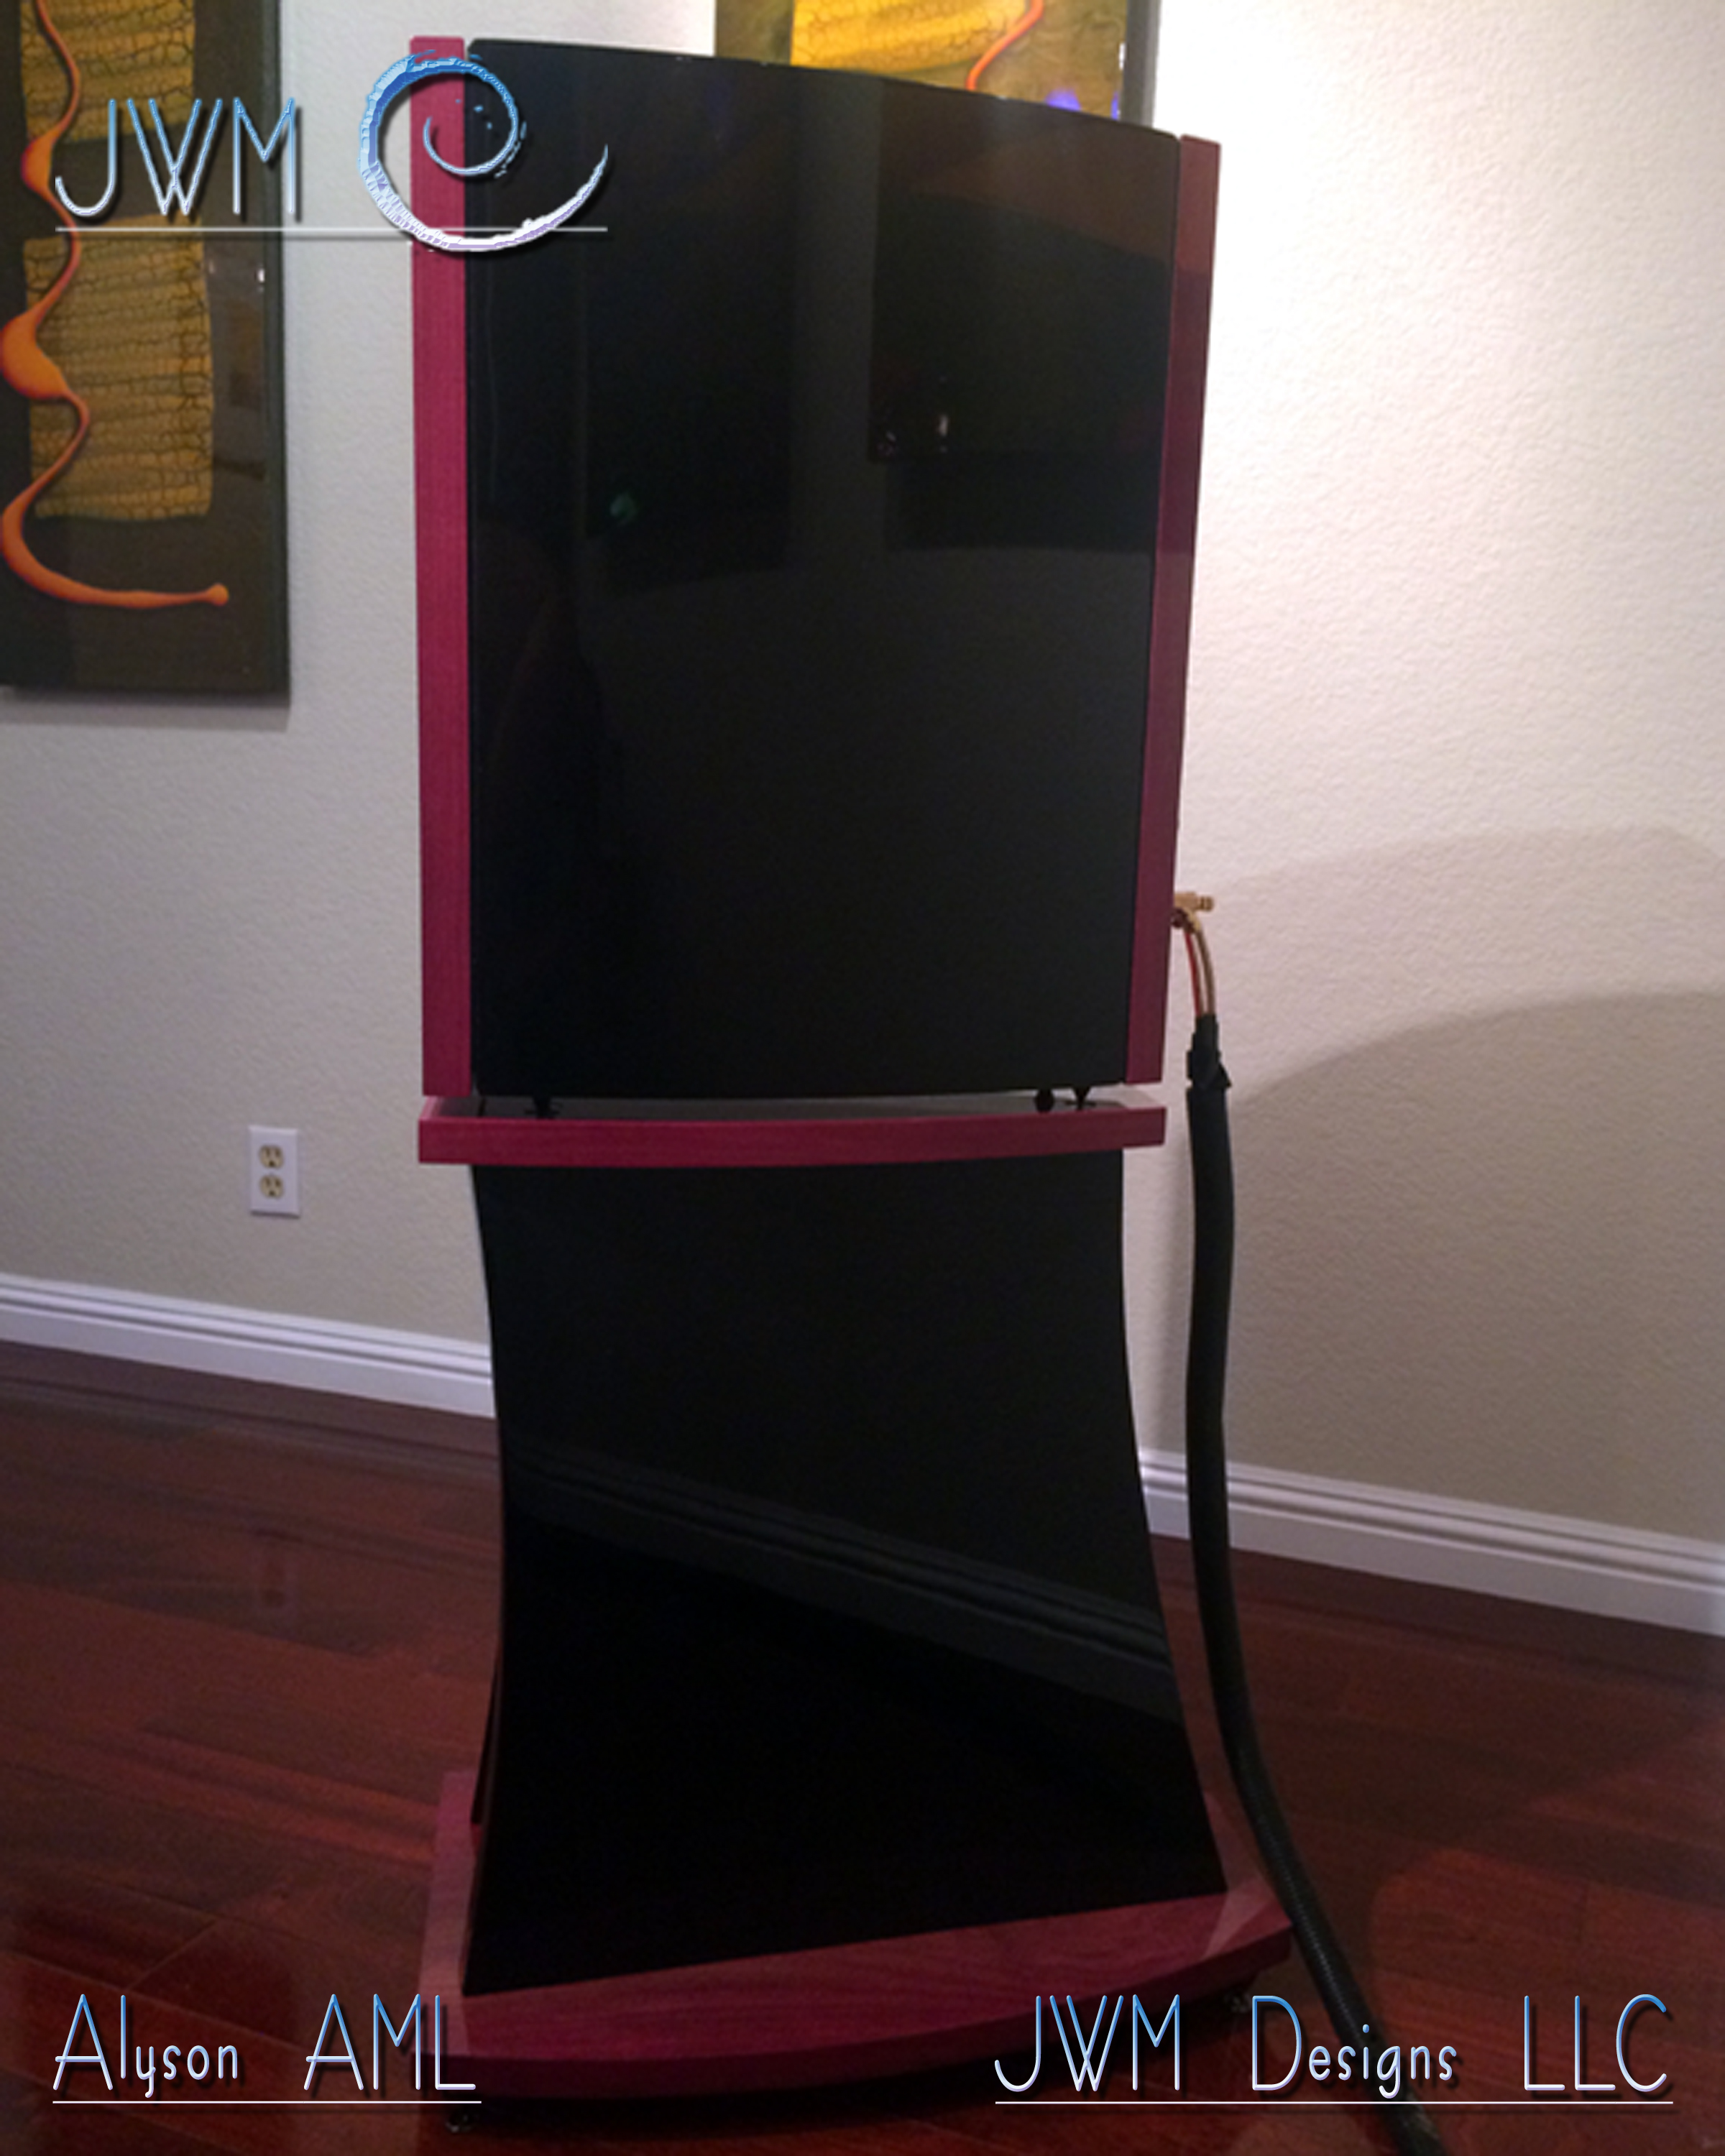 So, here we are. A few years later and several gray hairs to show for it, the Alyson AML is born. Of course, it’s true that a near field monitor retailing for the price of a Hyundai is still a narrow market. But when you tune that monitor to thrive in every real world environment outside of the studio, dress her in some pretty cabinetry, solid hardwoods, piano lacquers and the best components available, now we have something! A design within reach of most music lover’s pocketbooks. One that will also continue to thrill for years to come. You see, these are not just machines to me. They are instruments. Pieces of my industrial design should not be chosen like any other high-end speaker system. No, these are to be chosen as if purchasing a piano that will be in the family for generations to come. That is exactly what these are. Instruments. My pianos. Alyson.
Technically speaking:
 At first glance, The Alyson is a D'Appolito design. Inside it is a whole other ball game. Some call it a MTM, or Midrange – Tweeter - Midrange design. This design configuration was created by Joseph D'Appolito as a way of correcting the inherent lobe tilting of a typical mid-tweeter (MT) configuration, at the crossover frequency. I opted to spend the design hours and Doe-Ray-Me on a time-aligned configuration (Which is featured in all JWM designs). In this arrangement as is found in my smaller NET-1 design, the loudspeaker uses one shallow wave guide loaded driver, a mid-range (or mid-woofer/woofer) for the low frequencies and a shallow horn loaded, ring radiating tweeter for the higher frequencies, with the tweeter being placed above the other larger drivers. The configuration desires 3rd order (18 dB/oct or 60 dB/dec) crossover allowing the drivers to have similar horizontal dispersion, resulting in the absence of any sudden change in directivity with frequency.
 Since it is rare for a tweeter and mid-range (or woofer) to have their diaphragms or acoustic centers in the same physical plane, sound waves emitted by them (of the same frequency) will not reach a particular listening position in the on-axis plane at the same time. Conversely, the MT or TM combination's on-axis plane is not coincident with the physical on-axis plane - it is tilted w.r.t. the physical plane. (Say that 10 times as fast as you can.) The overall effect is that at the crossover frequency (when both drivers are reproducing the same frequency) the sound from both drivers does not acoustically sum ideally at the on-axis listening position. There will, however, be some off-axis listening position where the acoustic sum is ideal - but the listening position itself may be such that it is not practical. Thus, with a typical TM or MT loudspeaker where the drivers are not time-aligned, the main lobe is tilted away from the horizontal.
The direction in which the lobe tilts (i.e., the vertical orientation or angle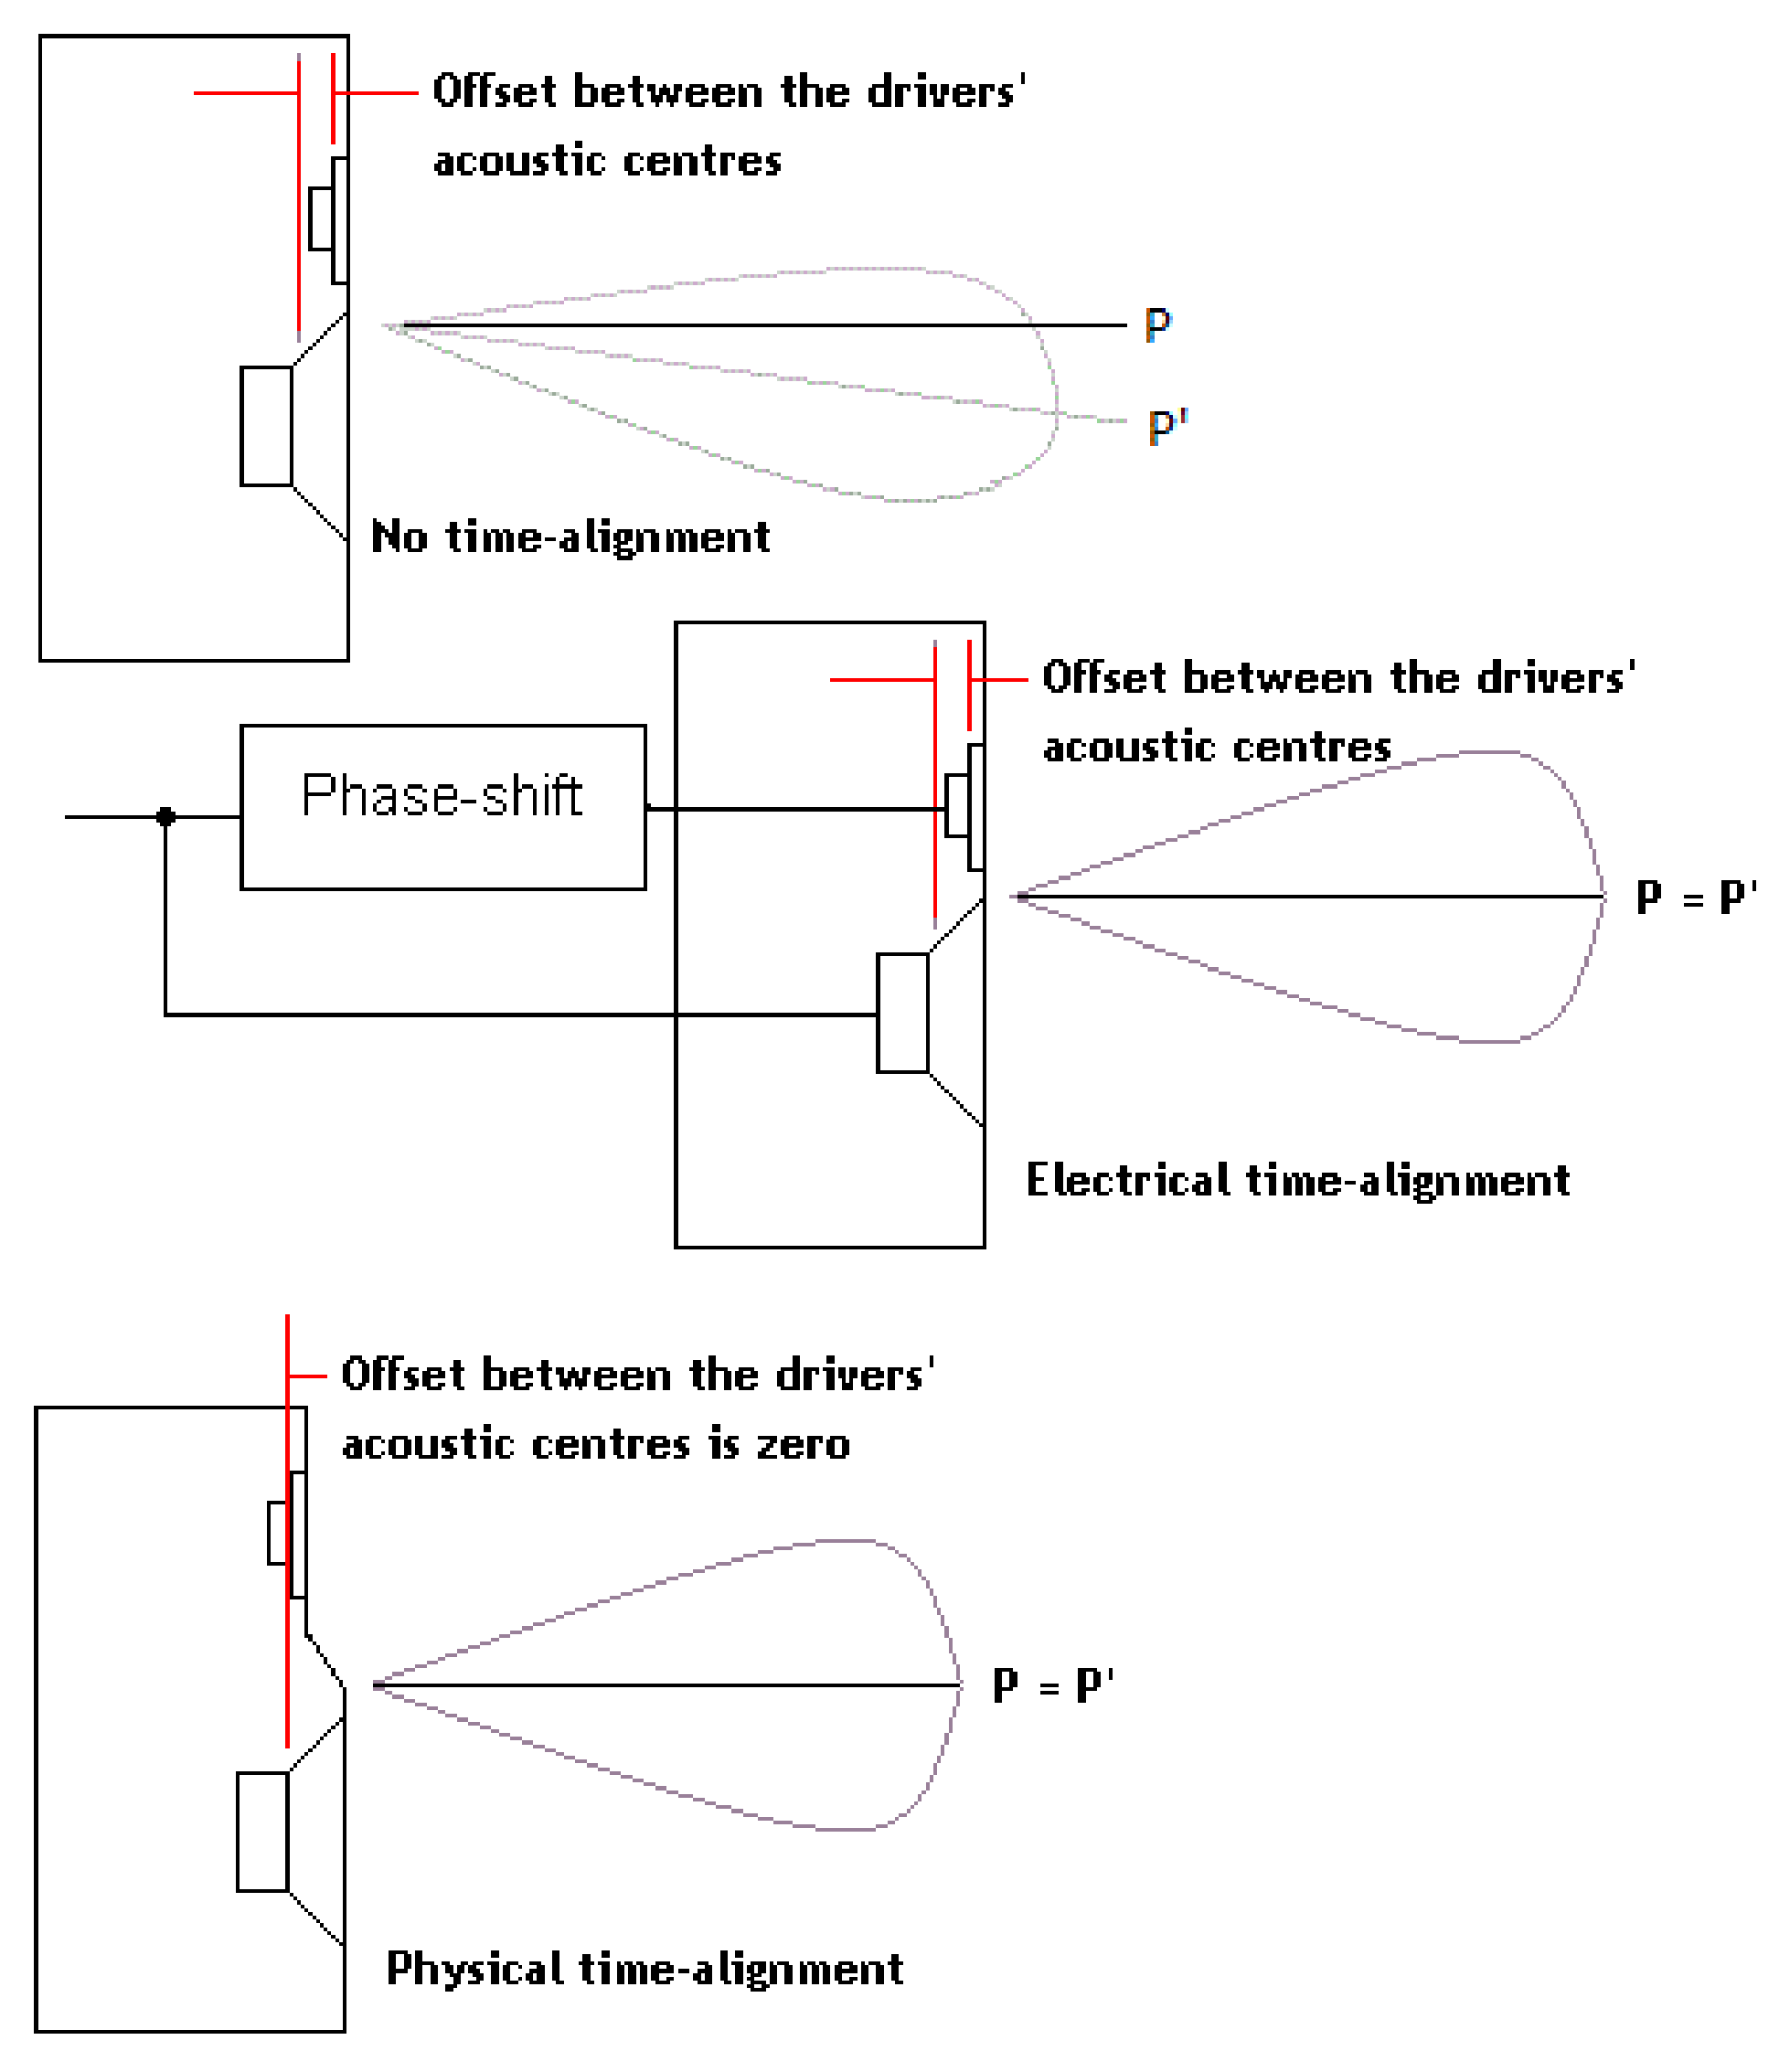 of the lobe) is a function of the difference or offset between the acoustic centers of the two drivers. In order to remedy this effect, a great deal of measurement and listening must take place. Correcting the time alignment in JWM speakers is not necessarily to achieve a perfect dead center alignment. It is however, another tool in my box for tuning any given design to perform well in most rooms. How often do you sit directly in front of your speakers and perfectly in line with their acoustic center? Never you say? I know!
So why MTM for the AML Josh?
Well, you would think when another mid-range or mid woofer is added vertically and symmetrically opposite to the existing one, the result is that the tilted on-axis plane gets corrected such that the differences between the mid woofer and tweeter planes become immaterial - the on-axis plane is always w.r.t. the tweeter's center. Sure, it makes sense all right. But, time is not always on our side.
 The design requires that the two mid woofers are in exactly the same plane, and exactly the same distance from the tweeter - which is much easier to do physically than in the crossover. Up until recently, there has been a price to pay for this - although the MTM's on-axis response is near perfect, its radiation pattern or main lobe can be much narrower than that of the MT or TM configuration. As a result, the off-axis response (i.e., response at locations vertically away from exactly opposite the tweeter) should be much weaker. There can be obvious and discernible change in tonality at the crossover as one's listening height relative to the tweeter changes, and the effect is perceived more as the listener moves closer to the loudspeaker. In the Alyson AML and many other designs, this is corrected by (1) mounting the mid woofers as close to the tweeters as possible (so that the listening distance is much larger than the distance between the drivers) and (2) operating the mid woofers and tweeter in quadrature, i.e., achieved by ensuring that the tweeter lags the mid woofer by 90° in phase at the crossover frequency, and this in turn can be achieved if the crossover has a 3rd order Butterworth characteristic. To achieve the smallest distance between
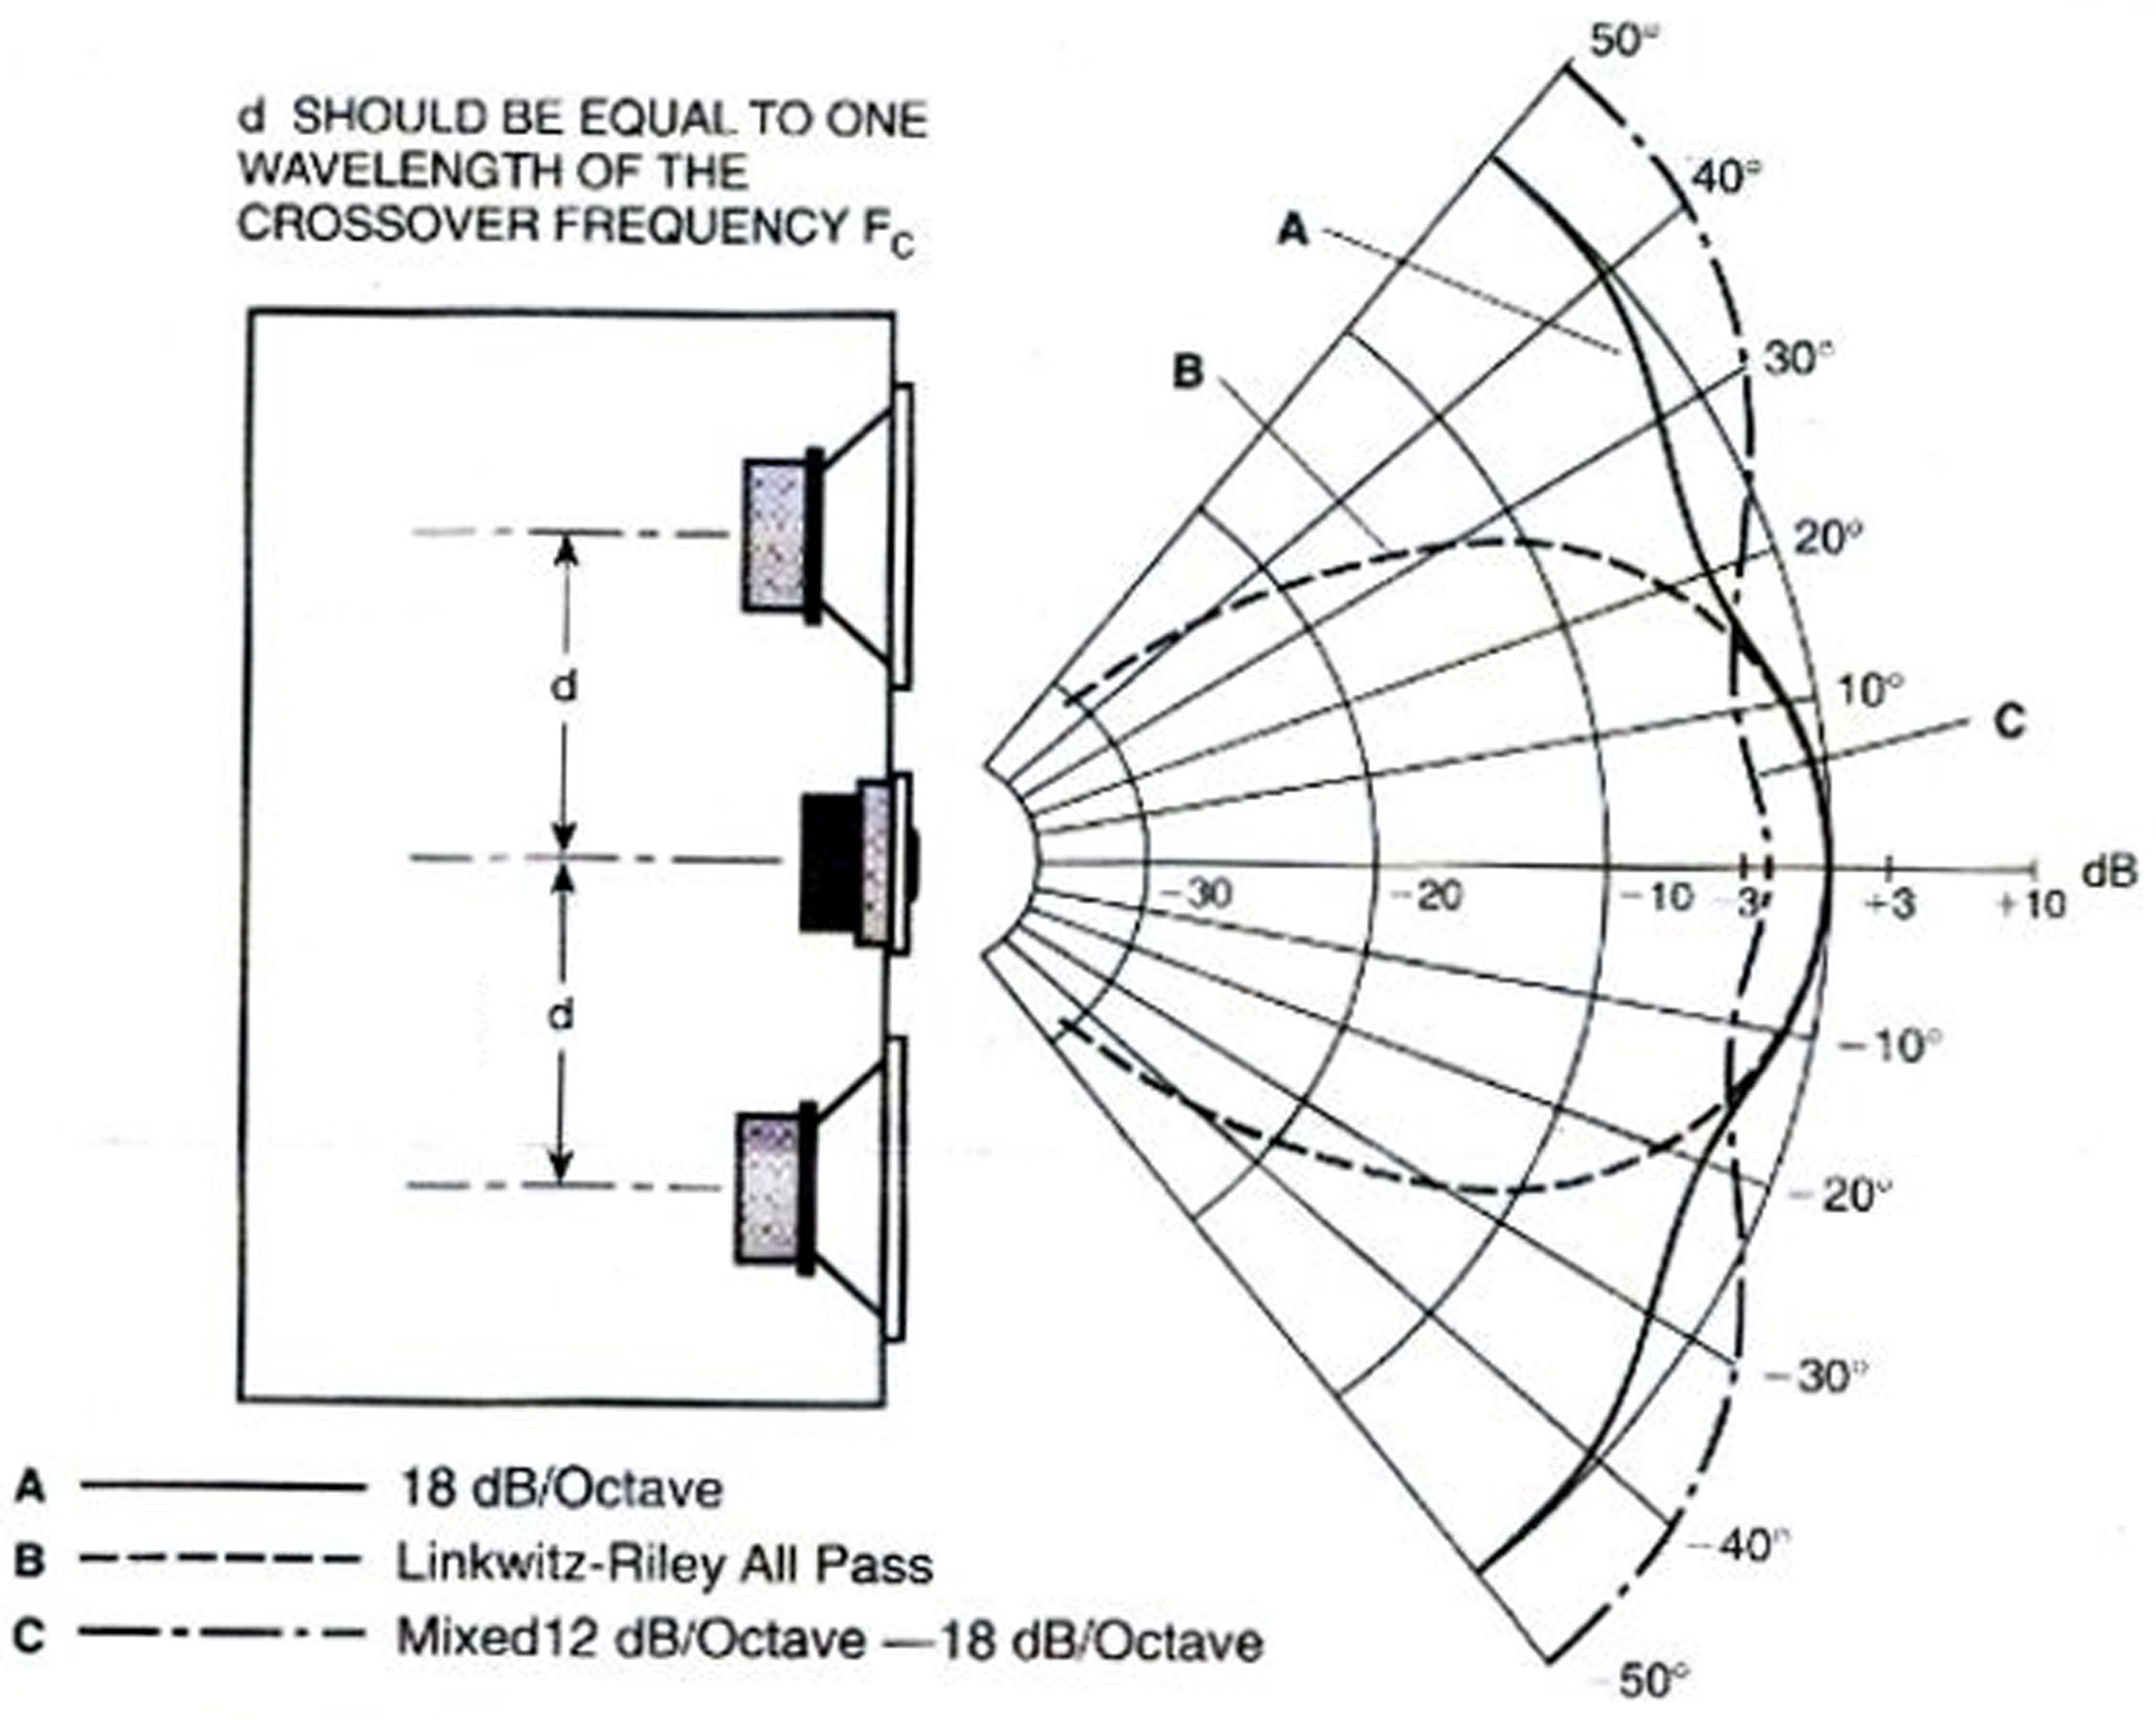 the mids and tweeters requires the drivers to have the smallest possible size - but there are design limitations to this (lowest mid-range frequency, for example, will place a lower limit to the mid's diameter). As you see in the Alyson AML, this small driver issue is not a problem, for there is a third way. (3) In conjunction with the other aforementioned methods, I also use the magic of wave guides and shallow horns to not only increase the width of the lobe, but much, much more. I can create a deeper stage effect, more focused dispersion pattern and a faster presentation. In addition the efficiency is increased substantially with the use of these wave guides. Voila!
What is on the inside counts most:
I mentioned the inside of the Alyson AML being a whole other ball game. This is true. Not only does the shape play a crucial role in the design, so do the inside baffles, materials, and damping. In concert, (pun intended) the combination of all the above elements are tuned to the specific task of helping each other compress and release the back pressure of air within the cabinet. These elements must do so without one affecting the others performance through stray vibrations or standing waves within the interior chambers. This also is true of the driver components and electronics attached to the speakers. All work as one.
Let’s start with her curves baby:
There is a graceful curve to both the 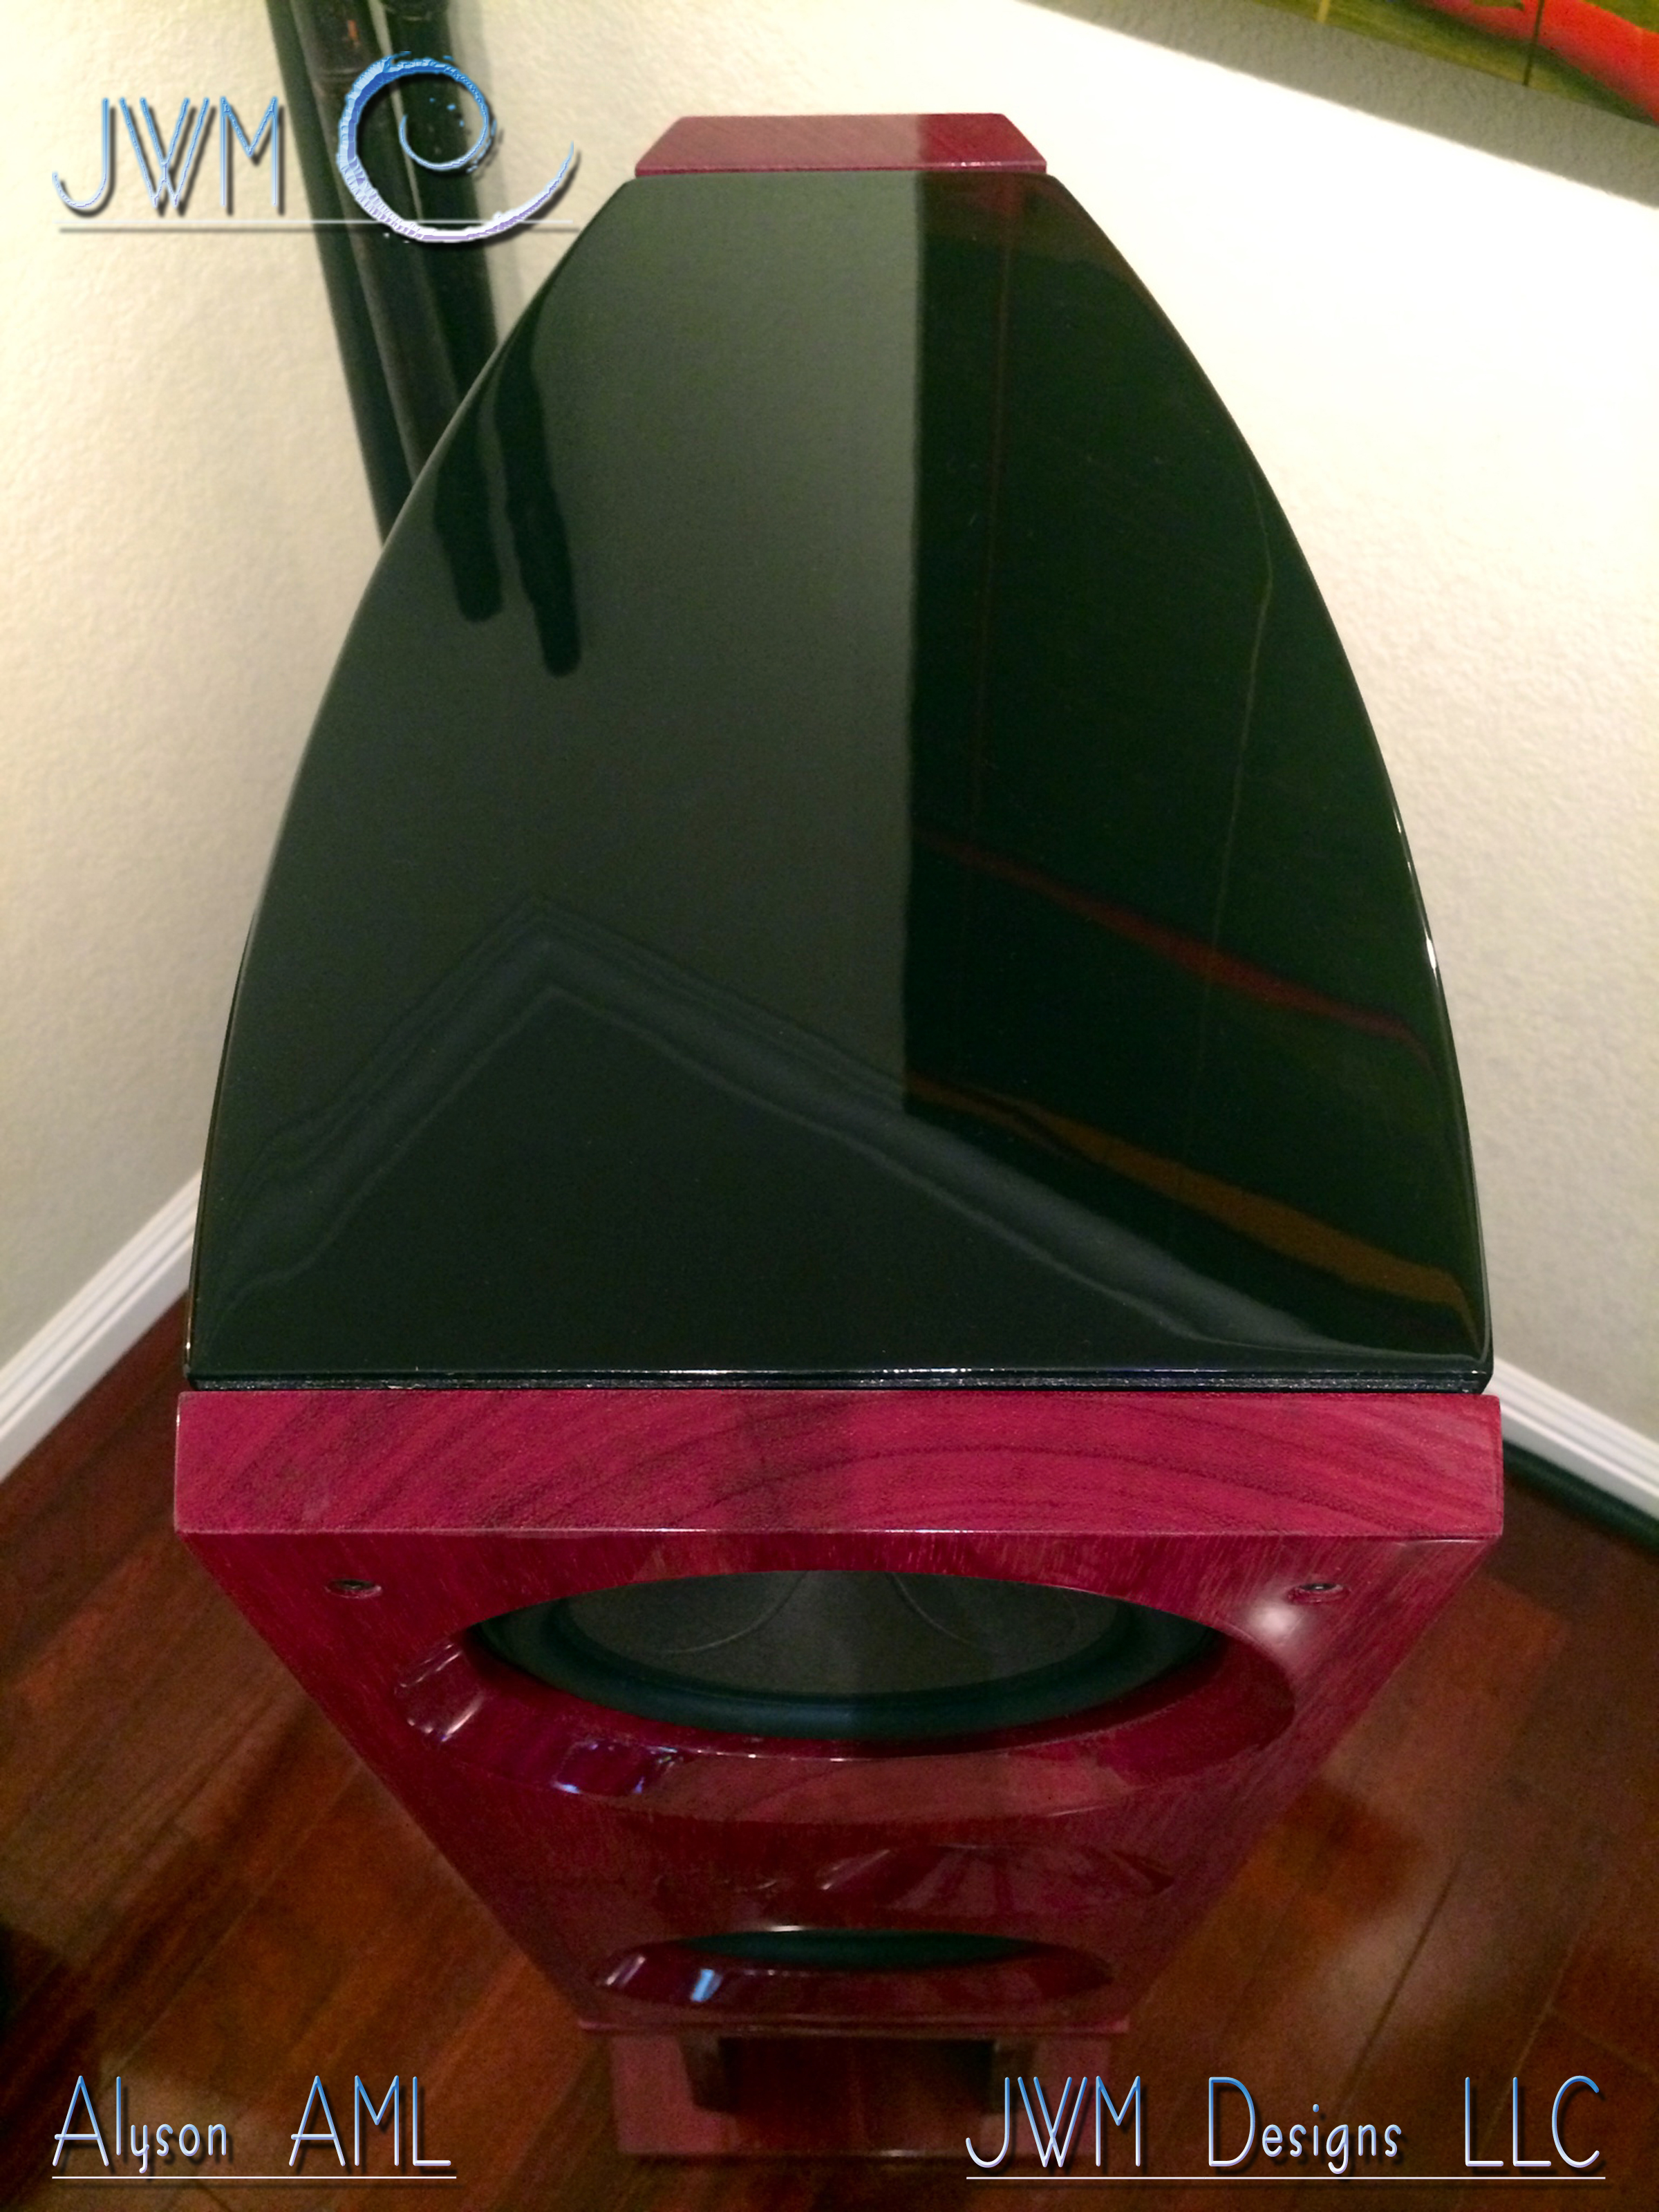 Net-1 and Alyson AML. In almost all curved cabinet speakers, the initial idea is to avoid standing waves between parallel surfaces inside the cabinet. This is true in my designs. This is but one reason for my utilization of the concept. The curved design also allows me to compress the back wave of the drivers into separate band pass cham
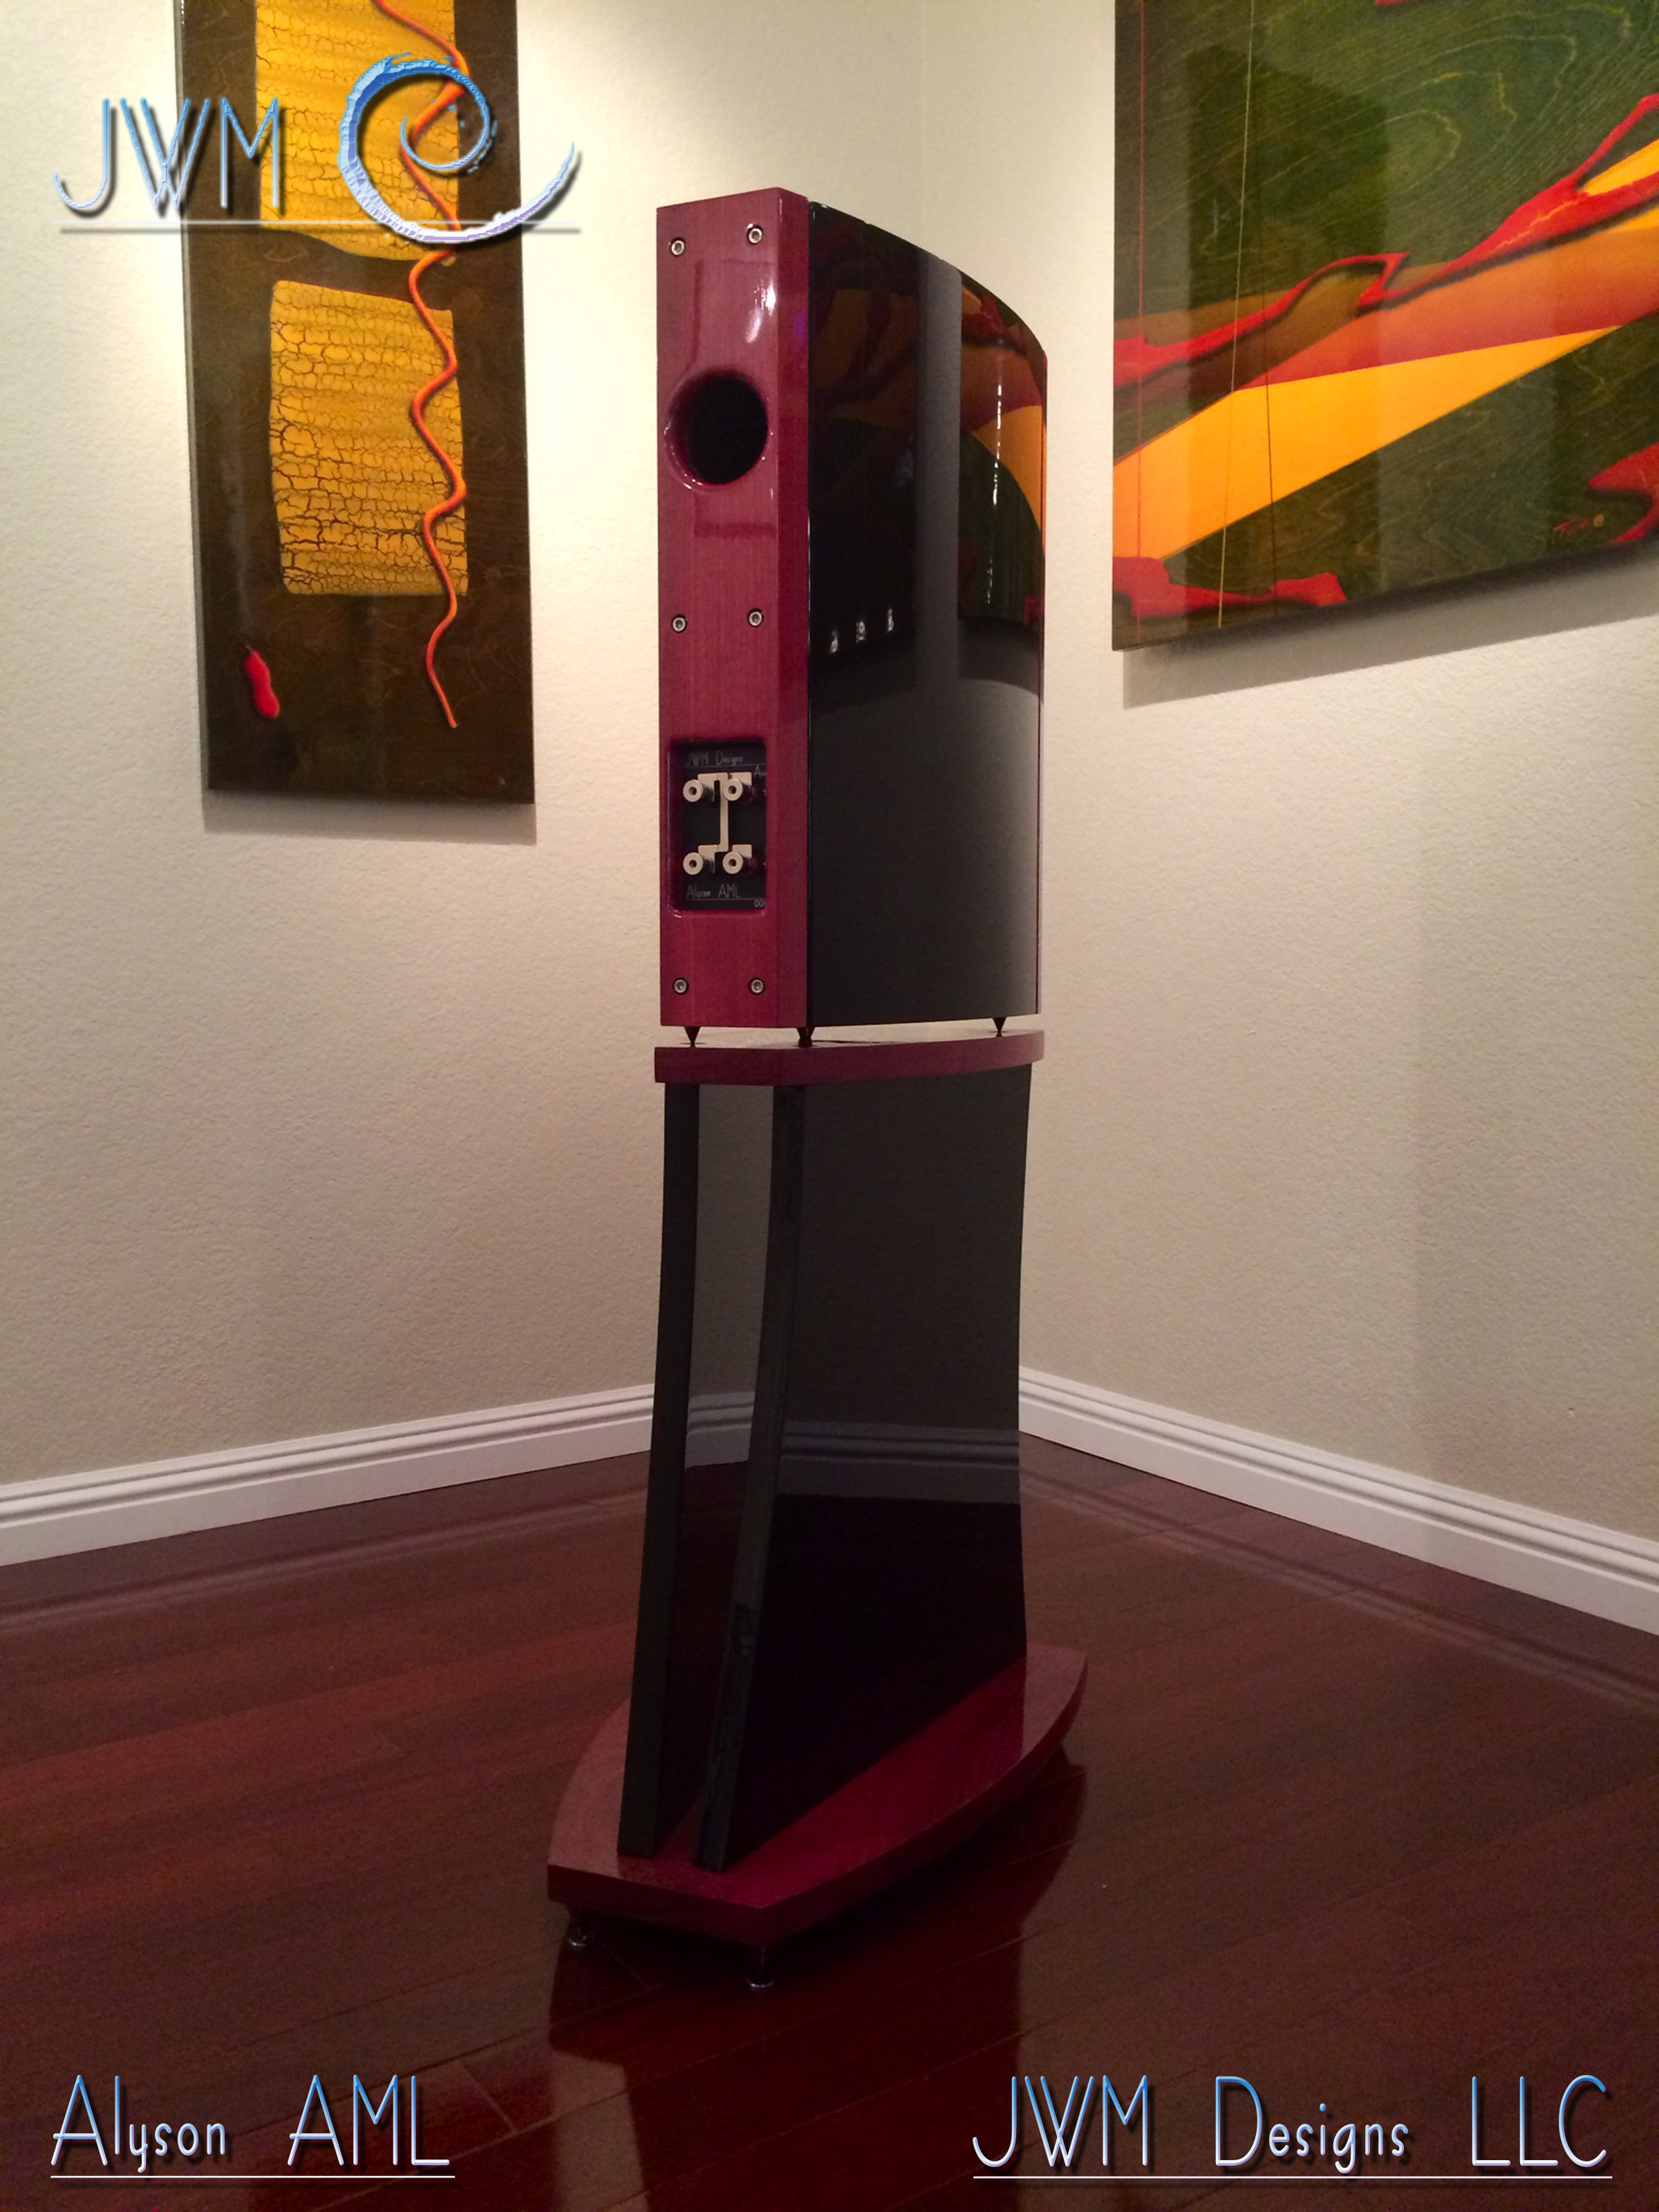 bers (two in this case) tuned to any frequency I desire. The most obvious drawback to most designers would be the speed of the rear exhaust being out of phase with the front of the speaker. You may have heard the effect in your average boom car going down the street. ONE NOTE BASS, SLOW AND OUT OF SYNC. Well, if you treat the port as an extension to the interior chambers and utilize it as a transmission line, it seems to speed things up and increase the overall efficiency of the lower frequencies! Voilà! What we have is a band pass transmission line design in a compact architecture. It gets way more complicated, but I’ll leave it at that for now.
Make it beautiful inside and out:
I cannot stress enough the importance of the materials used in not only musical instruments, but musical speakers as well! After all, they do the same thing don’t they? At least they should. You would not expect a melamine violin to sound like the padauk one in first chair. Or a cardboard bass drum to have the same attack as the shaped maple beauty on the marching field. Thus, you will find no cardboard or melamine in my machines. What you will find is carefully chosen materials. These materials are selected for their damping abilities, resonant characteristics and so much more. My background in the visual arts and industrial design demand that materials I select must also sing to the eye. You would think it stops there, but no. Even the finish plays a crucial role in the overall sound of the machine. Just the specific lacquer used on a violin is crucial to its tone, so is true of the speaker. The bonus of this approach is obvious. The combination of art, audio and design create a product that will satisfy on a multitude of levels for many years to come.
Baffles, materials and taming the shrew:
Internally, all kinds of things take place that produce vibration and resonance. Some of these effects are desirable, some are not. I have spent a great deal of time deciding which should be exploited in my designs. I have spent equally as much energy in the pursuit of taming all of them with as little material as possible. Those materials are extremely important though. In some cases, even more essential than the cabinets themselves. Each has been selected from numerous manufactures for their ability to do precisely what I need them to do. No more, no less. Efficiency is the name of the game when taming resonance.
The curved cabinets and stand wing components are made from the same materials and finished in the same way as well. The reason for this was to create a symbiotic relationship between the stand and speaker cabinet. Both components have nearly the same mass and surface area, thus react to vibration in the same way. The shape of both allow for any unwanted stray resonance to be channeled silently down through the stand and terminate in the lower plate. In the rare case any further damping is required; the choice of spiked feet couples the units to the floor and bleeds the vibration away.
People and parrots like shiny things:

When it comes to the finish on the speakers and stands, I spare no expense. The bodies of the system and stand wings use a 12 layer process, followed by a 6 step polishing regiment. I utilize the latest conversion varnish technology. Each layer is sprayed, dried and sanded. The final coat is then sanded several times down to 3,000 grit. Next, final polishing begins. Polishing is also a labor of love and takes a minimum of 2 compounds before final polishing. This not only provides a durable and long lasting finish, it allows for a deep and rich mirror finish that rivals any piano manufacturer’s proprietary technique. The possibilities are endless as far as solid colors, but if the end user wishes, I can custom match any top finish with automotive lacquers and/or clear coated bases. As long as the damping factor of the coats fit within my acoustic parameters, I’m ready to play!!!

 The hardwood components of these systems are treated in the same way. Hardwoods are picked first for their acoustic properties, then beauty. Form must follow function in this case, but in every case thus far, the two have worked together perfectly. The very same 12 step process is used in the finishing of the hard wood components. Rather than using pigmented primers and bases, as in the body and wings, I use crystal clear sanding and leveling materials to start. Again, each layer must be dried, sanded and inspected before the next. The end result is worth every bit of sweat. Don’t forget, I can create these in any hardwood you wish, as long as it fits within my parameters of the ideal acoustic wood. No, Balsa will not work! Lol…
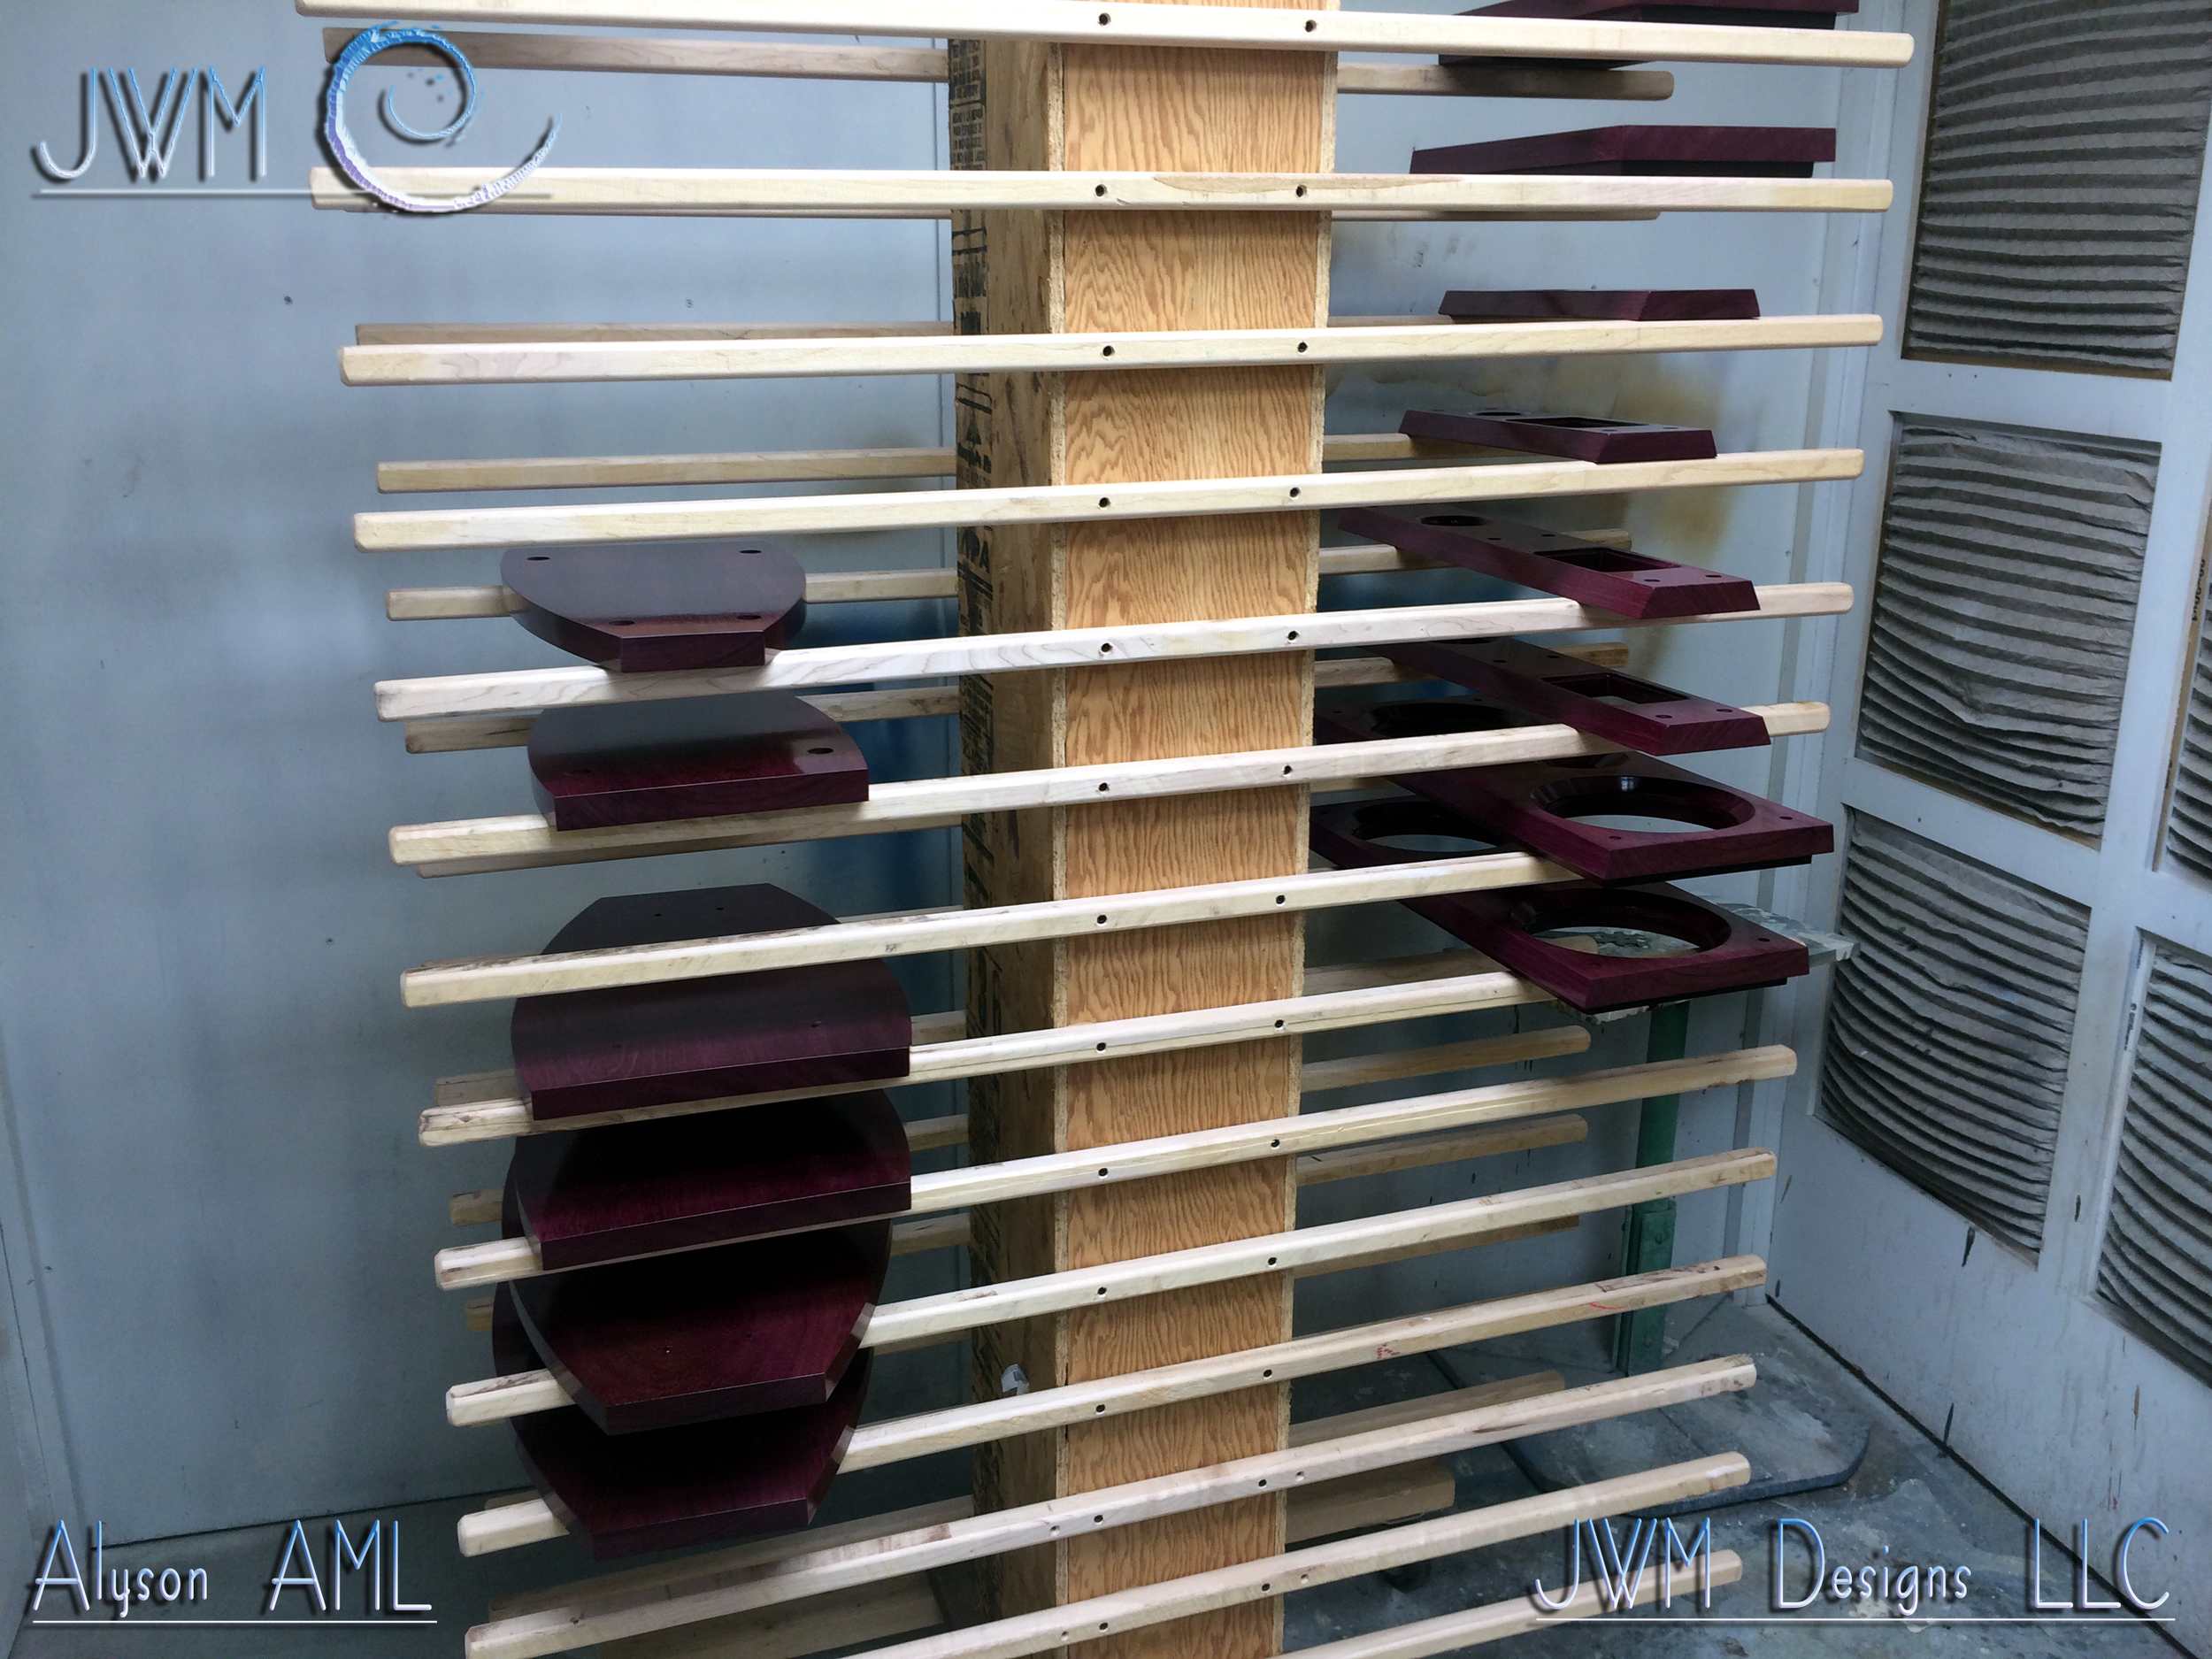 In the near future, I will be adding more visual options to each line of speakers. This will include custom veneers, hardwoods and a rainbow of colors to choose from. Depending on demand, I may also choose to keep custom automotive finishes on hand as standard practice. Stay tuned!
The bottom line of the Alyson AML:
My mission was threefold. First, to create a fast and efficient MTM design, utilizing a transmission line and band pass cabinet layout. Second, to provide many options to the end user in finishes and wood. Yes, a high “Wife Factor” coefficient is always a plus! There, I said it. They are easy on the eyes! Third, I believe it important to have my machines HAND MADE and manufactured in the USA! Yes, I have some parts made in Germany, Canada and Denmark, but I feel there is no manufacturer in the US for those certain parts, that can meet my demand for perfection. "YET"! As soon as that is possible, ALL of these systems in my collection will be made here at home in Hawaii. I feel satisfied that I have exceeded my objectives and confident that the listener will agree. As I said in the beginning of this post, These machines are to be picked as if they were a piano for your family. After all, I build them to last for many generations.
Alyson Aml...
Thank you,
Joshua W. Miles
Specifications: Frequency Response: 35-35,000Htz Short term max. power: 600 Watts Long term max. power: 450 Watts X-Over frequency: 2,500Htz Impedance: 4 Ohms Sensitivities: 89dB SPL Recommended amplifier: 40-400 Watts
Questions and Inquiries:
All questions and inquiries, including pricing can be directed to the fallowing addresses. All dealers are also welcome to call at any time. Systems will be available in person as well as at select locations in the very near future. Also, stay tuned for my personal on-line shop as well!
Joshua W. Miles Designs LLC PO BOX 944 Kailua, HI 96744 (808)349-6661 (808)421-9991 joshuawmilesdesigns@yahoo.com
Special Thanks:
I would like to send a special and warmhearted thank you to Thorben Wuttke. Owner and master woodworker for Honolulu Furniture Co. Without your MAD SKILLS and exceptional taste, these machines would still be just a scribble on a bar napkin. Much Mahalo!!!
References
- "Article by Rane discussing the Linkwitz-Riley crossover, time-alignment, lobing and correction of lobe tilt in TM or MT speaker configurations."
- "Biro Technology article showing lobe correction with MTM loudspeaker configuration, and other analyses"
- "Biro Technology article, section 3"
Hiking Hawaii: Kamiloiki valley to ridgeline to Pahua Heiau Loop: Hawaii Kai, Oahu, Hawaii.
DISCLAIMER!!! I assume no responsibility for any broken bones, skinned knees, blood loss, bee stings, sudden black-outs, dehydration, tears shed, or crybabies on the first leg of this hike. You’re on your own. With that said, “Break a leg” and have some fun hikers!!!
Distance: 4.52M. Elevation: 29ft.-1,265ft.-16ft. Time: 6.6 hours. Water consumption: 48oz. Caloric output: Allot! Difficulty: 3.8-4.4 Geo Cache: 4-5
Way points:
Parking: 21°18'1.80"N 157°41'33.79"W Trail head 1: 21°18'2.22"N 157°41'34.28"W
Trail head 2: 21°17'54.19"N 157°41'24.39"W
A: Kaiwi Road: 21°18'5.49"N 157°41'34.53"W
B: Urban dump: 21°18'31.15"N 157°41'34.36"W
C: Water ruts: 21°18'46.13"N 157°41'35.38"W
D: Jeep road: 21°18'48.91"N 157°41'31.31"W
E: Pine trees: 21°18'59.45"N 157°41'32.96"W
F: Big rock: 21°19'2.05"N 157°41'32.01"W
G: Thick: 21°19'5.94"N 157°41'32.95"W
H: Thicker: 21°19'11.79"N 157°41'34.88"W
I: Slab: 21°19'13.41"N 157°41'36.32"W
J: Ridge: 21°19'15.03"N 157°41'35.62"W
K: Pine forest: 21°19'13.59"N 157°41'23.70"W
L: Trail cut-off: 21°19'15.07"N 157°41'19.54"W
M: Drink: 21°18'51.61"N 157°41'14.70"W
N: View: 21°18'36.46"N 157°41'18.05"W
O: Cut-off: 21°17'58.21"N 157°41'23.22"W
P: Heiau: 21°17'54.70"N 157°41'23.51"W
For starters, PLAN AHEAD! This will take you a fair amount of the day and plenty of water and perhaps a few tacos in your pouch. (And some Band-Aids) There is a section of this trail that is not on any maps I could find, so we made our own through the valley. Depending on the conditions in the back of this section, you may find yourself beyond head high in saw grass, sharp ass thorns and hidden “Ankle Breaker” holes in the weeds. The rule here is, WATCH YOUR STEP! The rewards at the top are worth the battle, so power on hikers, power on…
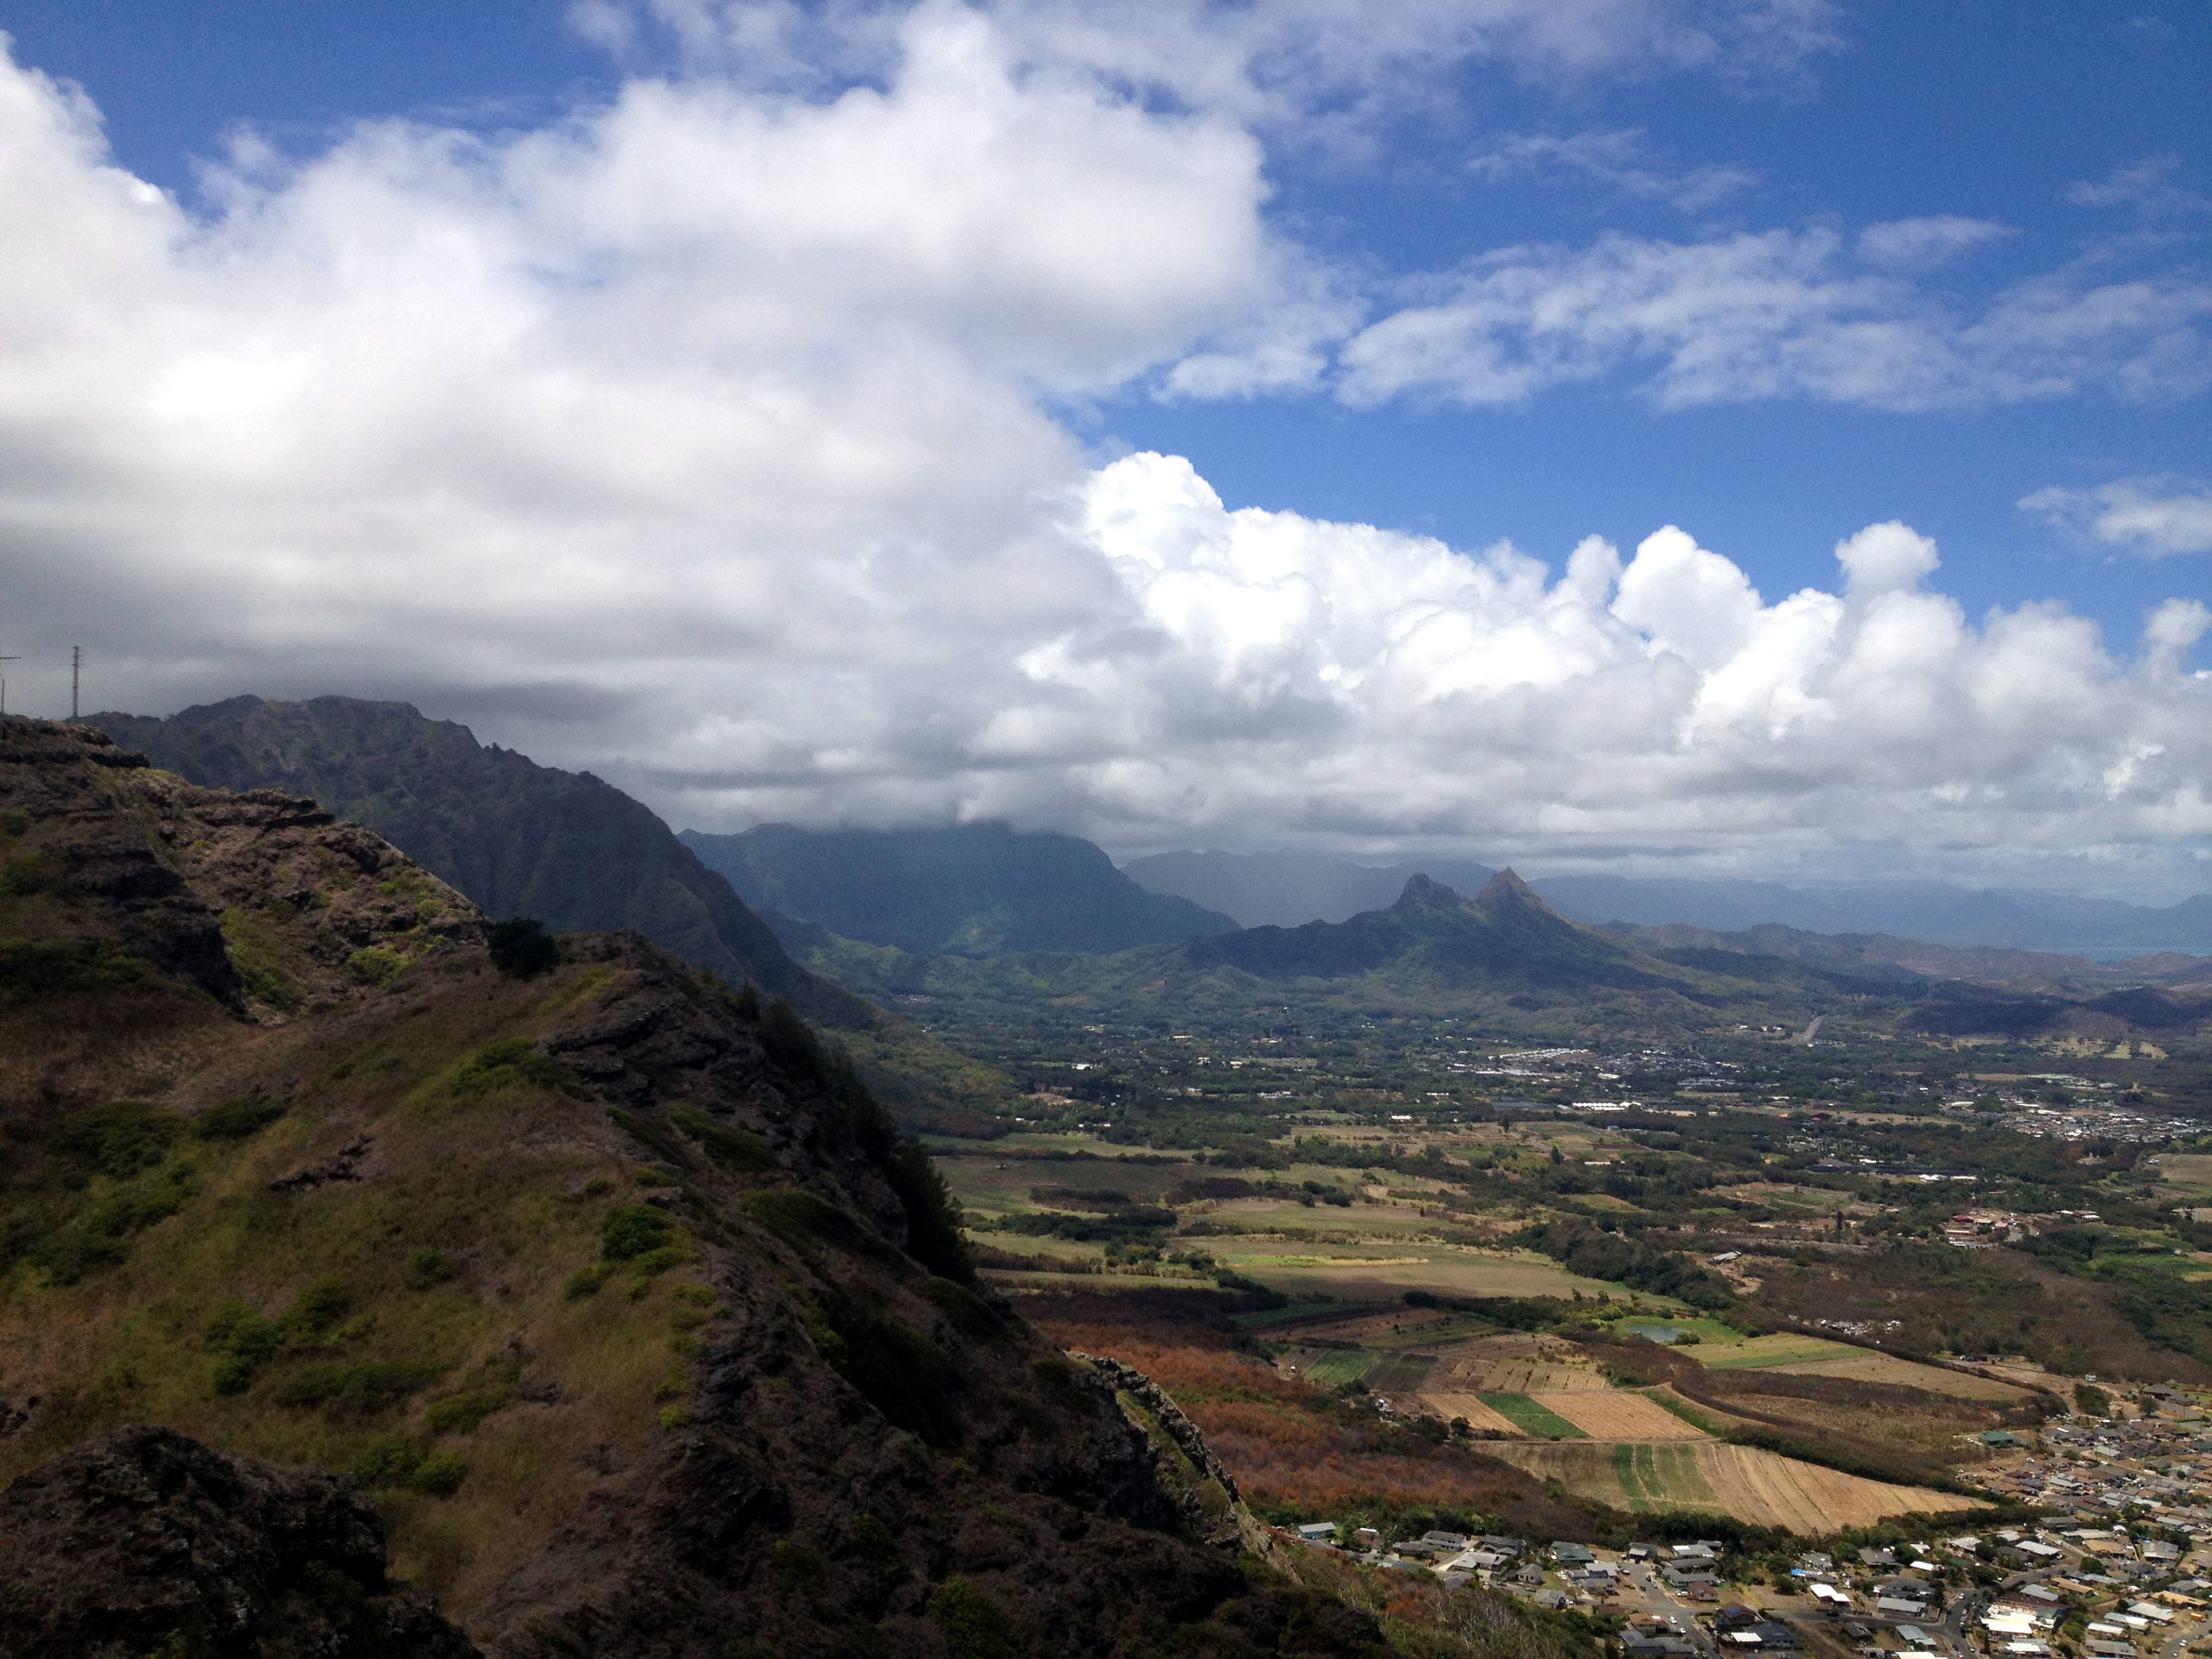
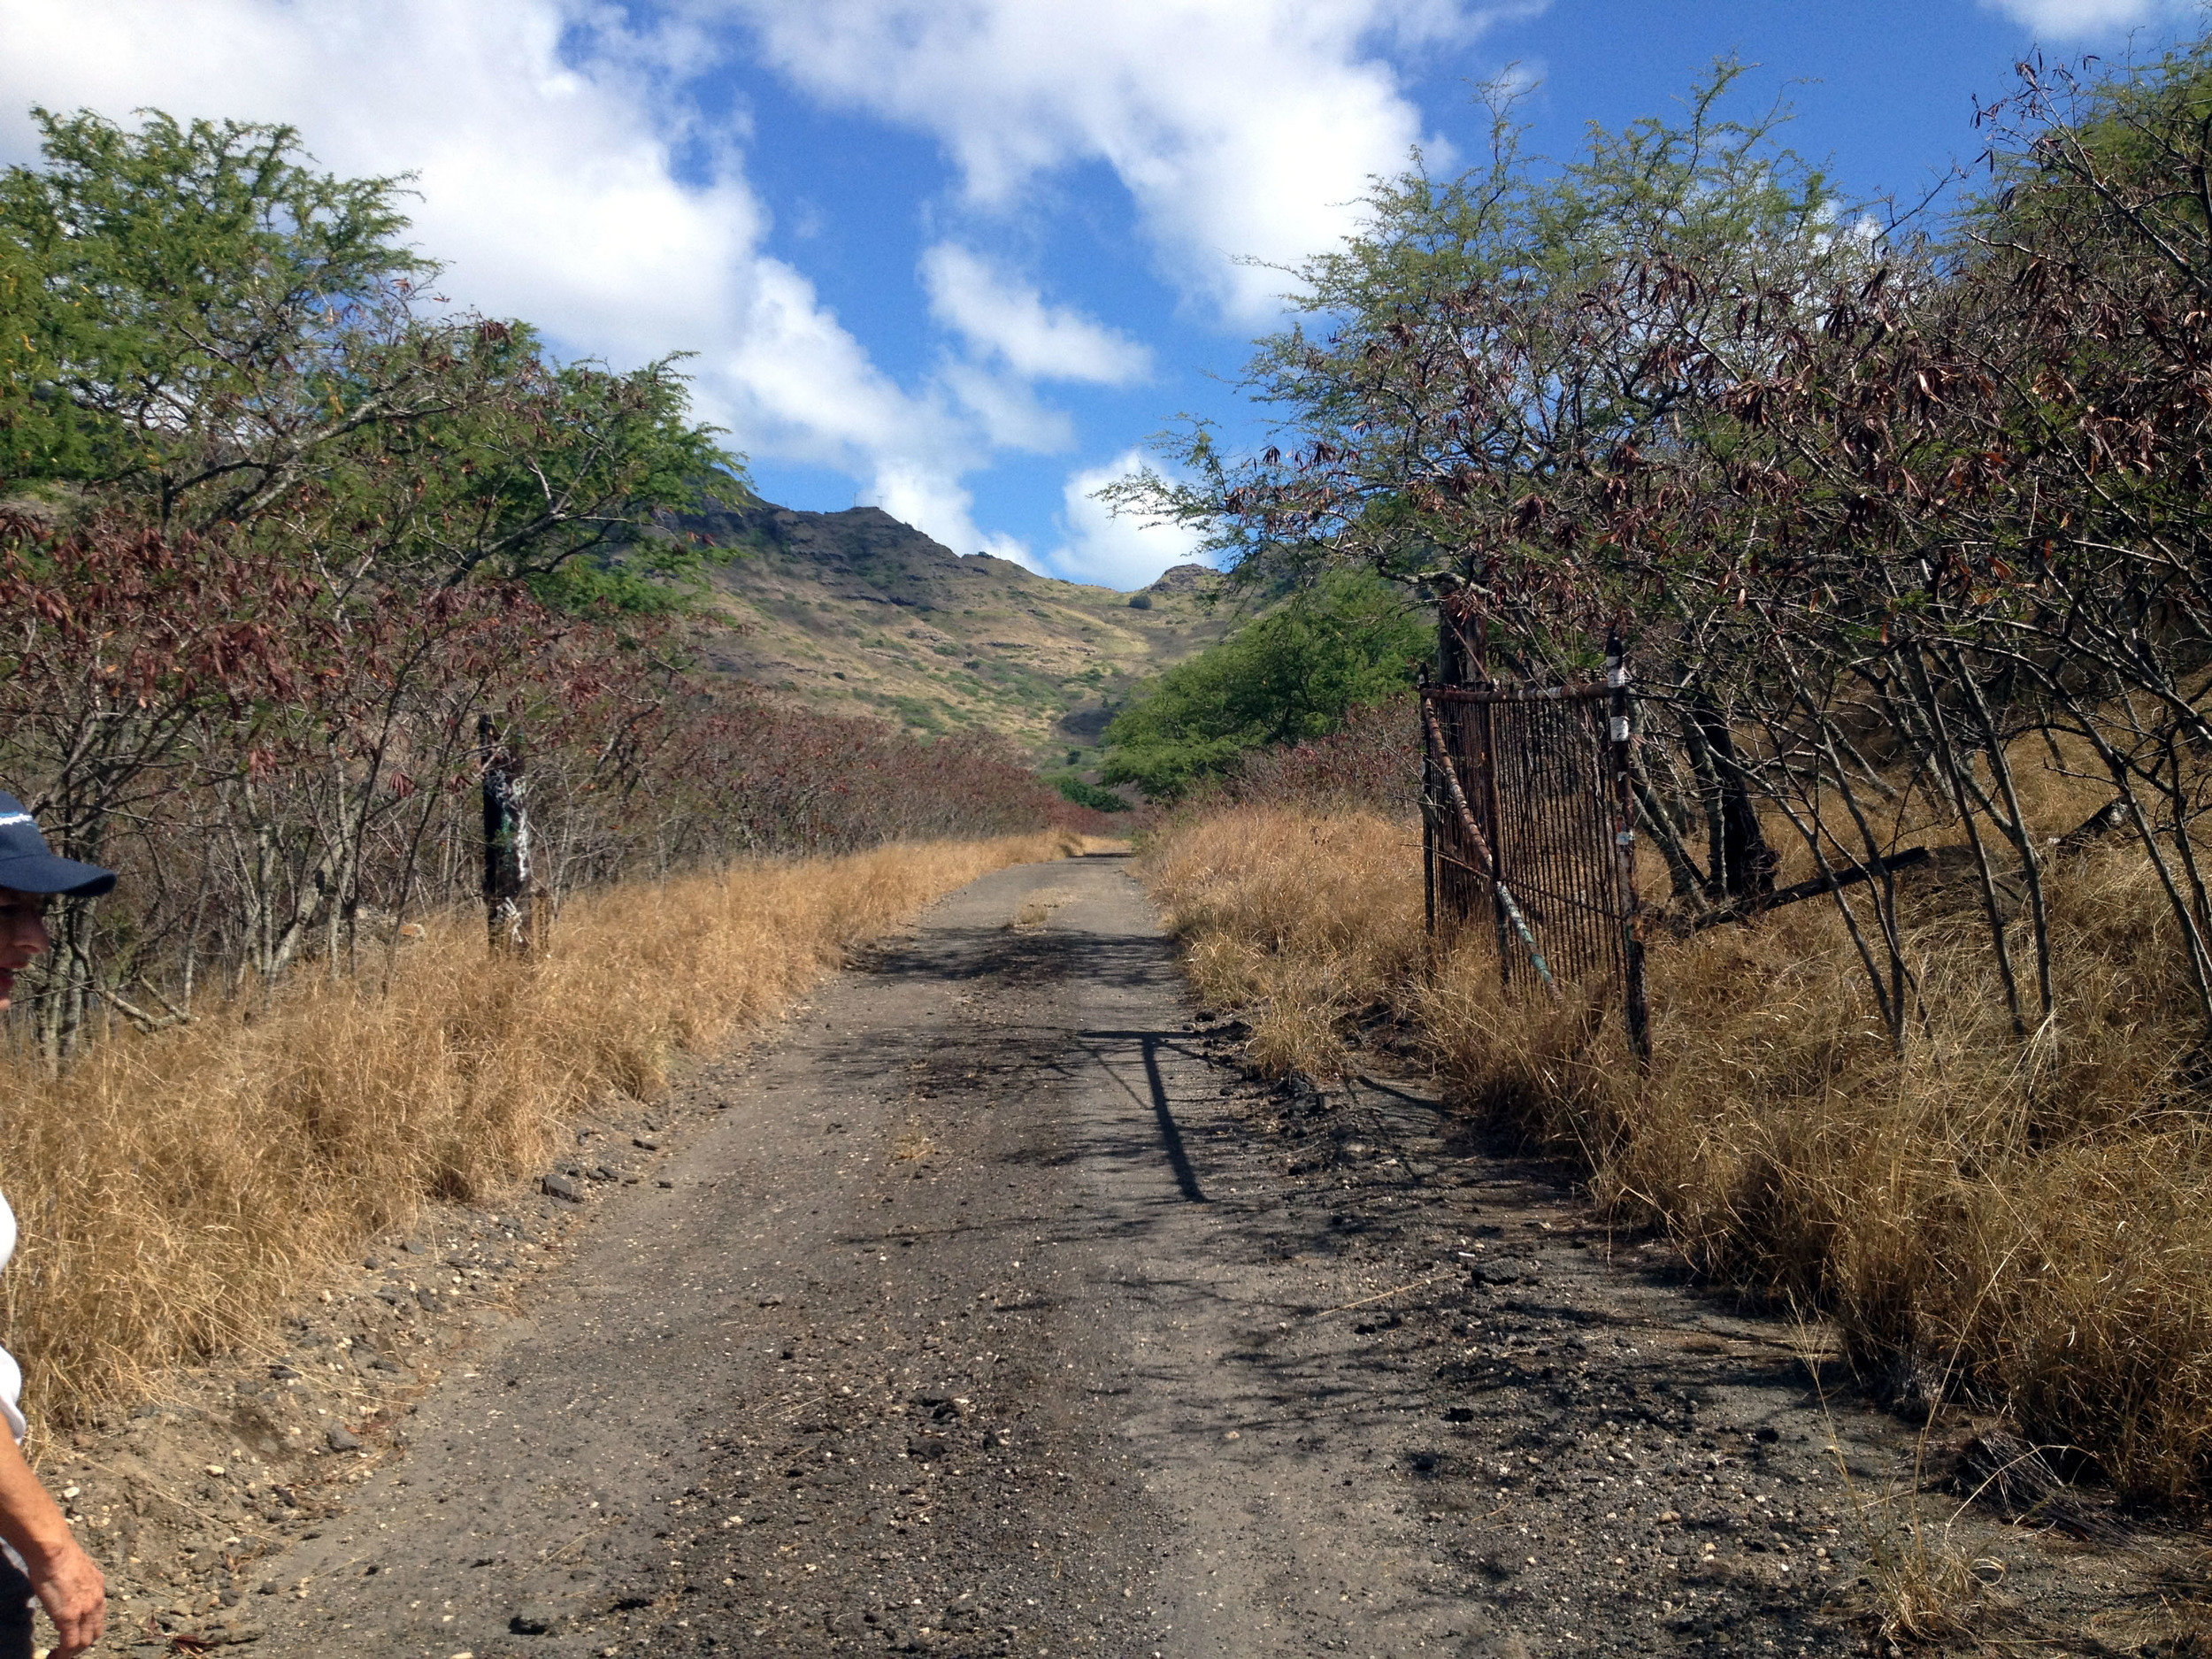 Kamiloiki is a pretty groovy ridge hike in East Oahu. You can get to the trail from the Pahua Heiau, just off Makahuena Place in Hawaii Kai, and ascends to the Koolau summit overlooking Waimanalo at an elevation of about 1,400 feet. Not on this day. If you are out of your mind like my friend and I, you can ascend to the ridge from the valley. Apparently there used to be a few old Jeep roads and trails that would lead to the back of this valley, ultimately ending at the saddle of the ridge. In the 1960’s, there was some quarry work going on back in this valley and some of the old roads can be made out in Google Earth. That means absolutely nothing while buried in 18 foot tall grass. Ever tried to navigate a corn field? Then you get what I’m saying. The entire route was grown over and all maps had little relevance to what I mapped on my GPS units. So, what I did was hack through the bushes and drop bread crumbs all along the way for you to fallow. Although there was evidence of a trail, from time to time those little pink hike markers quickly disappeared and we found ourselves bush-whacking our way to the top. If you find yourself discouraged, take a breath and look for the ridge in the distance. Just head there. I assure you, it is possible, so be cool and stay frosty. “DID HE SAY BEE”????? “RUN”!!!
You can park your car somewhere near the corner of Kamilo St. and Niumalu Loop. At the end of this street, you will see a dead end and a dirt road that runs perpendicular to the street. Pass through the bushes and head left. In about 40 yards, you will see a dirt road that heads towards the valley on your right. GO!!!!!!
 This is an old service road that heads for quite a distance into the valley. You may see some urban remnants and some additional trails on the left and right, but just stay on the main road until it peaters out. When this is the case, just keep a sharp eye out for those pink and orange trail markers. They will lead you into the fire for sure, but have faith my fellow hikers. “BE THE TRAIL GRASS HOPPER”!
 Along the way and after a few scrapes, you will find your way across many water ravines and old grown over roads. In such cases, it is easy to have the desire to follow those roads into hell, but DO NOT stray from the markers yet. Even if they lead you into a wall of grasses, you must stay the course at all costs. Some of these other routes may lead you back the wrong direction and that would be a waste of time for sure. Our goal is up, up, up!!!
A grove of pine trees will quell your anxiety. Take a break and lie down in the pine needles for a spell. There are a few comfortable rocks to enjoy a taco if you wish! Don’t eat too many though, or stay too long. There is a mountain to conquer soon and you will need the day light. OK, all rested? Kick’n, let’s get going…
At some point, those little pink fairies will dissolve. Yes, those beacons in the dark finally decided you were a nut ball and split. You are all alone from here my friend. This is the part I spoke of earlier. Try hard to keep the course. Up, up ,up…
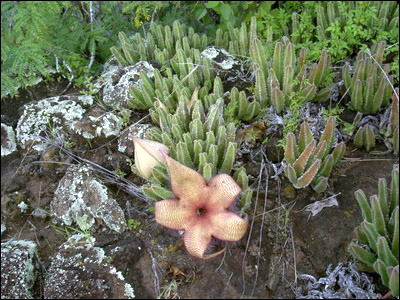 Soon enough, you will be able to make out the trail along the saddle ridge before you. The last few steep spots will tax you, but never fear for the view just over there is worth it. Something to remember as well, by now you are as hot a flap-jack on a griddle. If you make it to the ridge, it has breezes that would cool even the hottest Supermodel down to her bones! (Oh boy) ”Got water”?!?!
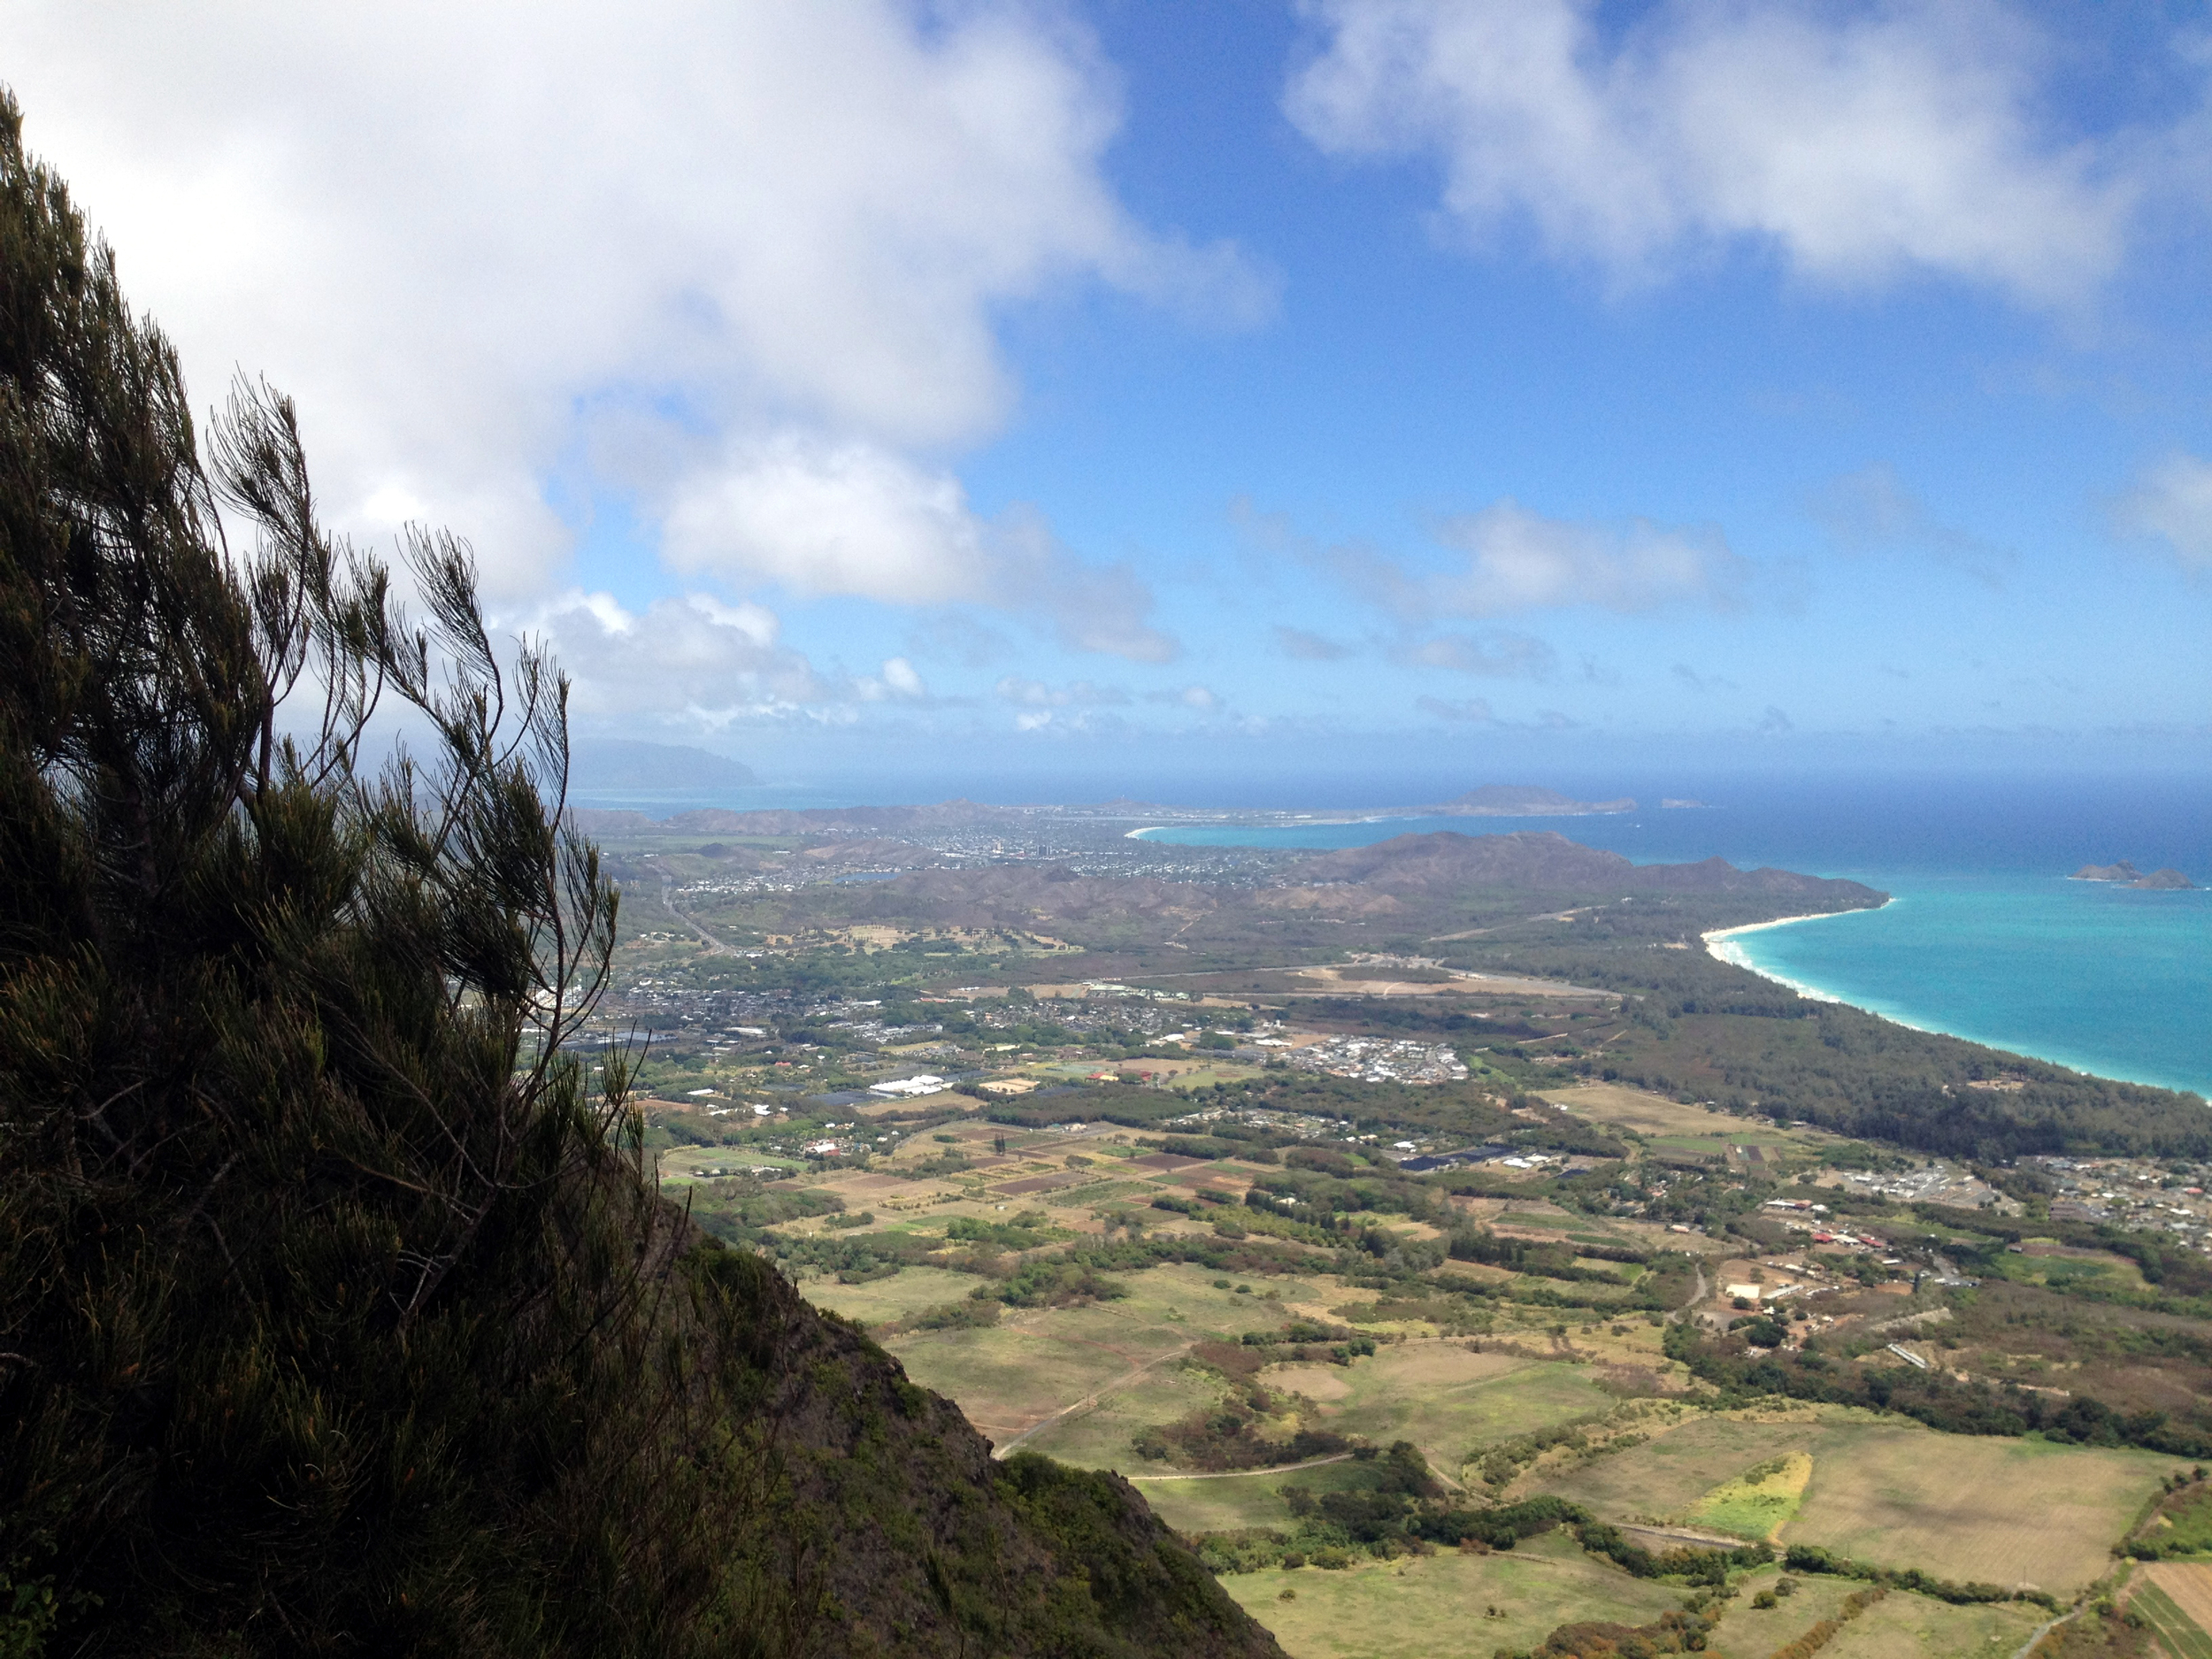
 YOU MADE IT!!!! Now look left and right! Look ahead! This is some awesome stuff guys’! The ridge trail on the right follows an open ridge with little shade, although it enters an ironwood forest just before the final climb to the summit. The cliffs below will steepen a tremendous amount below you as you climb the exposed rocks. Never fear though, the trail has been well traveled and feels safe. The 5-mile round trip is okay for older children, providing they are under complete control at the summit at all times. At the end of the trail, a cliff appears suddenly, and drops precipitously more than 1,000 feet. This is no place for kids to be running around, and the acrophobic will want to hang back in the wooded area behind the drop-off.
NOW YOU CAN EAT THOSE TACOS!!!! Take a seat in the woods and enjoy. The winds are amazing as they excite the pine trees. The needles on the ground make for comfortable napping as well! “Snooooooor”… You may need the rest, for the never ending trek down the Kamiloiki ridge is before you now.
Head on down the trail until you come to a split to your right. This is the trail down to the ridge. At first, you will find yourself in a forest with several switchback trails. Just keep on going. Eventually, you will begin to see the task before you. A long, hot, sweaty, rocky and dry ridge. To your left, you will be passing above the neighborhood above Lunalilo Home Road. To your right, you will see a beautiful valley that I hope to explore in the near future. Depending on the time of the year, Carrion Cactus will be blooming in many places along this part of the ridge. If you are curious about the name, kneel down close to the flower and sniff.
The long road home may seem endless at times, but I assure you, it will end. There is a cut-off to the right you are looking for. This is a steep trail that will lead you down into the Heiau and to Makahuena Street. Watch your step and be mindful of the loose rocks and slippy dirt sections. Please do not walk in or on the heiau to reach the street, and respect neighborhood residents by proceeding quietly. There are some placards with some history lessons if you wish, but by this time I am sure an air conditioned bar and a beer is more likely on the top of your agenda.
Speaking of a beer. I’m done here!!!!!
Happy trails yall!!!!
JWM
Hiking Hawaii: Likeke Falls Trail to Ho’o’maluhia Botanical Gardens: Kaneohe, Oahu, Hawaii.
This is a nice moderate to experienced level hike. Points of interest include, Pali Tunnel, Likelike Falls, Old Pali Road (cobblestone) Likelike Tunnel, under the H3, Ho'o'maluhia Botanical Gardens and more. Truth be told, this hike is about the hunt more than anything!!!! Hunt for what you ask? Ahhhh, wait and see…
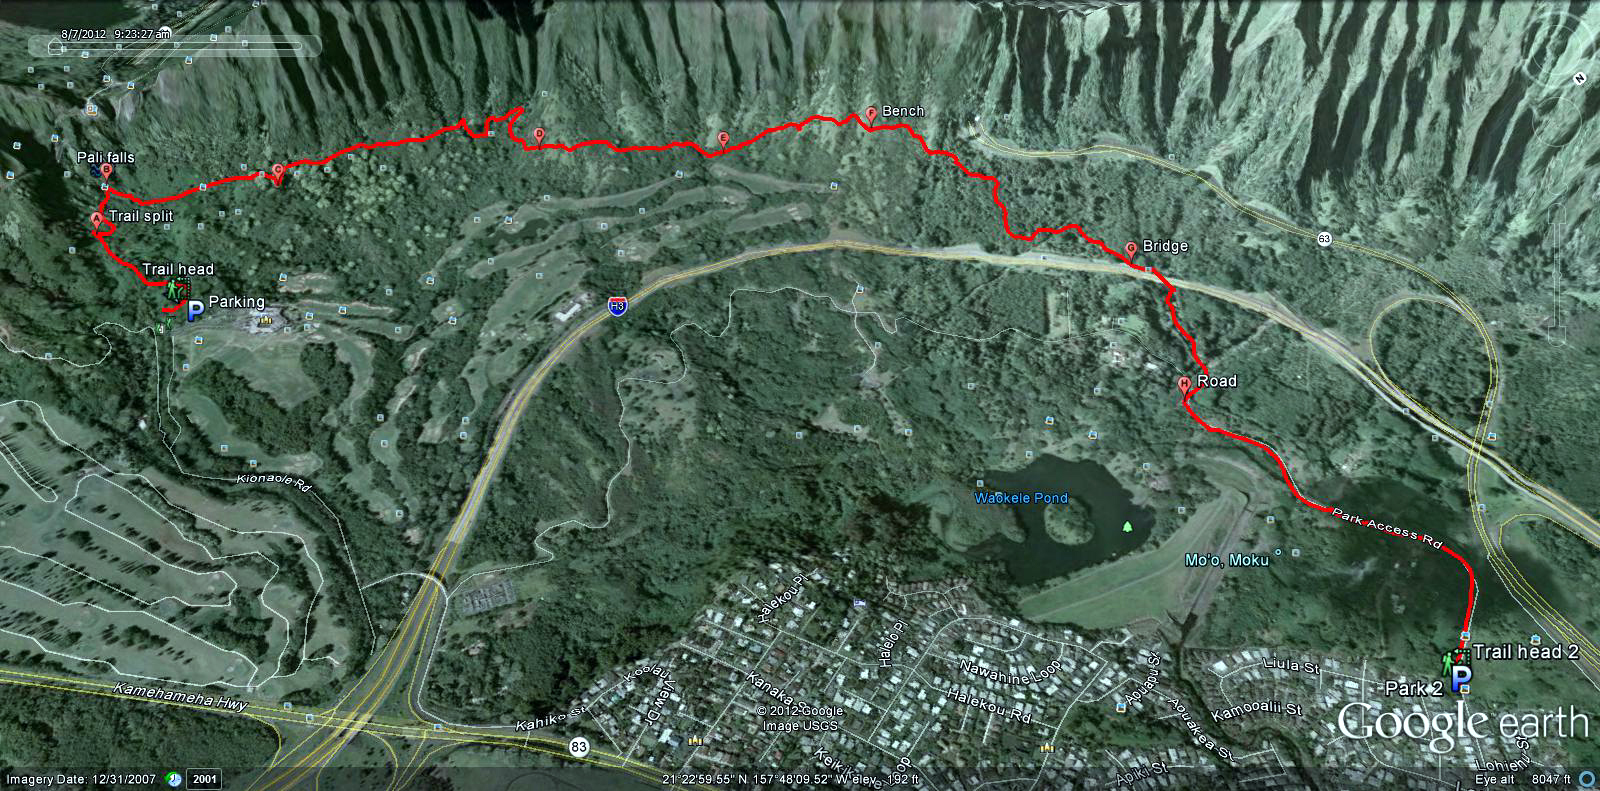 Distance: 4.13Mi.
Elevation: 467ft.-780ft.-160ft.
Time: 3.75 hours.
Water consumption: 51oz.
Caloric output: Who cares…
Difficulty: 1.8-3.0
Geo Cache: 4-5
 Way points:
 Parking 1: 21°22'24.77"N 157°47'32.74"W
Parking 2: 21°23'47.37"N 157°48'27.34"W
Trail head 1: 21°22'21.74"N 157°47'32.69"W
Trail head 2: 21°23'46.54"N 157°48'28.16"W
A: Trail split. 21°22'11.48"N 157°47'30.04"W
B: Pali Falls. 21°22'6.89"N 157°47'33.08"W
C: Huge Mango. 21°22'14.33"N 157°47'45.82"W
D: View. 21°22'24.37"N 157°48'7.67"W
E: View 2. 21°22'34.00"N 157°48'21.95"W
F: Bench. 21°22'41.56"N 157°48'33.77"W
G: Bridge. 21°23'6.28"N 157°48'42.18"W
H: Road. 21°23'18.96"N 157°48'33.91"W
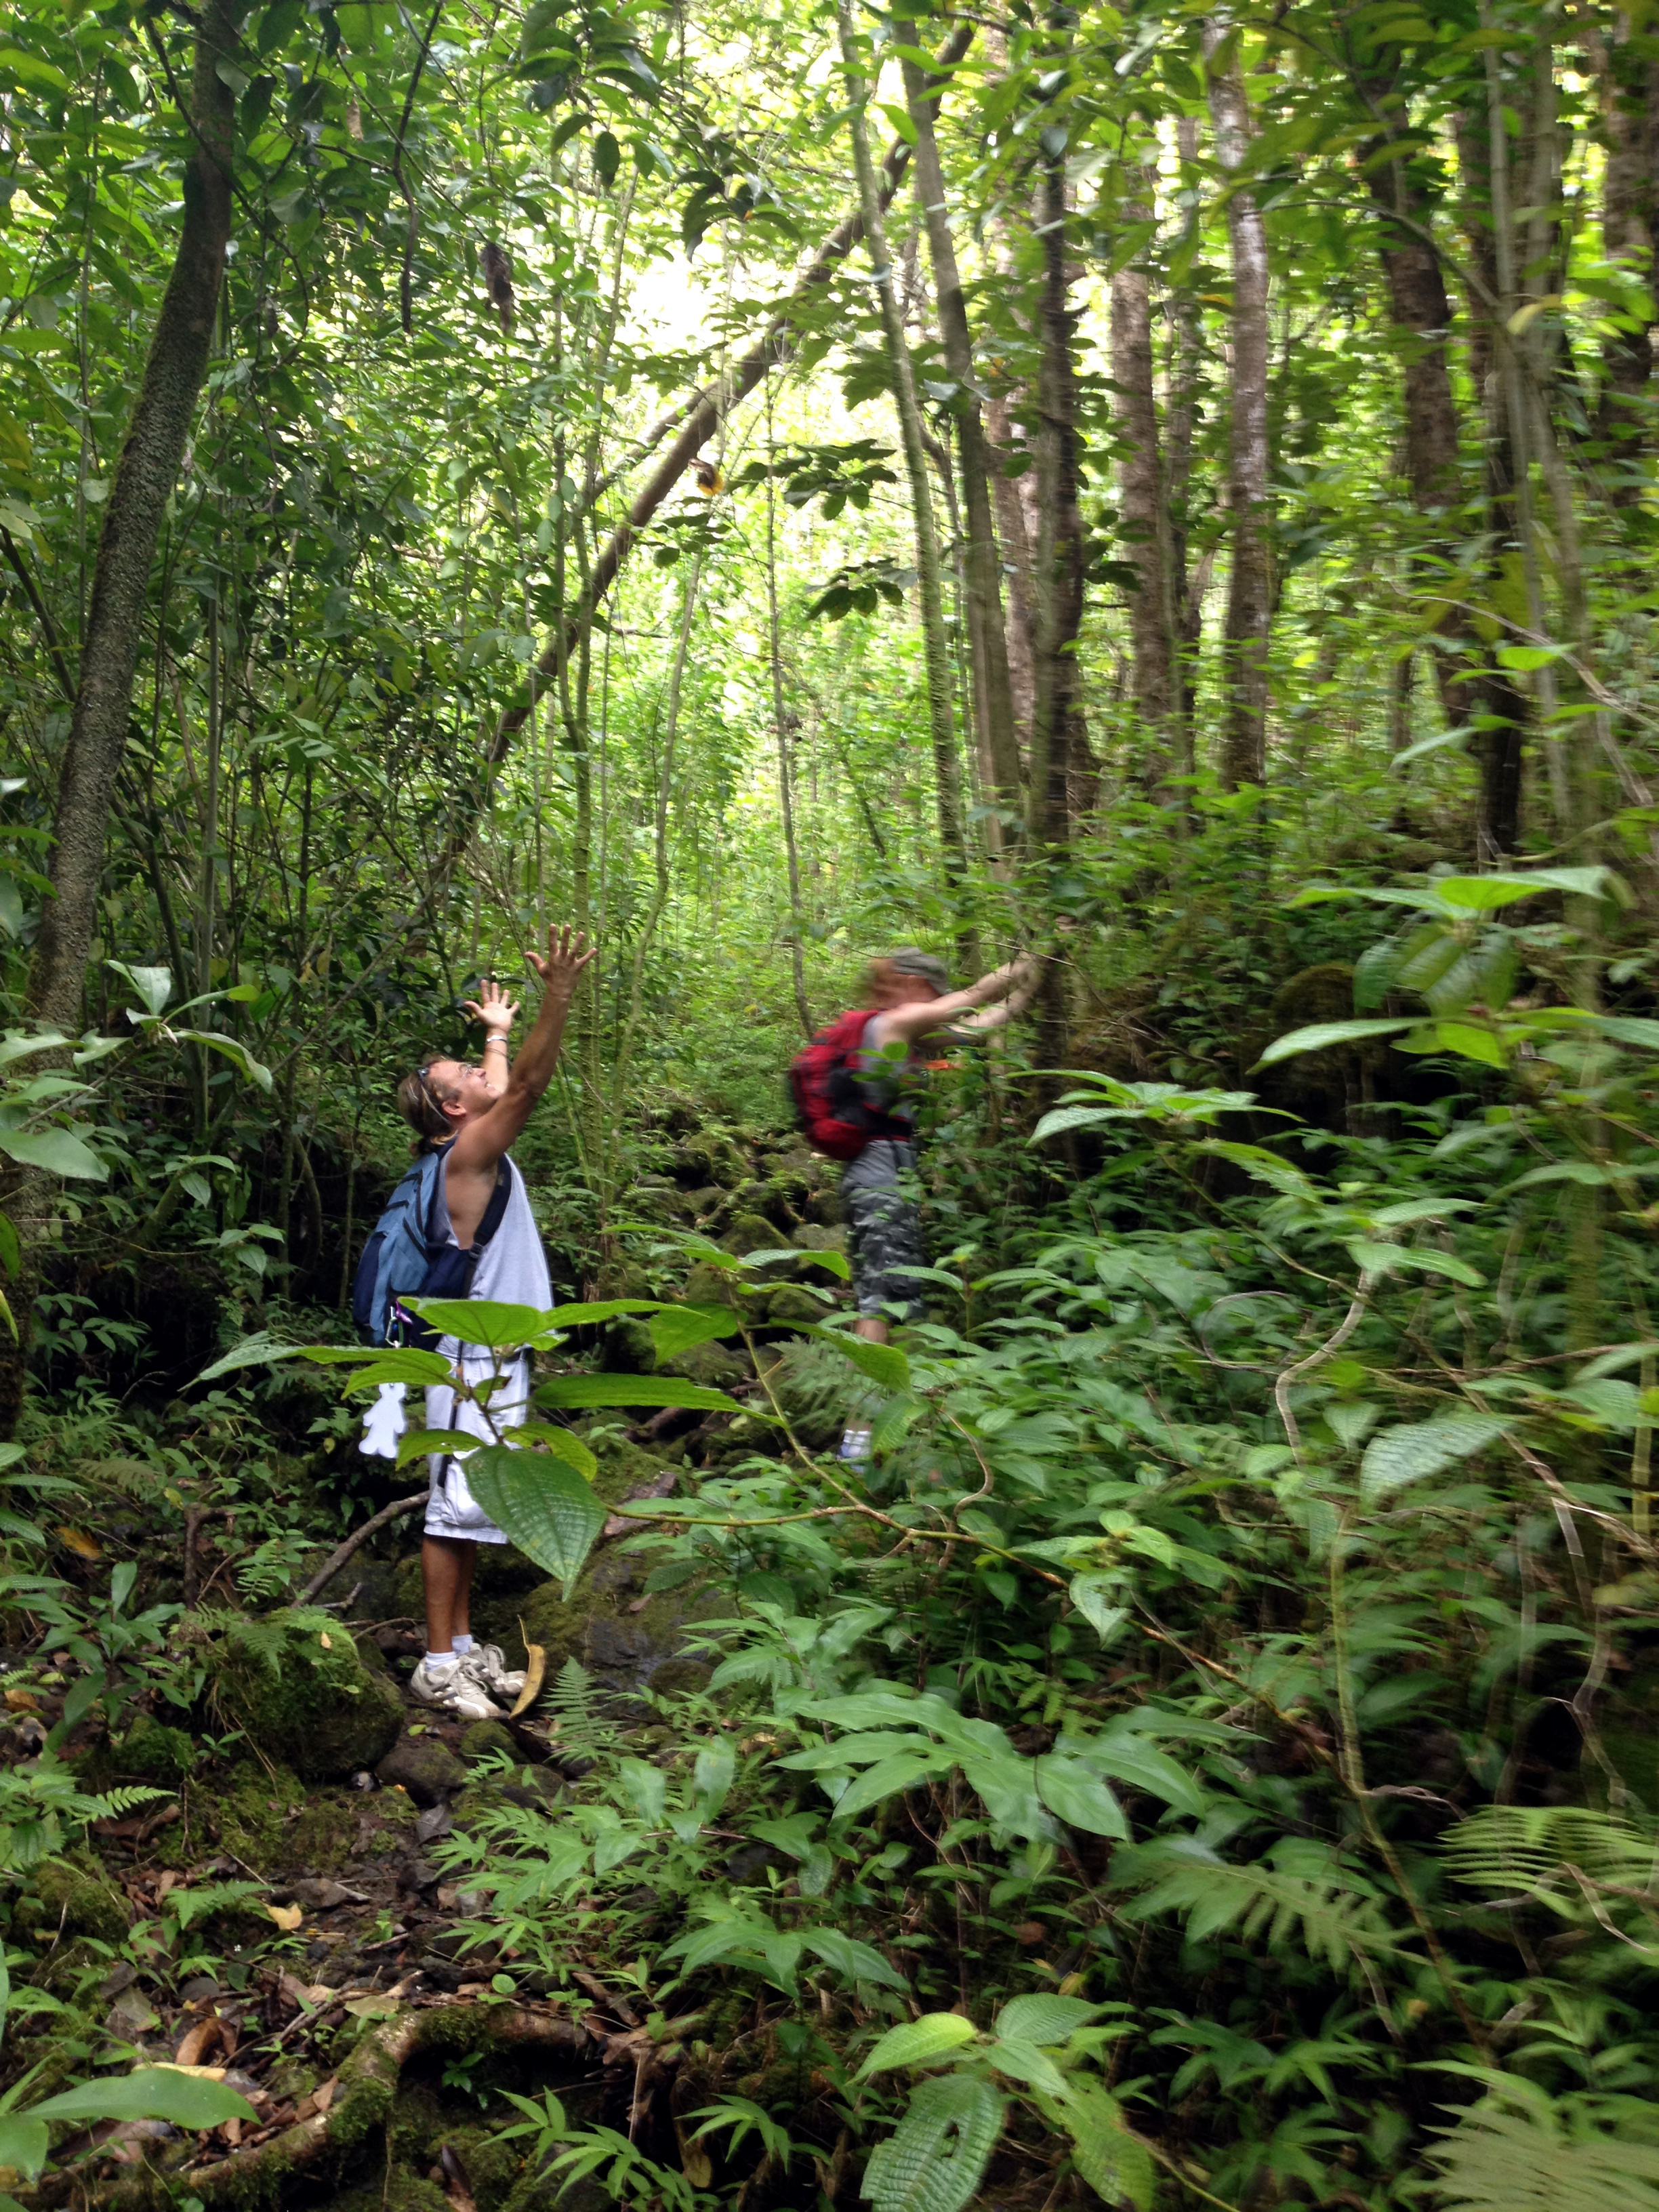
You know, on Oahu, we have many micro climates that create just as many types of trails. From the arid desert like, to the tropical rain forest and everything in between. At certain times of the year, I tend to consistently gravitate to different types of trails. For example, in the dry summertime, I am drawn toward the more tropical and lush jungle hike. During the rainy season this same pull leads me to the more arid and exposed hikes. Perhaps it is because the trail conditions are better suited for these seasonal changes and influence my desires as  they are pertaining to a nature “Fix”. Perhaps it is because the temperature on the hike draws me in. Could it be the beauty of the trails somehow subliminally tells me where the MOST beauty will be found at a given time of year? I tend to think it is the nature of man to have his primal side gravitate to the areas that will provide the greatest wealth of nourishment. Perhaps this primal magnetism to an area will give forth the feeling of a greater amount of safety while in one season or another. At this time of year for example, I am truly drawn to the wealth of yummy treats that are fruiting at the base of the Ko’o’lau mountains. One can literally feast for days in these areas without ever leaving the woods. If you are one for hygiene, and the thought of not showering for day’s turns you off, this too is not a problem! The plethora of natural water sources as well as an abundance of Shampoo Ginger is all that is needed to smell like strawberries 24 hours a day! That is a good thing for you never know who you will run into out there in the jungle. (I’m searching for a Jane.) I can almost smell the Guava before opening my eyes on hike day! My belly tells me, “HUNT JOSH! HUNT!” Or, “GET OUT OF BED AND PICK THE FRUIT BEFORE THE TOURISTS EAT IT ALL”!!!!!!
So what’s on the menu today. Josh? Free tropical edibles no doubt! For starters, feast your eyes and belly on the glorious Strawberry Guava. If you time it correctly, you could fill a back-pack in minutes flat. These tiny morsels of goodness range in size from the golf ball to lemon. As a matter of fact, the lemon colored ones are what you seek. Especially the ones with a smooth and waxy appearance to the skin. You will find these are the ones with the richest pink and strawberry color to the interior. They are juicy, seedy, and delicious. You can eat the whole thing including the skin, but most people slurp out the inside middle, and discard the husk. You will find them on large shrubs as well as small trees. I can’t tell you which produces the finer fruit though. You will need to discover your own taste. Don’t worry about taking as much as you want, for they are an invasive species and the more you eat the more they stay in control. Bon Appetite!
The second course on the menu is nothing less than the wild mountain apple! Mmmmmm!!! Can you say “JAM SANWICHES”?!?!?!  The best on earth can be had in this section of the island, so you better bring an extra satchel. What can one say about this yummy fruit? Mountain apples grow on larger trees than the guava for starters. You will recognize the long spindly trunks reminiscent of the ficus tree. The thin skinned fruits look like slightly elongated, slightly pear-shaped apples. I like to think of their shape as an edible Fabergé egg! Their flesh is crisp and white with red streaks and mottling. Much like an apple, but instead of the green on young specimens, it is replaced by white and pink. In the spring, you will recognize the pinkish-red powder puff flowers they produce. So many in fact that in some cases the trails literally turn pink and purple! Makes me feel like I’m in a scene from Pandora. I don’t even do drugs and this is sooo cool!!! Enjoy your lunch!!!!
Oh the wild Avocado. Oh the wild avocado. What do I say but "Oh the wild avocado"? I do believe I have only met one person in my life that could turn down a fresh avocado, a spoon and a comfortable place to enjoy it slowly. Last I heard, that individual was currently taking up residence in the dregs of some government run mental healthcare facility in the middle of some third world country. Bamboo under fingernails seems to ring a bell in his last post card. Oh boy. We take these trees pretty seriously around these parts. Not often will a local share the locale of their favorite tree. I am one of those greedy  bastards so; allow me to simply whet your appetite with the unobtainable. HA!!!! I have spotted at least 5 varieties of what I refer to as the “Fruit of the Gods”. Each one has its own unique characteristic that suits a different method of preparation, presentation and yes, “MOOD”. When you are lucky enough to find a tree in the throws of birth, don’t be too picky as to the species before you. One must allow the tree to dictate the “MOOD” and meal that is sure to follow. Chances are, you may only find one tree initially. If you pass it by, the gods may deny you another. The tree in question today is what I like to call a “Banana Lime Cream Pie”. This is the best way to describe the creamy meat within this lime colored and waxy beauty. This particular tree yields fruit that is difficult to slice, so it is better suited for the mushed and guacamole type preparation. It may be hard to believe, but there is really no need to artificially enhance the flavor in any way whatsoever. There is a slight hint of lime to the back flavor in this particularly sweet specimen today. Alone, or spread on a fresh toasted French loaf, you are certain to need a change of undergarment upon first taste. The kick in the initial power of a wild avocado will instantly change your life and perception of what a “REAL” avocado is all about. DO NOT take this experience lightly. Instead, take your time and “PICK” wisely, for this you will remember most on this hike. I wish you luck on your hunt for this miracle of culinary nirvana and God speed….
For desert, shall we have papaya? Why not. For the lucky few million who actually like this fruit, well, you’re in luck. Along this trail, you will find a few scattered trees  throughout the jungle. I never had a taste for them, but I can never help but to smile when I come across a tree that has come to full term in its pregnancy. What was God thinking when He made such a “Well Hung” fallacy such as this? HAHAHA!!! My word! OK, I’ll curb my enthusiasm for jokes that include terms like “Balls” and “Well Hung”…. LOL! All kidding aside, this is a wonderful find this time of year if you so desire a taste for the tropical. The wild papaya is also a great addition to a crisp salad at the end of the day. Sure to refresh the spirit. Did I mention that wild papaya is also an aphrodisiac? LOL!!!!! Mmmmmmm…. Nuff said…
 Oh boy! I forgot the Mango!!! You will find TONS of them out here. The trees vary in size from the small bush to the absolutely massive tree. Most will take some climbing to get to. A picker is a useful tool for sure. They can be had at most hardware stores for about $15.00 Before wasting your hard earned cash though, you may want to find your own special tree and wait till she starts to drop. When the fruit turns a slightly purple color is best. The skin takes on velvet like appeal. Not fuzzy, just dreamy. ENJOY!!!
After all this hiking and fruit picking, you are sure to be smelling a bit, well, let’s say “RIPE”! No problem. Shampoo ginger is plentiful and will  wash away all your problems. ngiber zerumbet Sm.(Awapuhi), or the shampoo ginger has a long history as a medicinal plant in the islands. It also has been used as an addition to the mountain apple as a flavor enhancer. Want to have your taste buds go wild? Squeeze just a few drops of the juice into your apple and prepare for a treat. For many years, this delight has also been pounded into a salve to be placed on a sore muscle, wound, or teething baby’s gums. There is a numbing effect that can also be felt on the scalp when used as an actual shampoo. Not only this, but it will make even the nastiest arm pit smell like a Paul Sassoon massage room and salon. Sniff, sniff… All I know about the preparation for my needs is to squeeze the protruding bud from the flower and collect the sudsy-like substance. If you bring along a vial, or container of some sort, you can easily take home a few ounces to add to your bath water. Talk about the “Real Deal”. This is some great stuff! Your significant other should thank me… Sniff, sniff…
 Believe me, there are many more treats to be had out here in the Ko’o’lau Mountains, but I was supposed to be writing a “HIKING BLOG”! How about we get on with it then? Oh yea, one more thing. Flowers. Lots of flowers out here. The one I adore the most is the Wild Orchid. How such a solitary and gorgeous flower can exist stuns me every time I stumble across her. Without warning and in the middle of nowhere, there she will be. Even in the midst of some jungle catastrophe like a fallen and wind struck tree, or rock slide, there in the middle, a single flower will stand. With a bold neon green trunk and long rain collecting leaves, she can tower above the jungle floor as high as 4 and 5 meters and flaunt blossoms as proud and wide as a rare Czechoslovakian Crystal serving platter. Purple and blue, pink and yellow, chartreuse and mauve, you will never know the colors of which the forest will spawn today. Tomorrow, the colors will change again. Take your time and enjoy the rarest jewels in the kingdom. PLEASE DON’T PICK THEM! If I have to explain why, you don’t belong here anyway….
We begin our journey in the very same spot where we began the Old Pali Trail hike I wrote about before. The parking lot of the Ko’o’lau Golf course/First Pres. Church is a  suitable place to leave car #1. Car #2 should be left outside the gates to the Ho’o’Maluhia Botanical Gardens. The trail can be trekked from either direction. I don’t have a preference other than it is nice to finish the trail with a bath in the falls with fresh shampoo ginger. After this a Mai-Tai at Honey’s bar and grill would be in order. (AKA “The 19th Hole”) For the purpose of this blog we will begin at the Golf Couse and end in the gardens. Go figure… (I felt like a taco this day)
At the end of the parking lot, you will find a dirt road (Usually chained) heading up to a water storage tank. Follow it up to about 30 feet from the tank. You will see a trail leading into the wood on your left. This is your start. Follow it up and in about a few hundred feet you will find yourself on an ancient rock path. Actually, I am told this is a wall you are walking on that extends 10 -30 feet or so below the surrounding soil. The forest buried most of it. These were stalls of some sort used to corral pigs and other animals of the forest by the indigenous of old. Hmmmm…
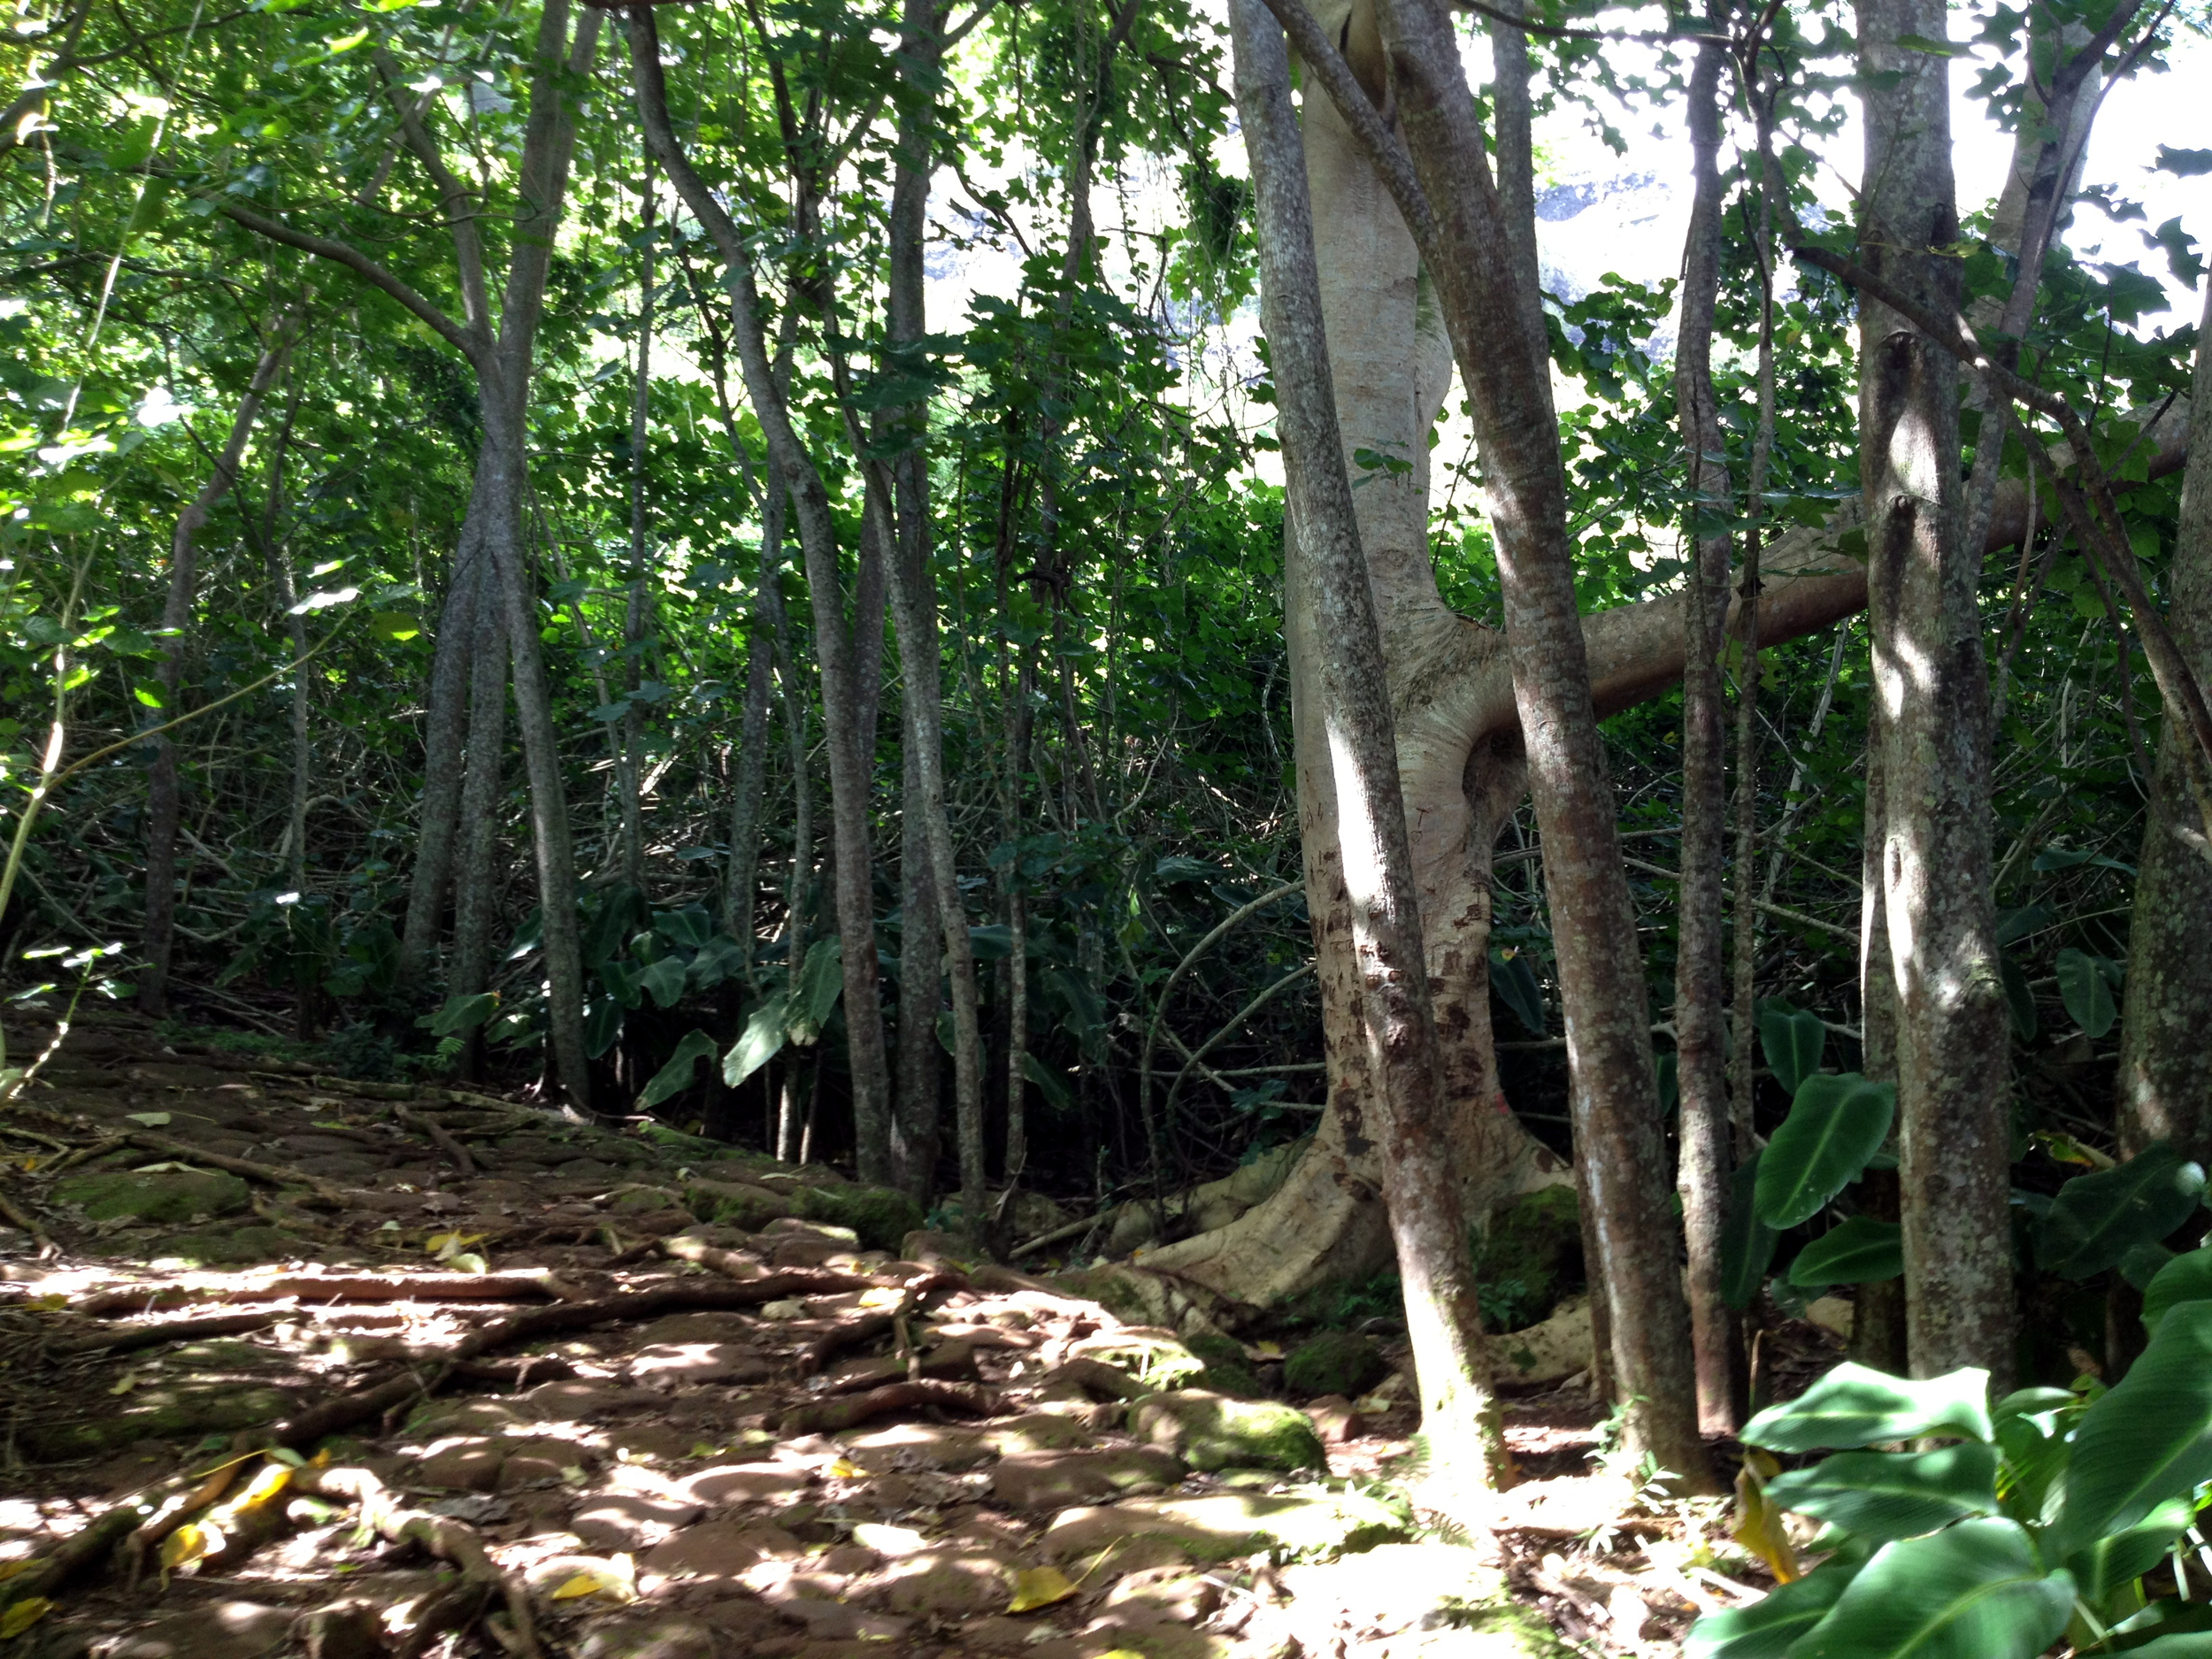 In a short while, the rock path will widen. If you look to the right, you will see a large autograph tree. Step down onto the trail to your right and head that direction. The trail will narrow and twist about. Plenty of Kukui nuts are all over the ground! Some call them candle nuts. When exploring the lava tubes and caves, people of old would crack open the seed and place it on the end of a stick, or in a banana leaf. The oil content is very high and when lit can slowly burn for hours. The smell of the flame is not the most pleasant, so I’ll stick to a Mag Light thank you. Then again, if you get caught out here at night, well, when in Rome…
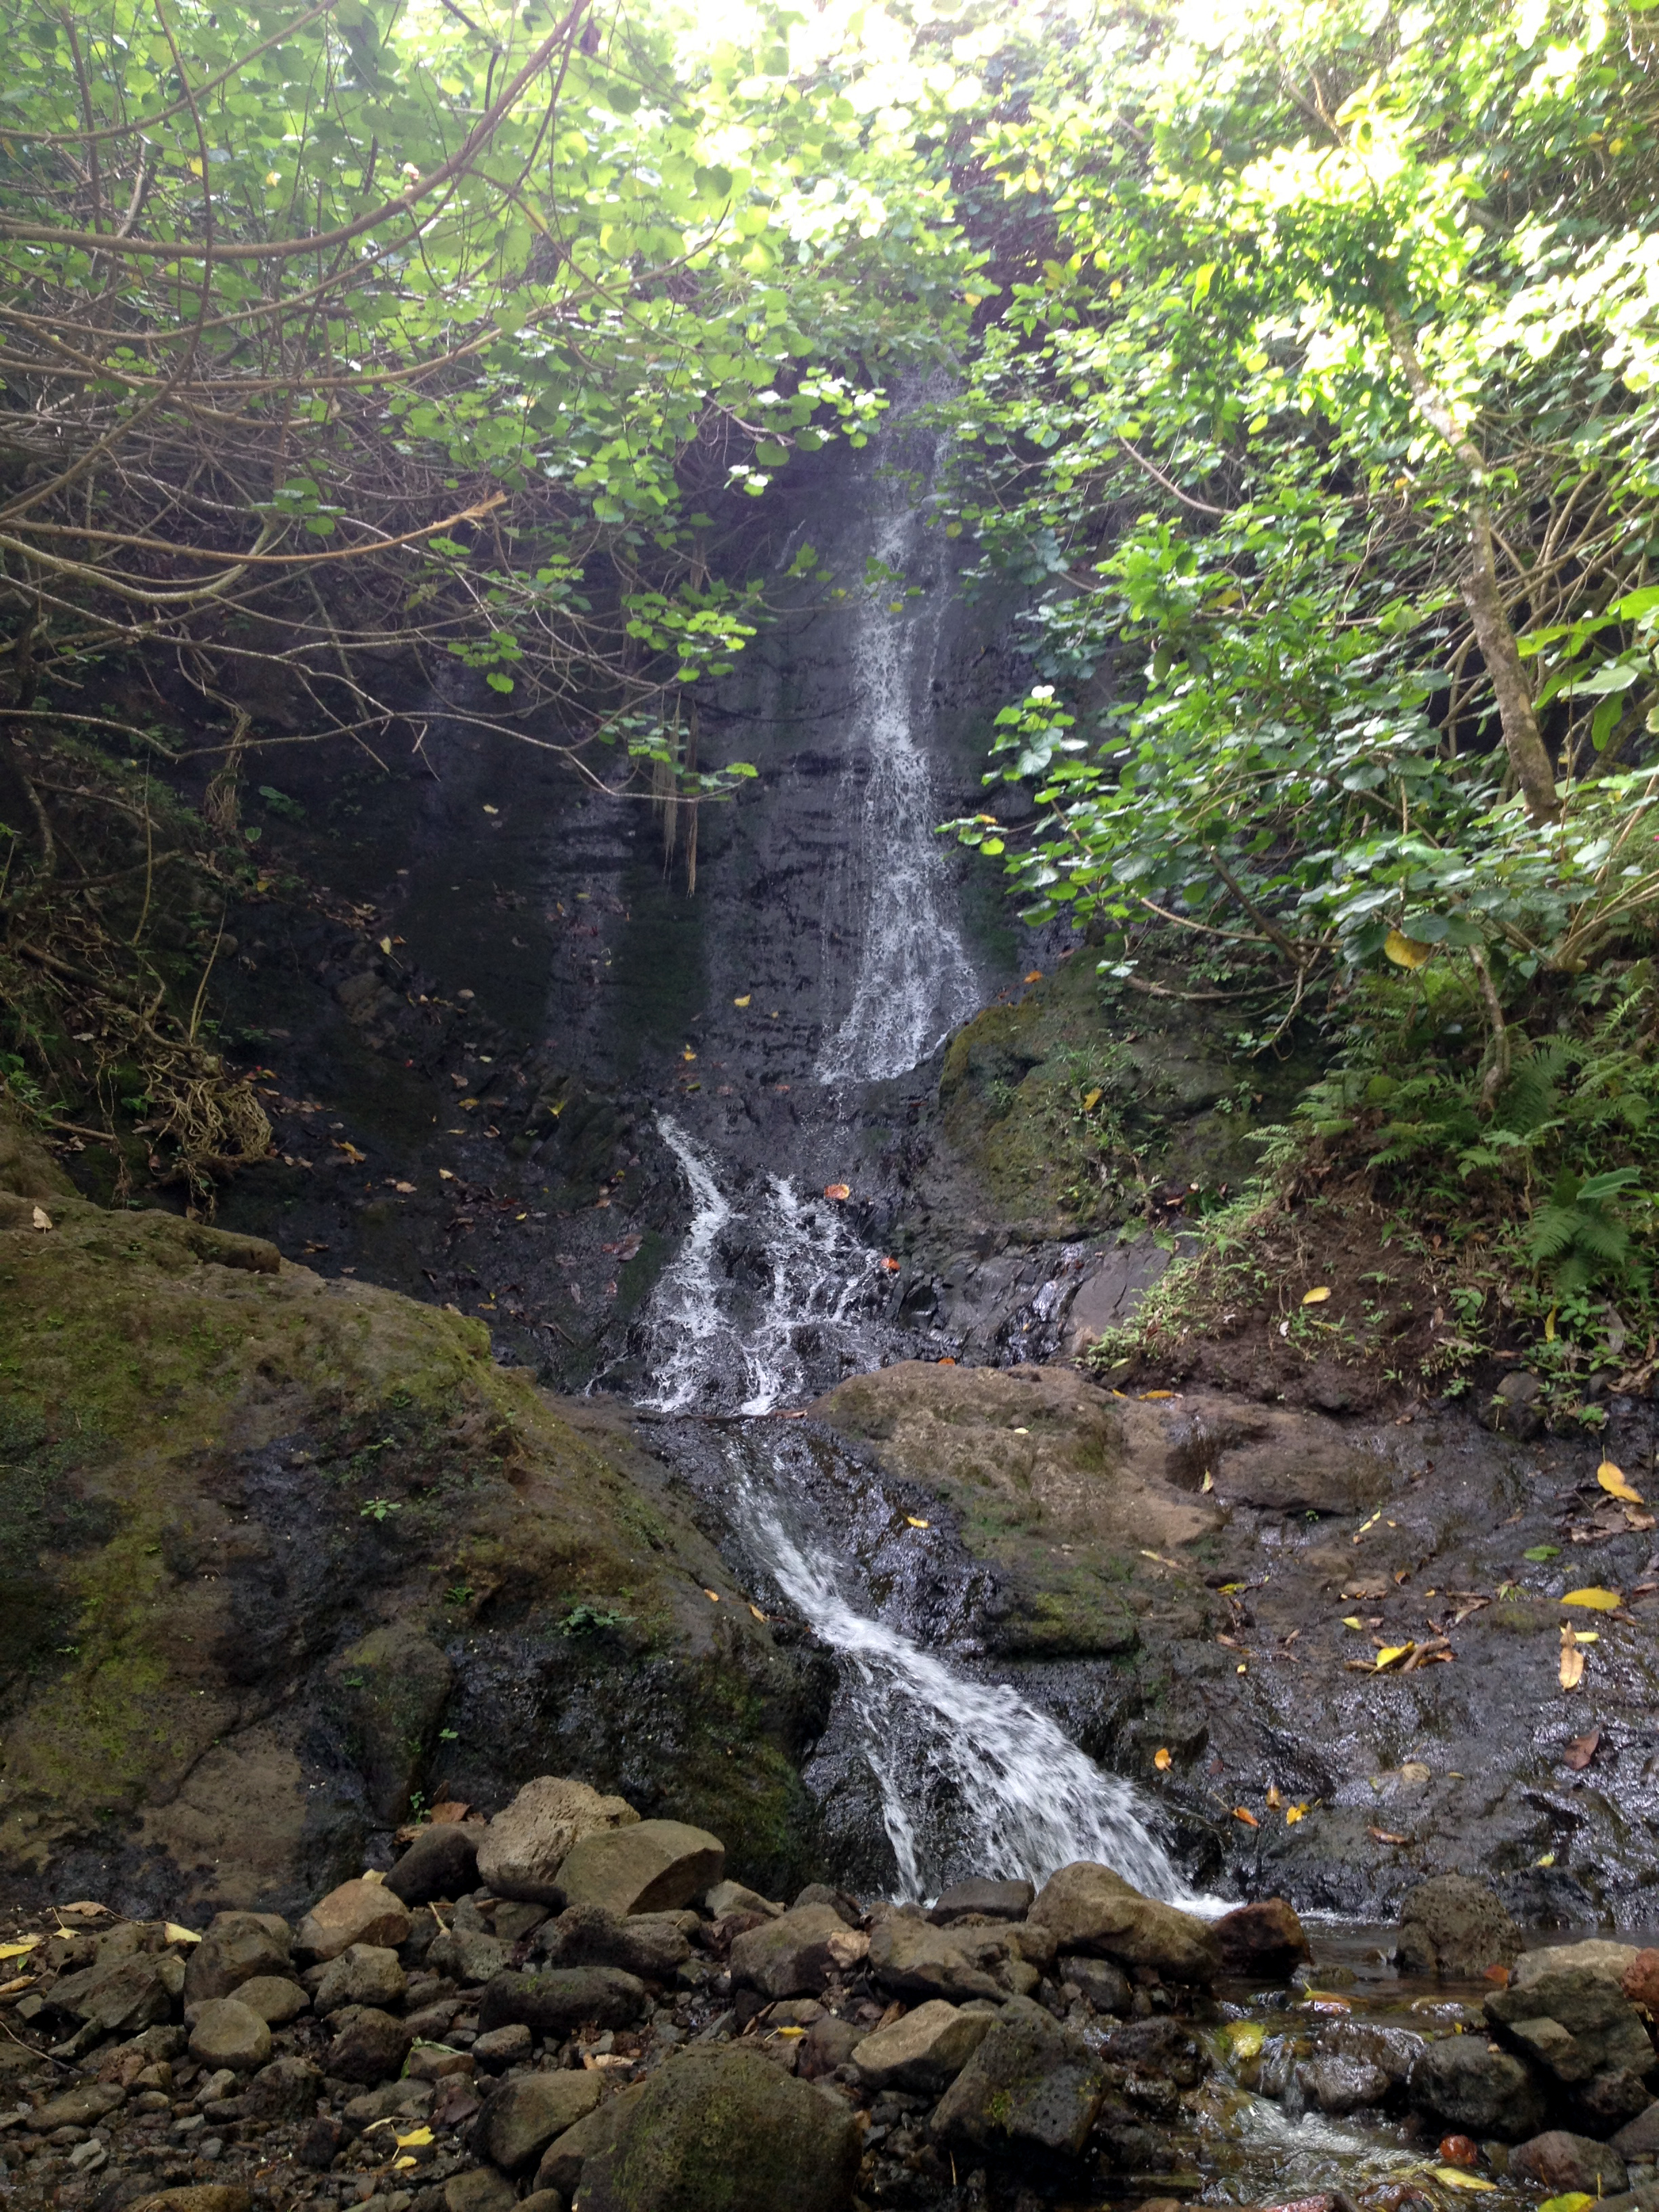 Guess what? You made it to the falls in less than ½ hour! That was easy! Obviously these are not the most spectacular falls on the island, but they are stunning. No, there will be no cliff diving into an emerald pool at this location. What there will be is a peaceful experience. Sit and watch. At some time, people began placing rocks around the upper and lower pools. This has created a dammed up wall around them deep enough to lie in and enjoy a mountain apple and a juice! Take your time here and take a few pictures as well.
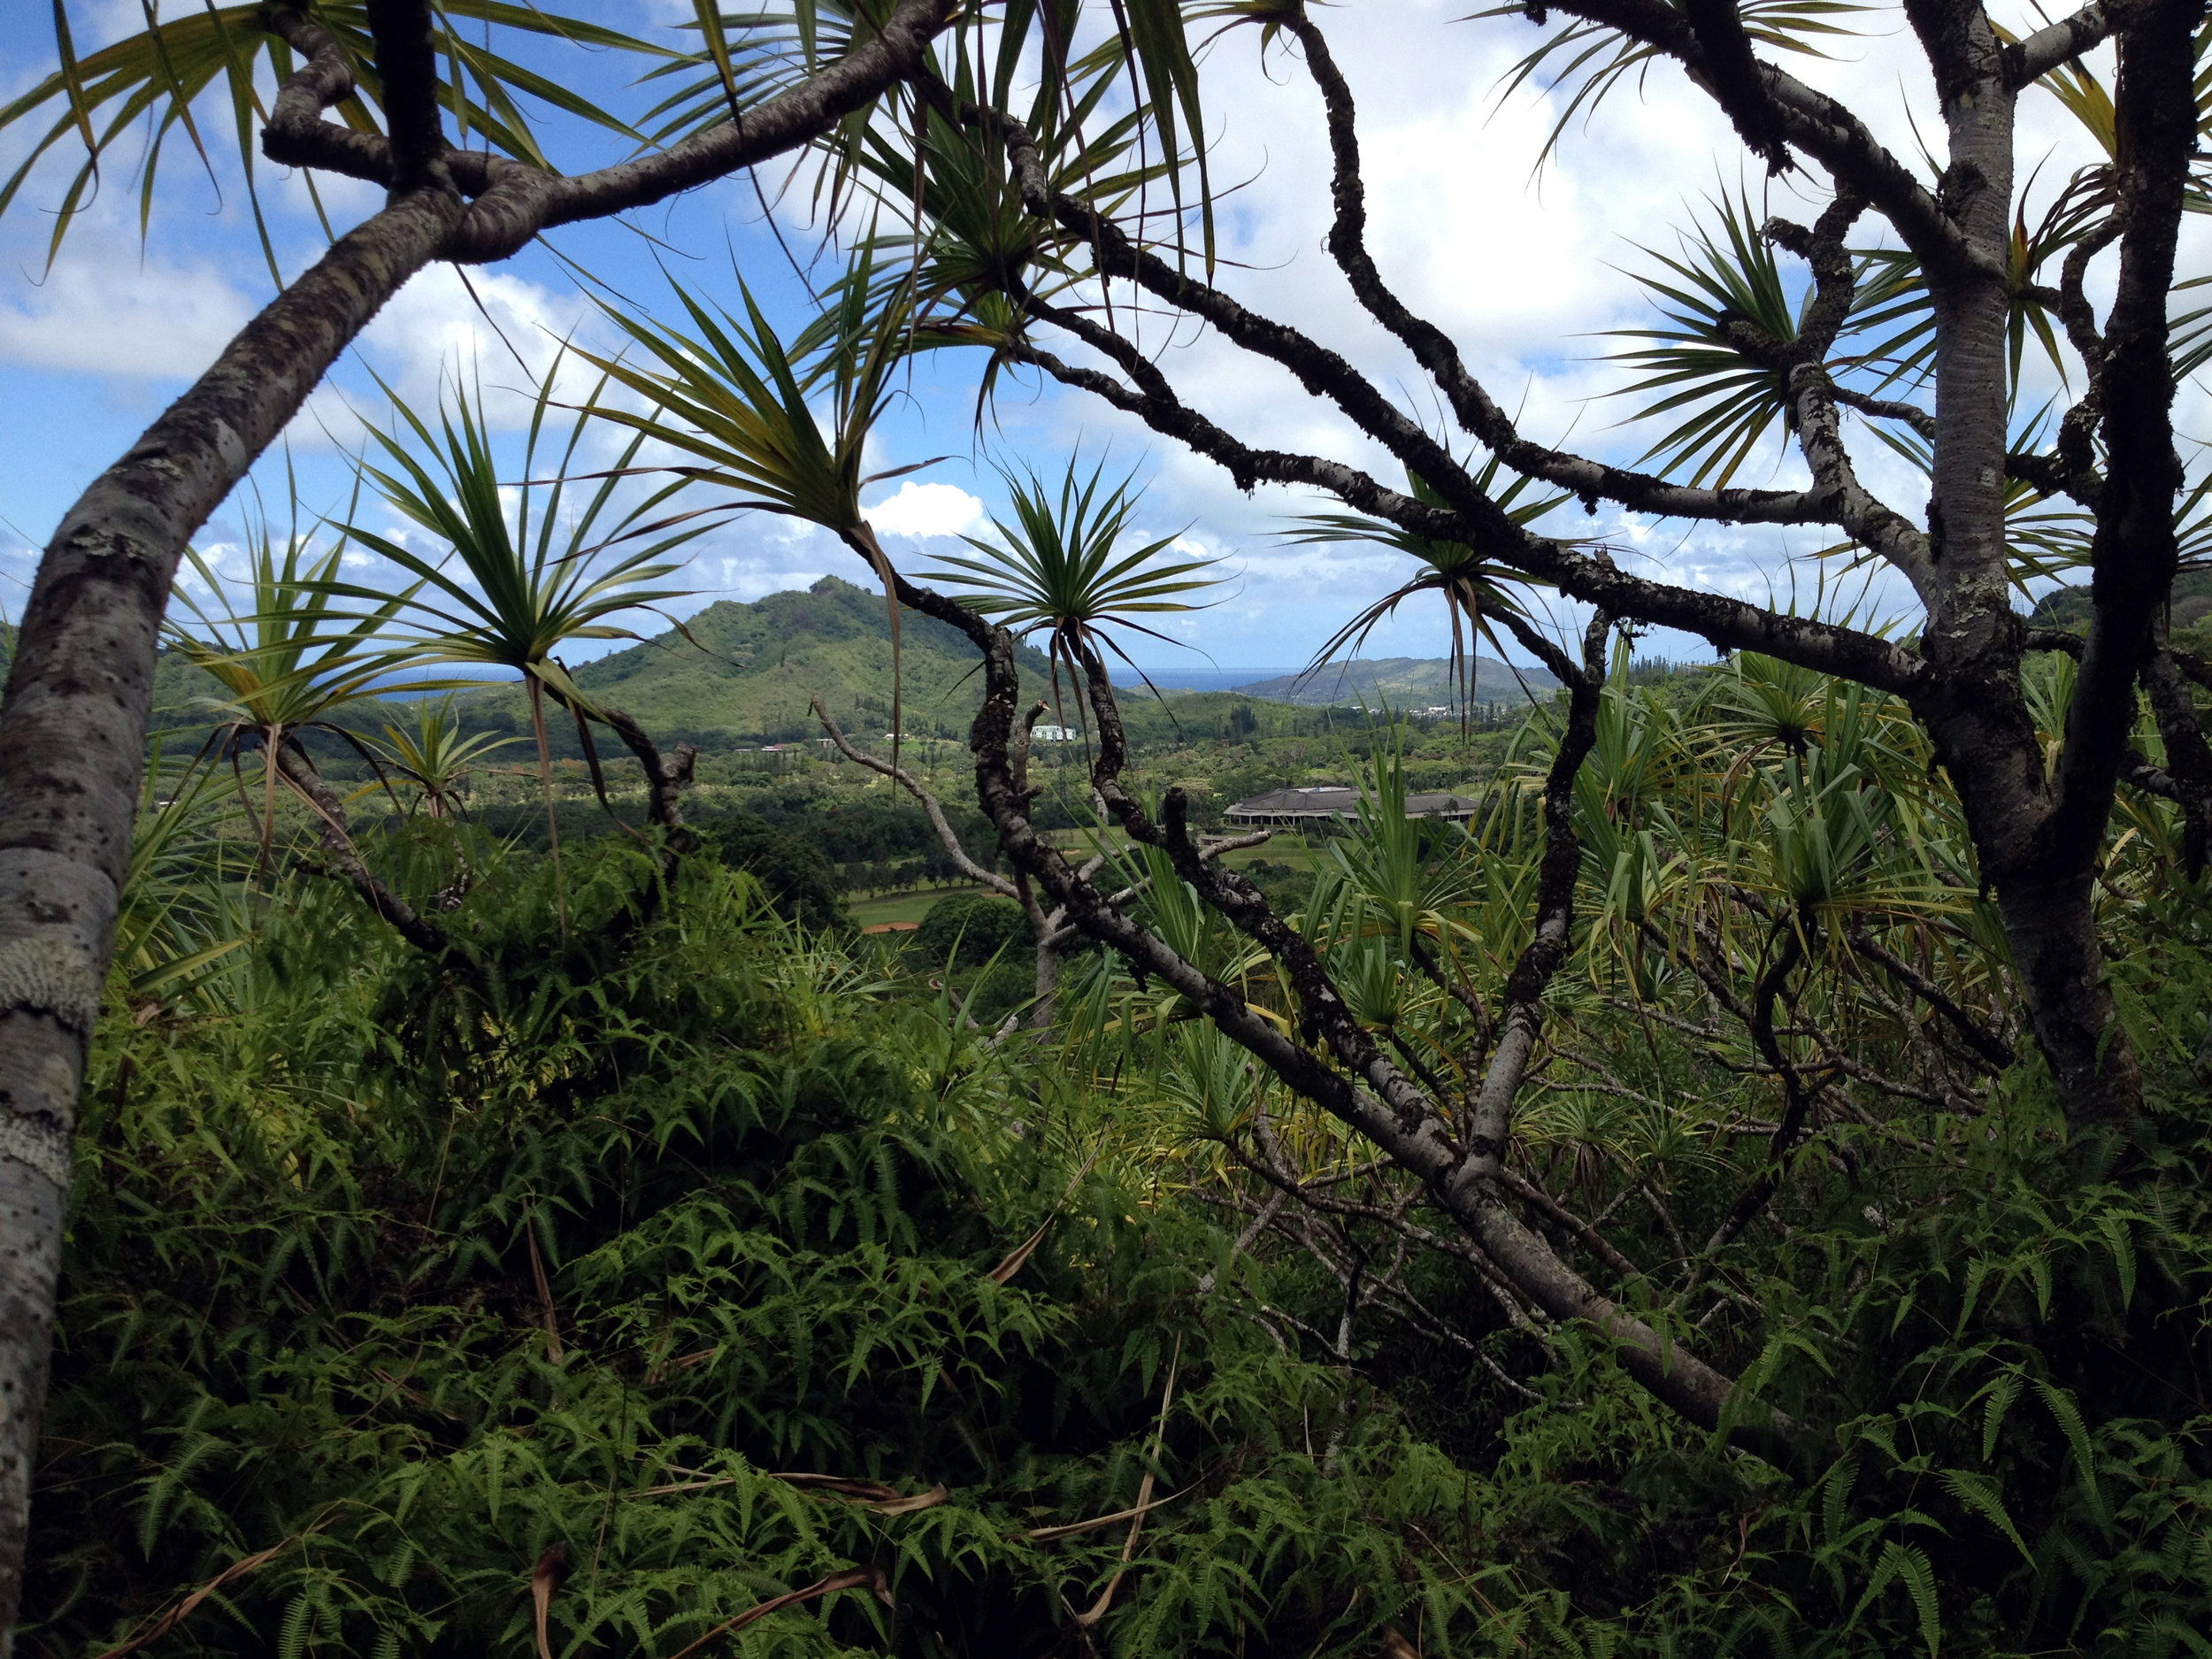 Back to the trail. Simply continue down the trail past the falls. Welcome to “Ginger Land”! For the next ½ mile or so, you will be passing through about 3 species of ginger. That shampoo type can be had in here as well. Smells sweet…
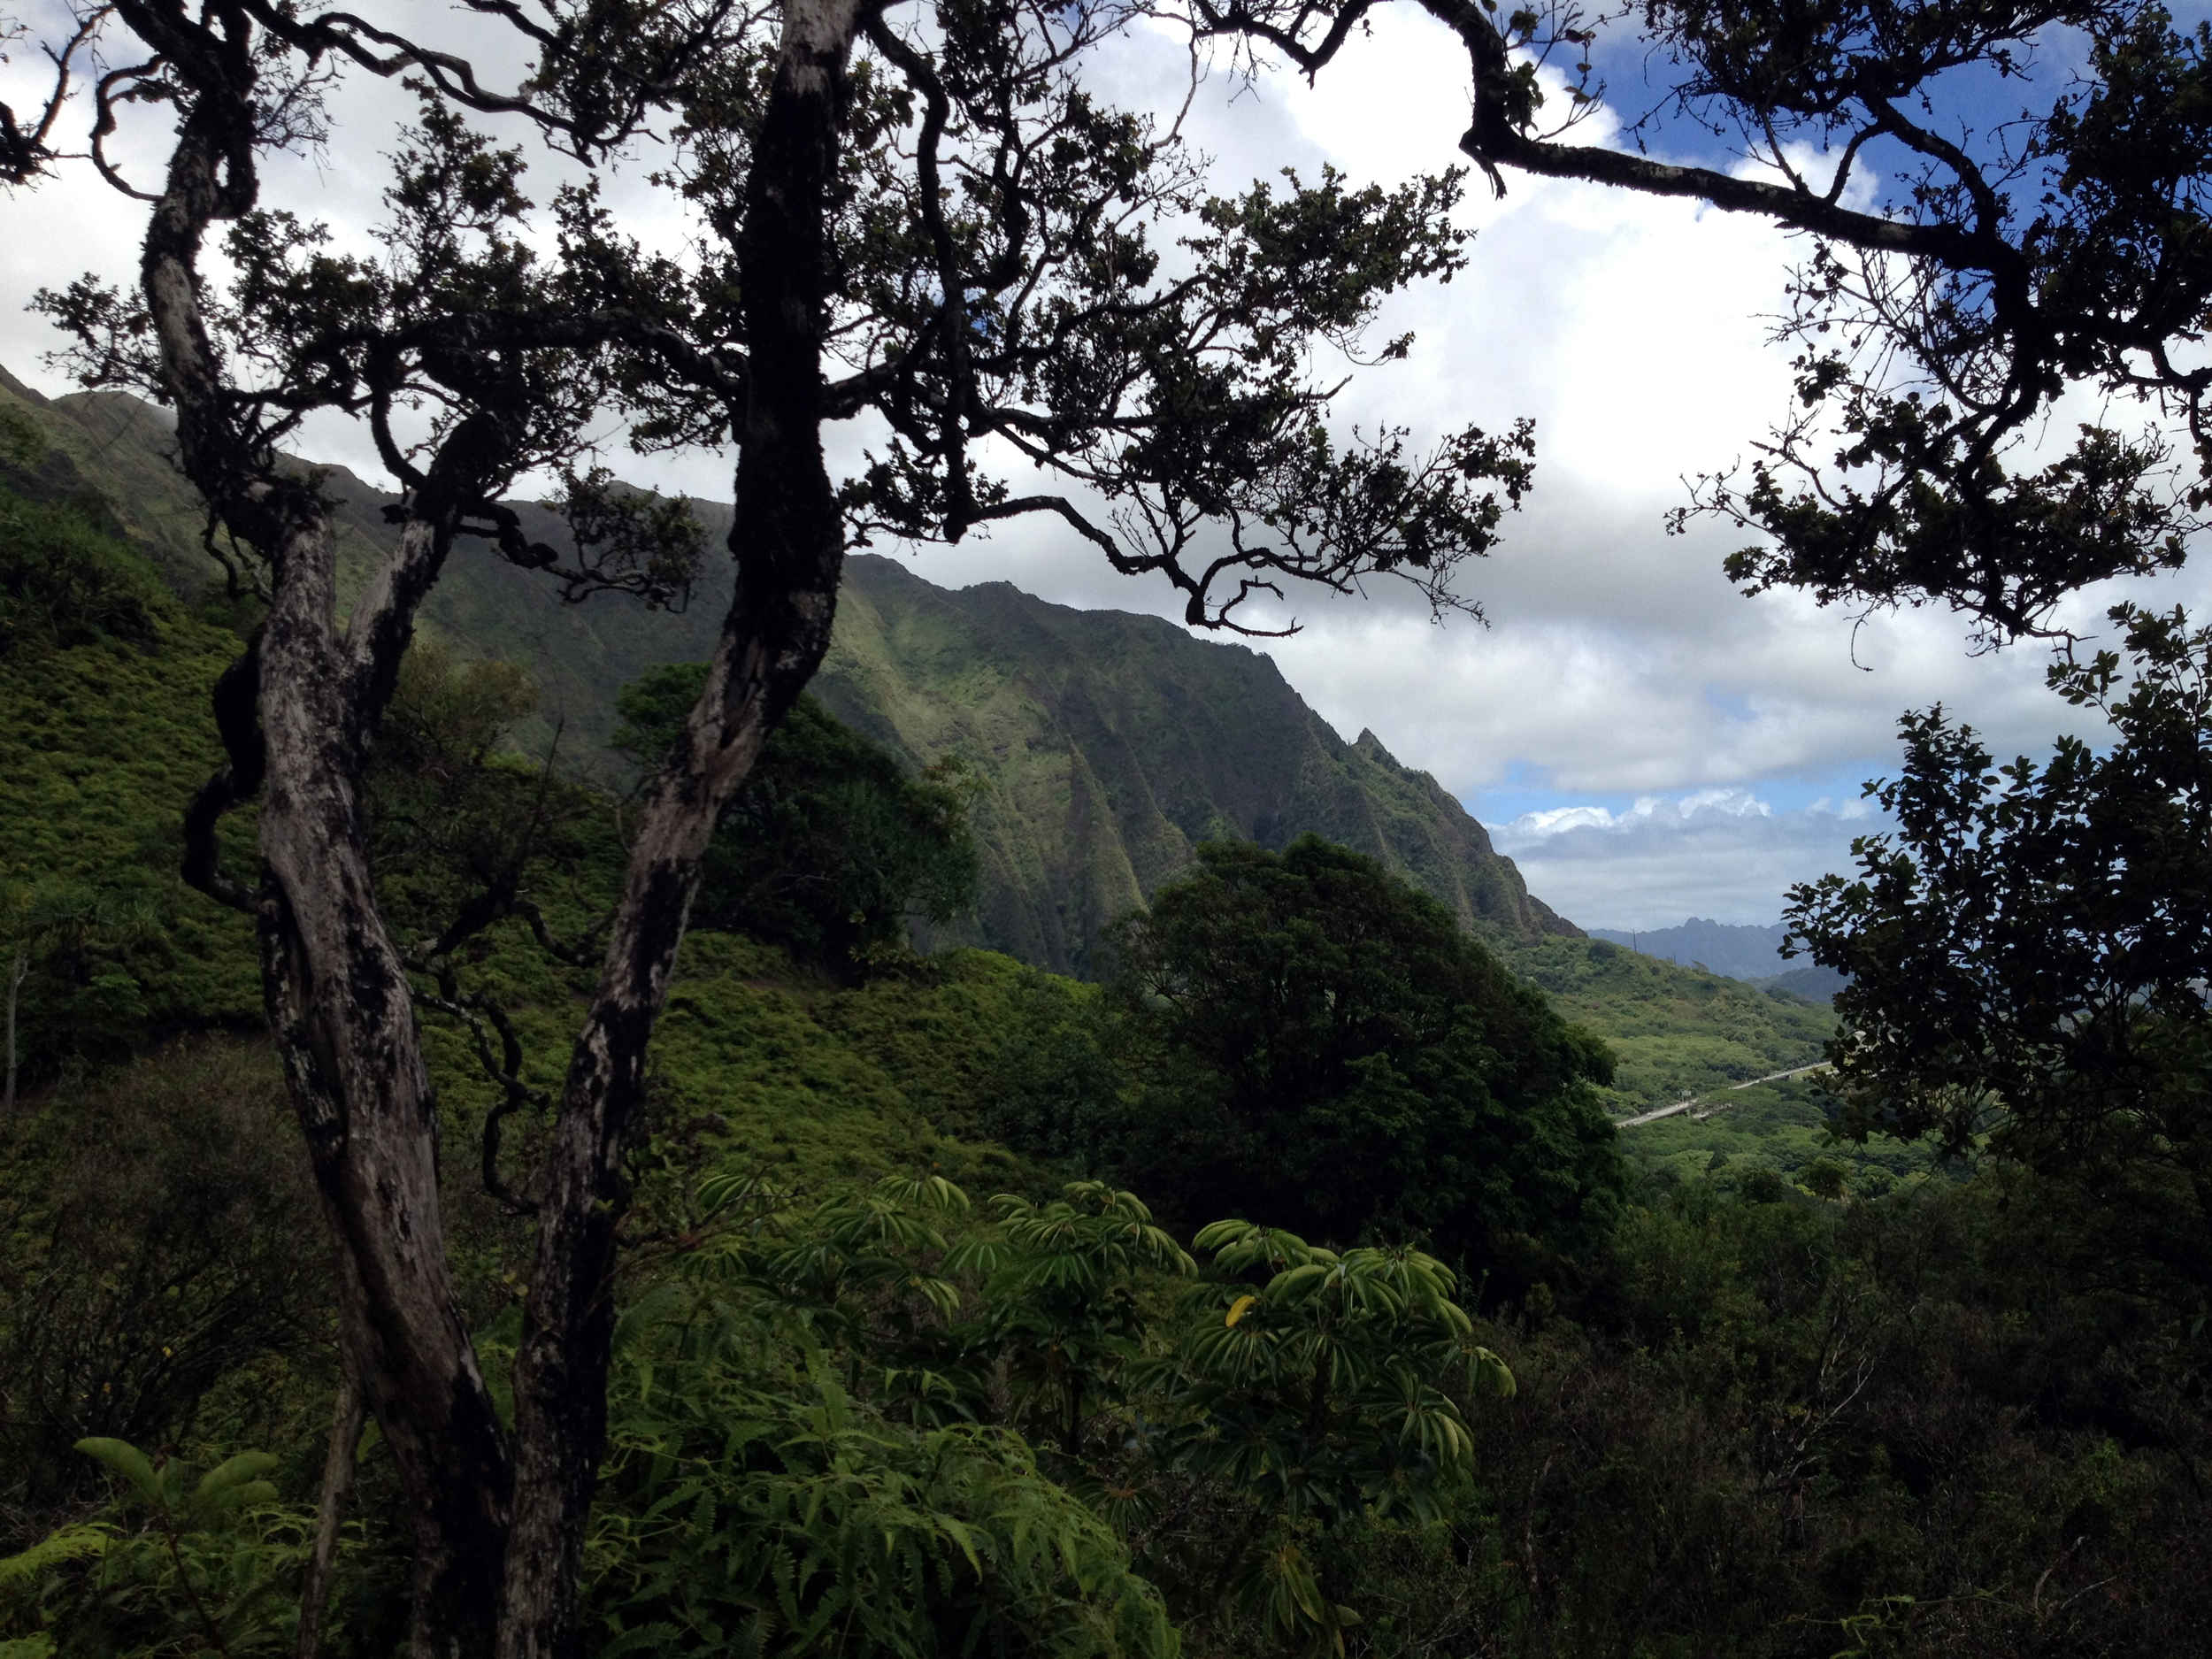 Continue along the trail for a long time now. It will twist and turn in and out of the valleys. You will pass through all of the fruiting trees I spoke of earlier. Some areas are dense and tropical, while others out on the edge of the fingers will be dry and arid. You get a bit of both on this one for sure. Keep in mind though; there are areas where there is a tremendous amount of fern growth. The trail tends to be deceptive in these areas. It would appear as though the trail is wide, but au contraire. The down-hill side of the trail can be just that. A steep downhill no less. Do not step out onto the ferns, or you could end up simply disappearing into it. Like quick sand with a hard thump at the bottom. In other words, be mindful and aware of your steps.
 Plenty of views can be had from here. Especially down onto one of the world’s most difficult golf courses. Ko’o’lau is ranked as perhaps the most difficult PGA course as a matter of fact. If you ever play there, and I highly recommend it, bring like a bazillion balls!!!! You will need them…
 Soon you will find yourself at “THE BENCH”. This is a small stick bench that some awesome soul built. I can’t tell you how comfortable it is after the trek you have been on. Kick off your shoes and pull out a taco for lunch! You did bring tacos didn’t you? “LUNCH TIME”!!! Take a look at the views of Kaneohe Bay as well. This is a great perspective. You are sitting above Ho’o’Maluhia Botanical Gardens. The lake is in the distance. Ultimately, you will be emerging from the trail near there.
After taco time, you need to continue down into the forest. Again, there will be a more tropical feel to the trail. Soon enough, you will begin to emerge onto old service roads and signs of civilization. Just continue on and eventually, you will find yourself at a huge highway (H-3). Your goal is to find a route under the bridge to the other side. When you do find this passage, it is obvious. Huge pillars and concrete spires above. Dark and moist. Kind of creepy if you ask me.
 Along the way, you will see orange and pink trail markers to keep you going in the correct direction. Along a fence, around a corner, onto a service road you go. Eventually, you will be dumped out onto the main road for the botanical gardens. A short stroll later you will be at the gate where you parked your car. “WHEW” You did it!
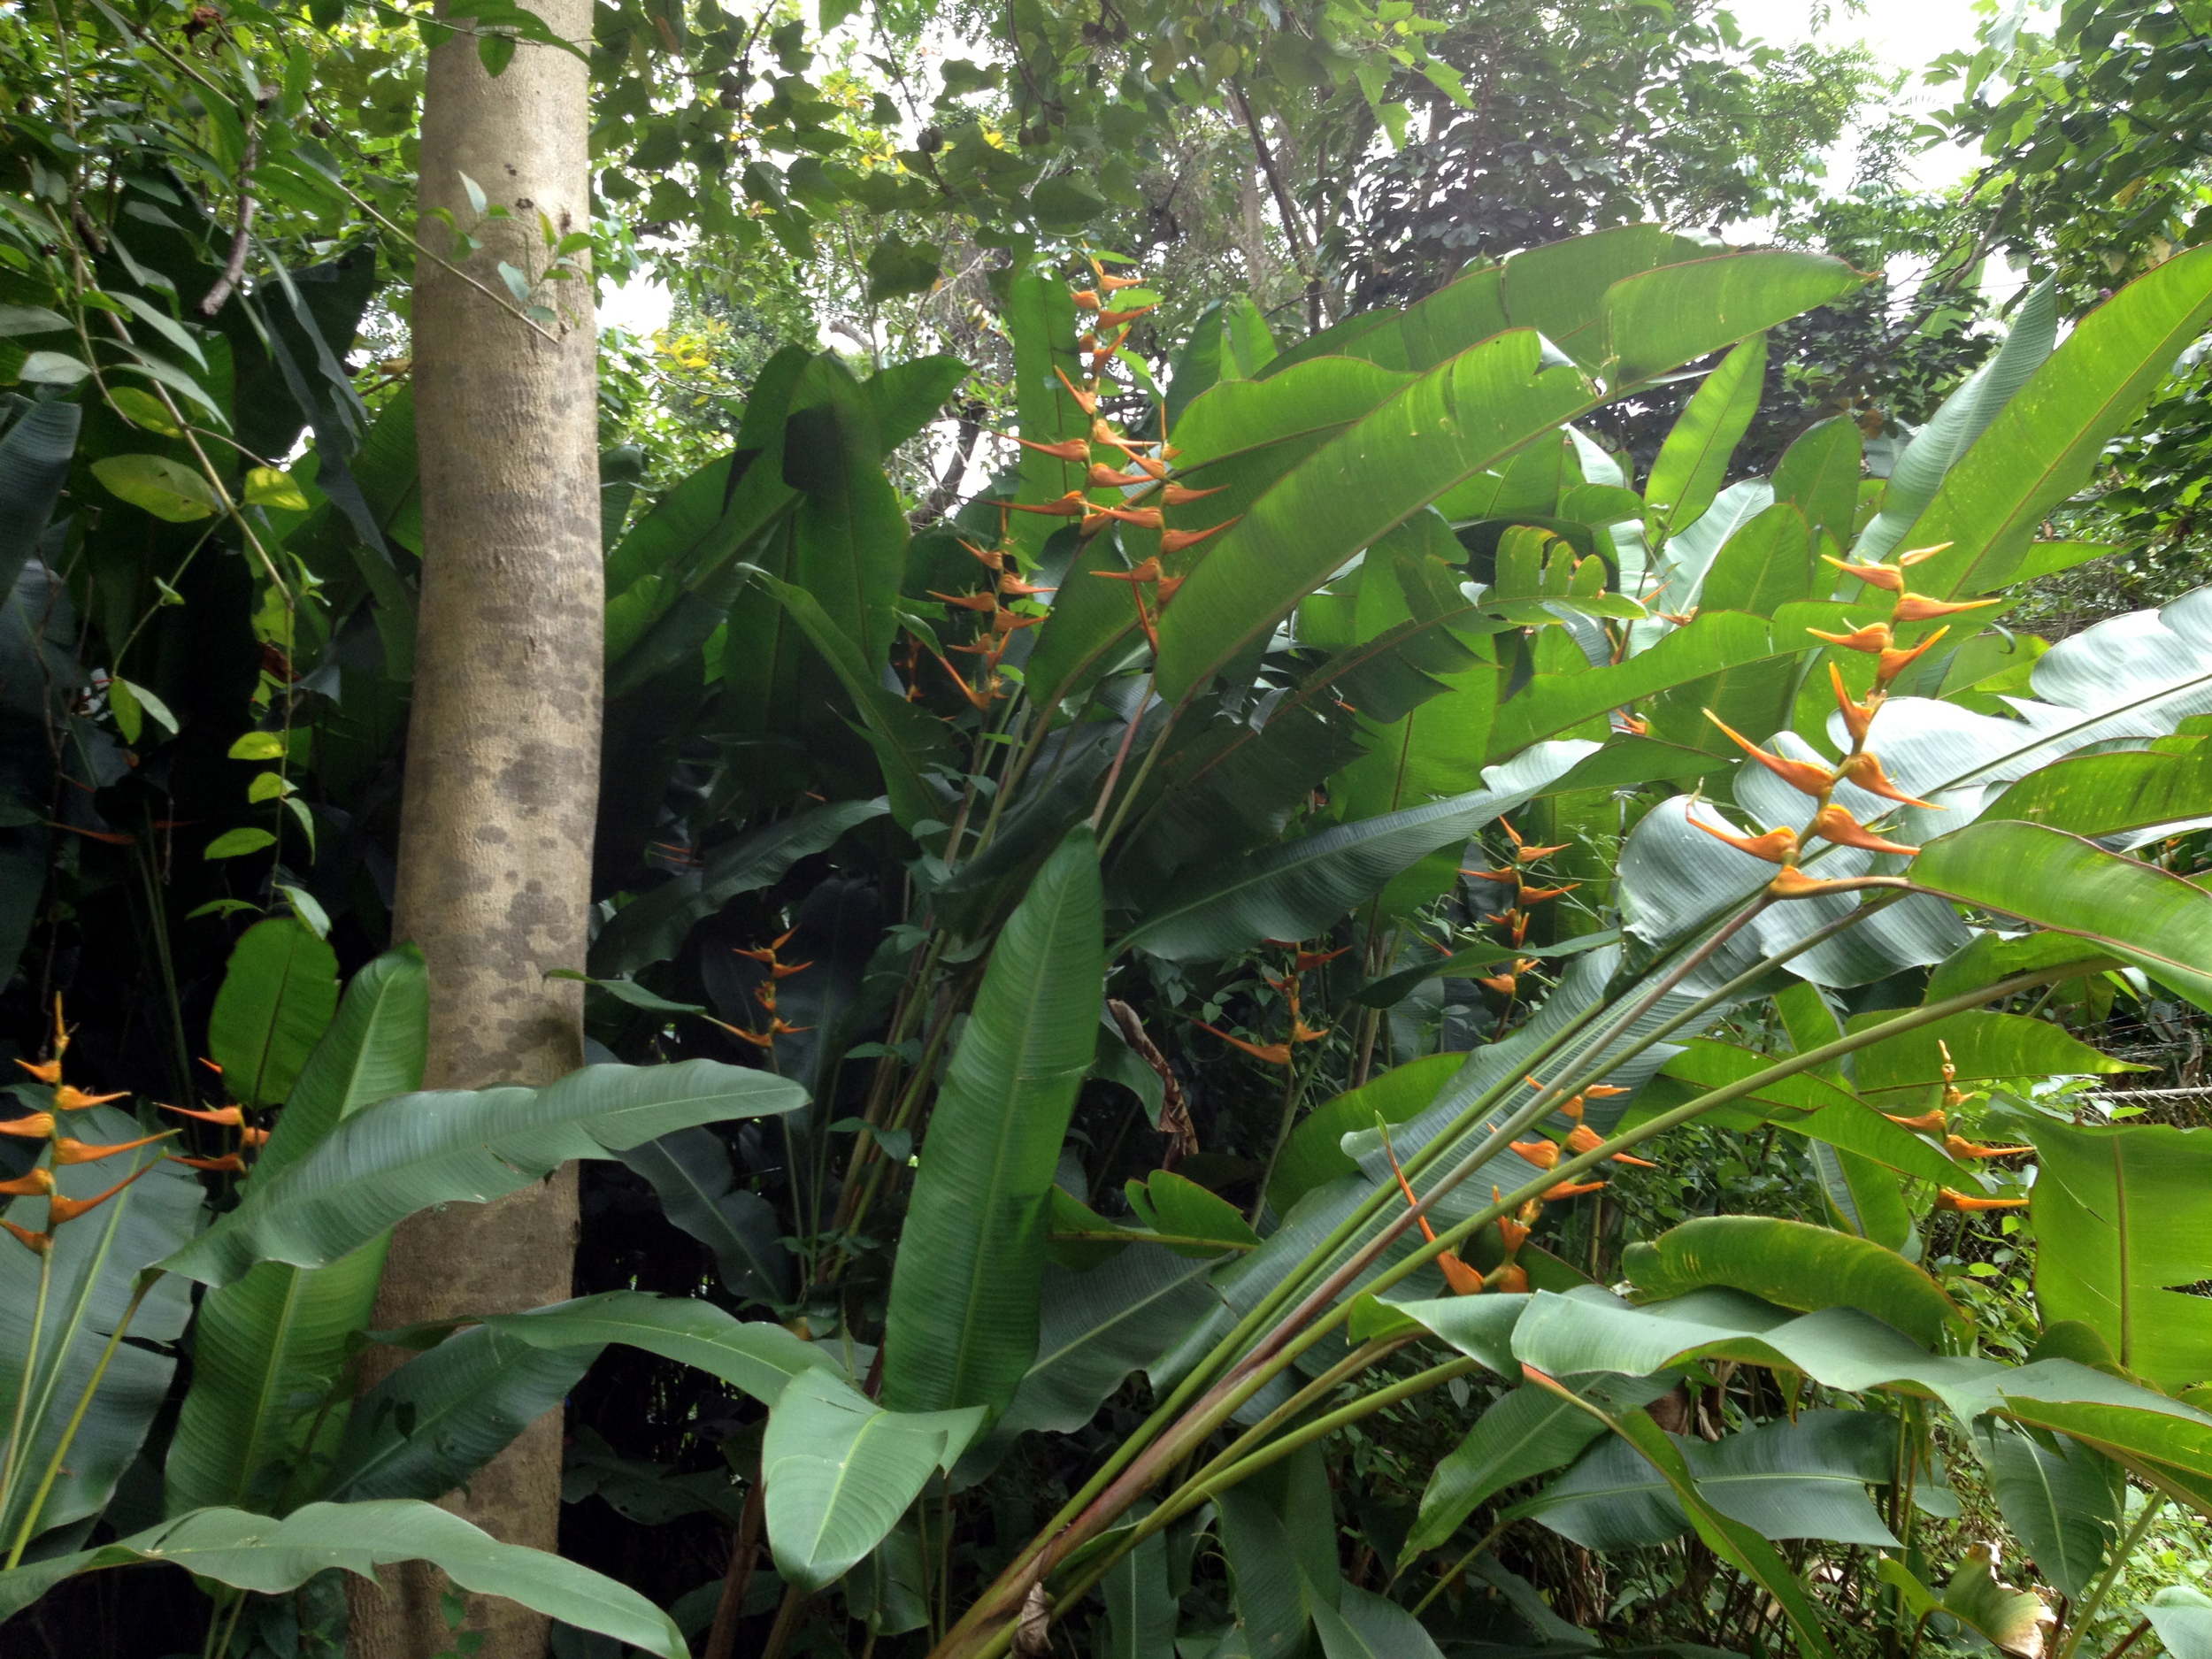 Now, I seem to remember something about a taco. Off to the market!
Mariner’s Ridge Hike/Kaluanui Ridge Trail: Hawaii Kai, Oahu, Hawaii.
Big Update: So it would seem that Kamehameha Schools (via Kekoa Paulsen Director Community Relations & Communications Group) has closed this trail to the public. Word on the street is that they simply got tired of the neighbors complaining about the traffic on the street each weekend. In my opinion, I believe there is a better way to handle such things than simply closing the trail. That is like brain surgery with a machete rather than a scalpel. None the less, they did it and put up a big ugly fence to drive the point home. Keys were given to several hiking groups though. (Hmmm, REALLY?)
Not only have they done this, They have also informed bloggers such as myself to cease and desist any mention of this hike and or any others that may be on there property. (OR PASS OVER for that matter) REALLY? I hope they realize the thousands of books, blogs, papers, videos maps and published media they will need to reach with this madness. Impossible.
They claim that they are trying to protect the aina, but isn't that always the story? Also the danger involved. I'm sorry, but that simply never works in the hiking community either. Besides, the trails that get the most injuries are not on this side of the island. Oh well... Now, after hearing this, the for mentioned individual made a comment that Kamehameha Schools is simply trying to inform the public of the fact that they own the land the trails are on. REALLY? OK, you own it! Thanks for letting us know and see ya on the trails!!!
I did my part. Thanks!
Well, hello again Hikers! Want to get a good workout with a treat? Well then, this hike is a hoot and sure to please. The treat you seek is a fabulous view. You may even burn a few calories and work up an appetite for a taco later!!!! (I HIKE FOR TACOS!) Distance: 2.57Mi.
Elevation: 760ft.-1,599ft.-760ft.
Time: 2.5 hours.
Water consumption: 32oz.
Caloric output: 800-1,100 calories depending on pace.
Difficulty: 1.8-3.0
Geo Cache: 4-5
 Way points:
Parking: 21°18'13.20"N 157°42'8.60"W
Trail head: 21°18'17.76"N 157°42'4.80"W
A: first breather. 21°18'21.84"N 157°42'10.94"W
B: Wonderful view. 21°18'38.72"N 157°42'15.87"W
C: Wonderful view 2. 21°18'49.54"N 157°42'23.45"W
D: View to Waimanalo. 21°18'59.80"N 157°42'23.48"W
E: View the other way. 21°19'0.76"N 157°42'20.94"W
 Two mountain ranges exist on Oahu. One is the Waianae Range and the other is the Ko'olau Range. A plethora of trails, mostly accessible from the leeward (west-facing) side of the island, extend to the summit of the Ko'olaus.
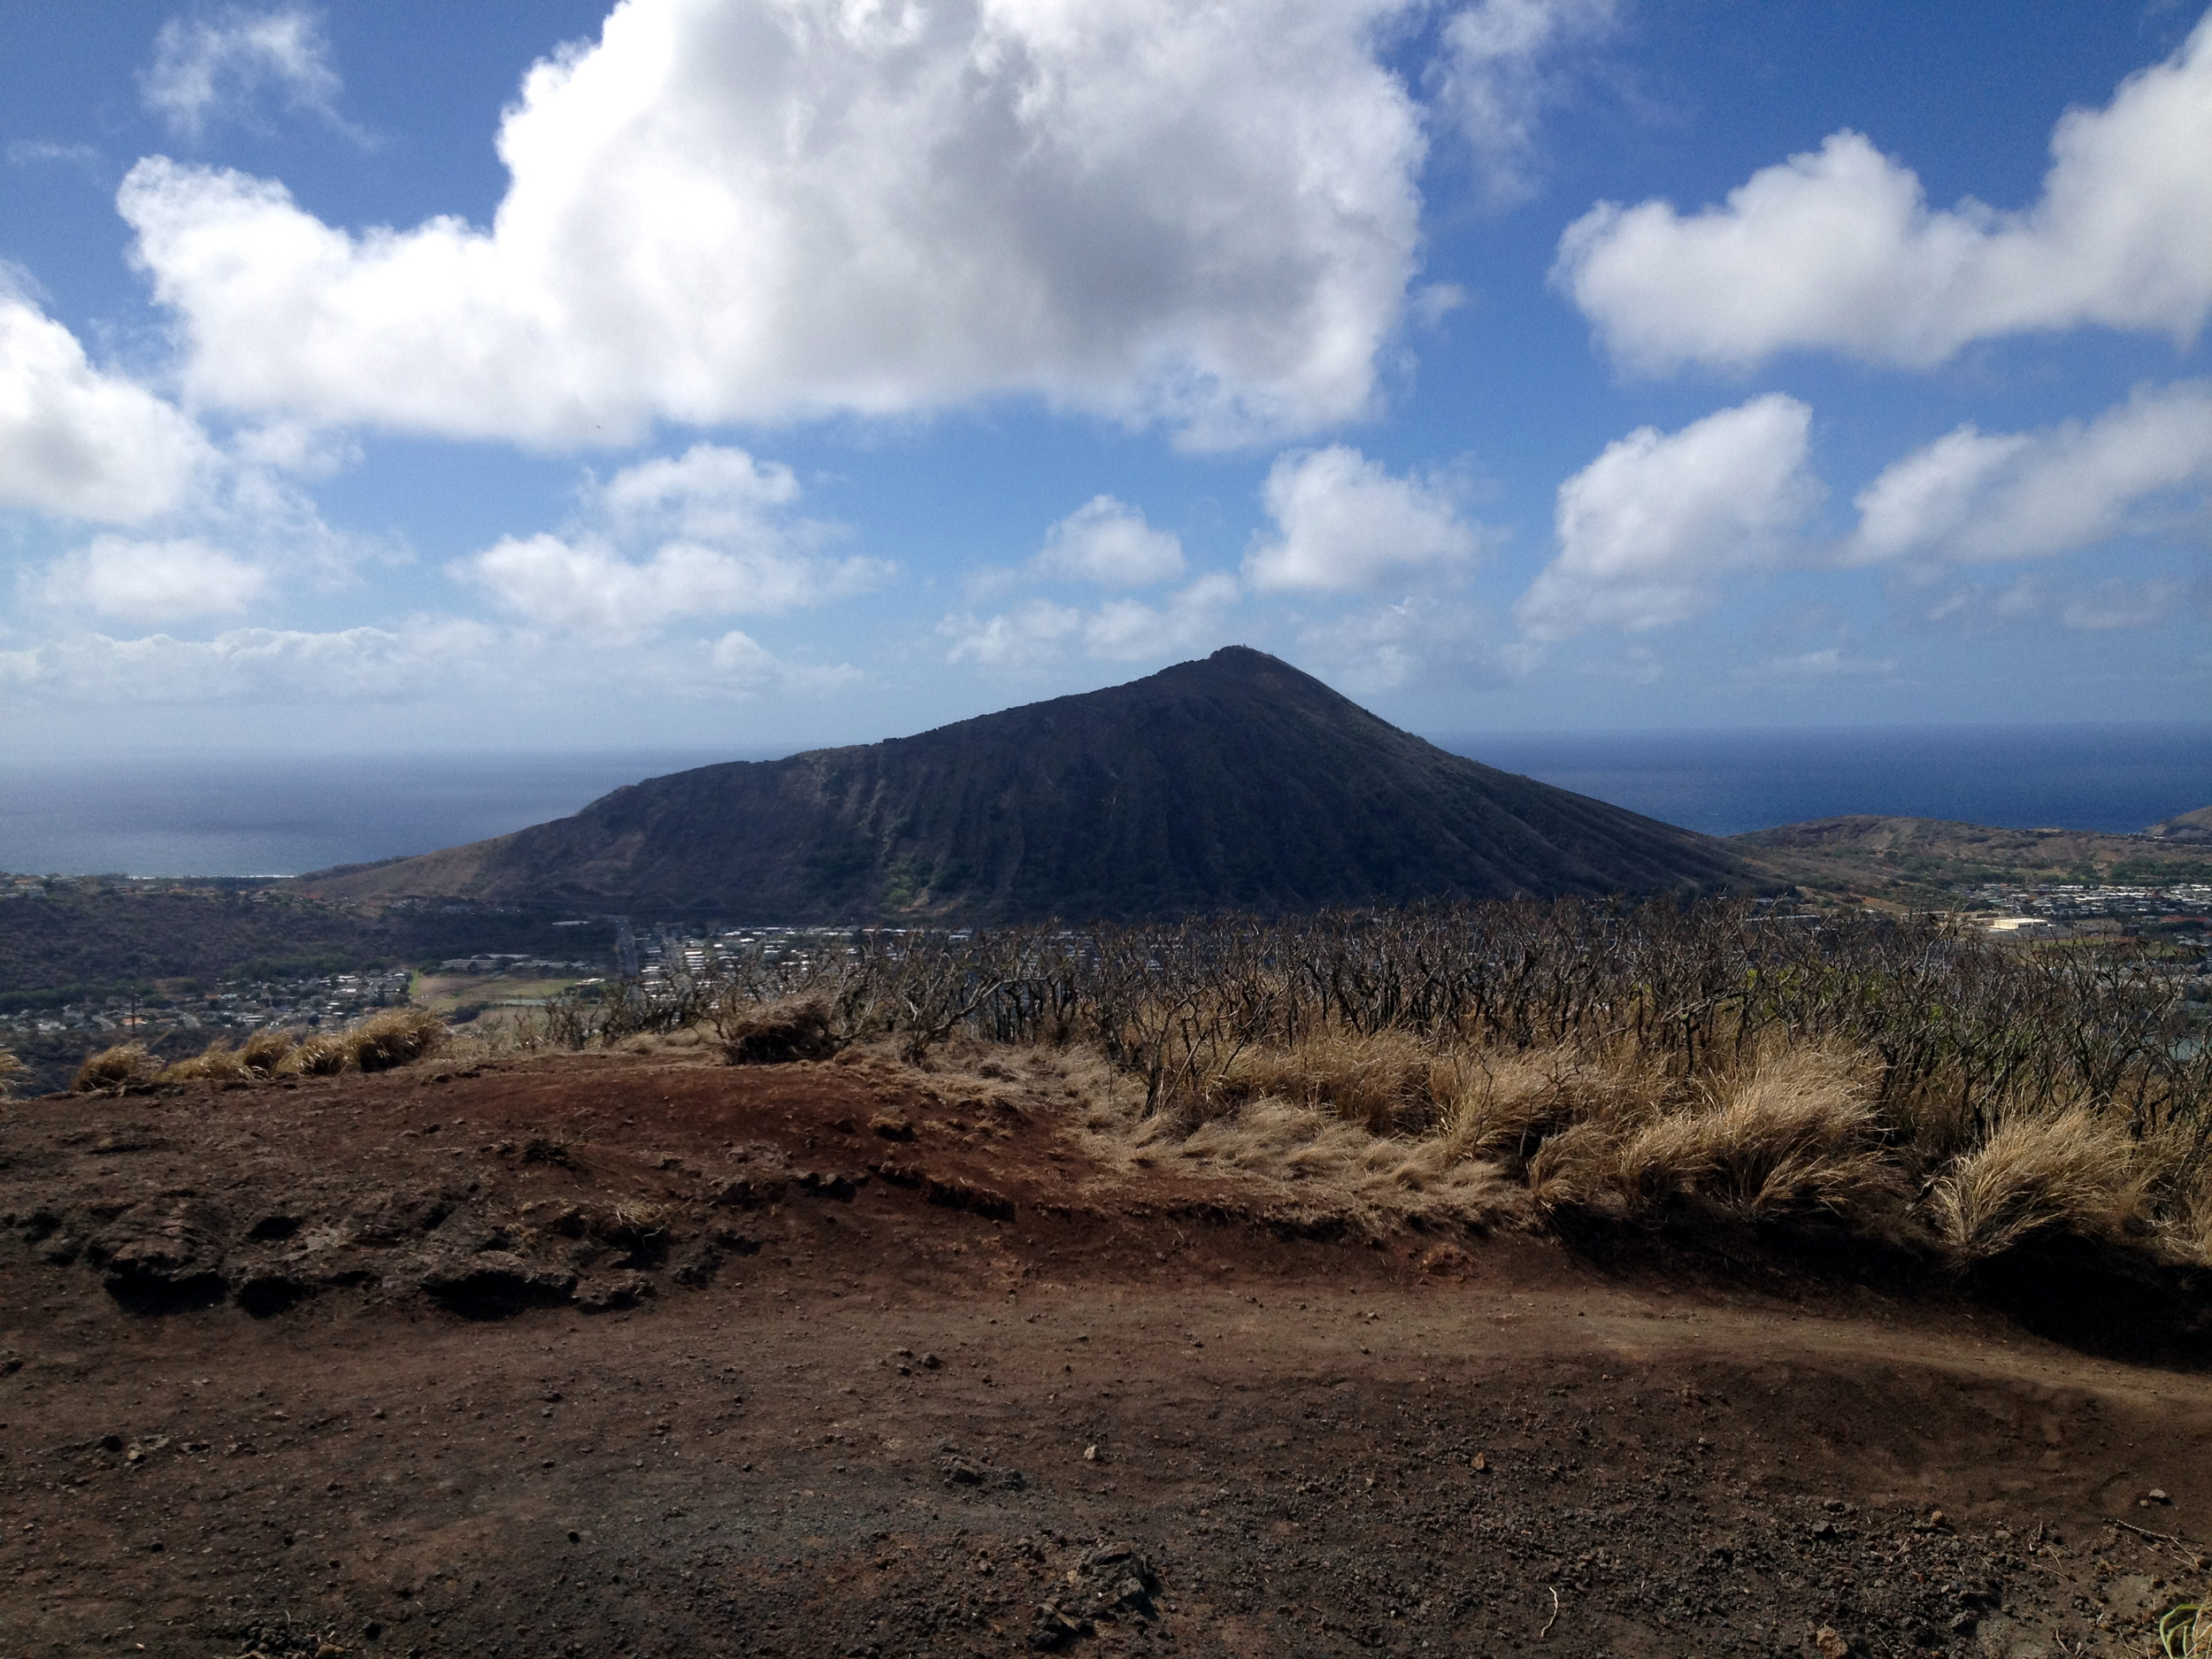 Mariner’s Ridge hike or Kaluanui Ridge Trail could be the easiest and shortest ridge hike to the Ko’olau summit. Conveniently located near the island's southeastern tip in the Mariner’s ridge community, this is a kid and pet friendly hike. Follow Kaluanui road in Hawaii Kai all the way up and park before the dead end. There is a shingled house on the right, that a lot of folks call the “gingerbread house.” I never see anyone there though. Perhaps they would sell it to me and I could manage the trail! We could never figure out why there is a “No Trespassing” sign at the entrance to the trail. This WAS a public hike and not limited to Mariner Ridge residents only. Or am I mistaken? Who cares, arrest us!!! (OR NOT!)
 Ready? Let’s go! The trail is dusty and rocky in the initial section as it switchbacks to gain elevation and leaves the residential area behind. If you are a runner, this is a great section to get the blood flowing and the heart a pump’n. As you start your way up the rocky and dirt trail, you can see Koko Crater looming in your rear view. The higher you go, the more it becomes visible. Don’t worry about shooting a picture yet. It gets better. When you reach the top of the dry dirty section look to the left and you can see Hahaione Valley, Kuapa Pond and Koko Head. Now you can catch your breath and shoot that picture! After ten to fifteen minutes of hiking, you will notice that the trail has become cooler and more forested, with pines and ironwoods being the predominant species along the way.
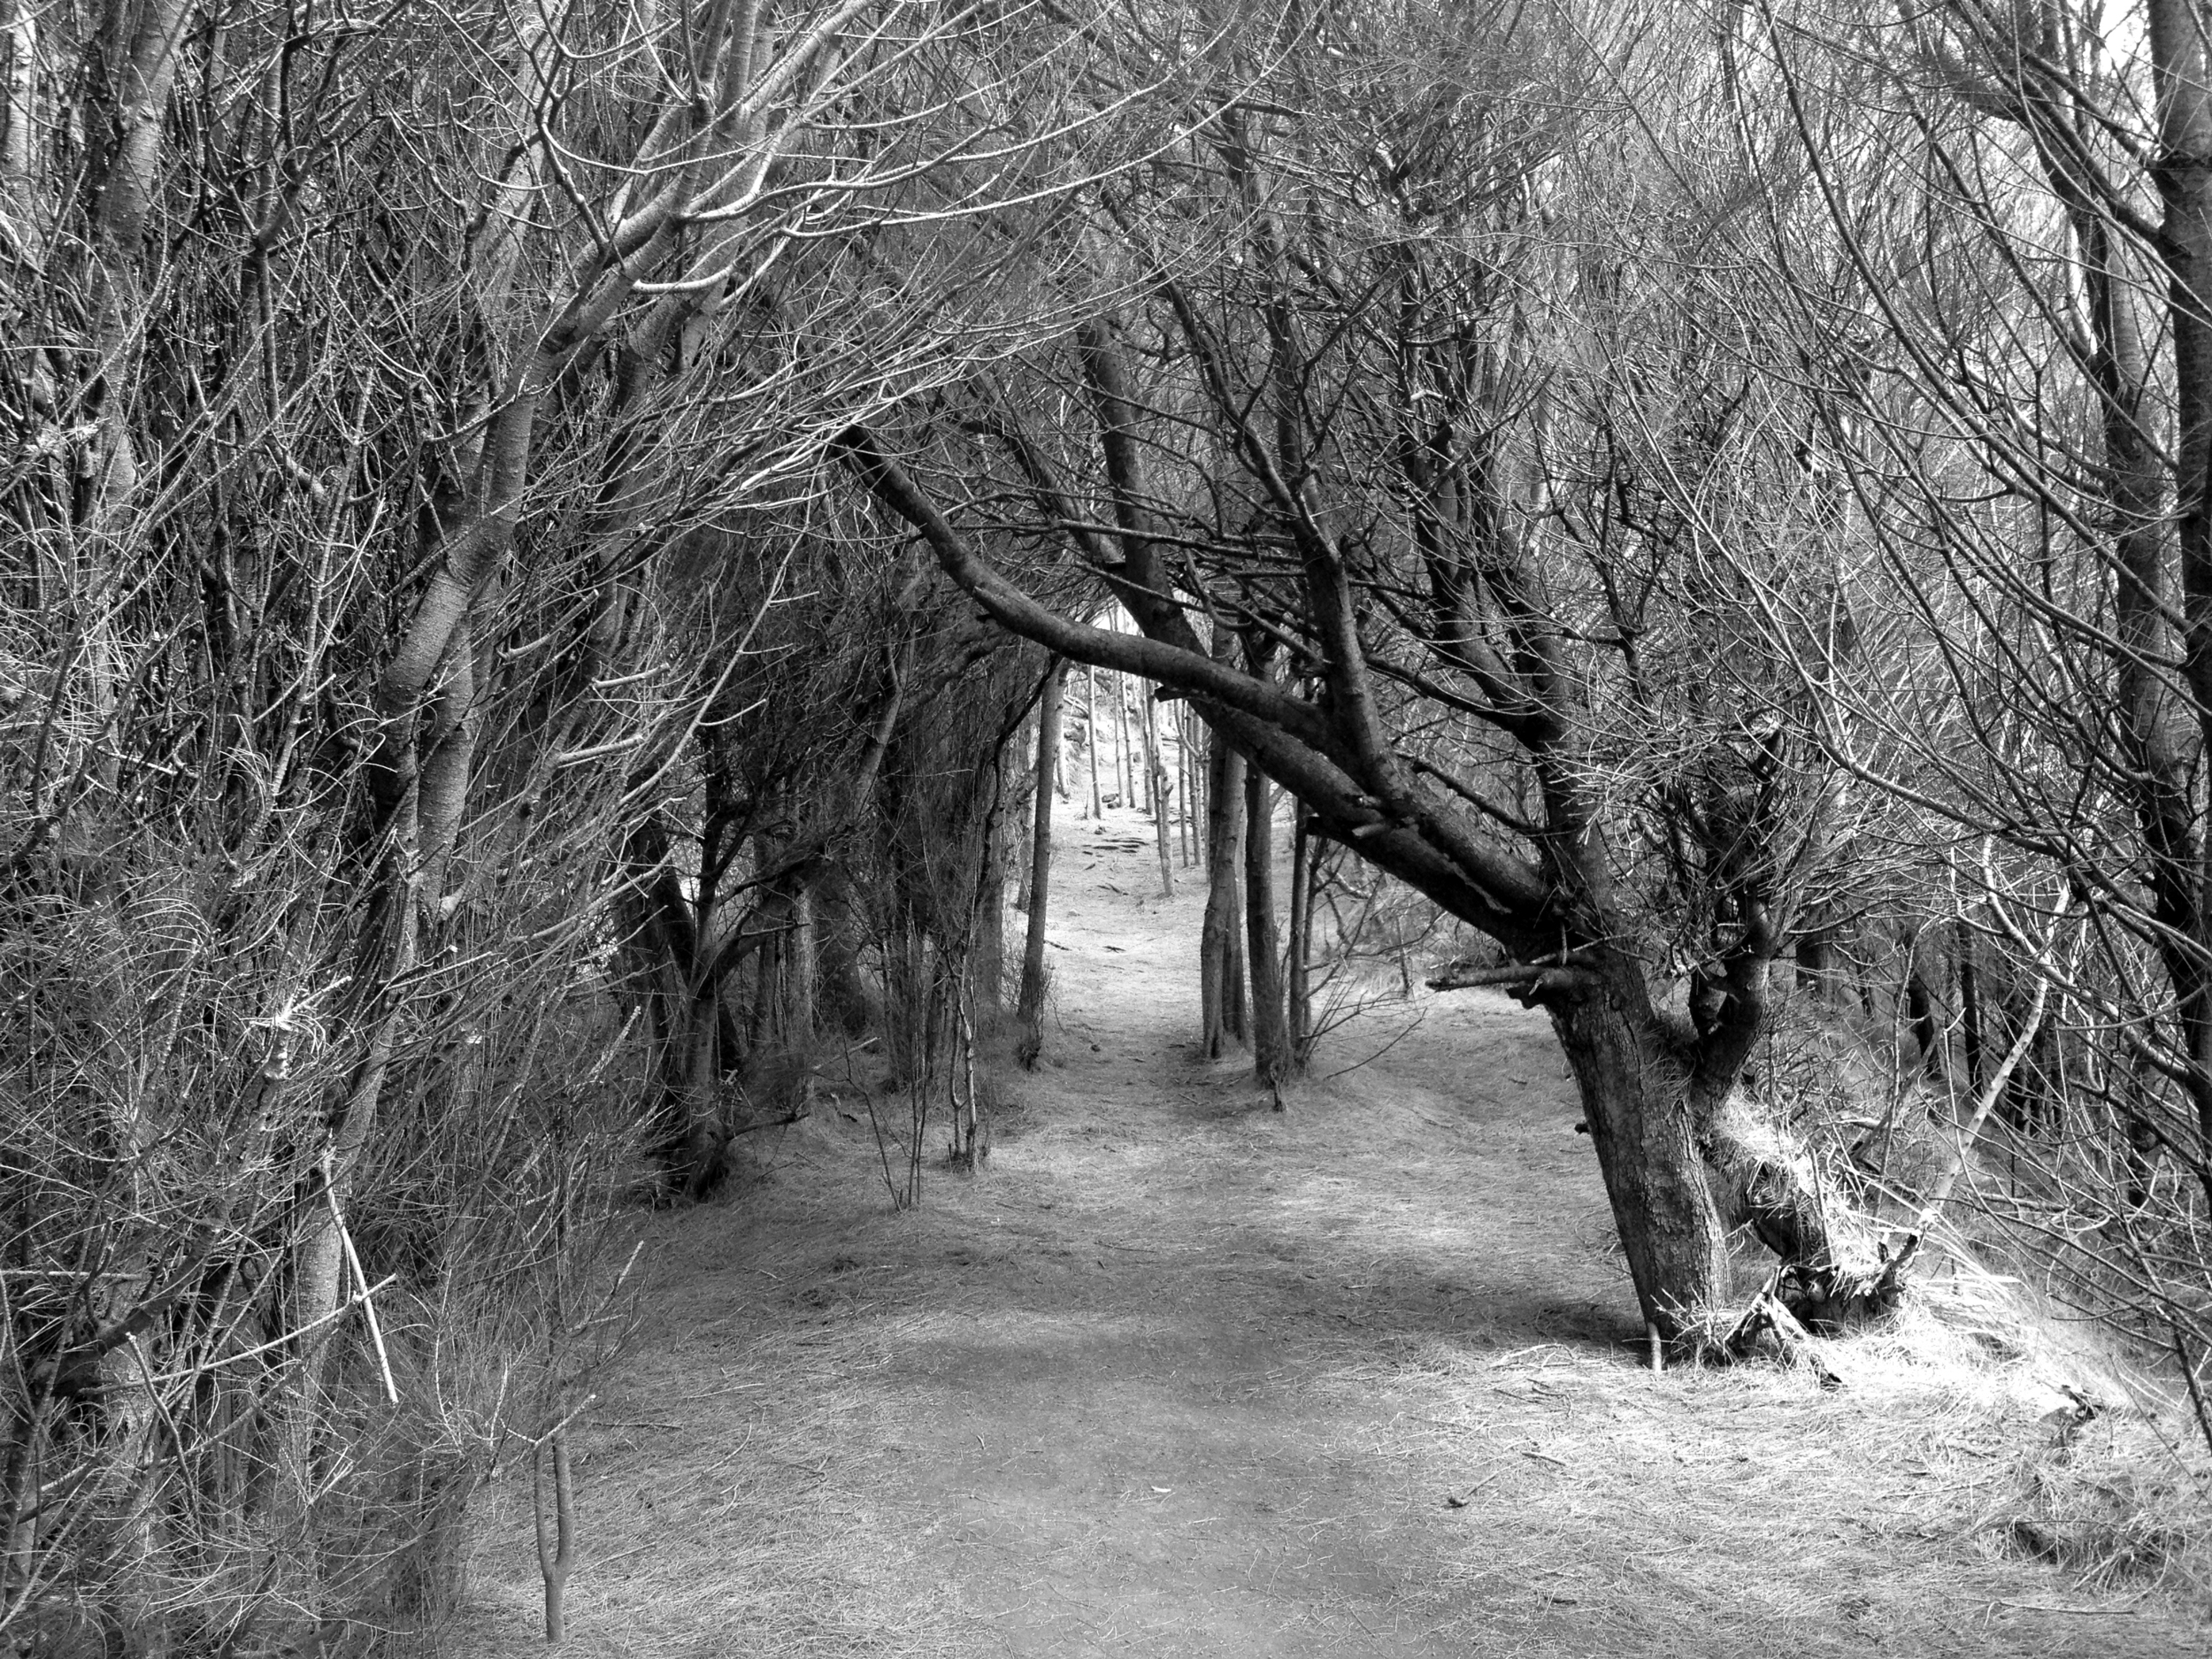 Due to the short distance (1.5 miles to the top) and good condition of the route, the trail is well-hiked, so if you seek a solitary, secluded hiking experience this is not the trail for you. Check out a few of my other hike blogs and find one that suits this better. Since this area is one of the drier ones on the island, this trail can be a good choice when rain is falling on other parts of the island. As is the case with all Oahu trails, slippery conditions will exist when rains hit, so practice good hiking safety. I have done this one in a torrential down pour though. It was actually not too bad. A bit slippy in places, but all in all it made it a cool and breezy hike.
 The rewards (treats) at the summit are excellent views of the windward side of Oahu. Directly below is the community of Waimanalo and its farms and rural residences. You can also see all the way to Kailua and the Marine Corps Base Hawaii on a clear day.
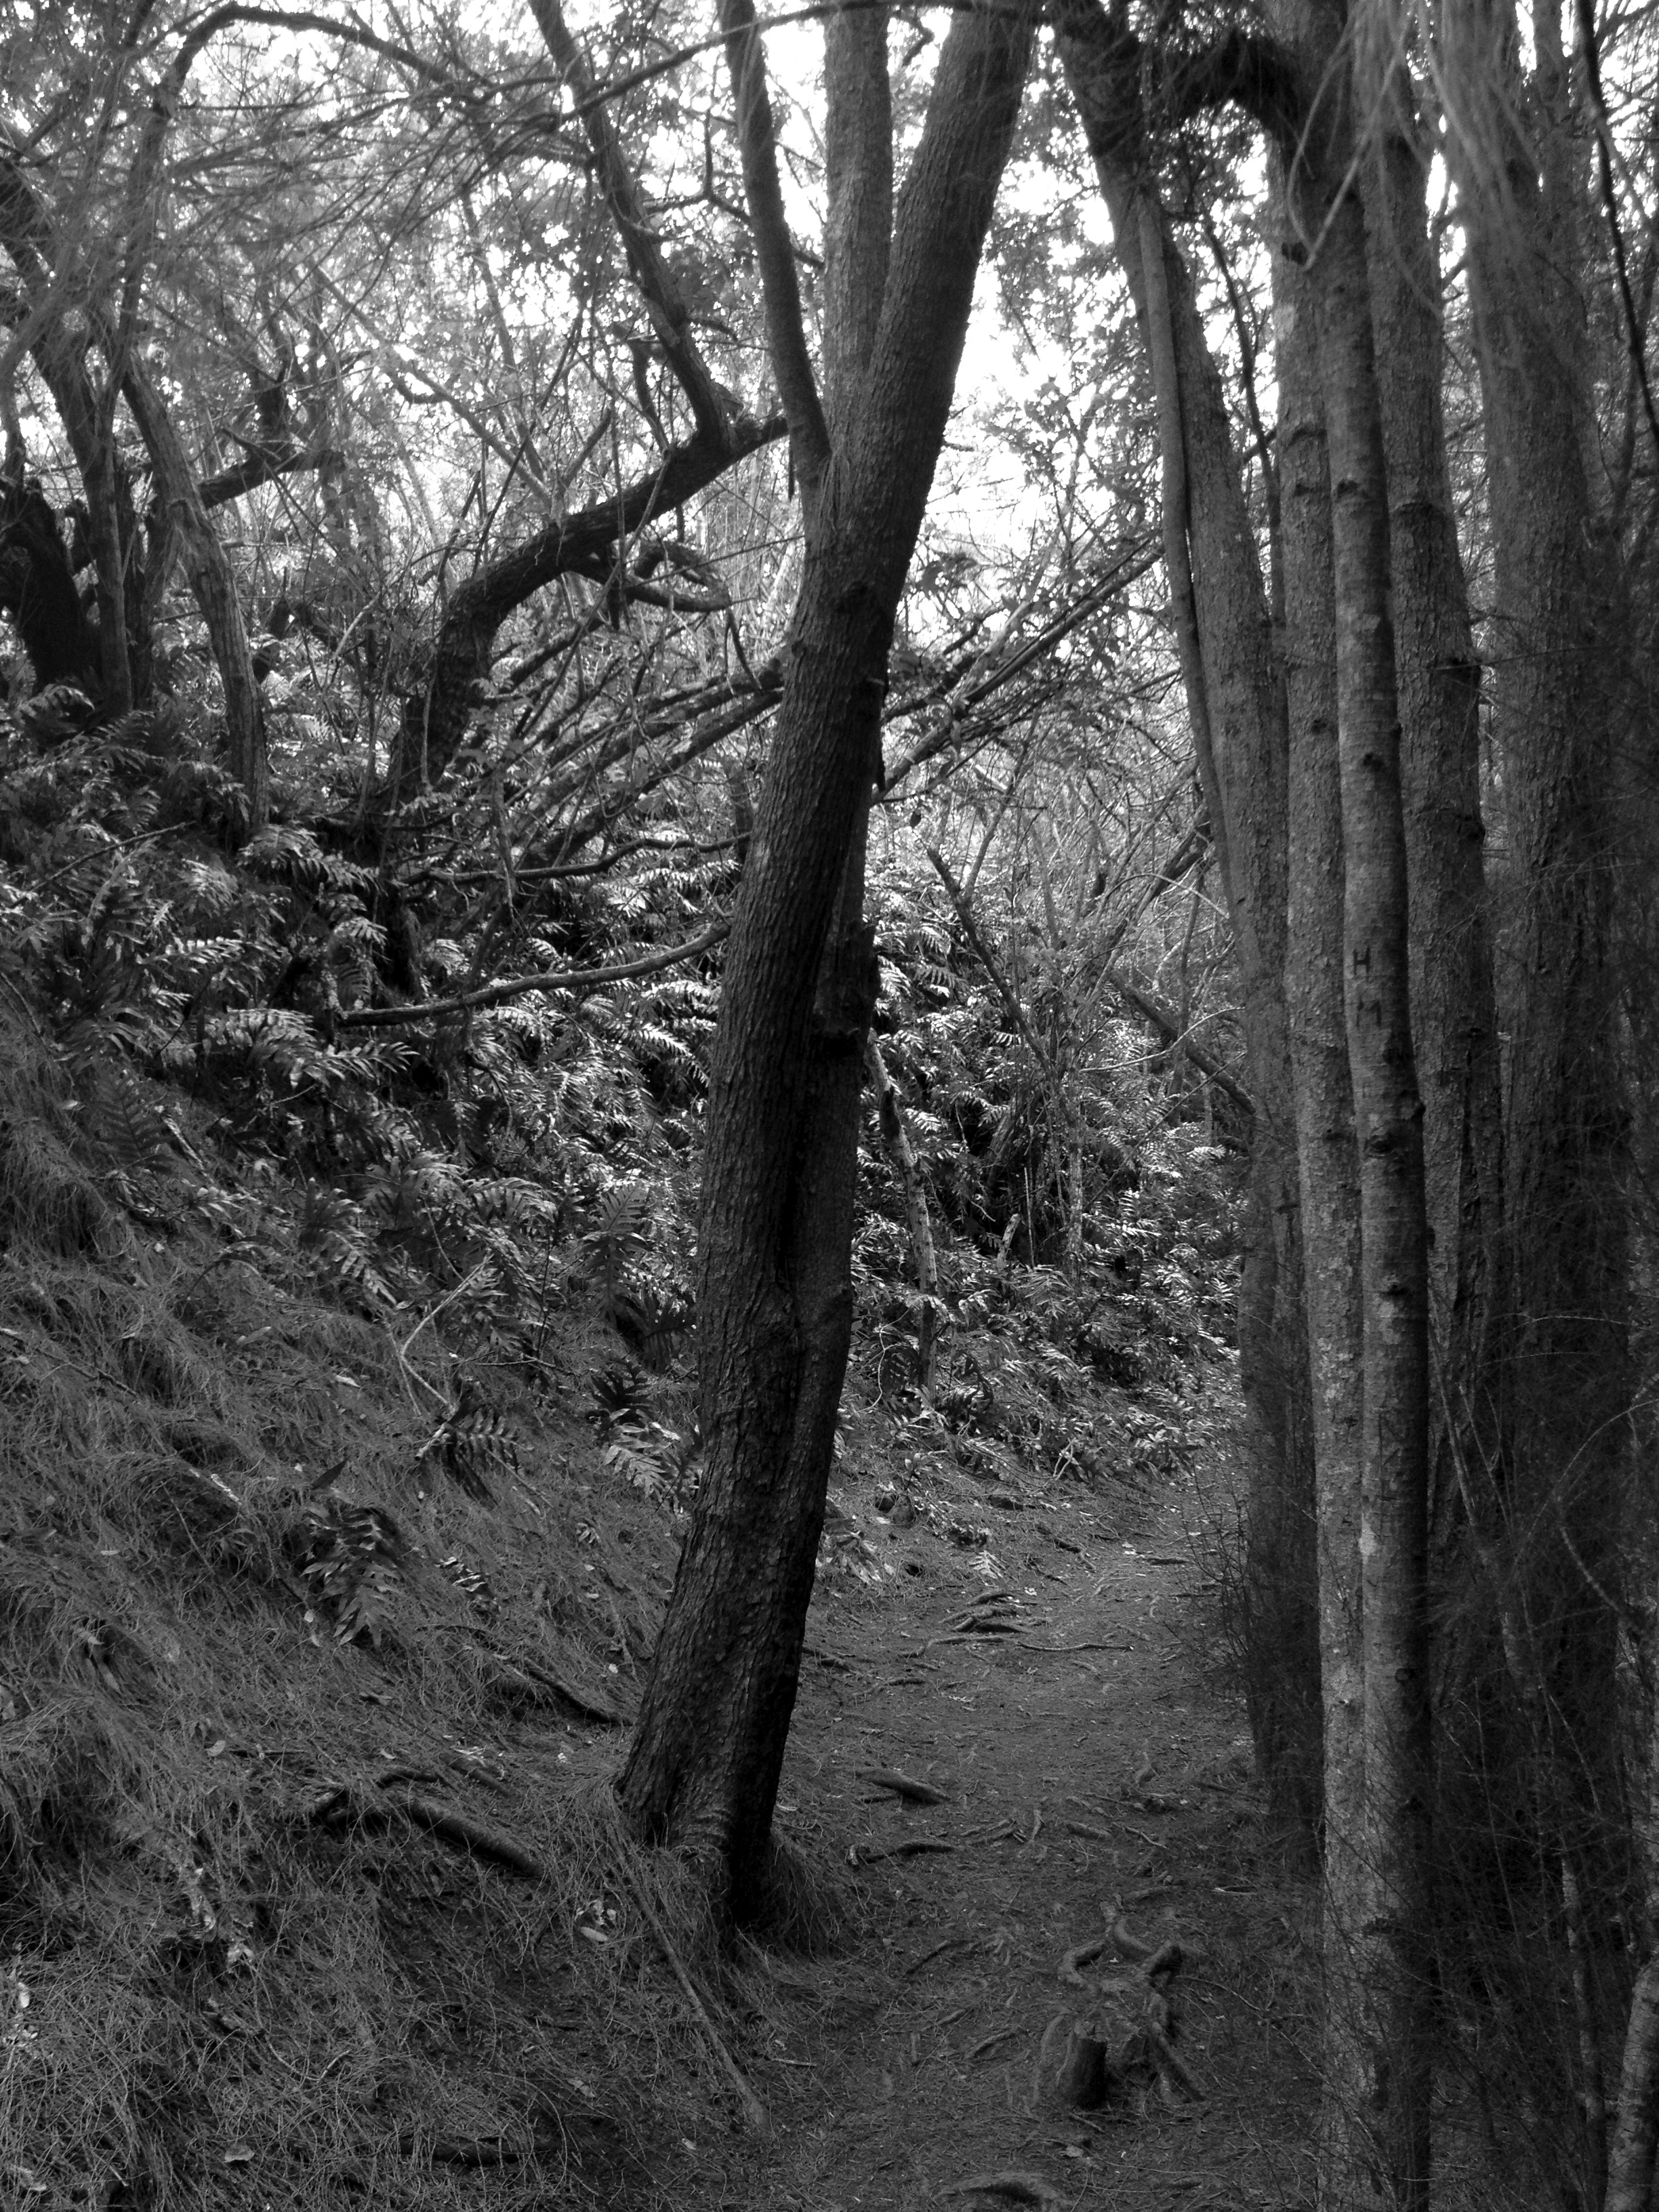 While it is possible to hike along the summit to the left and right of the trail terminus, I do not advise this unless you are hiking with someone who has experience along these routes. A big part of hiking safety is knowing where you are going and what you might be getting yourself into. I have done these trails before and do recommend them, but again, be careful. I will write about these treks soon and will put a higher difficulty rating for these sections. Stay tuned!
 Spend all the time you want at the summit. Bring a cool drink and a picnic lunch or snack and enjoy your time there. On a few occasions, I have stumbled upon some pretty elaborate picnics in progress up here. Wine cheese and all the fix’ns! Funny, never had a taco on top though. Hmmmm, I have an idea! “Mariner’s Tacos”!!!!
OK, head back the way you came. Easy as it gets! Man, I’m hungry…
Happy trails ya’ll!!!!
Kuli’ou’ou Valley Hike: Hawaii Kai, Oahu, Hawaii.
A short and sweet hike with plenty of bliss.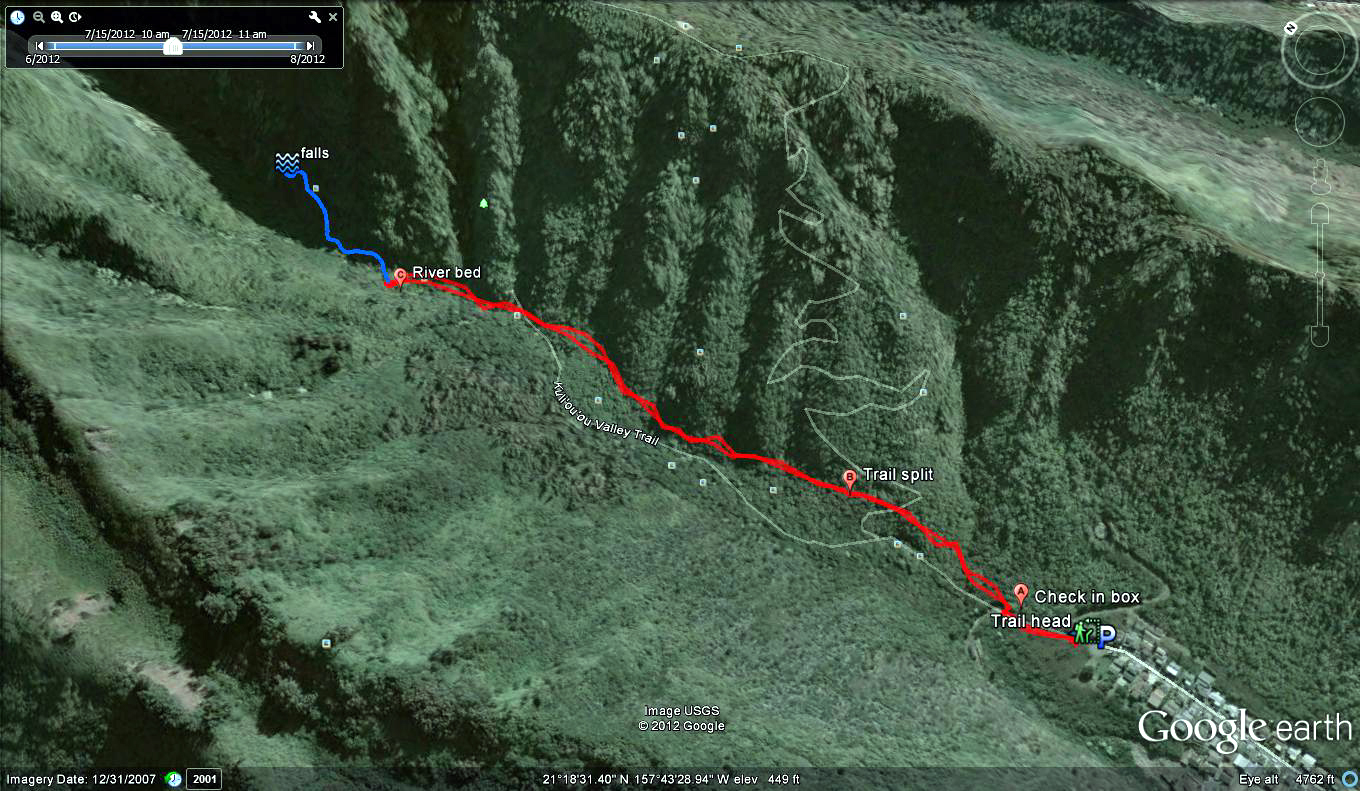 Distance: 1.44Mi. Add .66Mi. if you take the falls trail cut off.Elevation: 242ft.-582ft.-242ft.
Time: 46m.-1.5 hours. Add 1 hour if you take the falls trail cut off.
Water consumption: 12oz.
Caloric output: 150-400 calories depending on pace.
Difficulty: 1.8-2.4
Geo Cache: 1
 Way points:
Parking: 21°18'11.77"N 157°43'27.39"W
Trail head: 21°18'12.44"N 157°43'27.59"W
A: Trail and hunter’s check in box. 21°18'15.23"N 157°43'27.85"W
B: Trail split and boot brush. 21°18'23.31"N 157°43'28.07"W
C: River bed. 21°18'44.24"N 157°43'32.78"W
Hidden falls: 21°18'51.49"N 157°43'31.87"W
 Normally I have a bunch of jargon to pepper my hike blogs. For this one, not so much. If you are looking for a short, sweet hike into the woods with little physical impact, this is a great spot.
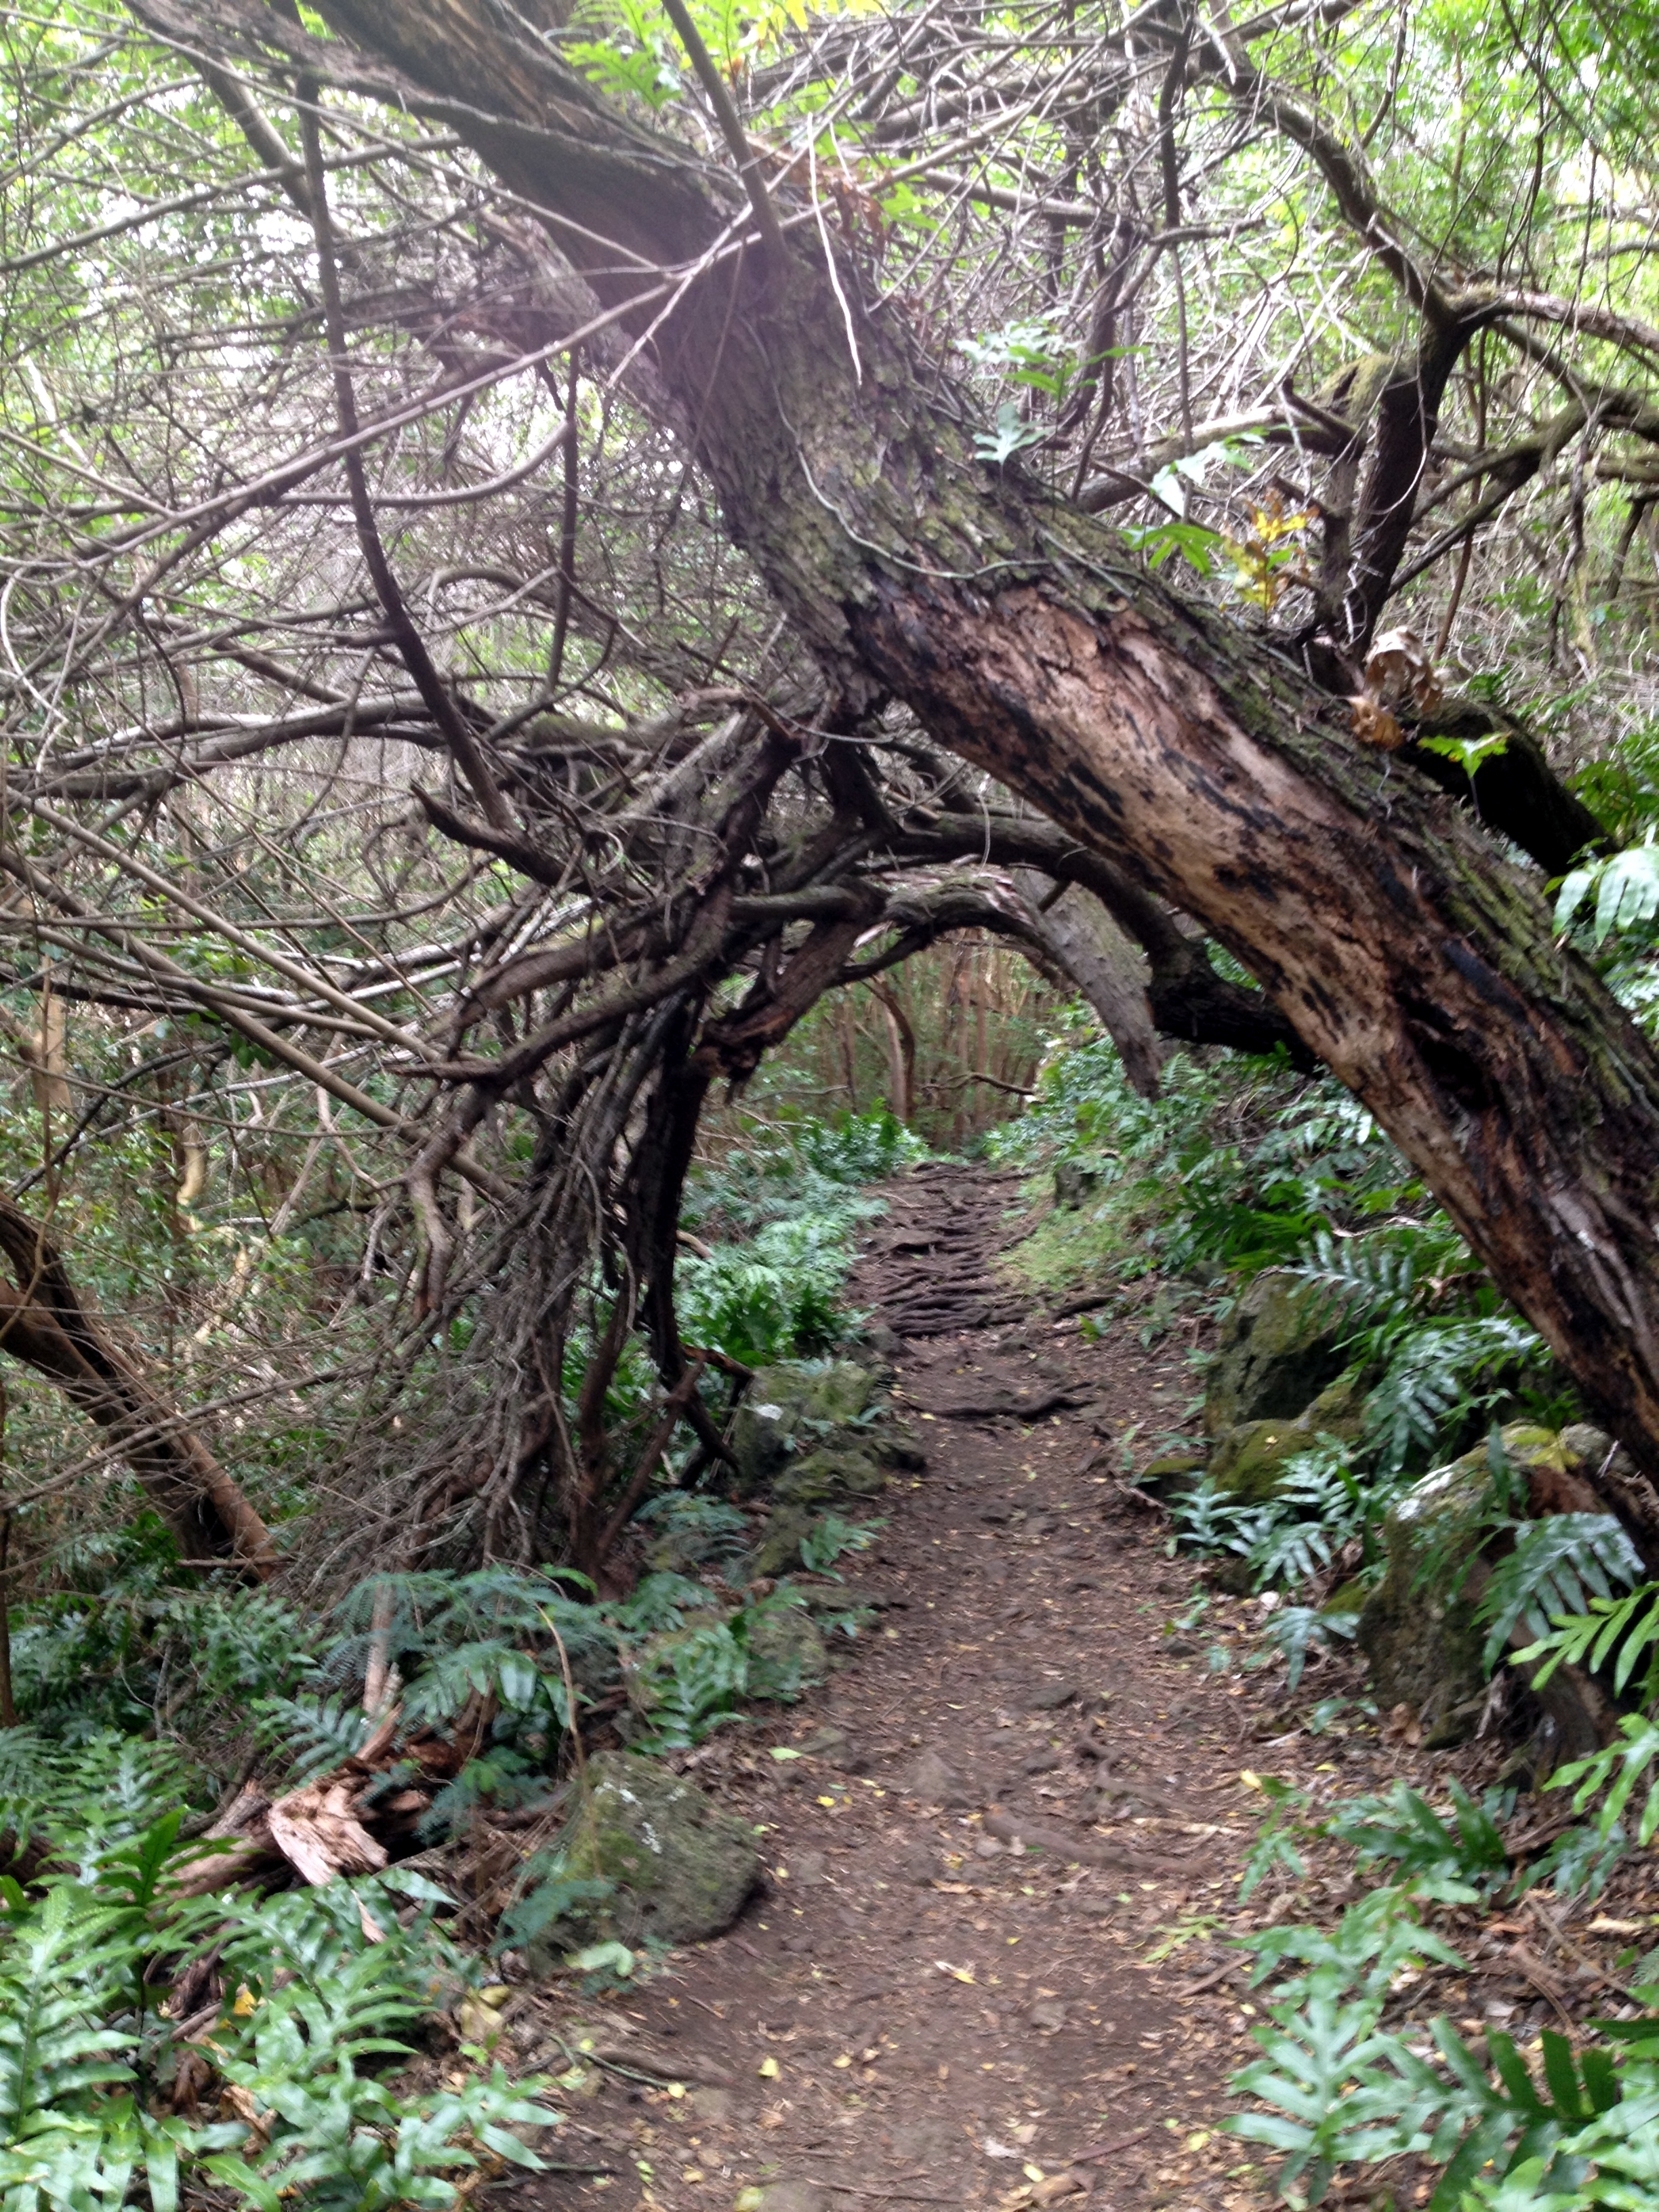 Don’t get me wrong, the short nature of this hike (and blog) must not detour you from taking a few moments of your weekend or end of day exercise routine. The Kuli’ou’ou Valley Trail Enters a lush exotic forest. I love these types of hikes. I especially like hikes when the trail parallels a stream bed such as this one. Eventually, the trail will lead you to the head of the valley where if you are lucky, you will find a cute little waterfall. When the valley is dry though, only moss will greet you on the cliffs. Still beautiful either way. This is a shaded, pastoral hike with an abundance of moss covered rocks along the way.
The posted trailhead is located at the end of a cul-de sac at the end of Kalaau Pl. Begin your trek at the end of the circle. Walk down the paved road for about 50 yards or so. You will see a footpath that leads up to the right. Also, you will find a clearly marked sign for the trail system. For safety, there has been a hunter’s sign in station mailbox installed. You may want to sign the sheet in the box and tell the world which trail you will be taking. Sounds silly to some, but you never know. Just do it. On your way out, sign out. Simple.
 From here, head north up the trail. In about 0.2 miles, you will find a split in the trail. Your mission is to head straight ahead. (North) The trail up to the right (Northeast) heads up to the Kuli’ou’ou ridge line. I will be mapping this trail and writing about it in the near future. Look around at this point and you will see a set of built-in boot brushes so you can scrape off any noxious weed seeds you may have picked up on your way in. PLEASE try to protect Hawaii’s native vegetation in this area. Take your time and pick off any Kling-on buggers as well. THANK YOU!!!!!
 OK, the trail meets the (usually) dry stream bed in about 0.8 miles. All along the way though, you will be paralleling it. The entire trail is lined with strawberry guava trees and dense ferns. LISTEN!!!! Can you hear them?!?!?!?! Yup, if you are lucky and patient, you are most certain to hear the melodious song of the Shama Thrush. If you are really good, you may even see one. SHHHHHHHHhhhhhhhh...
 After 1 mile of bliss, you will see a couple of tall Cairns that will guide you to the other side of the stream bed. Beyond this point, the trail is not maintained and will become muddy, brushy and at times ridiculously tedious. If you so desire, this rout will take you to the back of the valley where you will end in a beautiful waterfall. Well, at least when it is raining. Otherwise the falls are just a trickle but still worth the adventure. Just knowing hardly any one ventures in this far is satisfaction enough for me. Ahhhhh, alone…..
 OK!!!!! Time for a taco!!!!! Head back the way you came. It should not take you too long. The whole hike is only about 40 min. to 1.5 hours.
 Enjoy and as always, “HAPPY TRAILS YA’LL”!!!!!!
JWM
Hike Hawaii: Old Pali Road, Pali Lookout, and Morgan’s Corner. Kaneohe/Kailua, Oahu, Hawaii
 It never ceases to amaze me how Mother Nature ALWAYS takes back what is Her’s. This hike is a perfect example. In fifty years, (since the Pali road was closed) the elements have taken their toll on the road. Plants have started to crowd the old asphalt and concrete, narrowing the path considerably. There are trees that have literally begun to grow through the old cement and concrete. Believe it or not, I noticed several places that the trees were literally holding up parts of the road. I could be wrong about this, but it sure would appear to be the case. Rest assured, I’m sure the trees will do a better job and for longer, than some of the degrading concrete structures I saw.
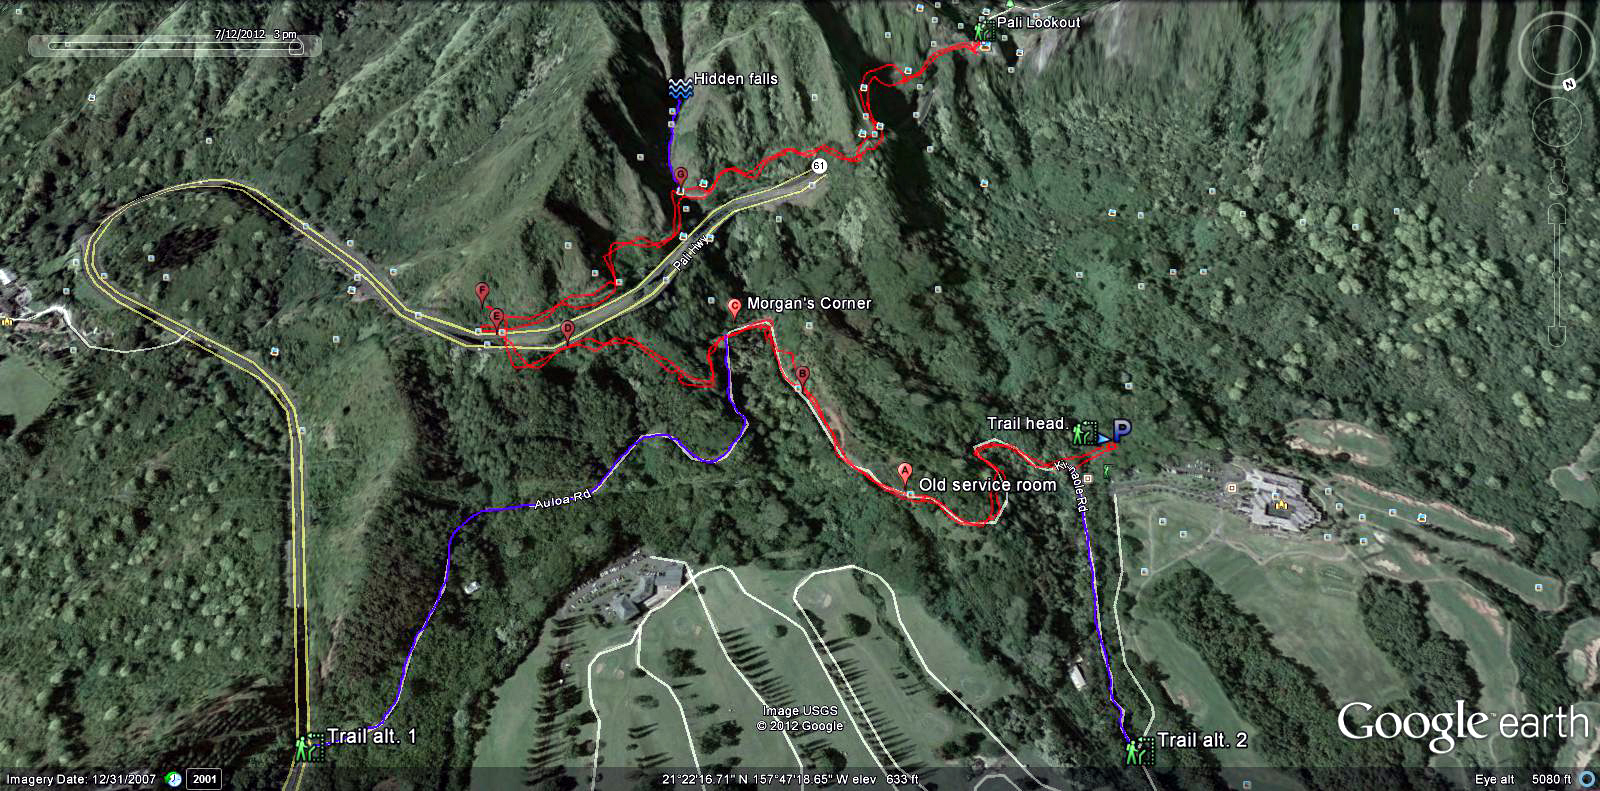 Distance: 3.44 Miles
Elevation: 466’-1,208’-466’
Time: 2Hours 10 Minutes
Caloric output: About 1 crispy chicken sandwich and a Jr. Burger.
Liquids: 42Oz.
 Geocache: 3-5
Way points:
Parking: 21°22'22.77"N 157°47'32.32"W
Trail head: 21°22'22.31"N 157°47'30.68"W
Alt. trail head 1: 21°22'25.98"N 157°46'54.46"W
Alt. trail head 2: 21°22'36.22"N 157°47'25.50"W
A: Old Electric station. 21°22'22.61"N 157°47'21.34"W
B: View of the roads above. 21°22'16.61"N 157°47'18.79"W
C: Morgan’s Corner. 21°22'11.56"N 157°47'17.21"W
D: Urban Art. 21°22'11.78"N 157°47'8.95"W
E: Under the bridge. 21°22'10.31"N 157°47'5.98"W
F: Fork, stay right. 21°22'9.11"N 157°47'5.64"W
G: Cut off to falls. 21°22'5.51"N 157°47'16.60"W
Hidden falls: 21°22'1.32"N 157°47'18.06"W
Pali Lookout: 21°22'1.41"N 157°47'35.19"W
I can’t help but to imagine how the trek in an old model “T” would have been like on this route through the Koolau Mountains. The road was often narrow enough already. I get goose pimples just looking at it and contemplating what it must have been like, back in the early 1900s. Puttering up what was sometimes just a narrow one-lane road, with a cliff to your left or right and a hundred-foot drop to your right and left. Unlike more modern roads, the Old Pali Road was built hugging the side of the slope but typically not actually cut into it. In places it’s supported by huge concrete columns. Fantastic it would have been! Especially the downhill sections where wheels locked and ski slope like maneuvers would be normal. Now I can take my mountain bike instead and go wild!!!! Thanks Mother Nature!!!!
 Even though I’ve been to the Pali Lookout like a bazillion times, and traveled the Pali Highway hundreds of times more, I’ve never taken enough time to walk up and down that old road. I had never taken an entire day to just stroll casually along and really notice the changes nature can make to our “HI-TECH” ways. Today, and a few times more this week, I was curious enough to do just that. I hope you will do the same one day!
The road starts out in pretty good shape, considering that it hasn’t been driven on for almost fifty years. But soon enough I found signs that this wasn’t an official road any longer. For one thing, there were rocks on the roadway. Big ones. Like the size of a VW! Some of the masonry was quite old as well. Around Honolulu, I’m used to seeing the occasional WPA-era Bridge, dated 1937 or so, but I thought that a 1919 date was pretty unusual. I wonder who E.J.L. was? You know, all in all, I’m not sure our newfangled “HI-TECH.” roads can compare to this! Especially the bridges. I find them beautiful. Sturdy. Made to last. Real… Let’s go see more!
On the map, I have indicated in blue, some alternative starting points for this trek. As always, in red is the route that I prefer and talk about here. Feel free to explore these other routes and let me know your thoughts! There are days’ worth of exploring to be done out here and a gazillion stories ready to be heard.
“WE GO”!!!!
 I like to start at the Koolau Country Club Golf Paradise and First Pres. Church parking lot. Why? Because my car is safe and there are several other trails that can be accessed from here. The 7 trillion cats that live in the trees are a hoot as well! If you feel so inclined, Honey’s is the restaurant in the clubhouse that can be enjoyed before or after the hike. I feel like I’m a celebrity outdoors man who gets to go back to the club after a day shoot in the amazon jungle. (Like Bear Grill actually sleeps out there and eats grubs for Sunday Brunch) Like “Hey”! Why not! “I’ll have the Eggs Benny and a Mimosa please and would you happen to have a hose to wash the mud off my Alfani’s”?!?!?! “T” Time!!!!!!!!!!
 Just off the parking lot, you will find a break in the bushes. This is where you want to be. There is a set of built in stairs that will aid in your decent on to the old road. From the lot, you will also see a service road up from where you are parked. This is another trail I will write about on another blog. For now, we go the other way. When you get to the old road, head up to the right. You will find yourself on the first wonderful old bridge. It was built in 1919. I would say it looks fantastic for its age and I wouldn’t change a thing about it.
 Up, up, up, you go. The road winds and climbs for several hundred yards from here. There are some great views to be had as well. Not only can you see down through the valley, you can also see way up to the new and old Pali roads, where you will be in about 45 minutes! Don’t believe me? Keep going then!
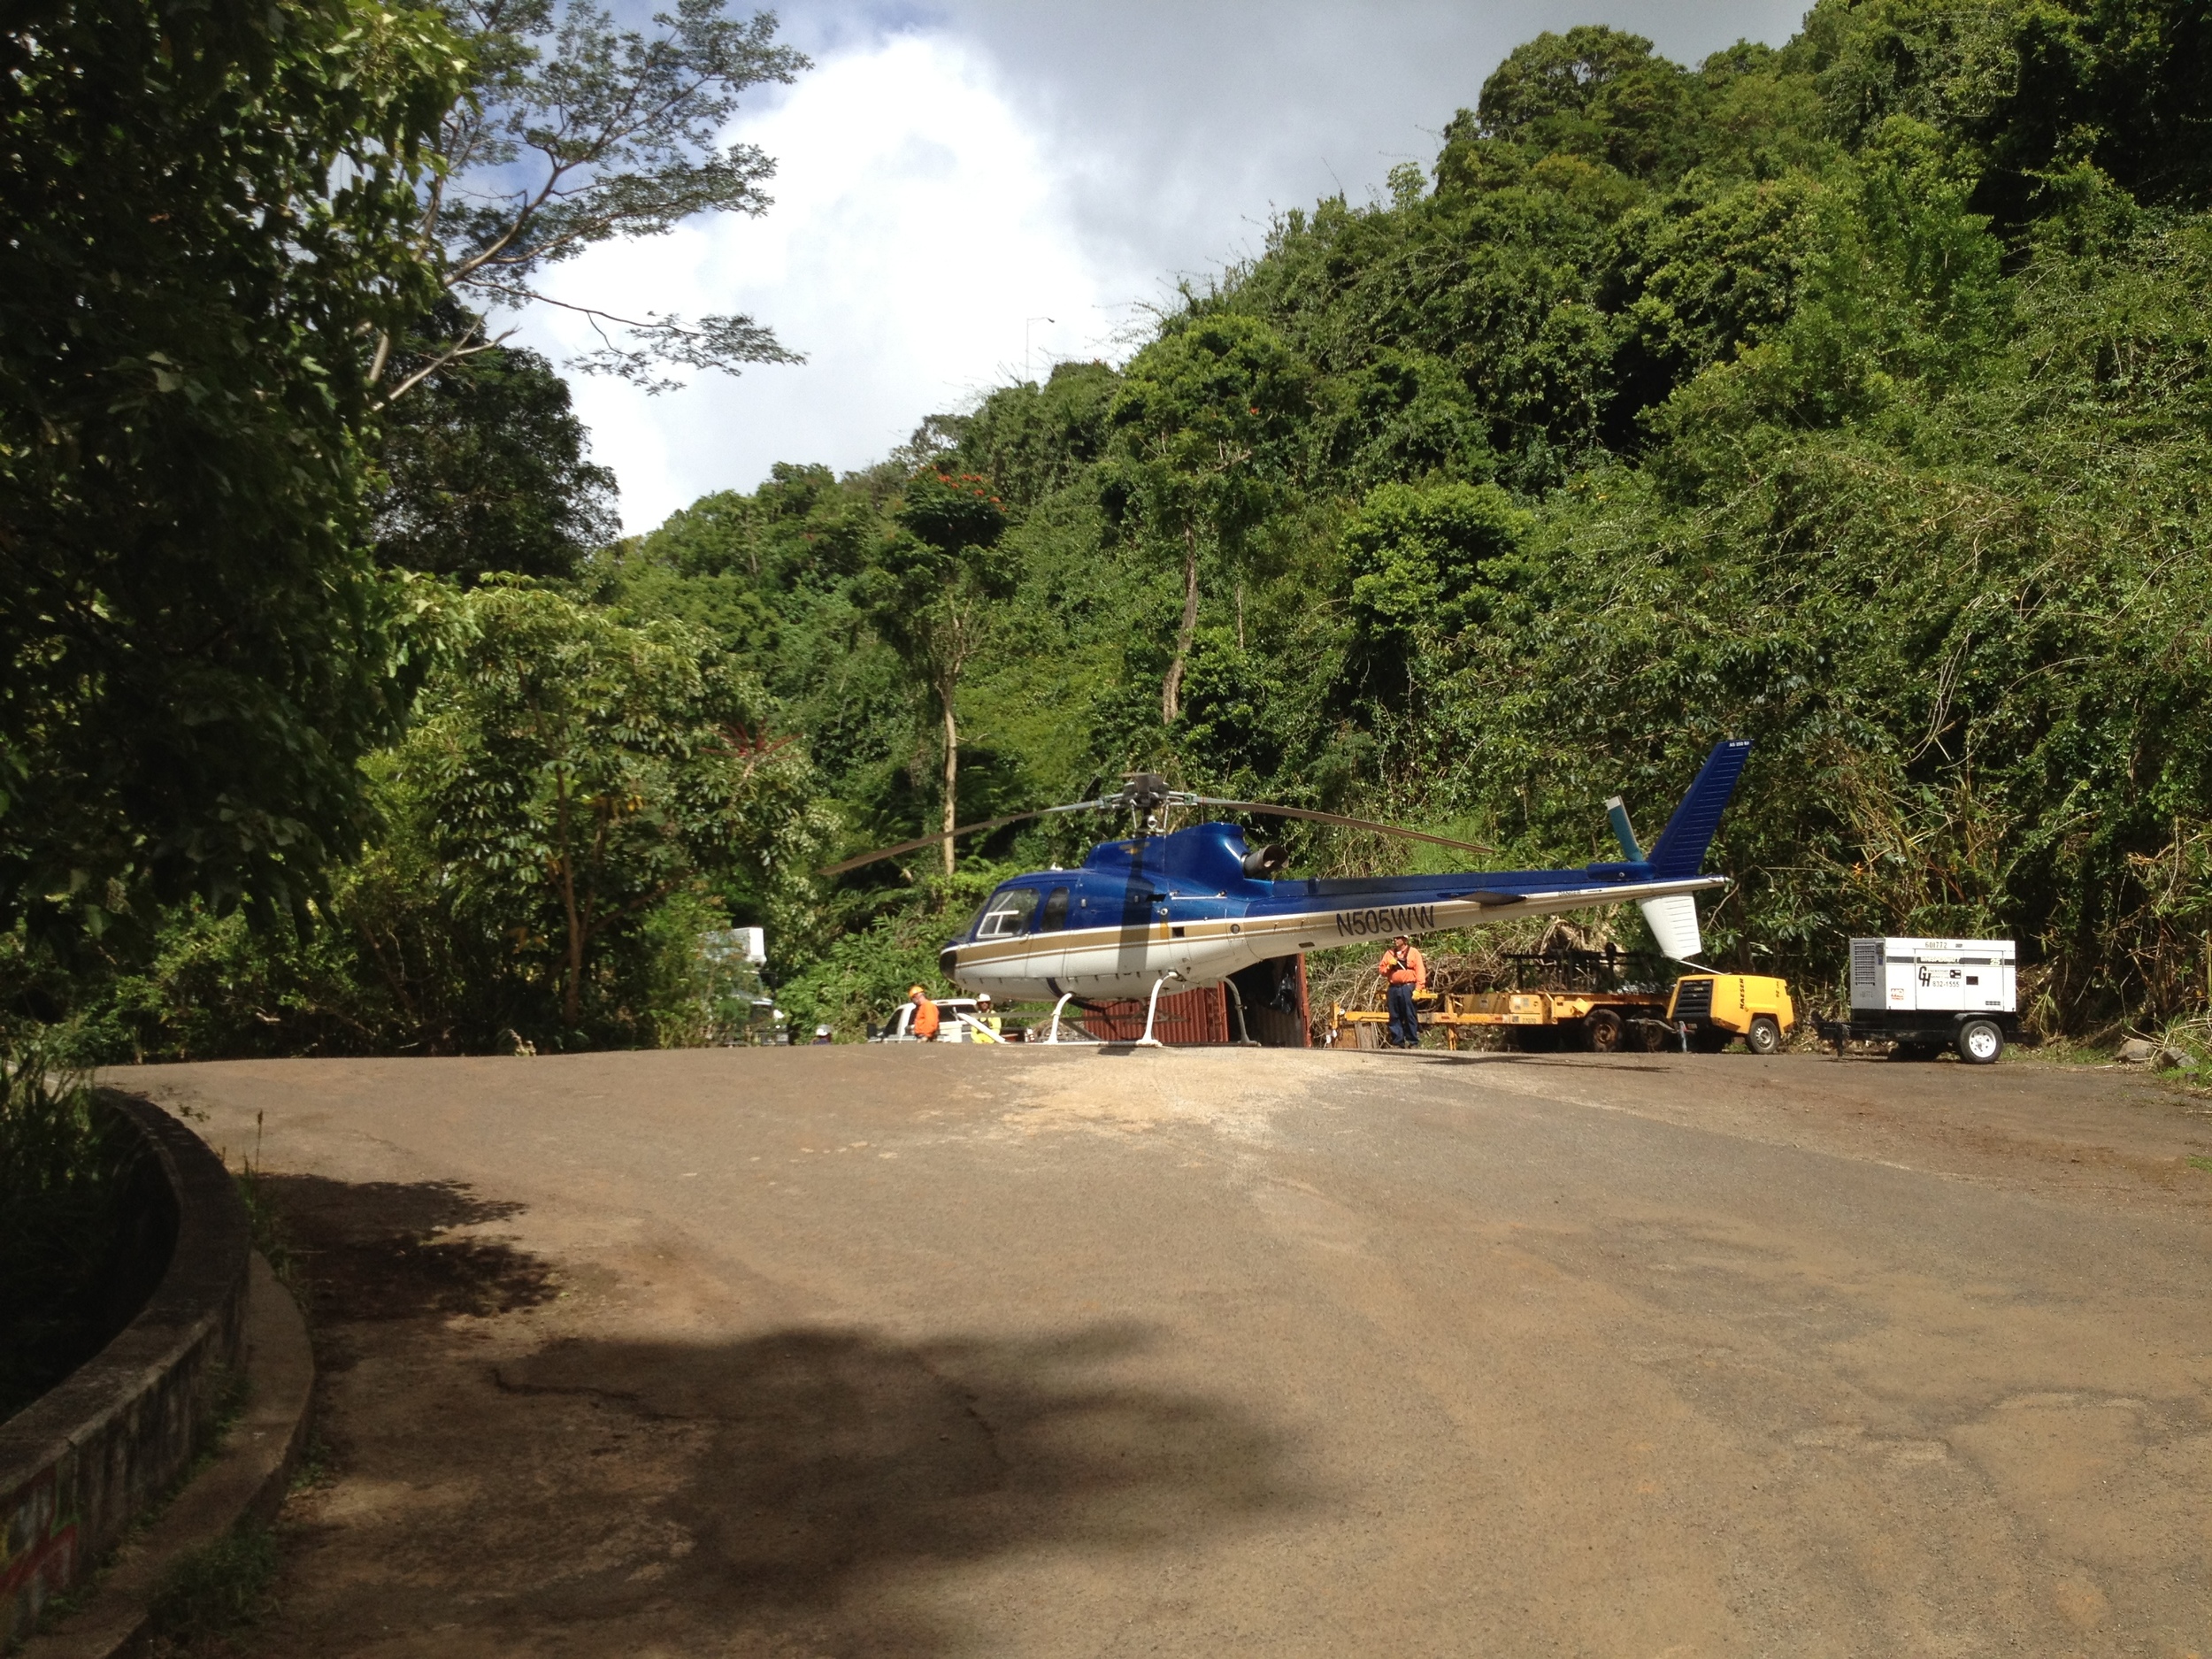 Eventually you will come to the famous “Morgan’s Corner”. What is that? Well, for starters, it is where I found a secret stash of avocado trees, that I WILL NOT TELL YOU ABOUT! I HAVE NO IDEA WHAT YOU ARE TALKING ABOUT! WHAT AVACADOS? WHERE? Now for some history…
Morgan’s Corner and Night Marchers:
According to Hawaiian legend, night marchers (huaka‘i po in Hawaiian) are ghosts of ancient warriors. They supposedly roam large sections of the island chain, and can be seen by groups of torches. They can usually be found in areas that were once large battlefields (the Nuuanu Pali on the island of Oahu is a good example.) Legend has it that if you look a night marcher straight in the eye, you will be forced to walk among them for eternity, but if you have a relative taken by them, you will be spared. “Whew”! Hawaiians say that in the presence of night marchers, one should lie down on their stomach, face down to avoid eye contact, stay quiet, breathe shallowly, and don’t move. Some say that they may nudge you to provoke a reaction so they can take you. “JUST CHILL”!!! “THEY WILL PASS”!!! This place I take you is one of the many places the Night Marchers are said to roam.
Carrying pork over the Nuuanu Pali: A big “NO NO”!!!
Local folklore on the island of Oahu says that one should never carry pork over the Pali Highway connecting Honolulu and Windward Oahu. The stories vary, but the classic legend is that if one carries pork of any kind over the old Pali road (not the modern pali highway) by automobile, the automobile would stop at a certain point on the way and not re-start until the pork is removed from the vehicle.
- Some versions of the story require the pork to be raw; other versions say that this happens after dark.
- In some versions, a white dog will appear at the time the automobile stalls, and you must feed the pork to the dog to proceed.
This legend has its roots in ancient Hawaiian mythology. According to legend, the Hawaiian volcano goddess Pele and the demigod Kamapua‘a (a half-man-half-pig) had a turbulent relationship, and the two agreed not to visit each other. If one takes pork over the Pali, the legend goes, one is symbolically taking a piece of Kamapua‘a from one side to the other, and it is said that Pele would stop that from happening. I can’t help but to wonder if it is OK to bring in a side of pork from Franklin’s in Austin Texas. Would I have to drive it around the Waimanalo side of the island from the airport? This would avoid the more direct rout over the Ko’olaus and the Pali. Hmmmm… There is no way I would share that pristine BBQ with any “White Ghost Dog” just to pass! Perhaps I could throw the white dog a can of Spam? I keep a few in my trunk to bribe the Menahune when I camp in Ho’omaluhea. Keeps them out of my Tacos. :)
Modern urban legends: The “REAL” scary stuff…
Morgan's Corner refers to two places on Oahu; one on the Nuuanu Pali Drive leading into Nuuanu valley above downtown Honolulu, and one in Windward Oahu below the Nuuanu Pali. It is said that the apparent spirit that haunts these places are in reference to the murder of Therese Wilder, whose residence was located on the Nuuanu Pali road in 1948. However, both of these places are connected to urban legends. Hmmm…
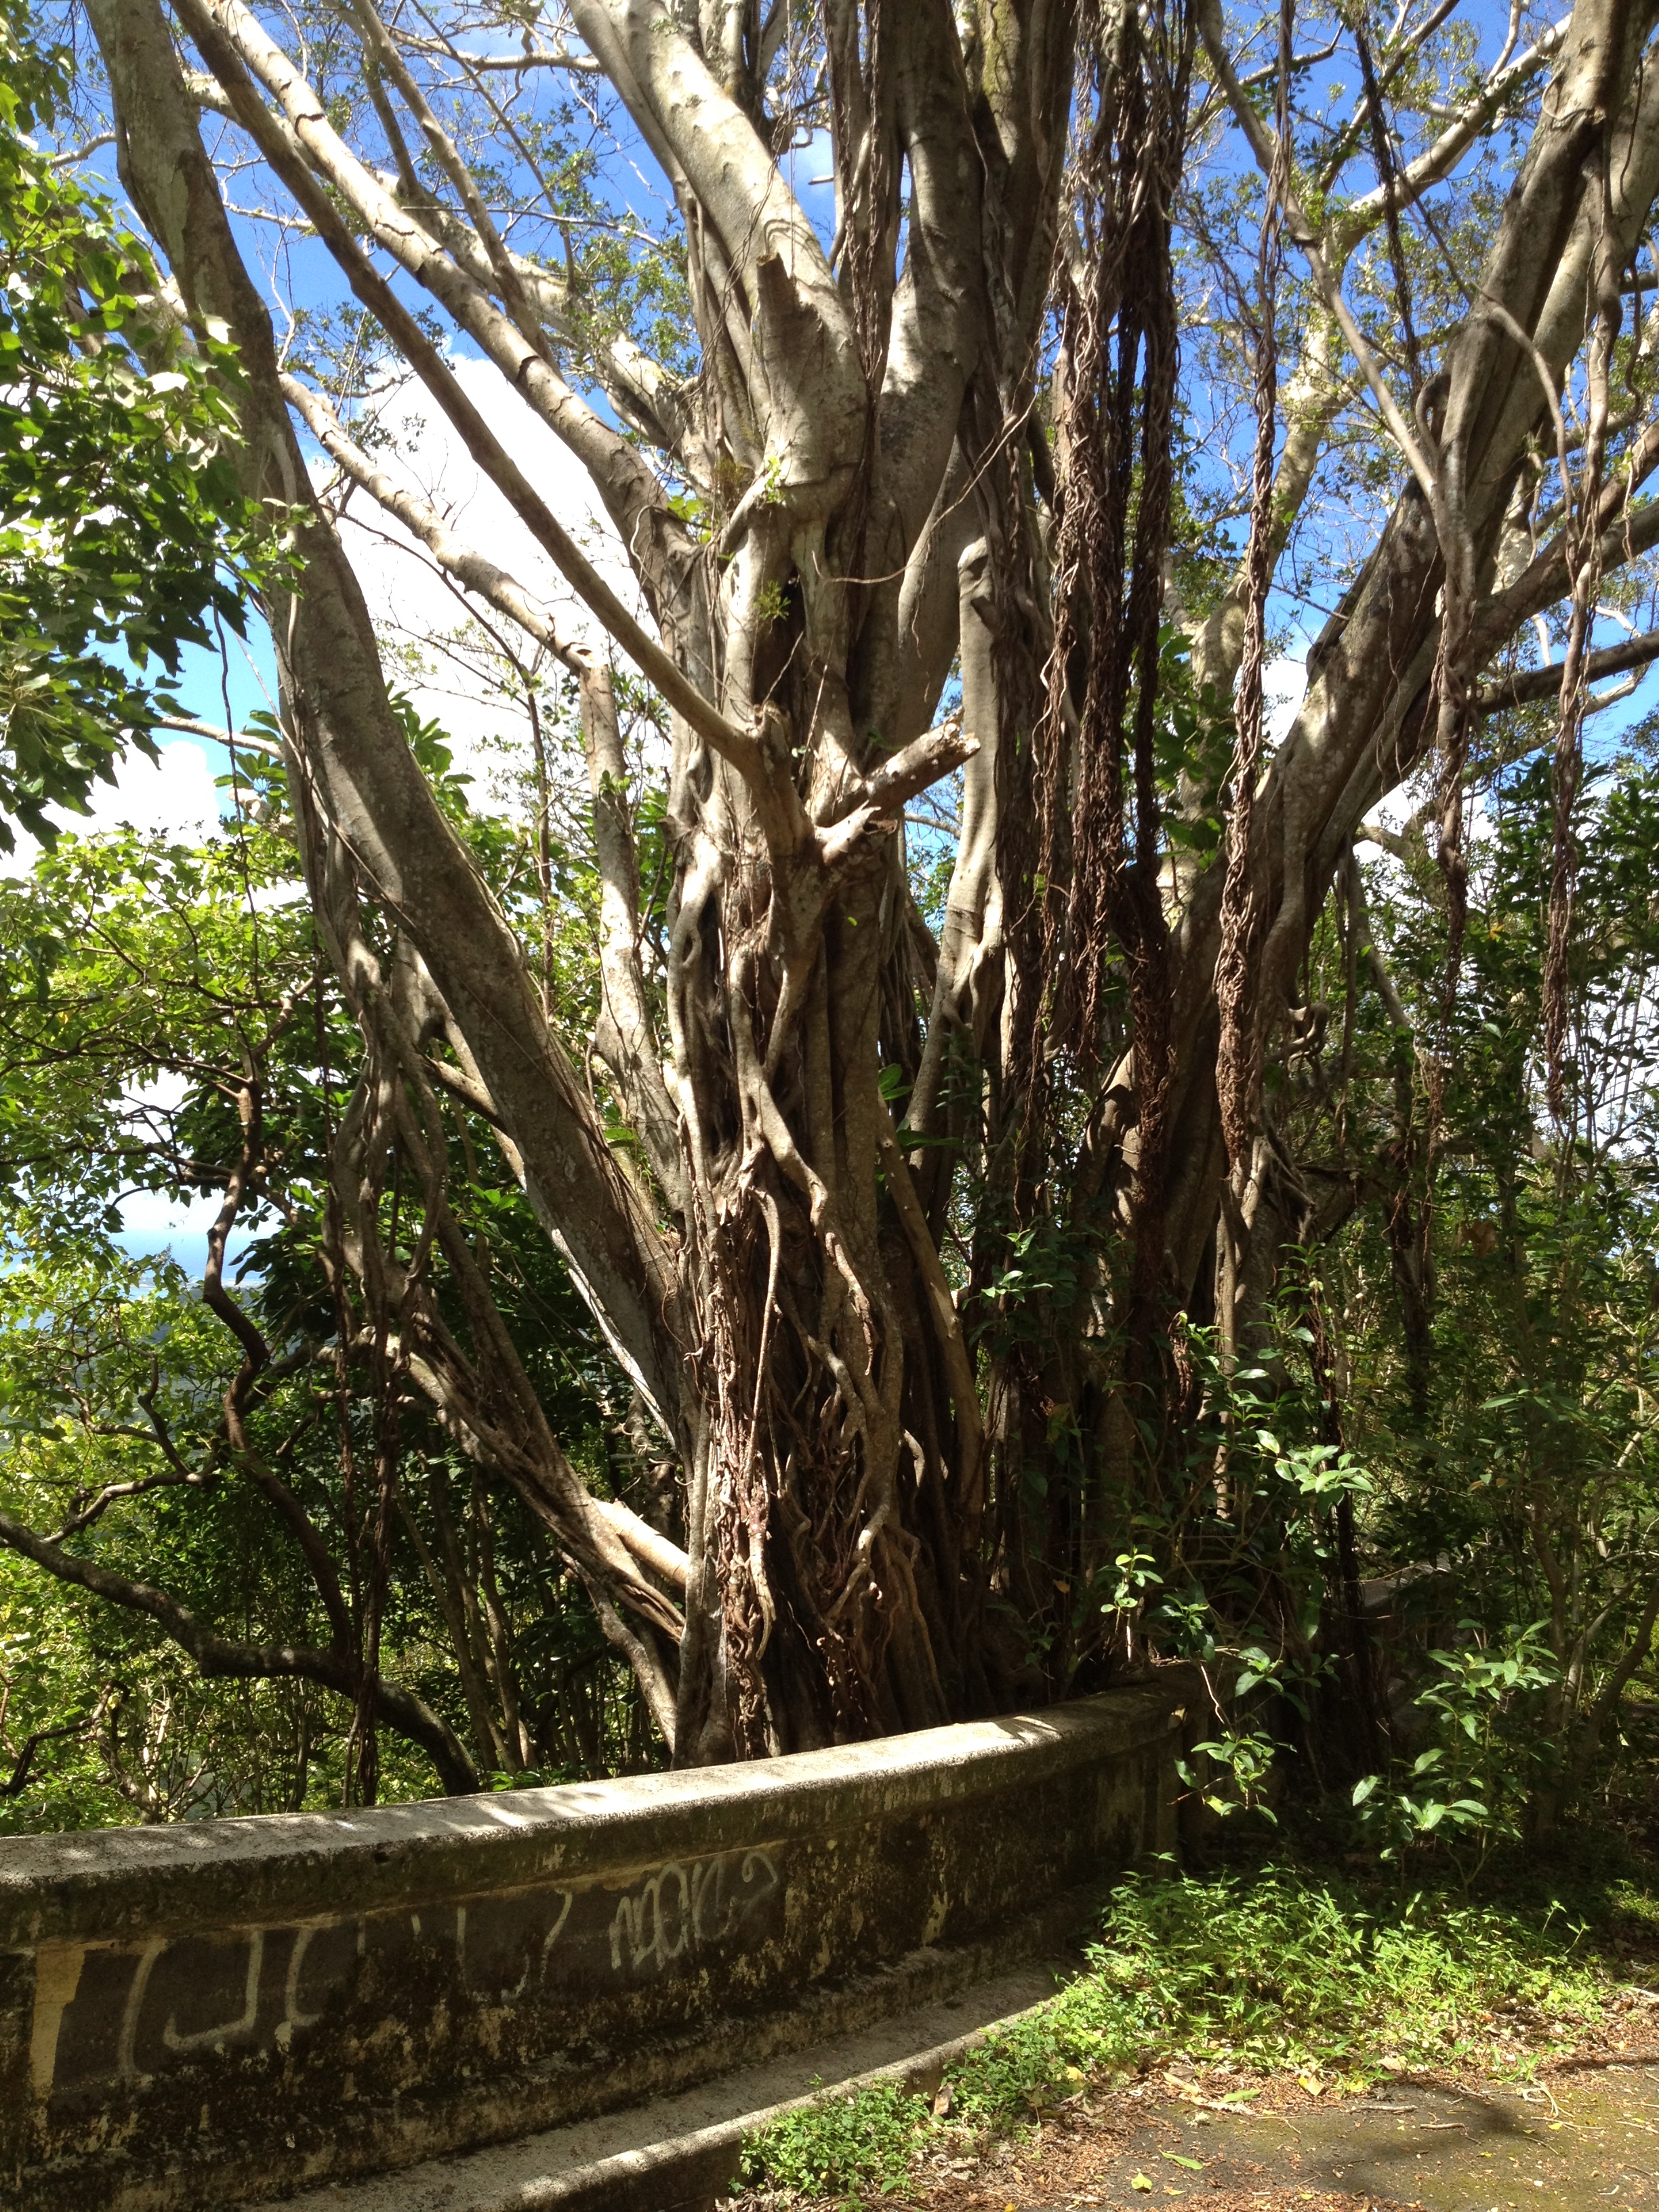 The story states that a girl named Brittani Lochmann from the Morgan's residence hanged herself on the tree at the end of the road. Ouch. She was lost for a couple of days and by the time she was found, her head had severed itself from her body, leaving her head hanging by the rope alone. Her head and her body were never re-attached at burial, leaving her to forever roam the Nuuanu Pali Drive. It is said that fireballs can be seen behind boulders here, and it is also said that if you sit under the tree and look up you will see a girl hanging from the branches. I have heard reports of small balls of orange light, reminiscent of torches in the distance that can be seen as well. Almost as though they were always approaching you only to vanish in an instant and re appear again at a distance. Last time I was here during the day, I sat on the wall of the bridge for a rest and some water. I would testify before a court that I heard a small girl crying just below my feet. I looked about the bridge and beneath and saw nothing. I have to admit that the sound was so convincing, I even resorted to calling out for a response from the child. My advice is just to move on and say a prayer for who it is that resides here. Legend also has it, if you're in a car you would see a big black figure sitting on the tree above you. Although the road is closed to cars now you can hike or ride a bike up the trail leading to the residence. This WILL be on my list of hikes to revisit at night!!! Any takers?!?!?
OK, back to the trail. One day I was greeted by a group of Power line workers who use Morgan’s Corner as a landing spot for their helicopter while taking a sandwich break. What a job! These guys have the life! I may quit my job and do this for a while. Cool stuff. At any rate, when you are at the “Corner”, don’t head down to the left fork. It will take you down to the new Pali Hi way. You can explore this rout another time. Instead, head up the road in front of you. Up, you go!
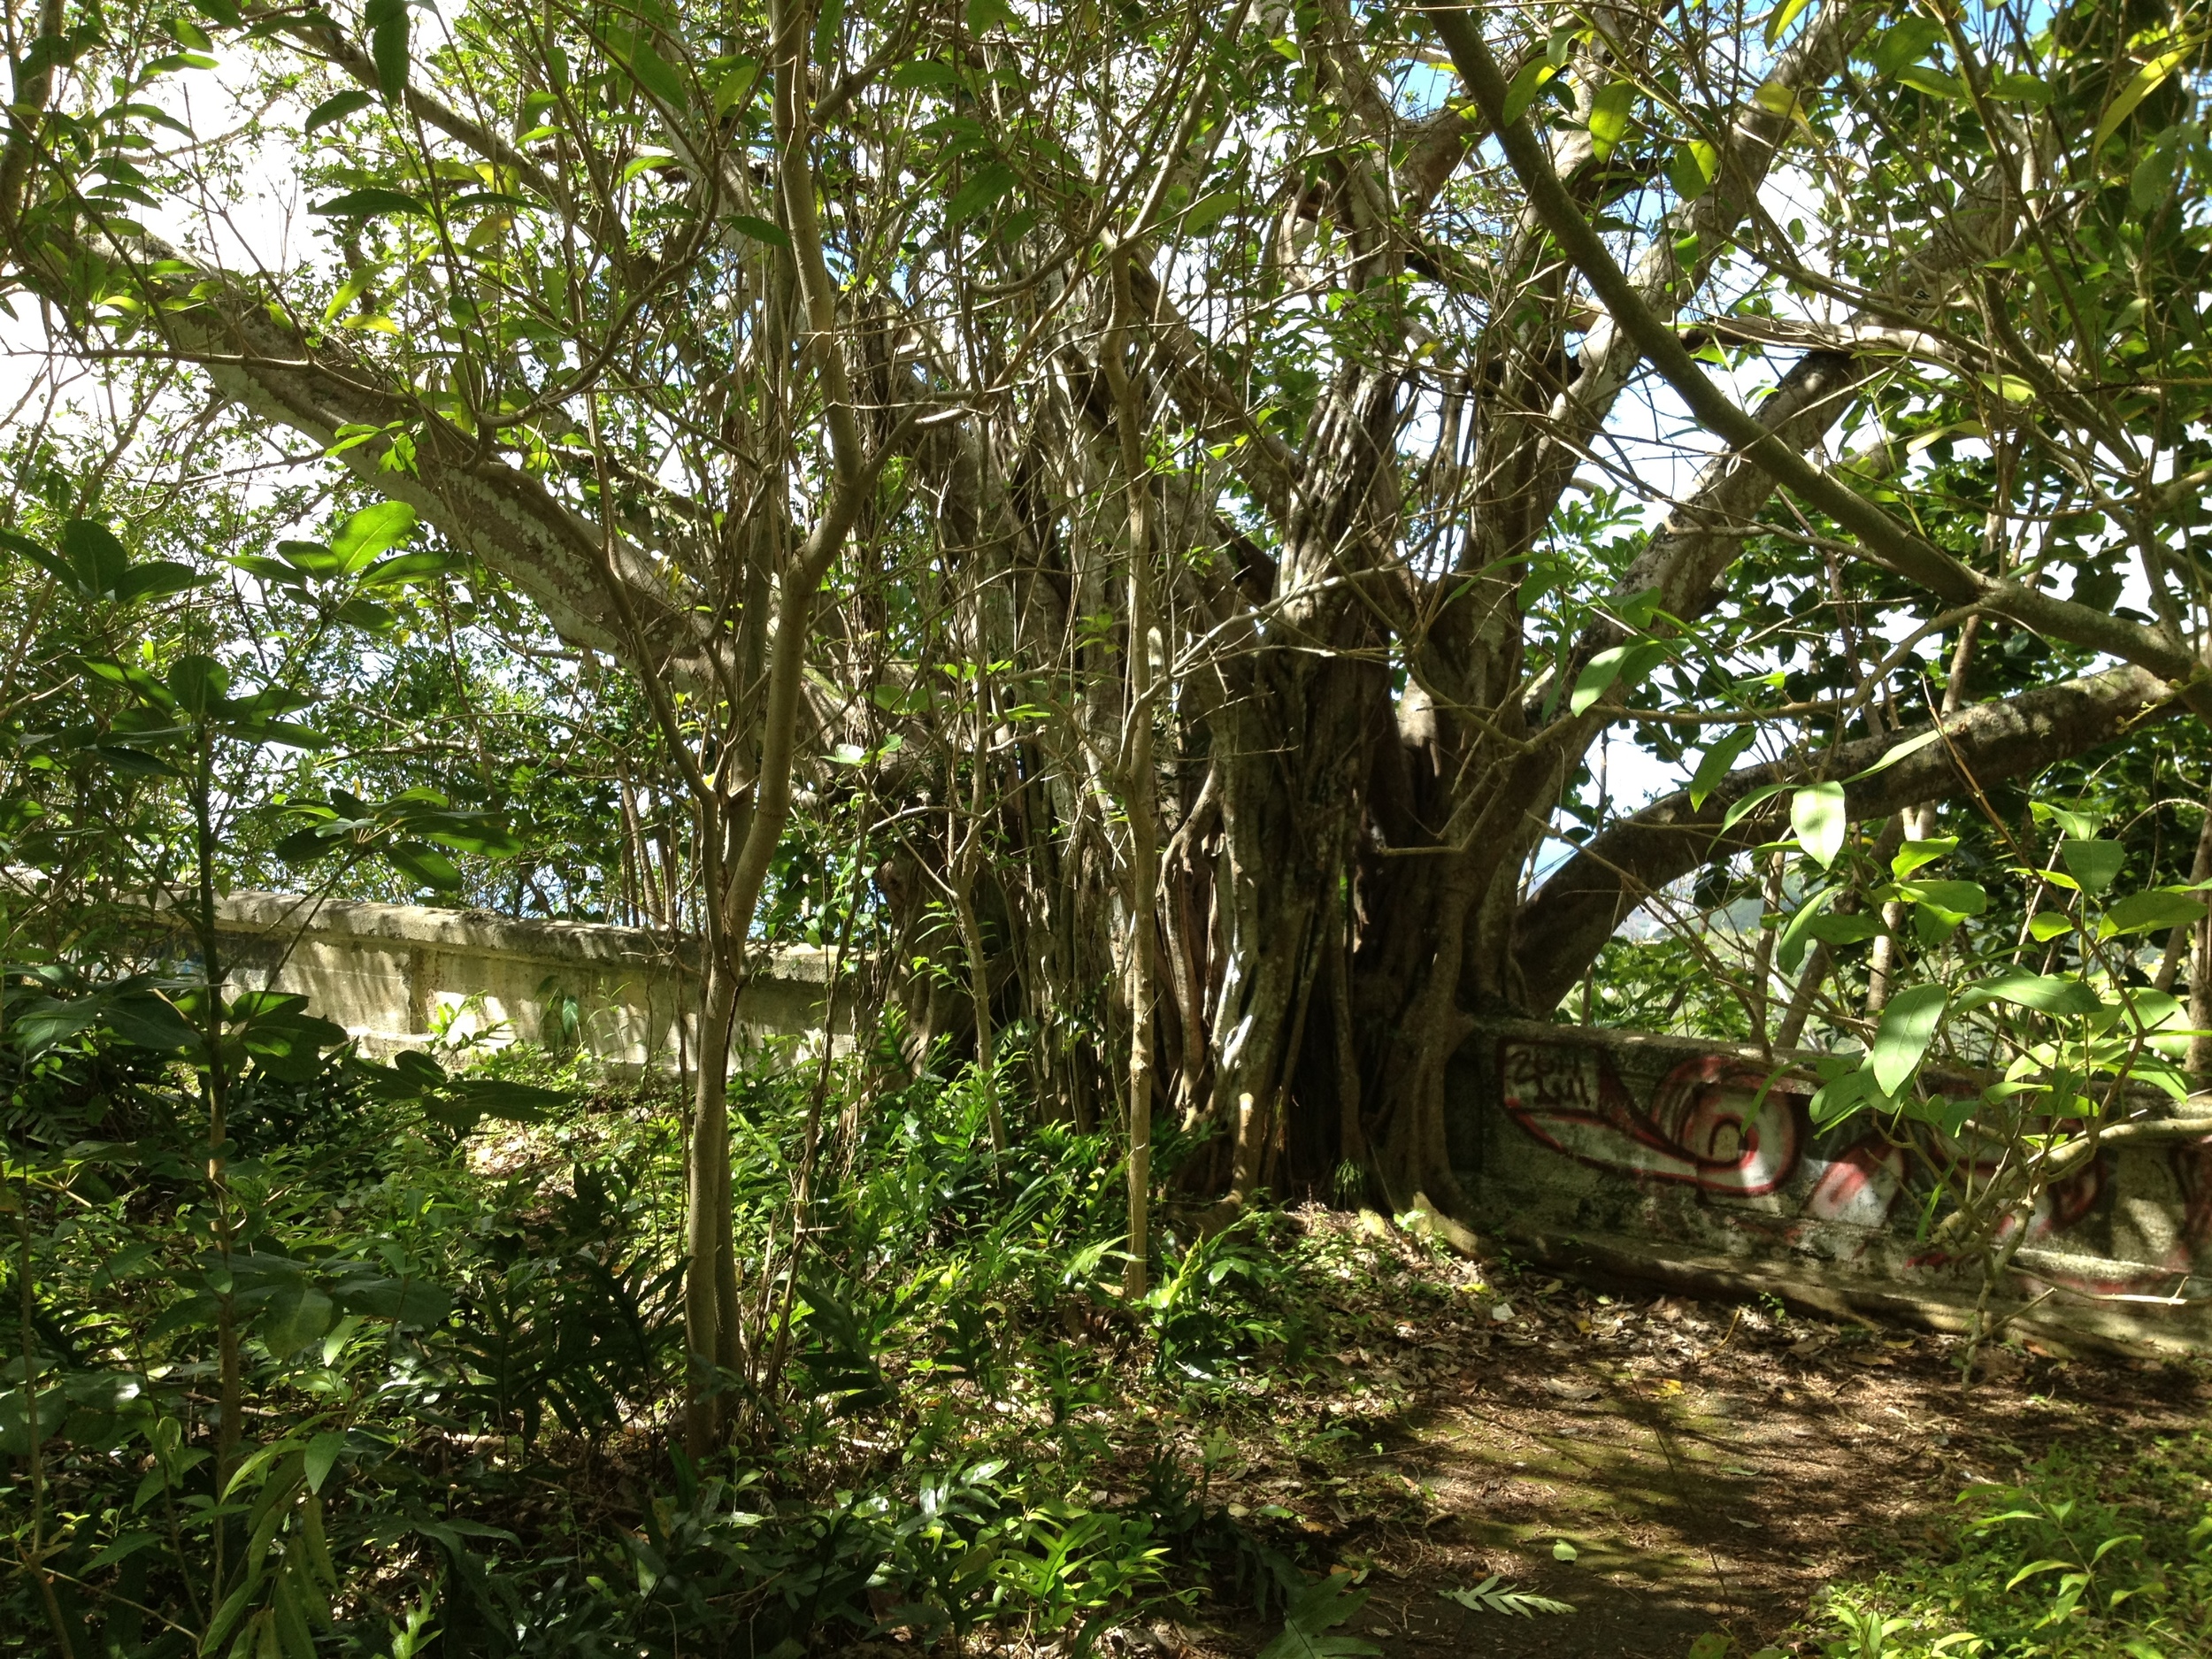 It is in this section you will begin to see how Mother Nature has taken her grasp on the old road. The trail narrows from time to time, yet you will notice there is actually old concrete under those rocks and dirt clods. Cool! Just keep on going around the bends and dips. Eventually you will come to some signs of old urban hieroglyphs! Yup. It turns out you are just about to venture below the new Pali Hi Way where plenty of urban artists have left their mark. I like to think of it as ancient records of a long past civilization sprawled out to be read by all for eternity. All be it these glyphs are modern in reality, they are now part of Hawaii’s history. Enjoy the art!!!


 When you find yourself at a small pass through under the new Pali road, head under the structure to the other side. You will hear the cars passing over your head and it can be a bit nerve racking. No problem though! There will be an old set of stairs and latter that awaits your escape on the other side. Please take care here. The wooden structure is old and fragile, so take care in your steps.
 On the other side, you will come to yet another fork in the trail. Your aim is to head up to the right. This way you will be looking down onto the Hi Way and some fabulous views! Up, up, up you go!
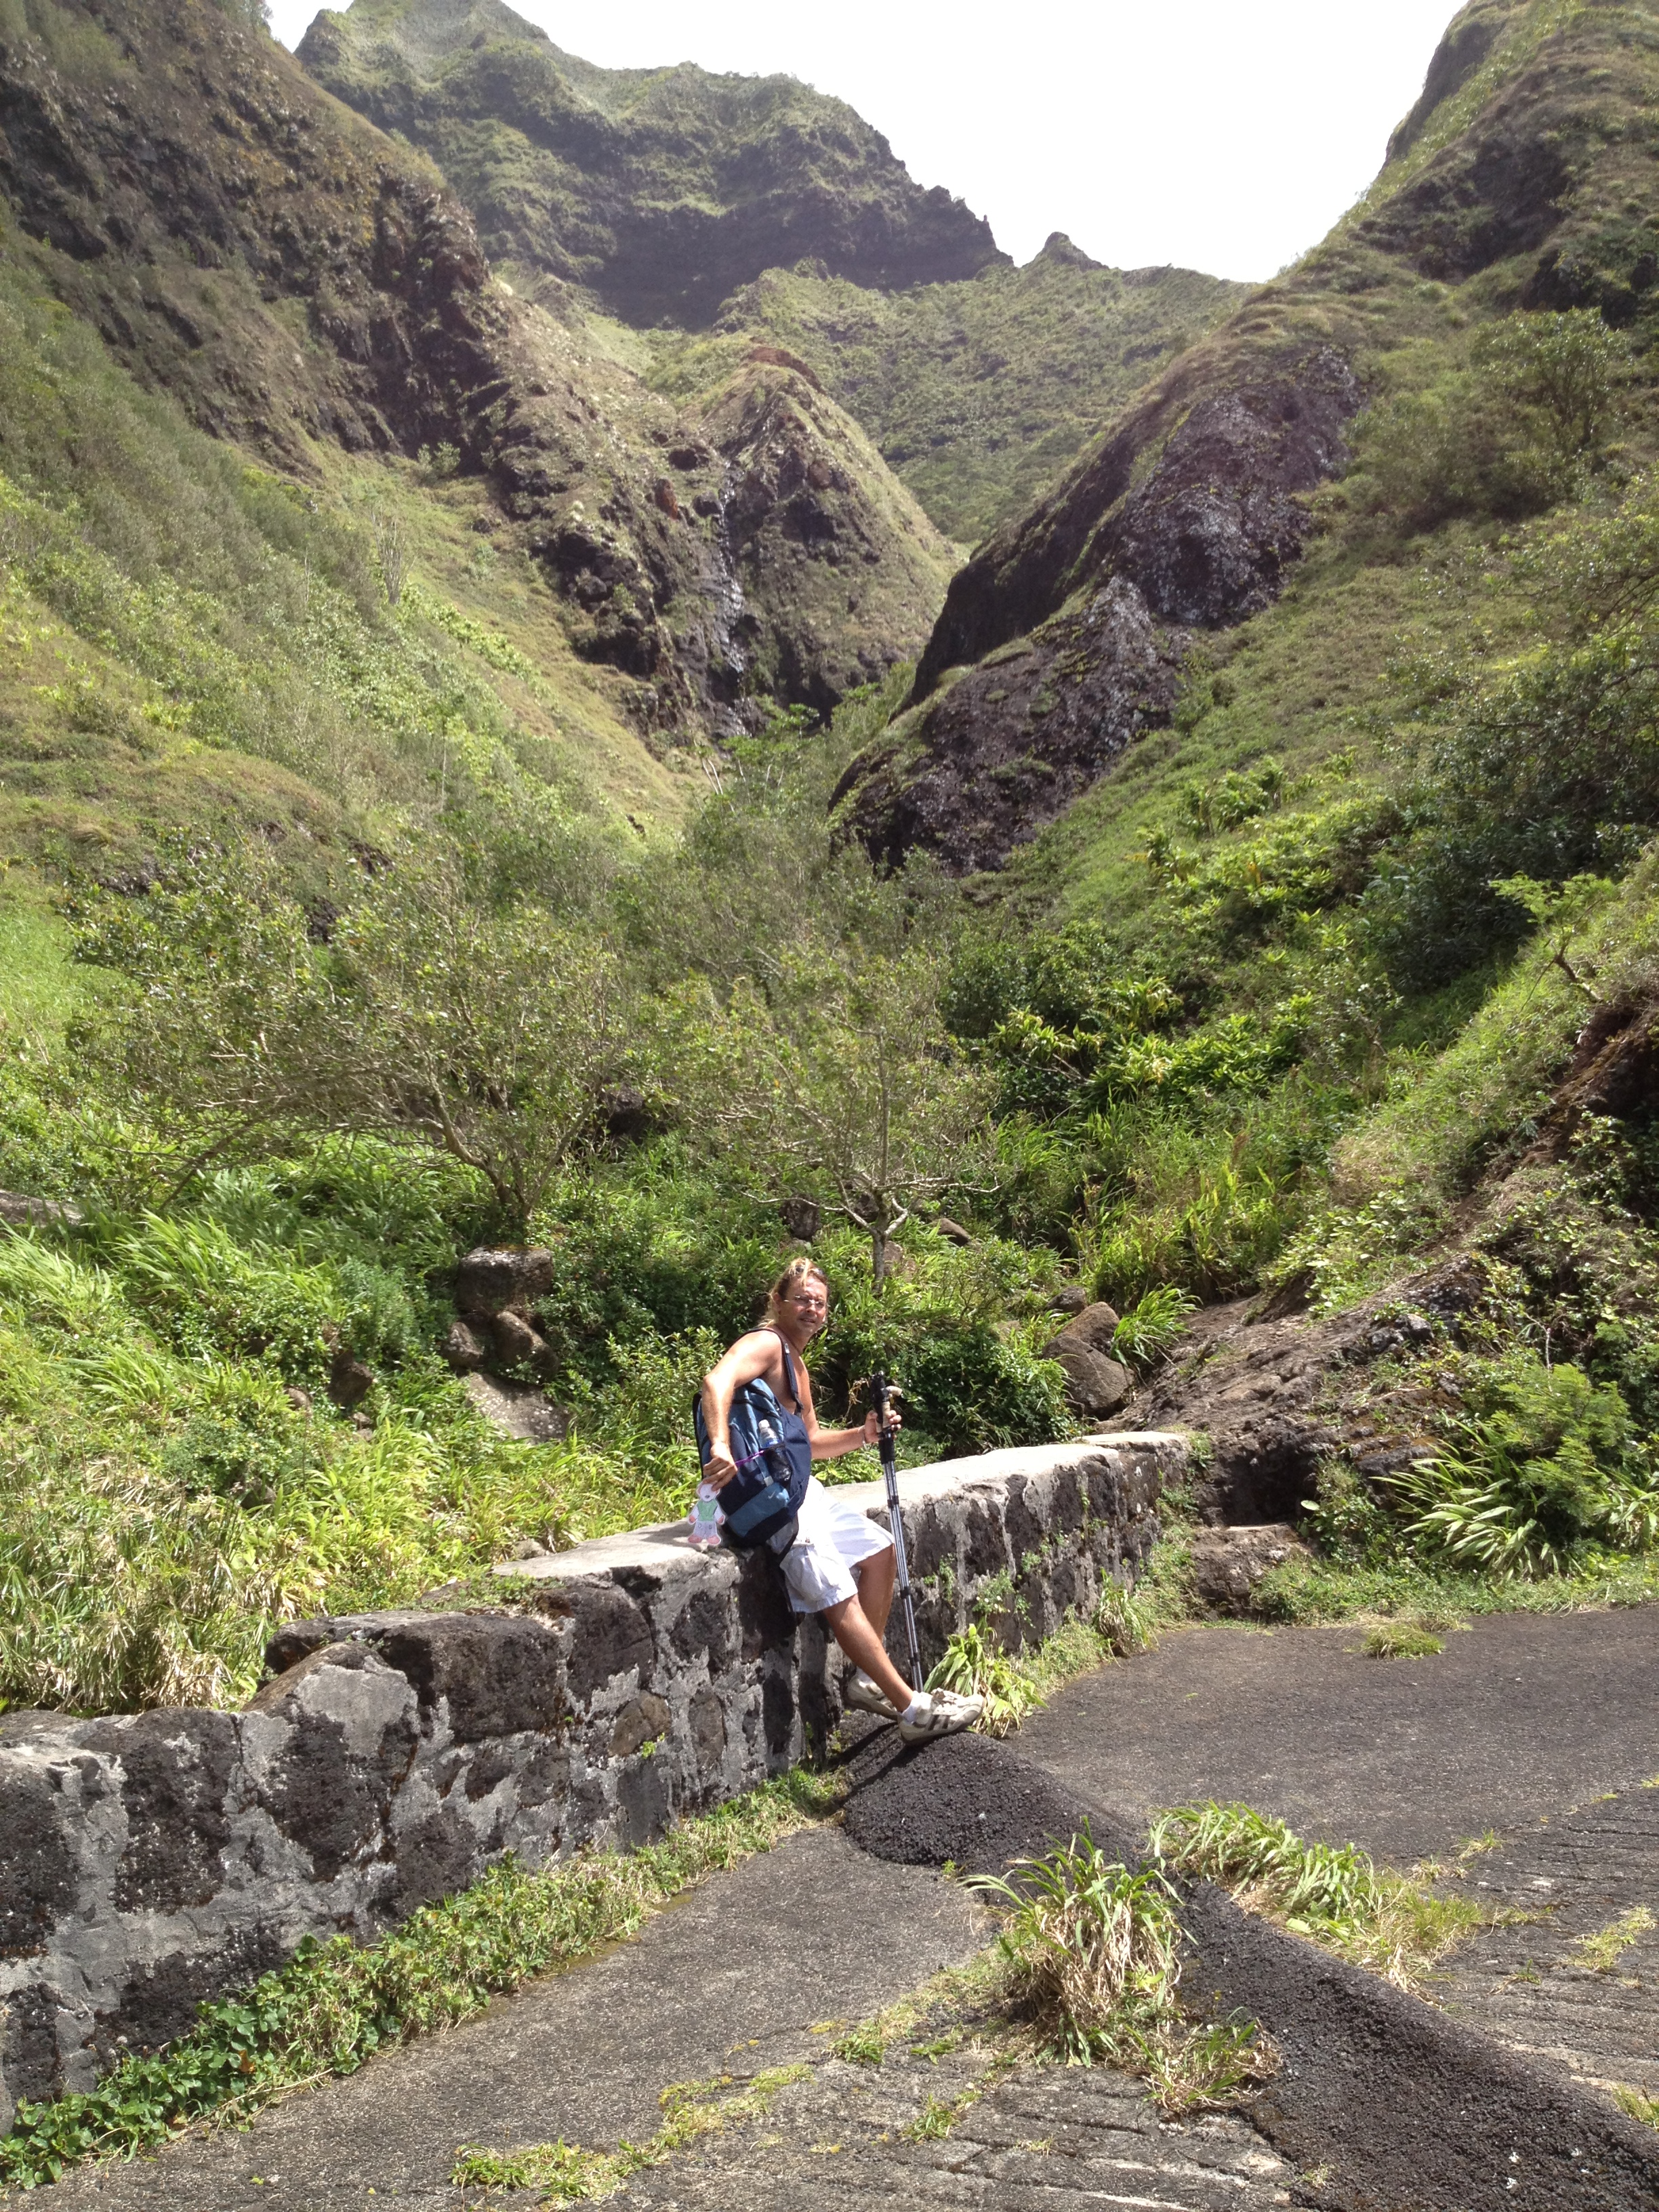 In and out the road winds over passes and streams. You will also see where Mother Nature has really begun her work. Trees growing through the road and fallen rocks and mud slides that have eaten much of the cement. Take your time here and enjoy the rebirth of nature. Views of the tunnels are here as well. If you look up, you will see several valleys where waterfalls scrape away at the mountain. There are trails up many of these valleys and I will mark a few for you on the map above. Others, you will need to take the time to explore on your own.
In several places along the way, one can see clusters of holes in the rocks, each about as big around as your thumb. Some think they were the remnants of blasting holes drilled during the road construction back in the 1890s. Road workers would have drilled long deep holes into the rock, packed sticks of dynamite into them, and blasted the rock away. “BOOOOM”! What we see today are the ends of the holes, left over after blasting. Personally, I like to think of these as ancient alien worm holes. You see, there is a legend originally found in the Anunnaki texts, which talk of rock worms. They travel the earth by tunneling rather than by ground. Some were the size of a pencil, others the size of a city bus and bigger! Although the “Worms” may have been extinct for over a million years, there holes can sometimes reappear during earth moving operations such as the ones necessary to build this Old Pali Road. Completely plausible as far as I am concerned.
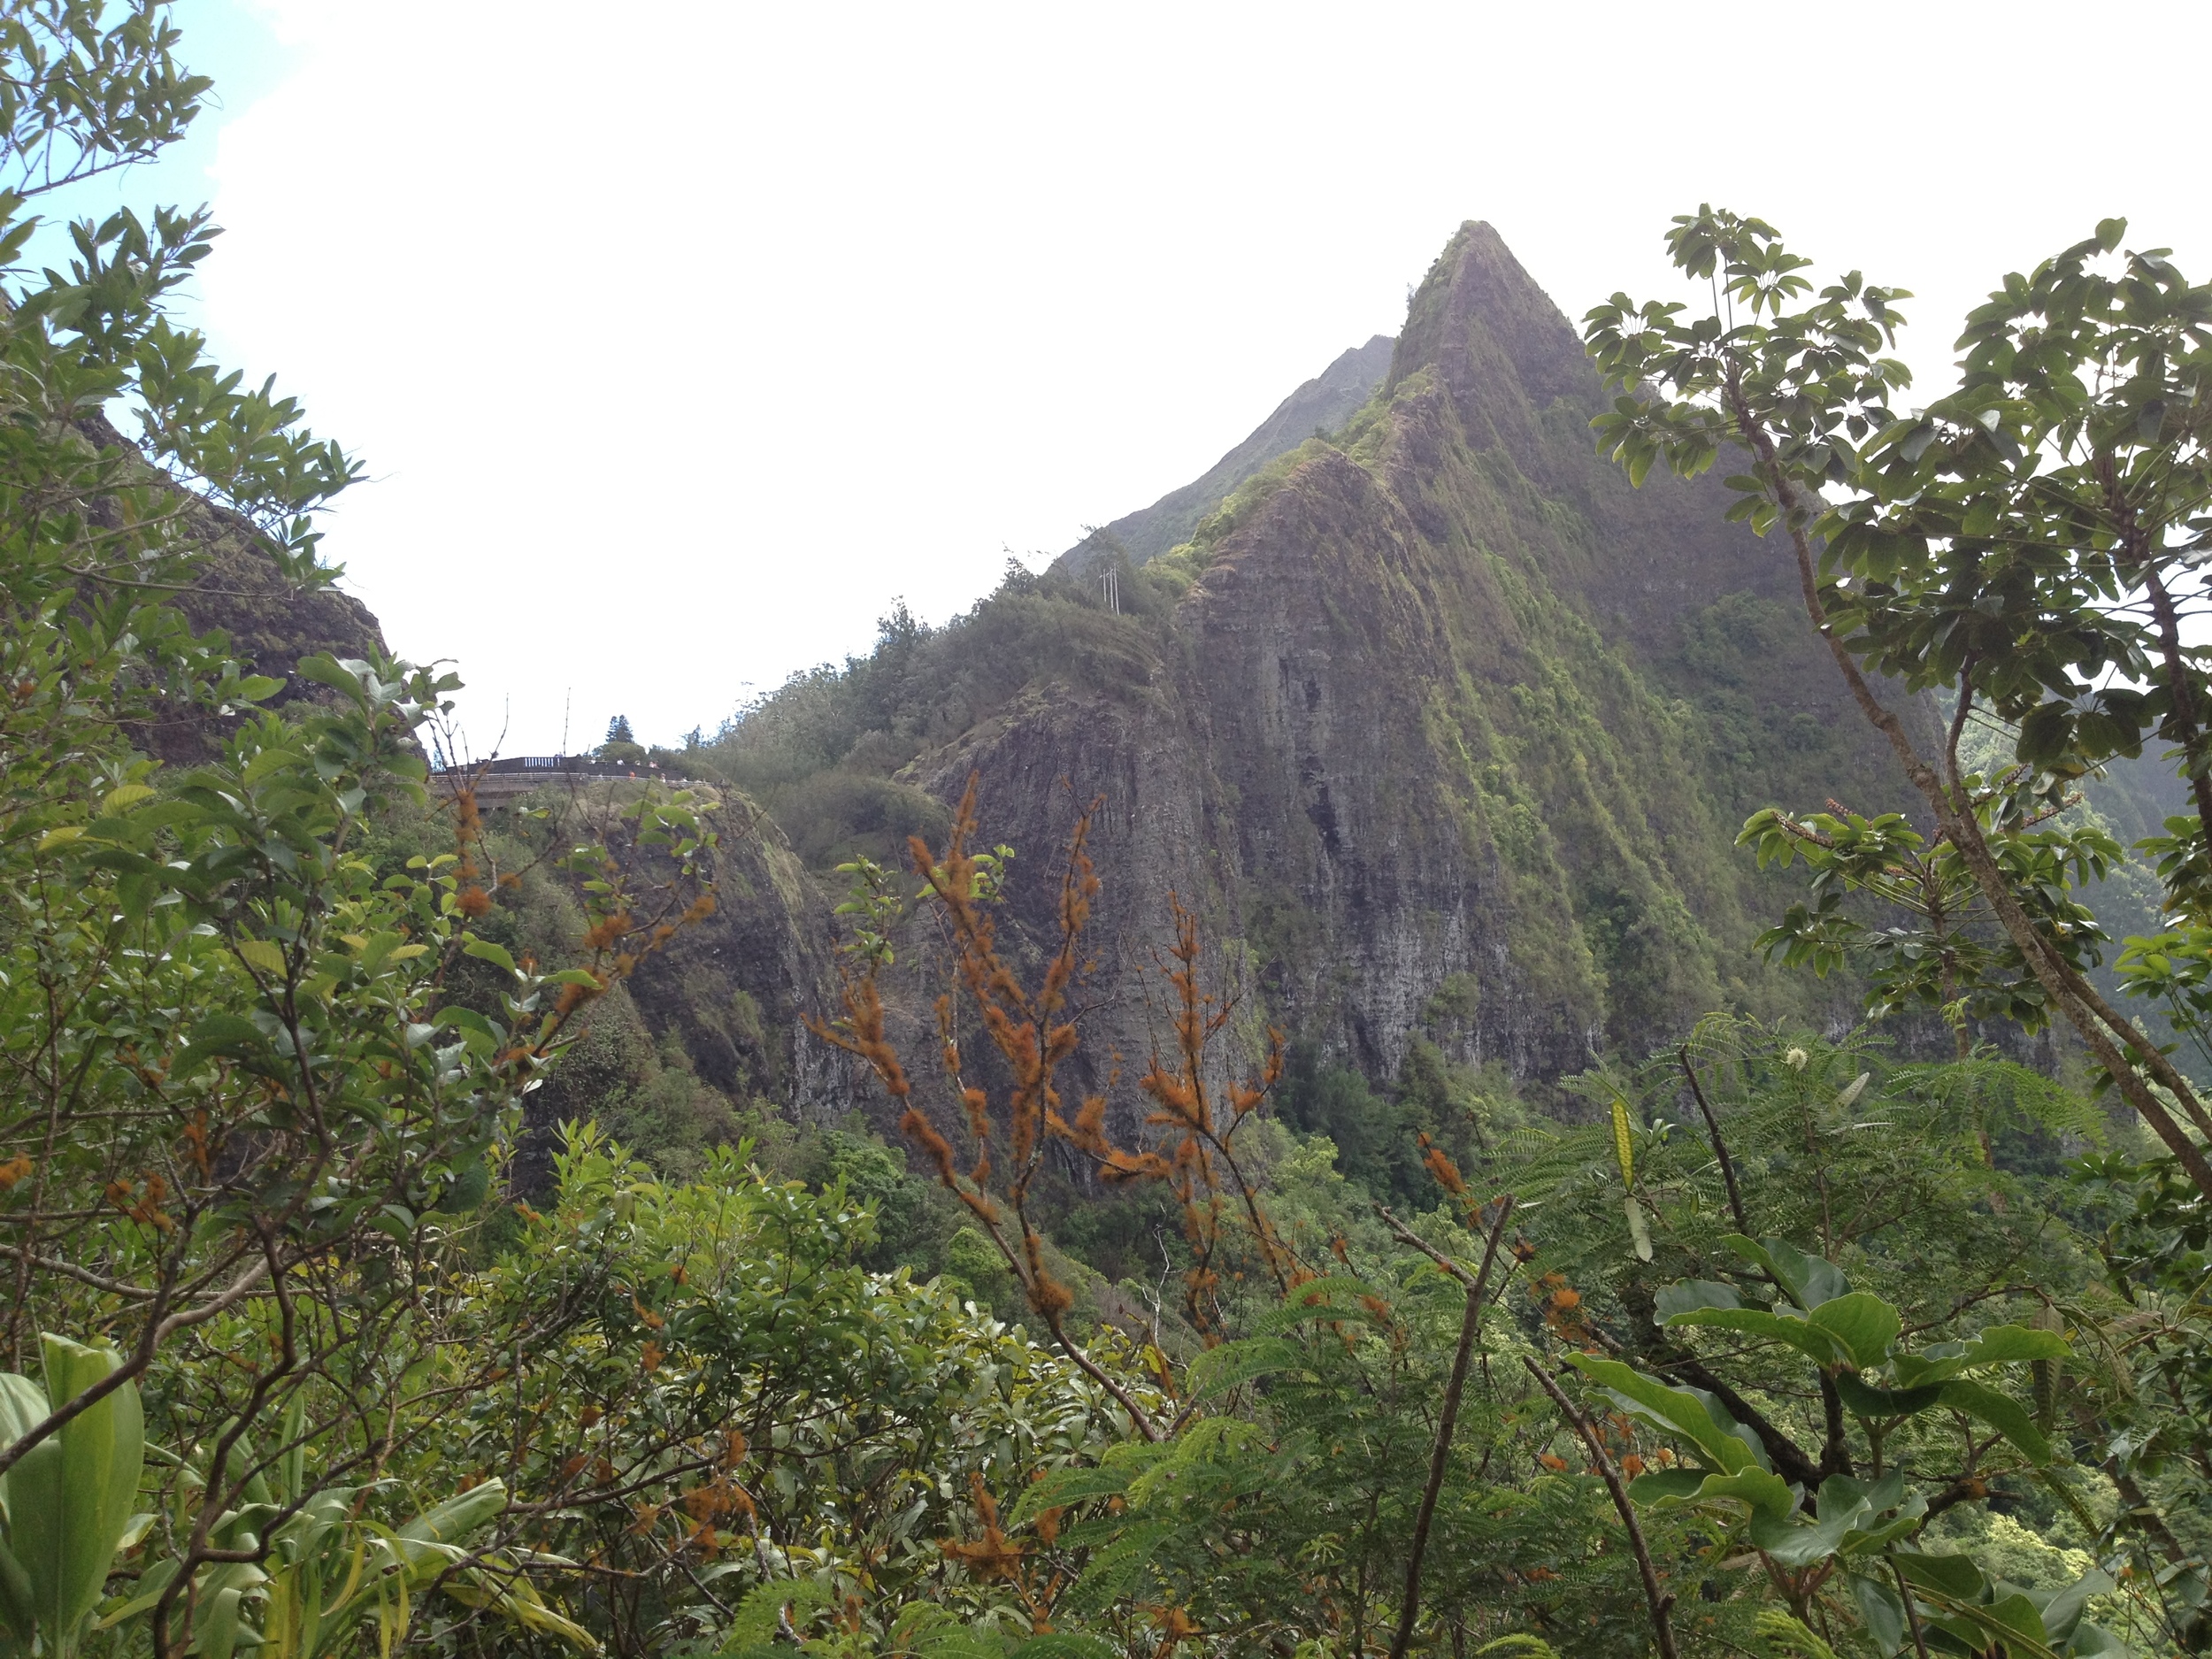 YOU MADE IT! The Pali Lookout!
 When you are at the Pali Lookout you can see the old road going down the mountain to the right. It’s a great place for walking/hiking with the family and has great views and nice breezes. When I say breezes, I mean wicked winds! This place can easily lift a few skirts and then some! Woooo Hooooo! Fun stuff!!!! This is the Windward section of the Old Pali Road, which was replaced in 1959 by the Pali Highway. I enjoy this spot for an easy afternoon hike and my favorite way to do it is obviously from the bottom up. If you’re feeling adventurous, there are some further trails that will take you to some wicked awesome places. I may write about them in a future post, but be aware that these are trails for the experienced trekkers ONLY! Just look up to either side and you will see what I mean.
Some More History:
 The Pali Lookout. Oh boy. Allow me to put this in a nut shell for ya. Well, it was here that in 1795 King Kamehameha and his warriors (which consisted of a fleet of 10,000 soldiers and 960 war canoes) defeated the warriors from Oahu and its then ruler, King Kalanikupule. In doing so, Kamehameha The Great, united the Hawaiian Islands and became its first unified King. As you stand and stare out towards Kaneohe Bay, know that over 400 men were forced off the Pali’s cliff, a drop of 1,000 feet. Yes, that happened at the Pali Lookout. Now, as legend would have it, the winds that day were incredibly fierce through the valley. So fierce indeed that some of the worriers actually were blown back up the cliffs to the top, before splattering on the bottom. “Weird and wild stuff”… I can believe it. Just last week, the winds yanked the sunglasses rite off my face and sent me all willy nilly! Try eating a taco up here! SAUCE EVYWHERE!!!!! AHHHHH!!!!!
 OK, boys and girls. My post is over and so is this hike. When you’re ready to head out, just head on back the way you came in. Pretty simple. If you had thought ahead, you would have a warm and comfy car waiting for you in the parking lot up top. HA HA! See ya at the bottom!
Happy trails ya’ll!!!
PS: Don’t let those urban legends deter you from making this hike. It is a wonderful and magical place for sure… With hidden avocado trees!!!!!!!
JWM
Hiking Hawaii: Hanauma Bay Crater Rim and `Ihi`ihilauakea Crater. Hawaii Kai, Oahu, Hawaii.
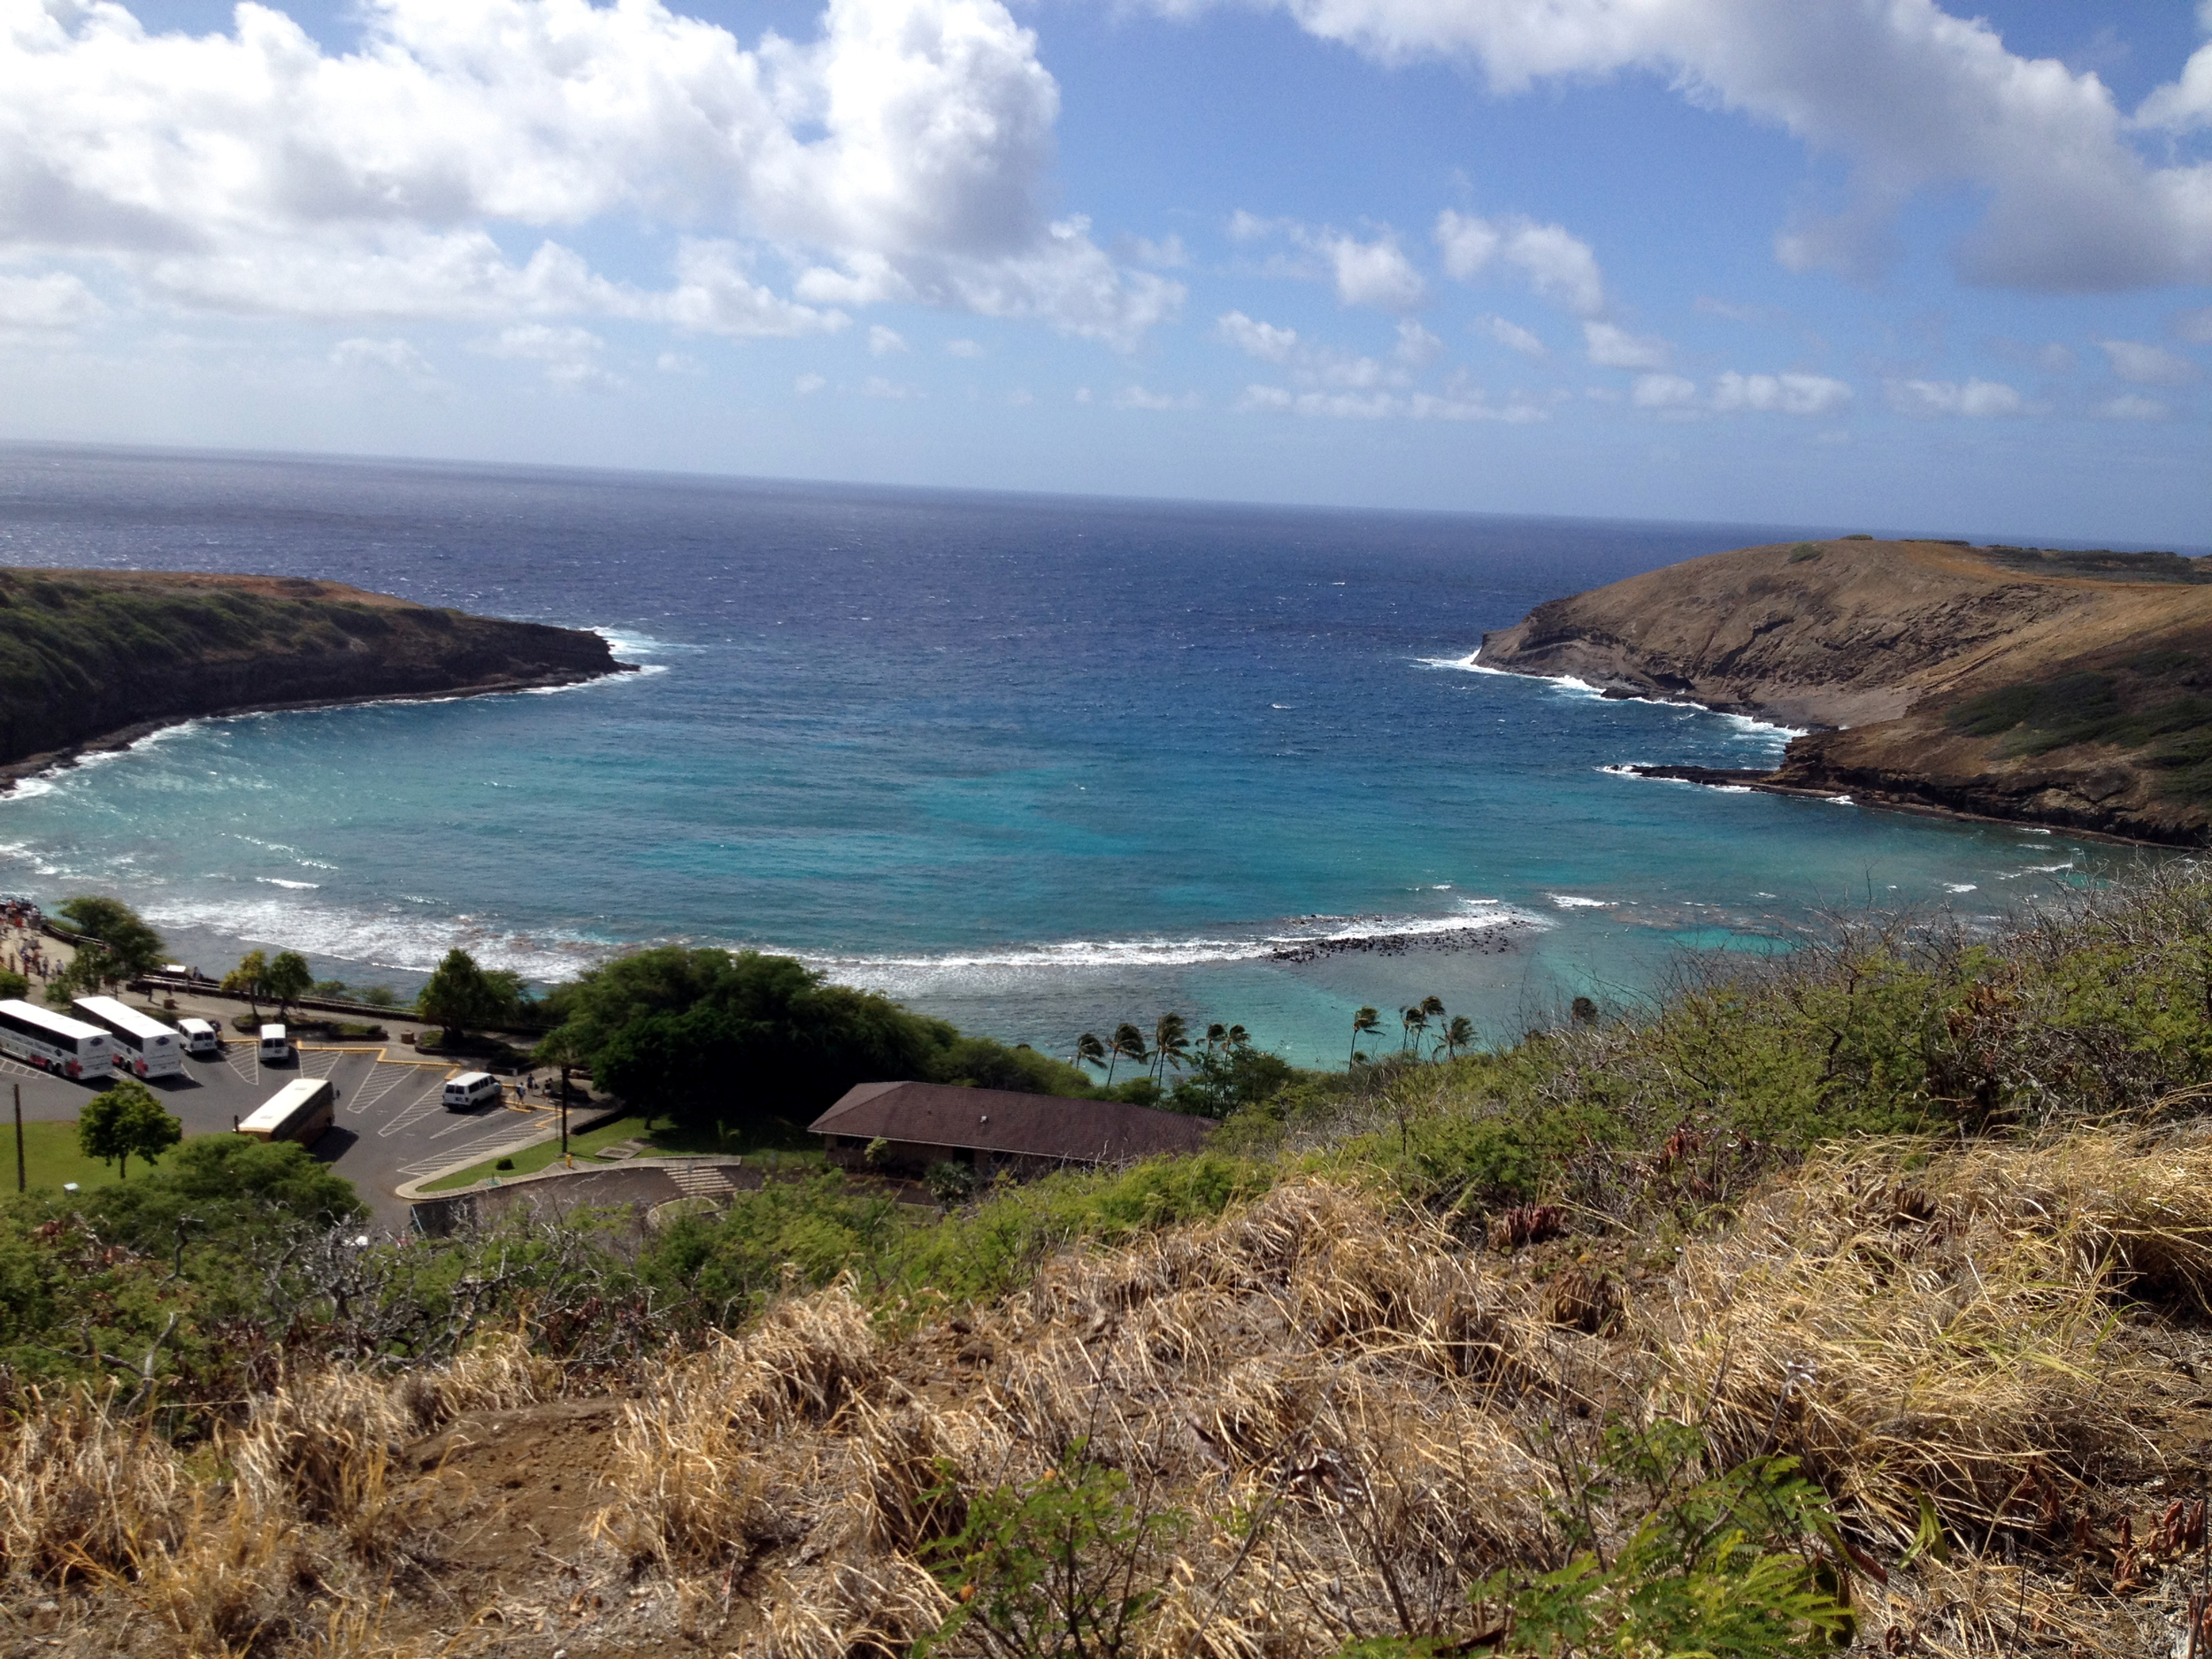 Howdy campers! This is a good trail for a workout! Not only do you get a brisk walk up a long paved service road, but the adventurous can head off road to some amazing views. It is not the most glorious hike at the start, but after you hit the top you will be rewarded with some spectacular views of the bay. On the other side, you will be able to see all the way to Diamond Head! As you head down into the crater, the views of Hanauma bay are scrumptious. The coral reefs are crisp and clear from these rocky spots. As a back drop, who could complain about Koko Head? You can see all the way to the top of it and even the tiny ant-like hikers heading up the side in the distance. Cool stuff!
 Distance: 3.57 Miles
elevation: 96'-684'-107'
Difficulty: 2.5-3
Terrain: 2-3
Time: 3H, 9Min, 14Sec.
Caloric output: About 1 ham, egg, and cheese breakfast sandwich and some grapes. ;-)
Fluids: Approx. 42 Oz water
Geo Cache: 3
Way Points: Park: 21°16'28.03"N 157°41'59.68"W
Trail Head: 21°16'29.15"N 157°41'52.42"W
A: Service Road 21°16'26.91"N 157°41'50.40"W
B: Nice view 21°16'9.04"N 157°41'59.56"W
C: Intersection 21°16'6.64"N 157°42'0.94"W
D: View 21°16'3.16"N 157°42'3.72"W
E: Towers 21°15'59.15"N 157°42'8.20"W
F: GPS Tracking Station 21°15'53.34"N 157°42'11.86"W
G: Cool view! 21°15'43.73"N 157°42'14.77"W
H: Off road 21°15'45.53"N 157°42'13.55"W
I: Down, down, down 21°15'50.98"N 157°42'8.34"W
J: Off trail 21°15'47.79"N 157°41'48.93"W
K: Heiau 21°15'51.43"N 157°41'44.95"W
L: View 21°15'55.59"N 157°41'42.89"W
M: Top of Mars hill 21°15'58.13"N 157°41'49.53"W
I have indicated in blue on the map some side trails worth exploring.
OK! Here we go! You will want to park your car in the nearby neighborhood. (Nawiliwili St.) For those who are spending the day at Hanauma bay, parking is only a dollar and a short hike back up to the entrance of the park. It is only a short walk to the trail head from here, or from the neighborhood. As you head off the road and into the dirt, you want to stay going up. Eventually (about 75 yards) you will get to a service road. From this spot, you will get your first view looking down into the bay. So cool… Ok, head on up, up , up! It is not too steep, but if you are hoofing it, you may get to breathing hard. Along the way, you will find numerous spots to stop and look over the edge. You will also be able to make out some of the trails below. Some of these trails, you will be on in a while so get your bearing’s.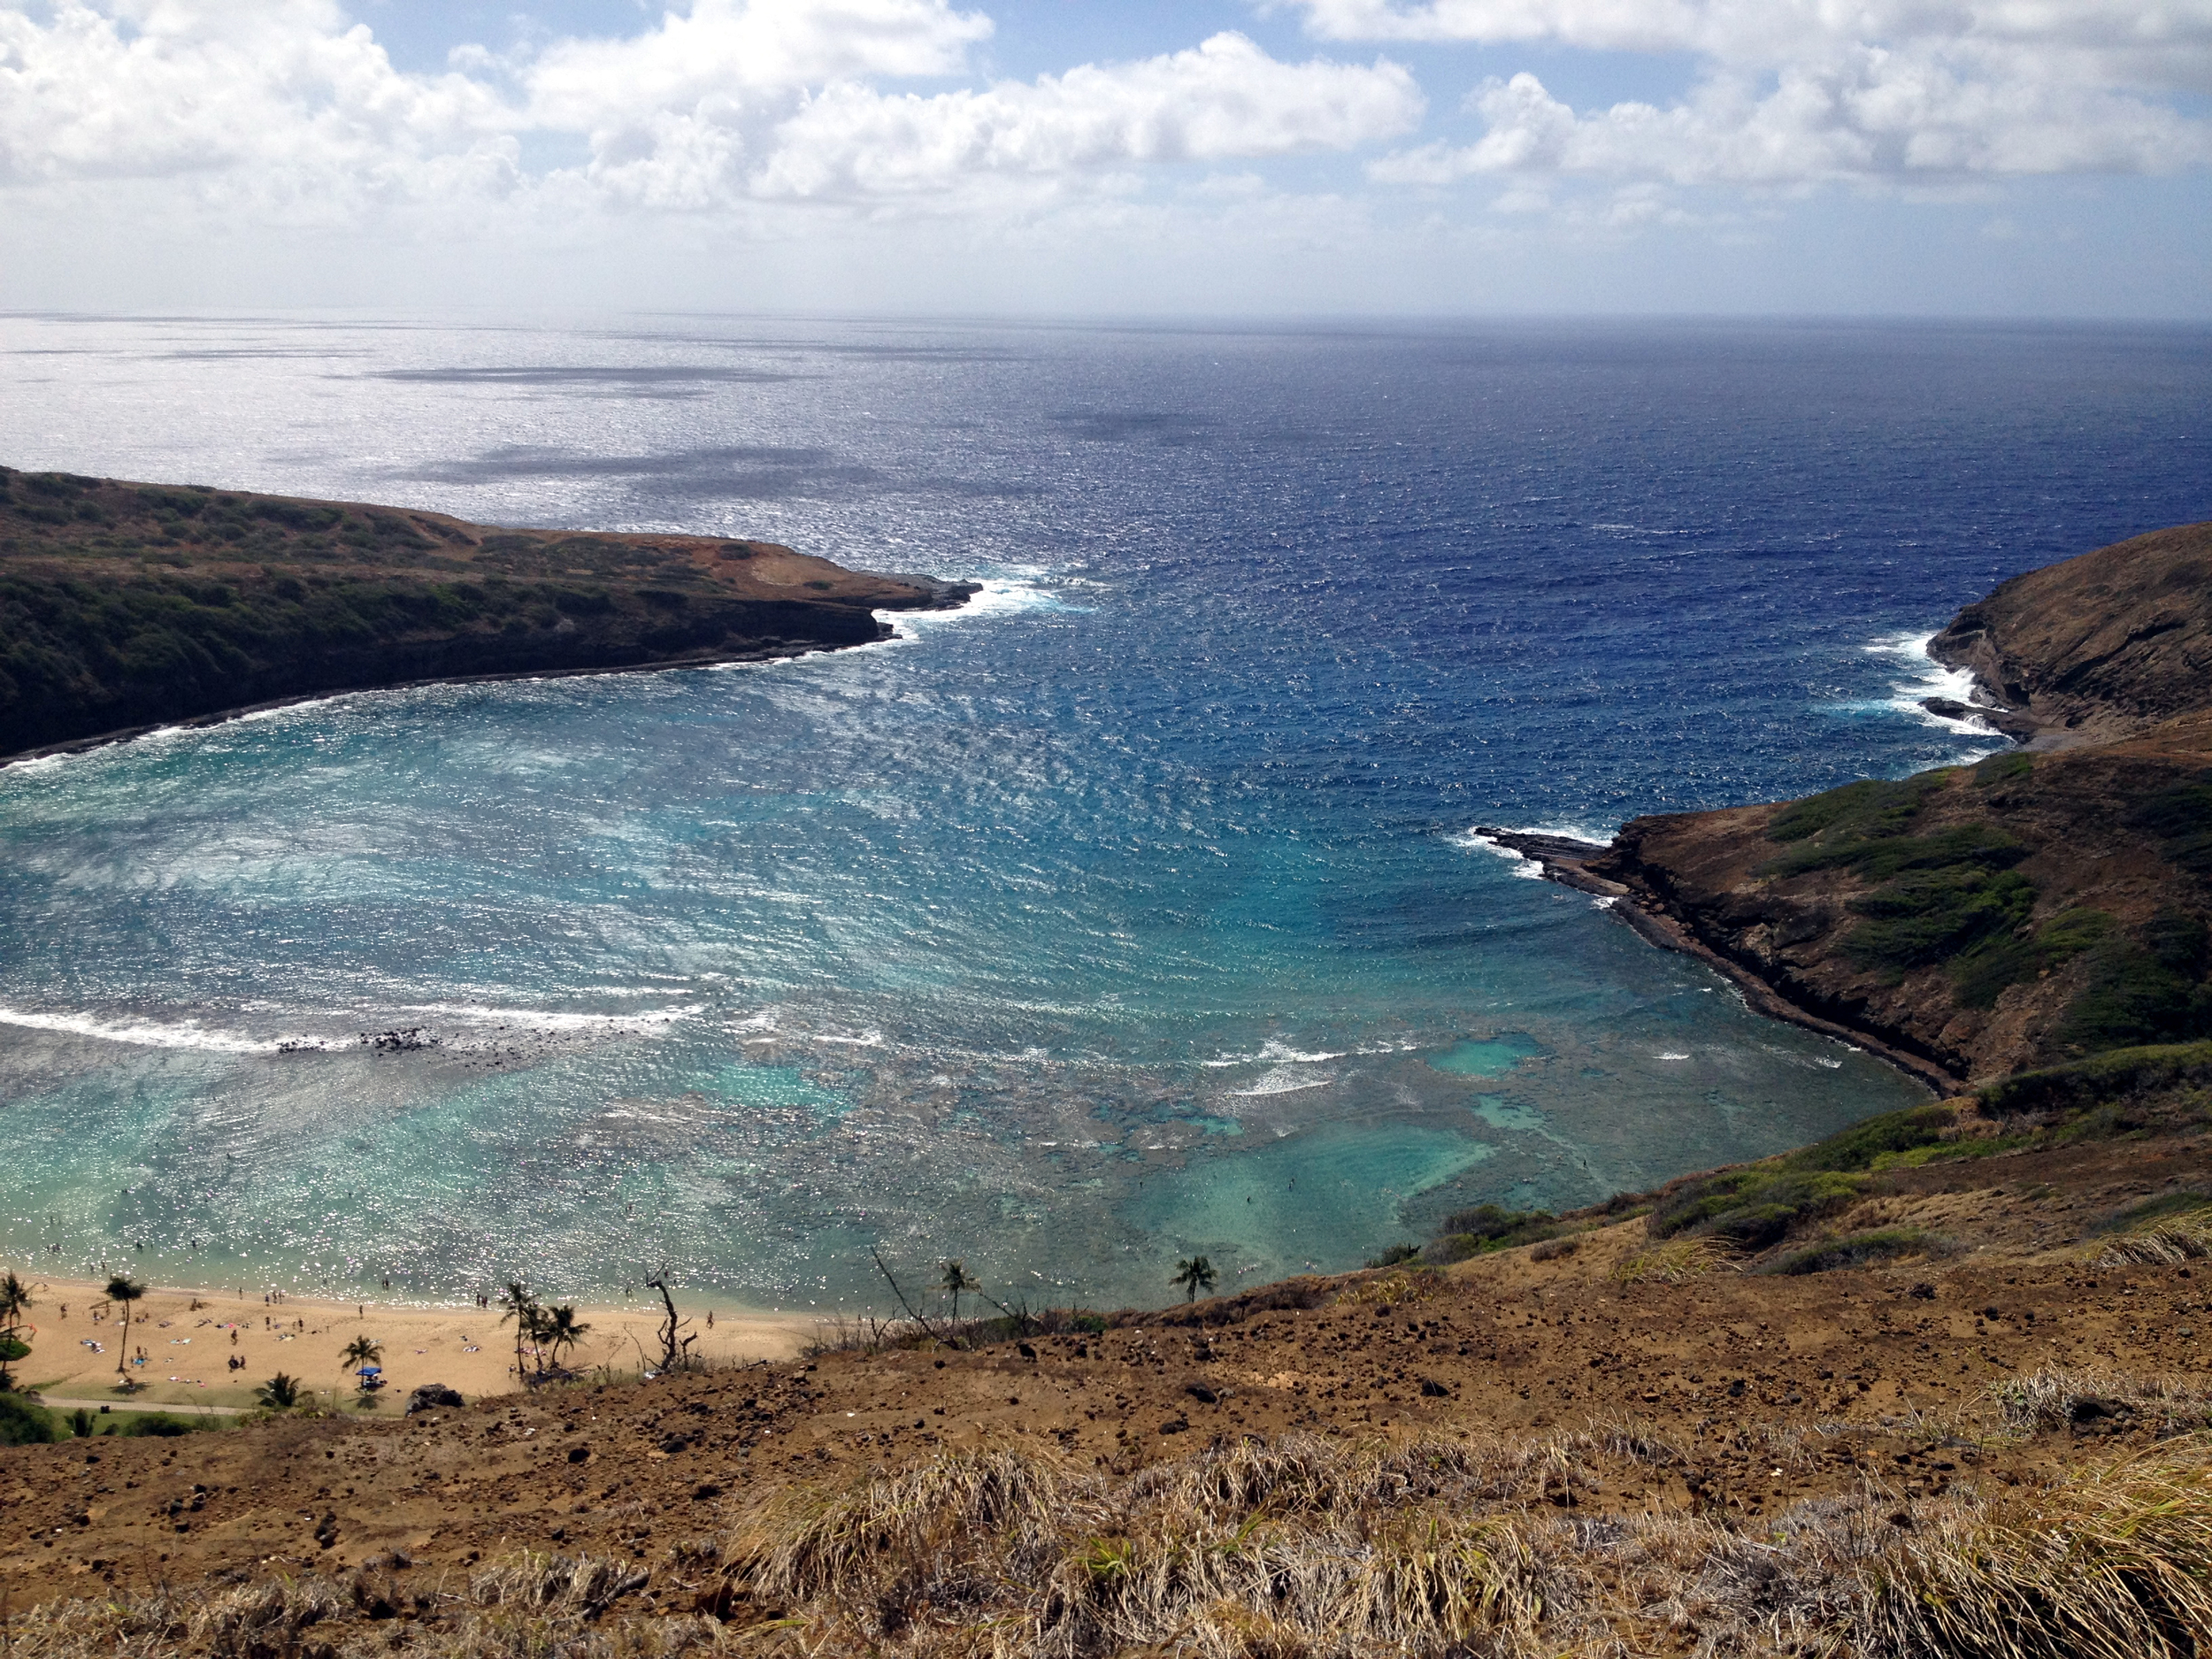
Towards the top, you will begin to come upon some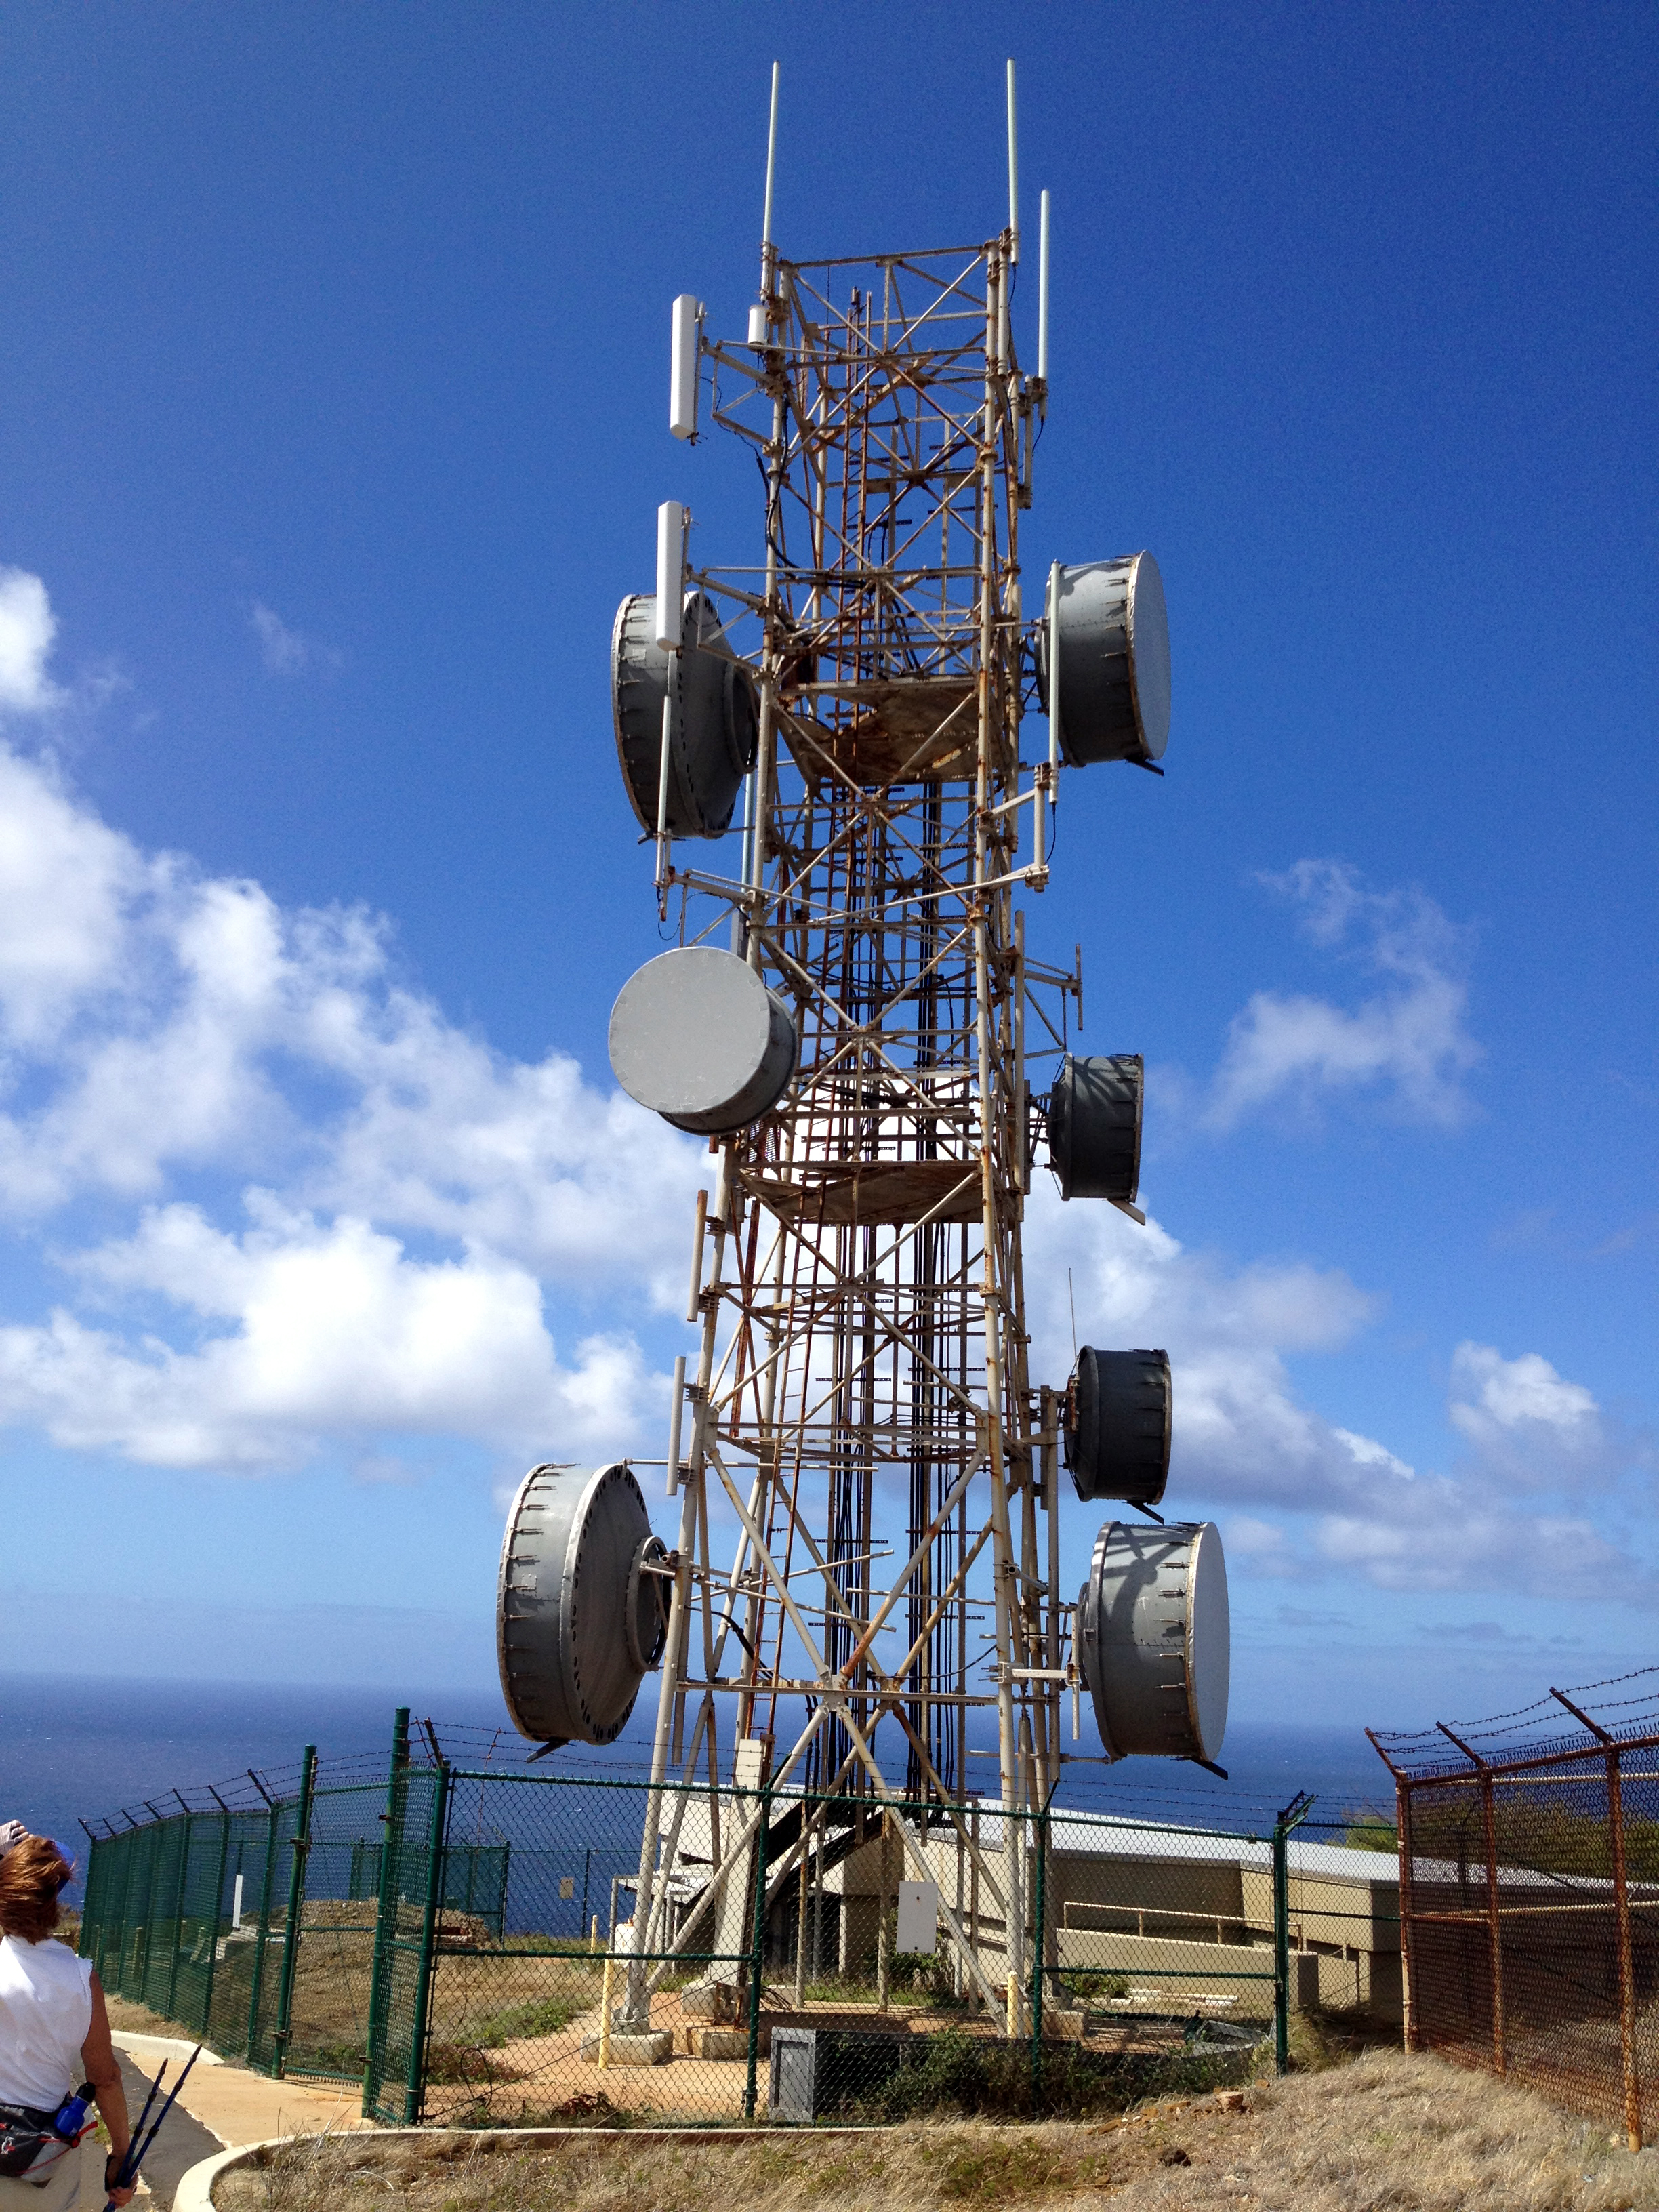 large cell and microwave towers. Also, for you techies, there is a huge GPS tracking antenna up here. It is like a 100 yard fenced in circle with a big giant marshmallow thingy in the middle. A giant dish in the ground if you will. I wouldn’t go in there if I were you though. It looks like the kind of thing that could boil your brain if you get too close! If you continue past the towers, you can catch a great view of Diamond Head and Hawaii Kai side. Relax, enjoy and drink some water before heading down into the crater.
 Back track down the road a bit until you see a steep dirt and smooth rock road heading down to your right. From here, you can see the road as it winds out to the point. Just head there. Down, down, down you go. This road is used by fishermen primarily. It is steep in a few places so watch your step. Eventually the road will begin to flatten out. There is a fork to the right that you can go down and discover some time later. For this hike, I wanted to head left into the bushes toward a hidden Heiau. On the map, I indicated where to head off. It is a small and easily missed trail. Also, the weeds and grass can get high, so some bush wacking may be necessary. Just follow the most logical direction here. Through the trees and brush, Koko Head should be ahead and up to the left at about 10:30. Your destination is a large clearing past the trees. Take your time, and watch your step.
When you get to the clearing, you are standing in a sacred spot to some. Apparently, it is the ancestral land and home to `Ihi`ihilauakea. Tread lightly as you head across the field to the opening in the distance. You may be walking on graves, so you may want to stay around the perimeter to the left. Sounds creepy, but there is a serenity about this place and it feels nice. People just seem to subliminally get quiet as they walk through this place. Energy…
 When you hit the other side, WOW!!! Look down!!! The bay is fabulous from here! You can see all the way to the point as well as to the beach at the base of the cliffs. In the distance, you can see the other point of the bay. I will head out there soon and give you an update in a few weeks.
I can see why those people lived here so many years ago. There is everything one needs. Land to cultivate, sun, rain, and all the reef fish one could desire in an amazing and beautiful bay. A safe vantage point all the way down the side of the island is a plus as well. I wonder if I can build a house here? Hmmmm…
 Time to head out. Up, up, up you go. Just to the right of the heiau entrance, you will see a big Mars like hill side. The ground under your feet is red volcanic sand with many types of igneous rocks strewn about. I find it beautiful. Yup, that’s where you need to head. After you reach the peak of this hill, you will see the trail in the distance that takes you back up to the road. Up, up, up…
The rest is obvious. When you hit the road you came in on, just head down, down, down…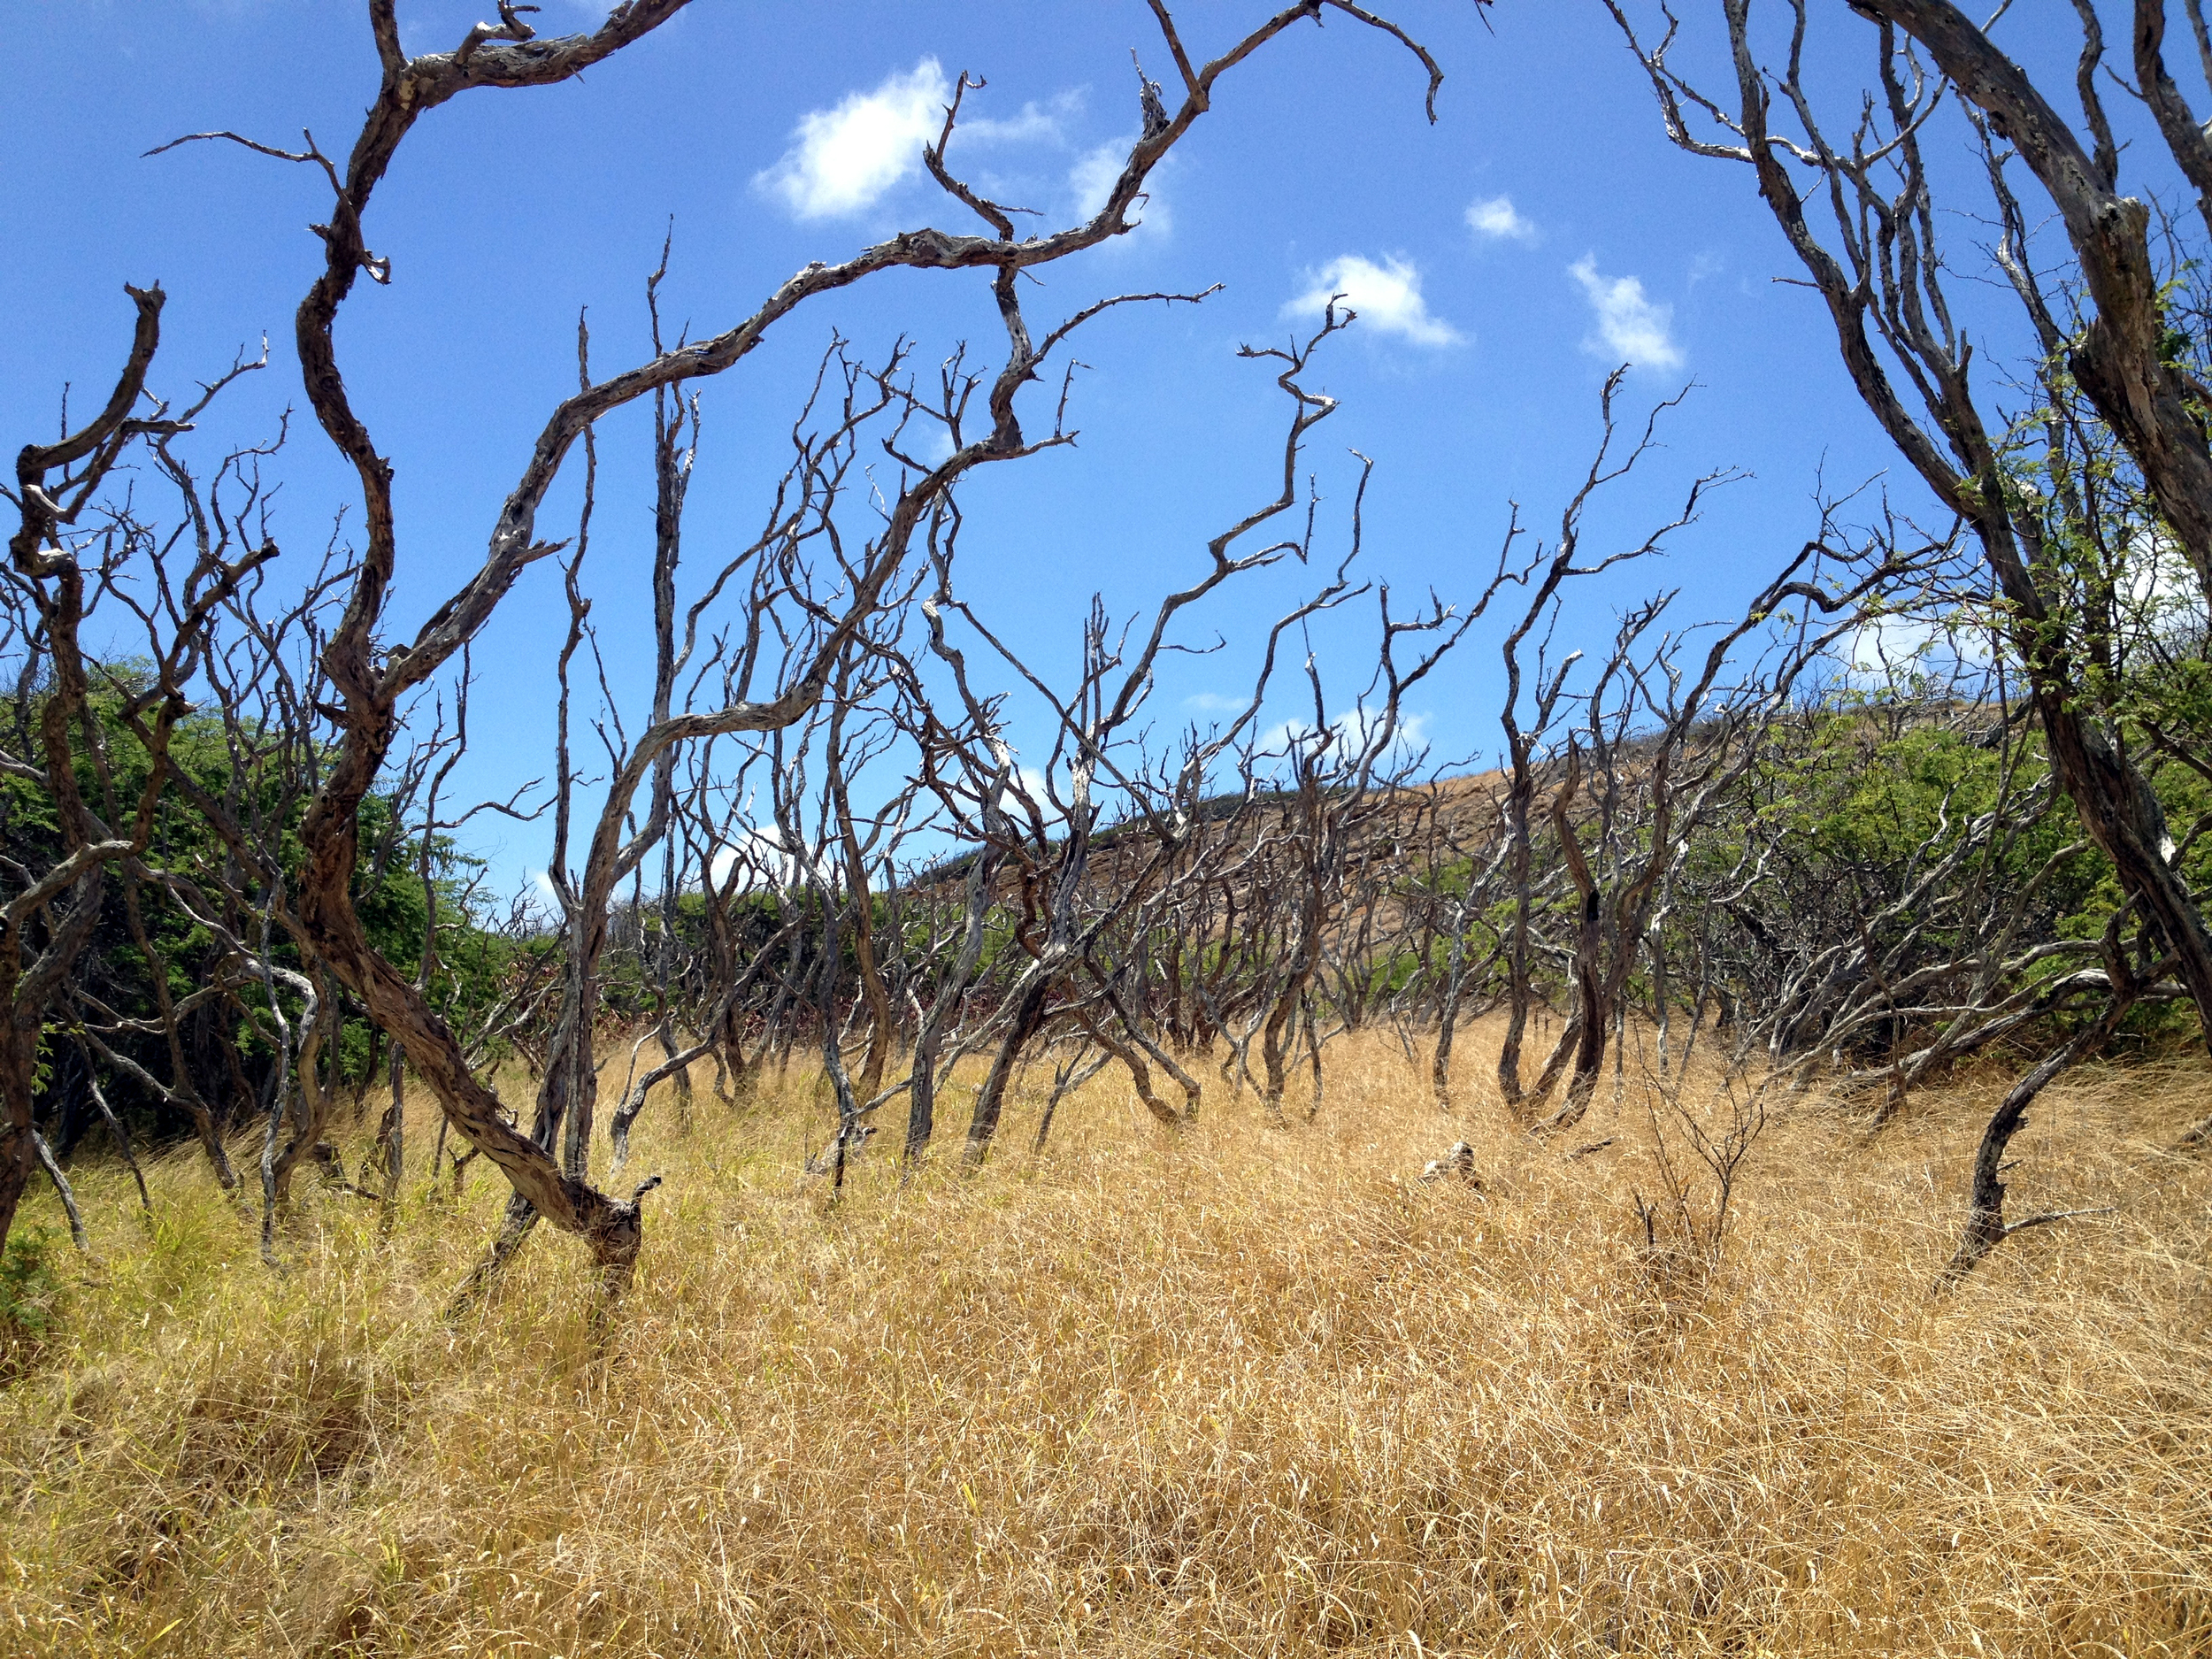
Have fun out there!!! And grab some Caches on the way!!!
Happy trails ya’ll!!!
JWM
Cooking: “NIBIRUIAN ANUNNAKI CHALUPA”!!! AKA: The Havarti, Cream Cheese, Tortilla, Melty Thingy!!!
This will change your life… So, about 2 ½ years ago I needed a hand with a dinner menu. I was having a collector over for supper, along with his wife and family. (Anything to sell a piece) I had a first and third course down already but I needed a “Betweeny”. Something simple, creamy and
 yummy to sit between a grilled Caesar salad smothered with sweet grilled cinnamon shrimp and a lobster/ crab stuffed, poached, grilled, spanked and loved salmon puck thingy. Mmmmmmmmm. “HELP”! I said to my brother on the phone. “Any suggestions oh wise one of the kitchens?” Without batting an eye, my brother threw out the recipe for a creamy delight that has changed my life forever. So Simple, Delightful, Elegant this recipe from my brother was. It was as if he had channeled the ancient Sumerian tablets containing the recipes of the Gods. The same ancient Anunnaki culinary language only 250 people ever to walk the earth could translate. One such person and “Channeler” was Zecharia Sitchin. He was largely responsible for the disclosure by the US government of the possible existence of Nibiru! “Planet X”! He spoke of the culture, the arrival of the “Gods”, how all humans in their current form are simply a DNA experiment and of course, THIS legendary celestial dish. It is a tragedy he never saw it’s rebirth on planet earth. I now believe my brother is one of those 250 “Channelers”. Soon, you will as well. This dish stole the show at my party. Thanks Bro…
As usual though, after 2 1/2 years of messing around with any dish, it grows into something ridiculous. I have added a few optional toppings to this one over the years. Basically the recipe remains the same at its core, so play with what you wish as yummy toppings. I like to Turbo charge it a bit and turn it in to the ultimate movie munchies. It can be a perfectly classy main dish as well. Kind of like pizza. There is the kind you can eat with a bib and the kind you delight on while wearing a bow tie. Have fun!!!
The goods: (Basic recipe) 2 12” tortillas 4.5Oz Havarti cheese (With dill for some added zing) 4.5Oz Philly cream cheese (the real stuff) 2 minced garlic cloves. (Can be thin slices to taste) 1 package Nova Scotia smoked lox (Or whatever) A few dashes of an infused olive oil with basil, dill, oregano, garlic… (Not rocket science))
Additional baked toppings: (Yummy additions)
This is the first part where you can play…
2 pineapple rings (Fresh is best, canned works fine)
1 hand full of super thin sliced red onion
 1 handful of super thin sliced red and yellow pepper
1 handful of super thin sliced red tomato
2 paper thin sliced mushrooms
1 handful of ultra-thin sliced carrot
1 dram of creativity
Additional cold toppings: Stuff to pile on while plating… 1 thin sliced avocado 1 handful of thin sprouts Chives (Cute little ones) A bit of lime juice slice of lime on the side
In the kitchen:
Crank up the oven to about 350. (While this is going on, let your cheeses get to room temp.) Take out two tortillas and put them on a baking pan. Place them in the oven for only a few minutes. Like maybe 8. What you’re looking for is a consistent golden toast. After the first 4 minutes or so, I flip them over to get the other side. YOU DON’T WANT CRISPY!!!! Just a touch of firmness to the skin is all. They will be going back into the sauna later, so easy does it. Yank out to cool then.
Cube up the Havarti and Cream cheese in a bowl. Add minced garlic. (A few tiny chives can be good here)MIX IT UP!!!! If the cheese is too hard, a few seconds in the wave machine can soften it up. You want thick oatmeal like consistency. Chunky is good. Like cream cheese coated little chunks of Havarti goodness. Mmmmmm…. Spread this over the tortillas. Don’t overdo it. It’s nice to have some golden tortilla poking out here and there. Just spread it out to taste.
Next, start to build! I first place thin, thin, thin, slices of lox in a star fish or spoke pattern around the cheese. Throw on a few wisps of onion and mushroom. Sprinkle with the red and yellow peppers. Dabble with the tomato! Place random slices of pineapple on top and drizzle a bit of that infused olive oil for fun.
Pop this in the oven to bake. Gestation times may vary depending on your altitude and decadence with the toppings. I find about 11-18 minutes just gets that slight crispy, yet golden creaminess to the cheese, and keeps the tortilla from getting too crisp. This is not a nacho mind you. You want it to be goldenly and bubbly and crispy! Mmmmmm. Smells good…
Out of the oven and on to the chopping block. Cut each into fourths. Drizzle infused olive oil and lime juice on plate. Place two slices on plate. Top with sprouts, carrots, chives and garnish with avocado and lime slices. I also like to drizzle more oil and lime on top. (Shameless)
Yield: 4 small servings. (Unless there is a good alien movie on. Then it serves one!)
There you have it. Why the “Nibiru Anunnaki” name? I truly believe my brother channeled an Anunnaki chef from the planet Nibiru (planet X) on its last pass through our solar system. This recipe had to have been more than 3,600 years old as planet X has a wide orbit. The last time it made a pass; it devastated north East Asia and buried Atlantis under 80 meters of water nearly 3,600 years ago! Now, I know my brother is not 3,600 years old! HOW my brother was able to rescue this piece of stellar culinary history will puzzle me for a life time. Enjoy! And thanks Jon! This one has been a hoot…
Keep your pans greased ya’ll!!!
JWM
Cheese Cake: The World’s Finest.
Ladies and gentlemen, we can go on and on about the best cheese cake on earth until we are yellow in the face. The fact of the matter is, there is only one best. My mom’s… Recently, my mom was out for a visit. (Actually I worked her to death tiling bathrooms.) I have to tell ya, there is nothing better than spending time with a great mom! Especially a great mom who wrote the book on cheese cake! NO! I MEAN IT! My ridiculously talented mom wrote a cheese cake book! Granted, she put this out back when the earth was still cooling, but I think the rules of vulcanization and the earth’s crust also apply to Gastronomic delights! This cheese cake is timeless! In other words, it’s all physics. Just as the crust of earth was vitrified then cooled to solidify the fine cracks and mars in the surface of the globe. Process so perfect as to render such fine details as the Grand Canyon, or perhaps Niagara falls. A process so perfect that it could also create the perfect cake. YES! The perfect cheese cake, I say was created from the same forces of nature that created the great lakes and Mt. Ararat! A crust so divine as to be only compared to the slopes of Haleakala. Lines in the strawberry glaze mirroring those of Nazca. A creamy consistency reminiscent of mother’s milk. A sweetness only tasted by the diligent honey bee on its quest for the purest nectar. Oh to dine on paradise and drink the milk of divine!!!!!!
As I wipe the tears (and cake) of joy from my cheek, I also back up a bit. My intent was to share with you this receipt of pure culinary delight. So, let’s get started.
WARNING!!!! DO NOT attempt to execute this recipe while feeling depressed, lonely or hungry. Failure to fallow this recipe to a “T” will result in a ripple in the space time continuum. The resulting exponential increase in cheese wave dispersion, most certainly could render all matter and anti-matter into cream cheese. This is a universal threat. A thick and non-life sustaining situation could result. Please take care!!!
Crust: 1 cup sifted all-purpose flour ¼ cup sugar 1 teaspoon grated lemon peel ½ cup butter 1 slightly beaten egg yolk ¼ teaspoon vanilla
Filling: 5 (8 oz.) packages cream cheese ¼ teaspoon vanilla ¾ teaspoon grated lemon peel 1 ¾ cups sugar 3 tablespoons all-purpose flour ¼ tablespoon salt 4 or 5 eggs (1 cup) 2 egg yolks ¼ cup whipping cream
Make the crust by combining the first three ingredients. Cut in butter until mixture is crumbly. Add egg yolk and vanilla. Blend thoroughly. Pat 1/3 dough on bottom of 9 inch spring form pan (sides removed). Bake in hot oven (400f.) about 8 minutes or until golden; cool. Attach sides to bottom, butter and pat remaining dough on sides to height of 1 ¾ inches.
For filling, let cream cheese stand at room temperature to soften. Beat creamy; add vanilla and lemon peel. Mix next 3 ingredients; gradually blend into cheese. Add eggs and egg yolks, one at time, beating after each, just to blend gently stir in whipping cream. Pour the cheese mixture into crust-lined pan. Bake at 450F. For 12 minutes; reduce heat to 300F. And continue baking 55 minutes longer. Shake the pan to see if the cake is fairly firm in center. Remove from oven; cool. Loosen sides with spatula after ½ hour. Remove sides at end of 1 hour. Allow the cake to cool for 2 hours longer before glazing with your favorite sauce.
The family has tried a number of sauces, glazes and flambés with this cheese cake… one is better than the other. For the purposes of this blog, I have chosen the strawberry glaze. Mom would approve…
Strawberry glaze:
“A good basic glaze that can be varied by changing the fruit to black cherries, pineapple, canned or frozen peaches, black berries, etc….No. 2 cans work just right for this recipe.”
½ cup sugar 2 tablespoons quick cooking tapioca 1 ½ cups of juice (add water to drained juice to total 1 ½ cups) ¼ tablespoon salt 1 tablespoon orange juice 2 cups frozen strawberries, well drained
Combine all ingredients except the strawberries. Place in sauce pan over moderate heat and stir until blended. Cook, stirring constantly, until juice is thickened. Remove from heat and cool. Arrange fruit evenly over top of cheese cake and pour the glaze over the top. Chill several hours before serving.
Yield: About 3 ½ cups of glaze.
So, there you have it. Please be careful with this recipe and PLEASE consult your physician before attempting to taste such a powerful food. It’s that good…
Keep your pans greased ya’ll!!!
Maunawili/Waimanalo Trail Hike: "BEAUTIFUL" Kailua, Oahu, Hawaii
 OK. Drop what you’re doing, put on your hiking shoes and let’s go! This is a “MUST DO” trail. Whether you are just visiting Oahu, or you live here, you are sure to have a fun day on this trail!
Distance: 4.66Mi. Add .66Mi. if you take the falls trail cut off.
Elevation: 590ft.-1,026ft.-145ft.
Time: 4h. 46m. Add 1 hour if you take the falls trail cut off.
Water consumption: 70oz.
Caloric output: 1,900-2,300 calories depending on pace.
Difficulty: 2.8-3.4
Geo Cache: 9-10
Way points:
Parking: 21°21'54.40"N 157°46'46.19"W
Trail head: 21°21'52.66"N 157°46'49.07"W
A: Fork. Stay left. 21°21'50.46"N 157°46'52.46"W
B: View 1. 21°21'46.67"N 157°46'47.27"W
C: View. 21°21'33.46"N 157°46'37.44"W
D: Side trail to another view. 21°21'33.12"N 157°46'36.27"W
E: View. 21°21'29.55"N 157°46'43.37"W
F: Stream bed. 21°21'23.54"N 157°46'48.58"W
G: Beautiful spot. 21°21'15.77"N 157°46'49.21"W
H: Whispering pines. 21°21'14.16"N 157°46'49.92"W
I: View. 21°21'8.92"N 157°46'49.72"W
J: View. 21°21'7.34"N 157°46'53.99"W
K: Intersection with Maunawili trail. Head down. 21°20'57.49"N 157°46'56.24"W
L: View. Look back at mountains. 21°20'57.77"N 157°46'53.46"W
M: More pines. 21°20'56.40"N 157°46'32.69"W
Trail sign: 21°21'1.69"N 157°46'24.42"W
N: Bench. Trail intersection to falls. 21°21'1.86"N 157°46'23.37"W
O: Split in trail. 21°21'5.54"N 157°46'15.50"W
P: Cool trees and another way out. 21°21'14.10"N 157°46'12.12"W
Q: More stairs. 21°21'6.94"N 157°46'10.10"W
R: Funky trees. 21°21'15.63"N 157°46'4.22"W
Gallows trees: 21°21'14.22"N 157°46'3.00"W
S: Cool trees. 21°21'20.31"N 157°45'57.89"W
T: River beds. 21°21'22.86"N 157°45'53.40"W
U: Rail road ties. 21°21'24.68"N 157°45'52.06"W
V: Side road. 21°21'31.20"N 157°45'48.29"W
W: Last turn out. 21°21'31.93"N 157°45'45.41"W
Trail head and signs. 21°21'32.76"N 157°45'45.02"W
Parking: 21°21'32.91"N 157°45'51.55"W
Swimming at the falls: 21°20'49.95"N 157°46'19.55"W
The Waimanalo/Maunawili demonstration trail is a delight for the hiker as well as the mountain biker. I highly recommend it to anyone who asks me about it. Whether you are a beginner or even expert, this trail will delight. I have taken this trail on both foot and bike. You mountain bikers will have a blast as there are all levels of terrain to navigate . Don’t feel bad about the occasional dismount to carry your bike over some hairy rocks. I often do. Unless you are a wicked trials rider, please take it easy if this is your first time on this trail. There can be some scary drops on portions of the trail. In some spots, an overshot turn can send you down, down, down into no man’s land. Get to know the trail before you go out breaking speed records. Also, please, please, please try not to cut ruts. There is no reason to go blazing with locked wheels into corners. If you want that style of riding, there are plenty of trails that are more suited for speed, such as the Kalaheo Ridge Line Trail I wrote about in a previous blog. On the Maunawili Trail, keep your wheels cool. The terrain is shaped beautifully and we should keep it this way for others to enjoy. One more thing: Please go easy on the roots. If hiking, just step over. If biking, please no chain ring cuts. Some of these trees are rare and very old. They deserve to be treated nice, for they are spectacular! This trail has remained a favorite for many and it must be on your short list of “TO-DO’s”!!!
The hike begins:
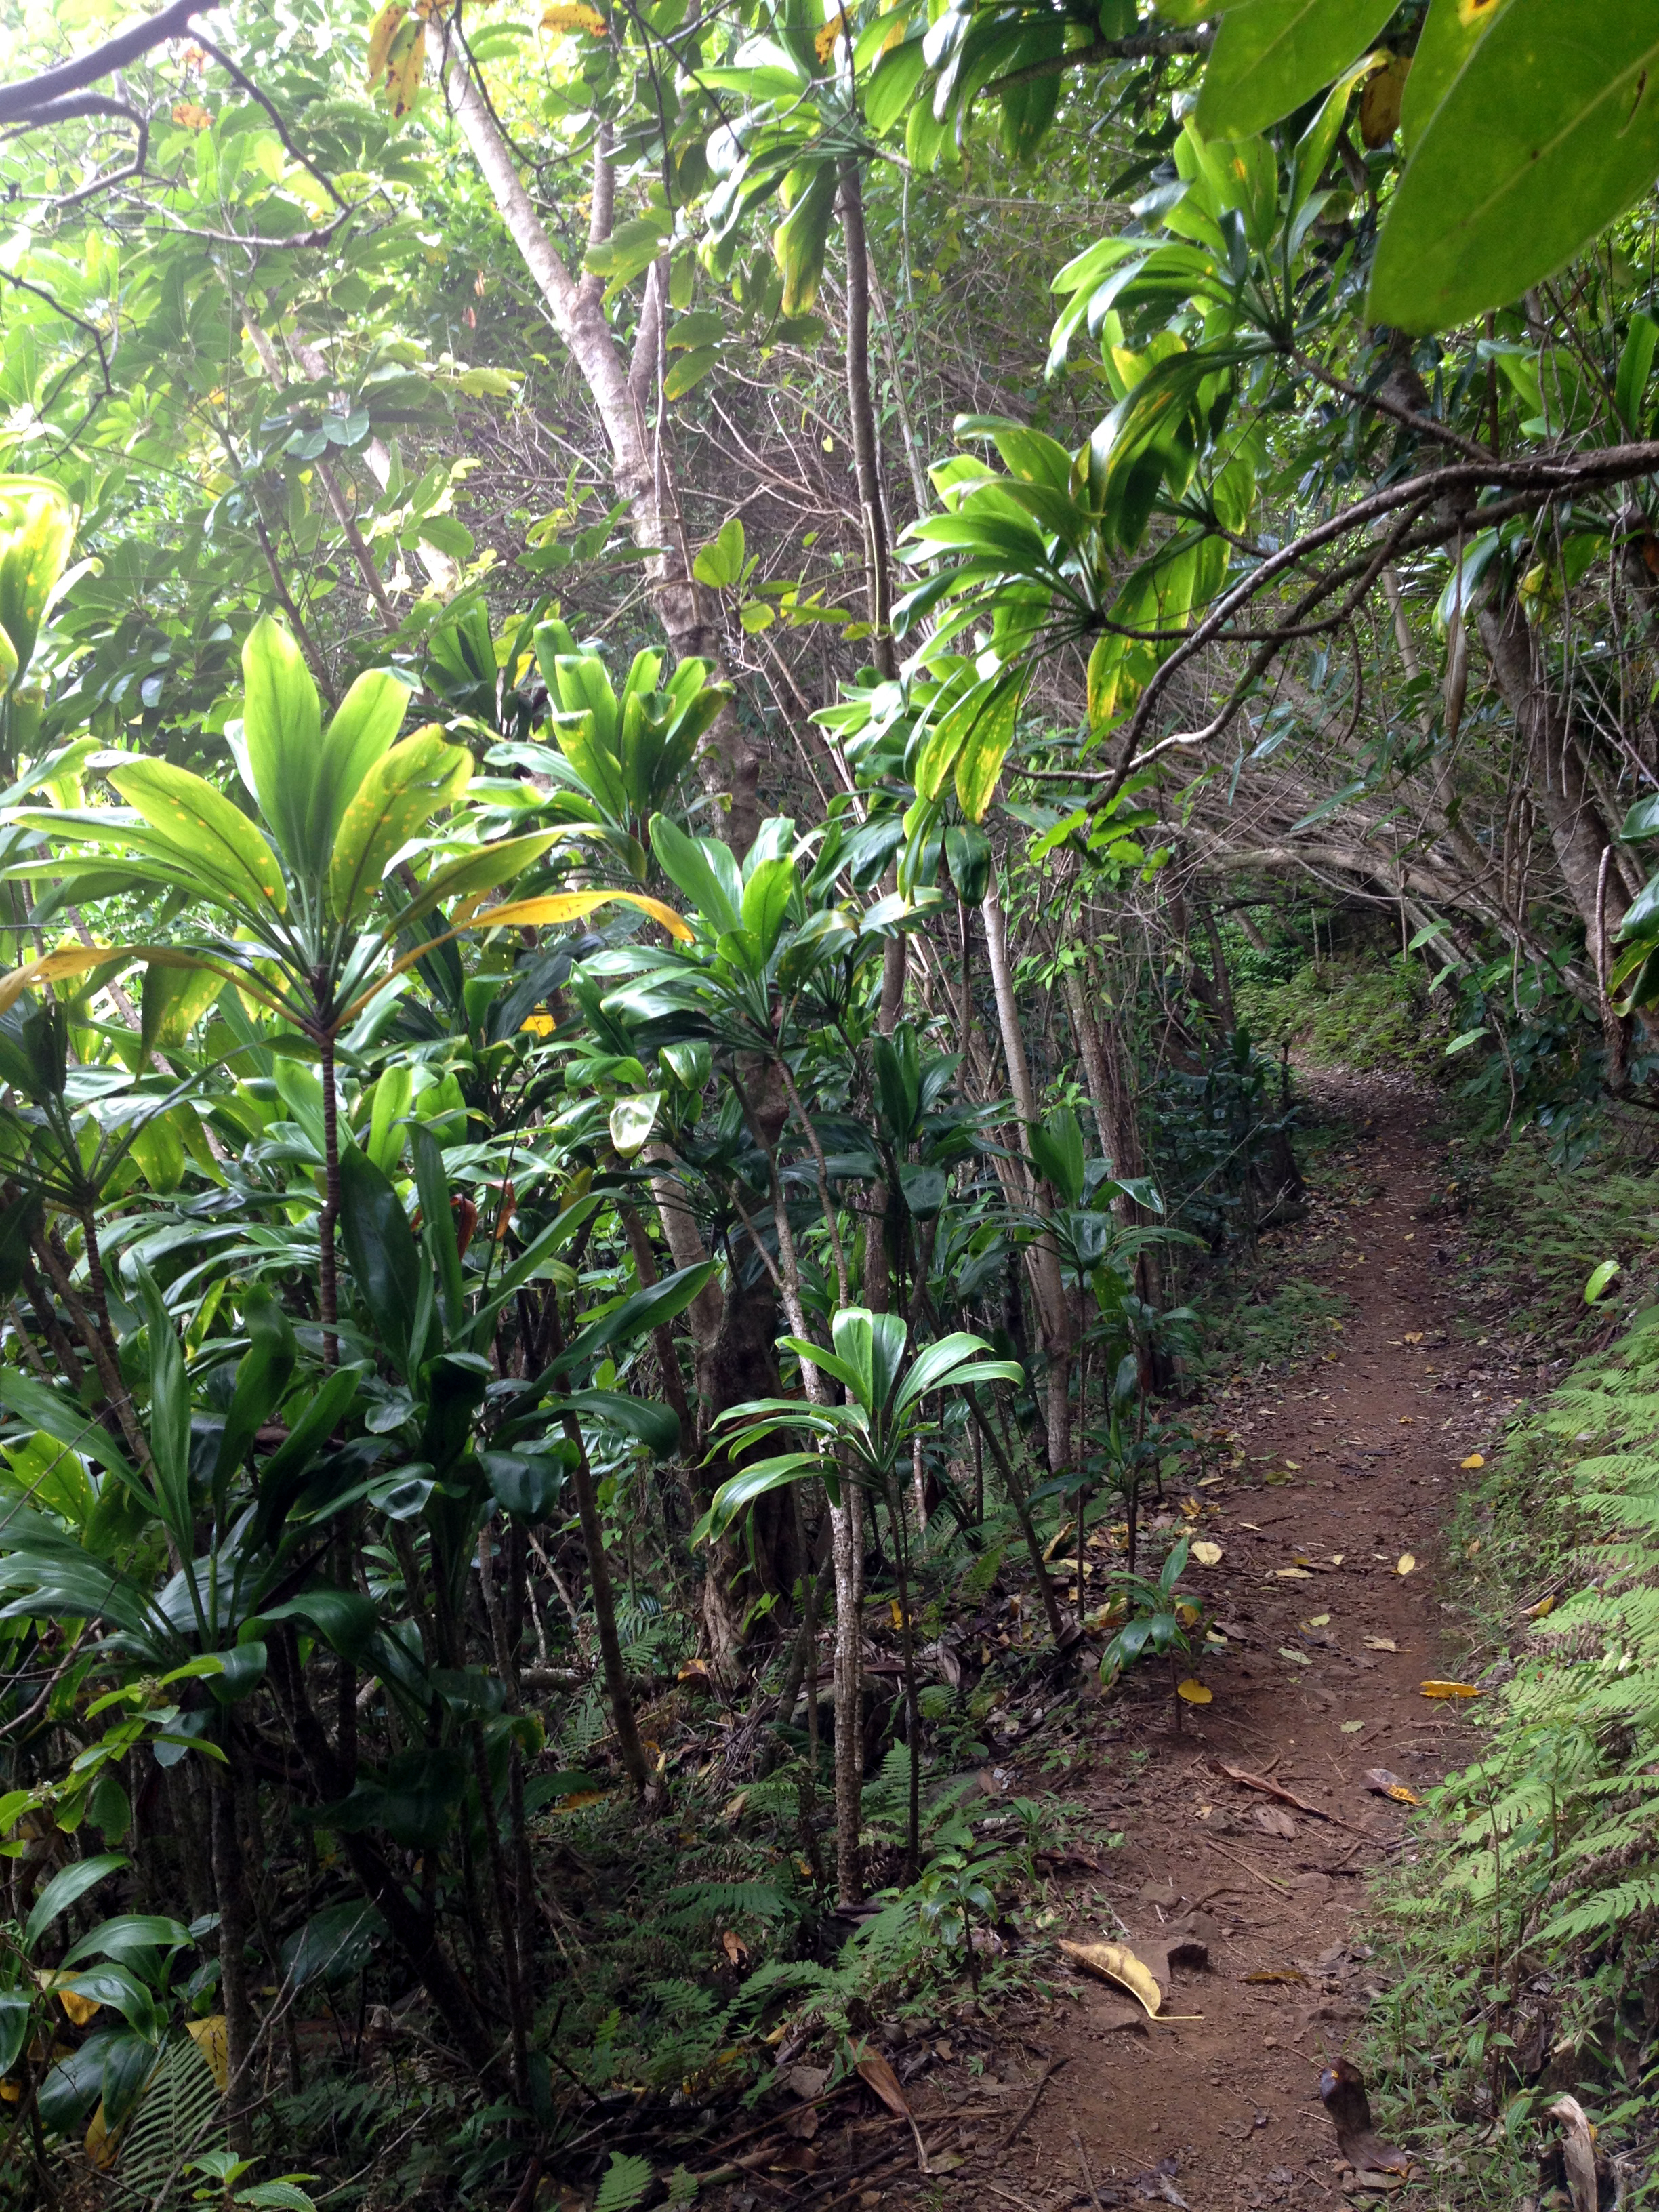 Now, I could write a novel about all of the scenic stops along the way, but I’m afraid I would lose your attention if I already haven’t. (“Stop at the green rock on you left and look to the south through the fourth guava tree on your right… BLA-Bla-Bla”…) Instead, I’m just including the beginning middle and end parts. You will have to write your own novel on this one.
For starters, there are several ways to approach this one. The route I chose on the map above, is by far the most scenic. It will require leaving a car at one end, but if you have the time to back-track the way you came in, one car will suffice. I suppose you could call a taxi, as I have before, but it will set you back about $20.00. You can find where I parked and began my hike by coming down the Pali highway from Honolulu toward Kailua. As you pass through the tunnels, you will approach a hair-pin turn to the left. Slow down and merge into the parking lot on your right. This is a scenic area with a great view of Olomana Mountain and Kailua. Enjoy it as you get ready to head off road.
 You will see a guard rail. Follow it back up the road to a clearing in the trees. Here you will see a sign with an arrow and a small bridge over a stream. You’re here! Follow the trail up. It is wide, well maintained and marked. In a few paces, you will come to another sign and a fork in the trail. Follow the arrow to the left. Just remember, “Maunawili Demonstration trail” and/or “Waimanalo Trail” are what you are heading for. The rest is easy. Eventually you will get to a really cool water tank. “DON’T DRINK IT”!!! Take a picture instead! From here, the trail just gets better!
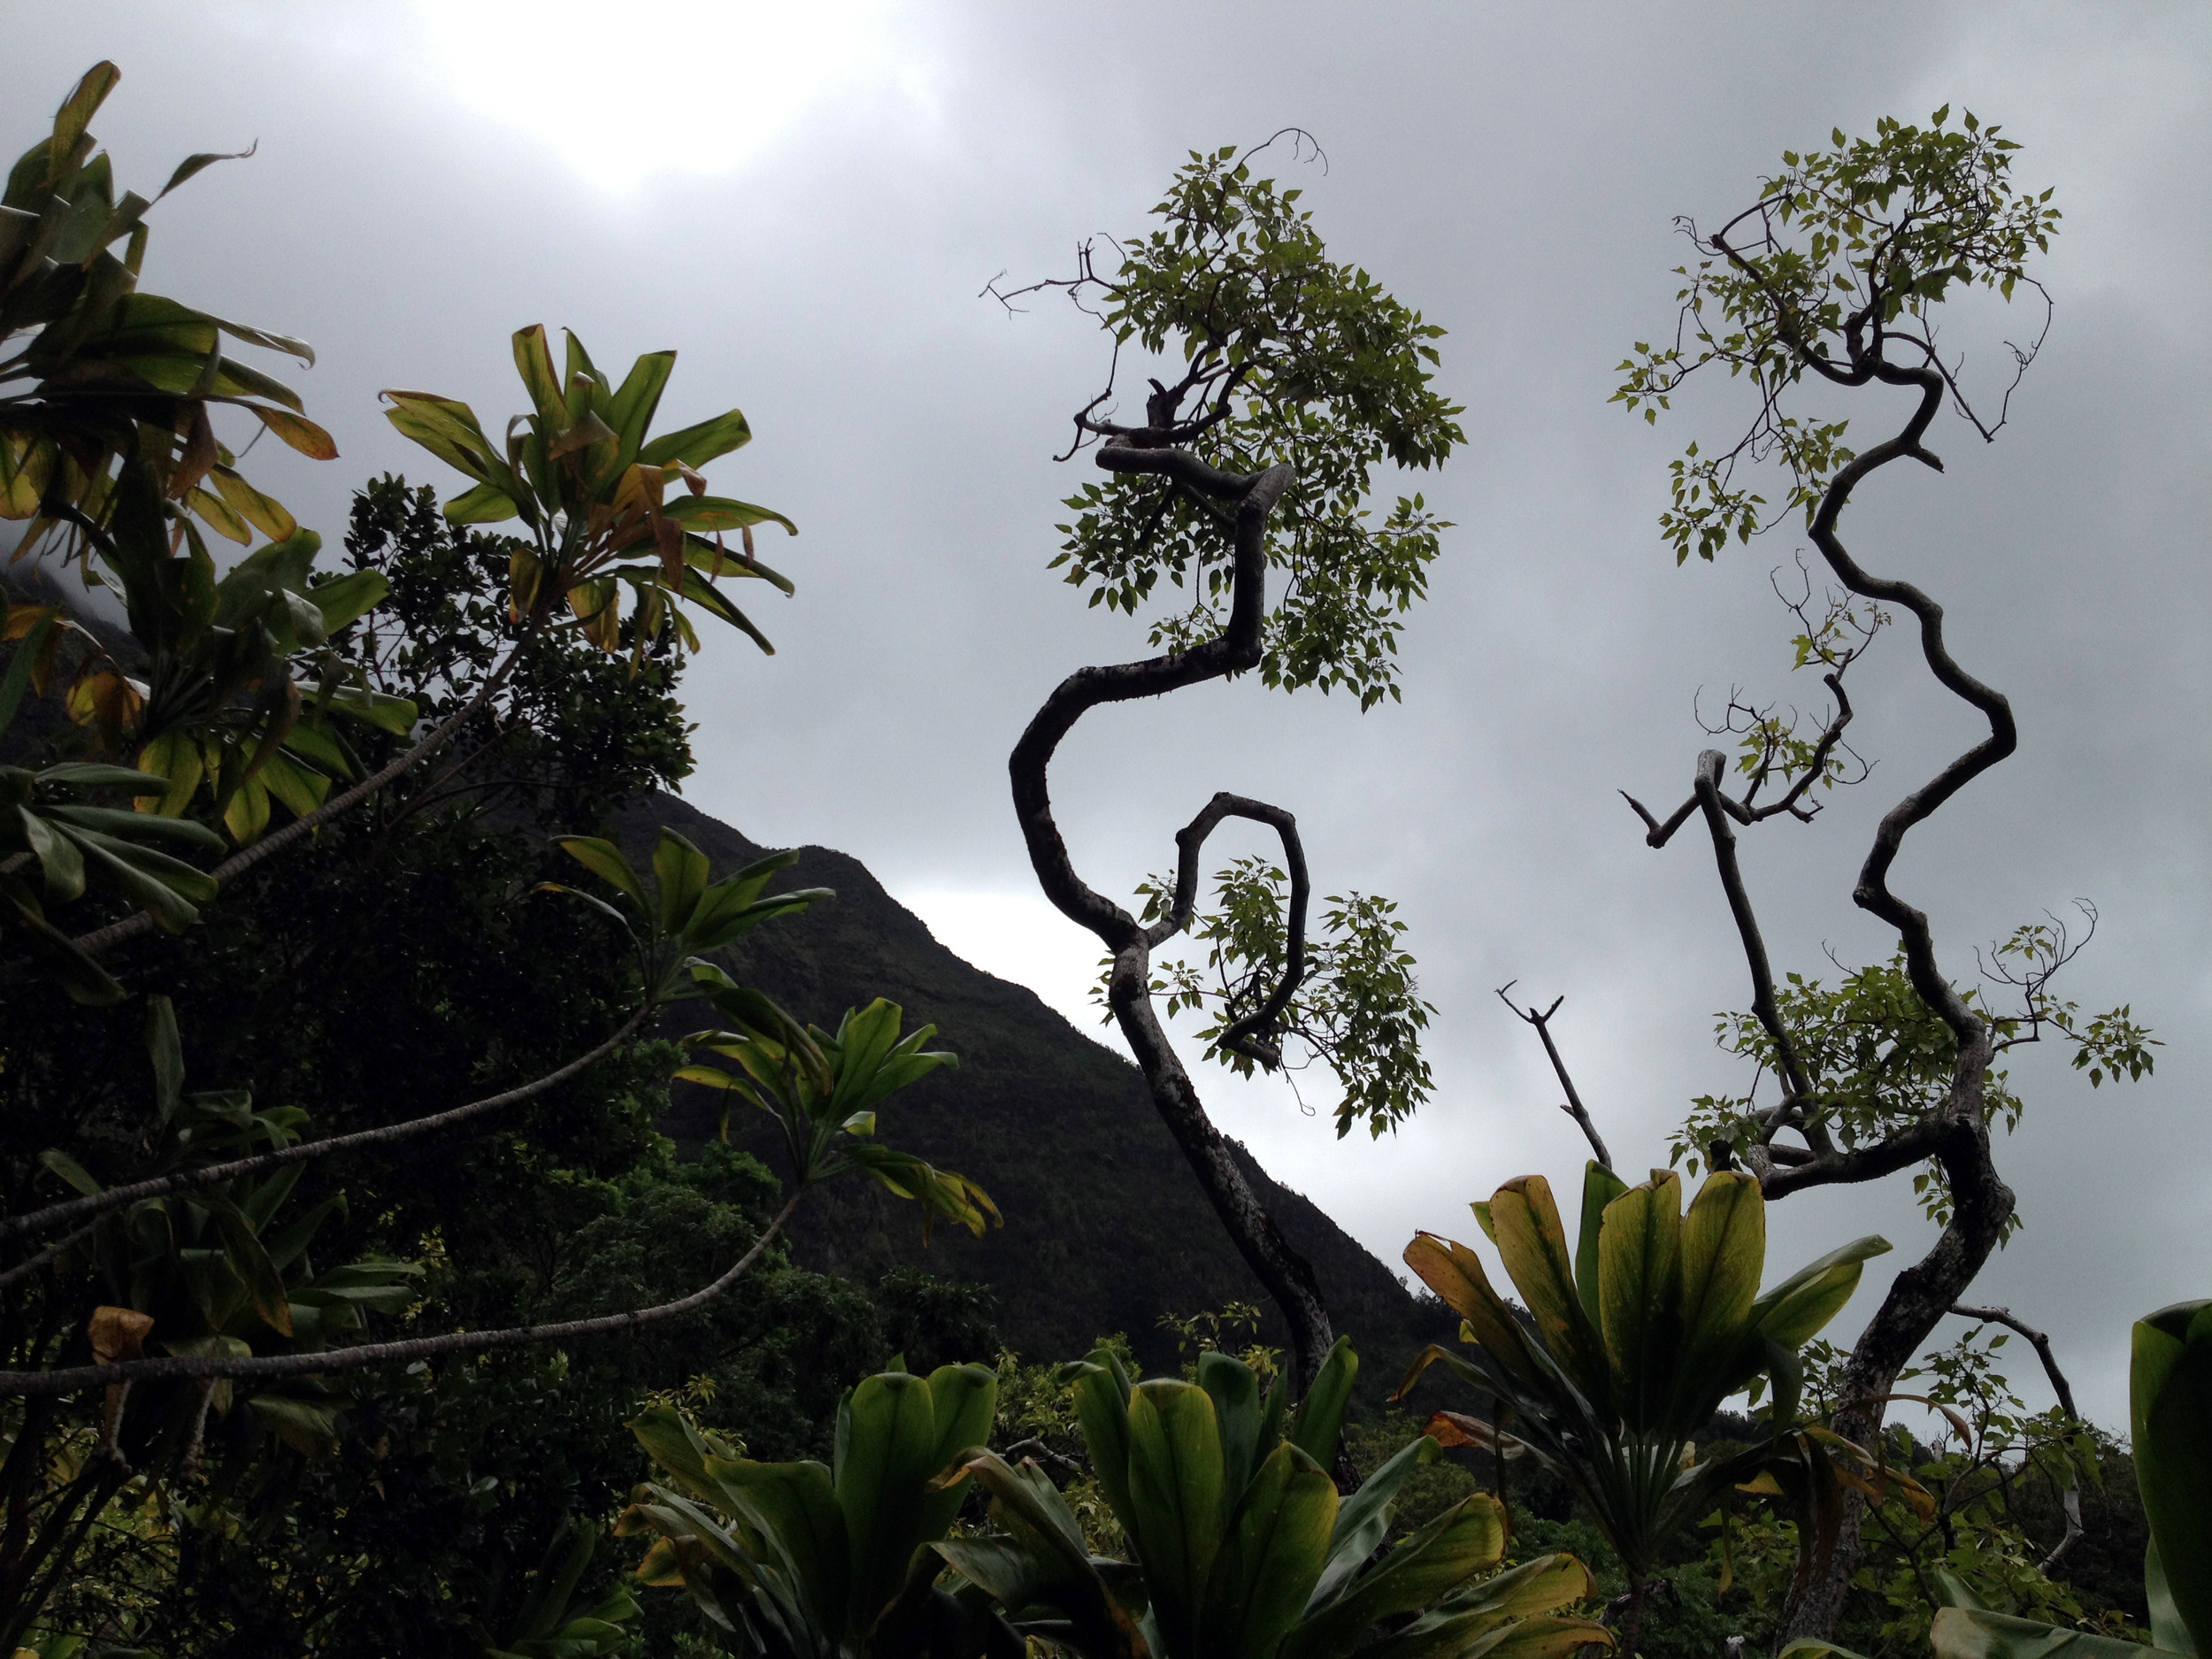 There is every imaginable tree, flower and grass along this trail. From guava to orchids. From mango to kiawe. It’s all here. I have also spotted many pigs along the way. They can be aggressive, so make some noise and let them pass. Especially if they have keke with them. “Mama don’t like surprises with kids in tow”. The birds are a plenty as well. I have seen perhaps 10 species out here, but I’m sure there are more. Mongoose too!!!! “So Cute”!!!!
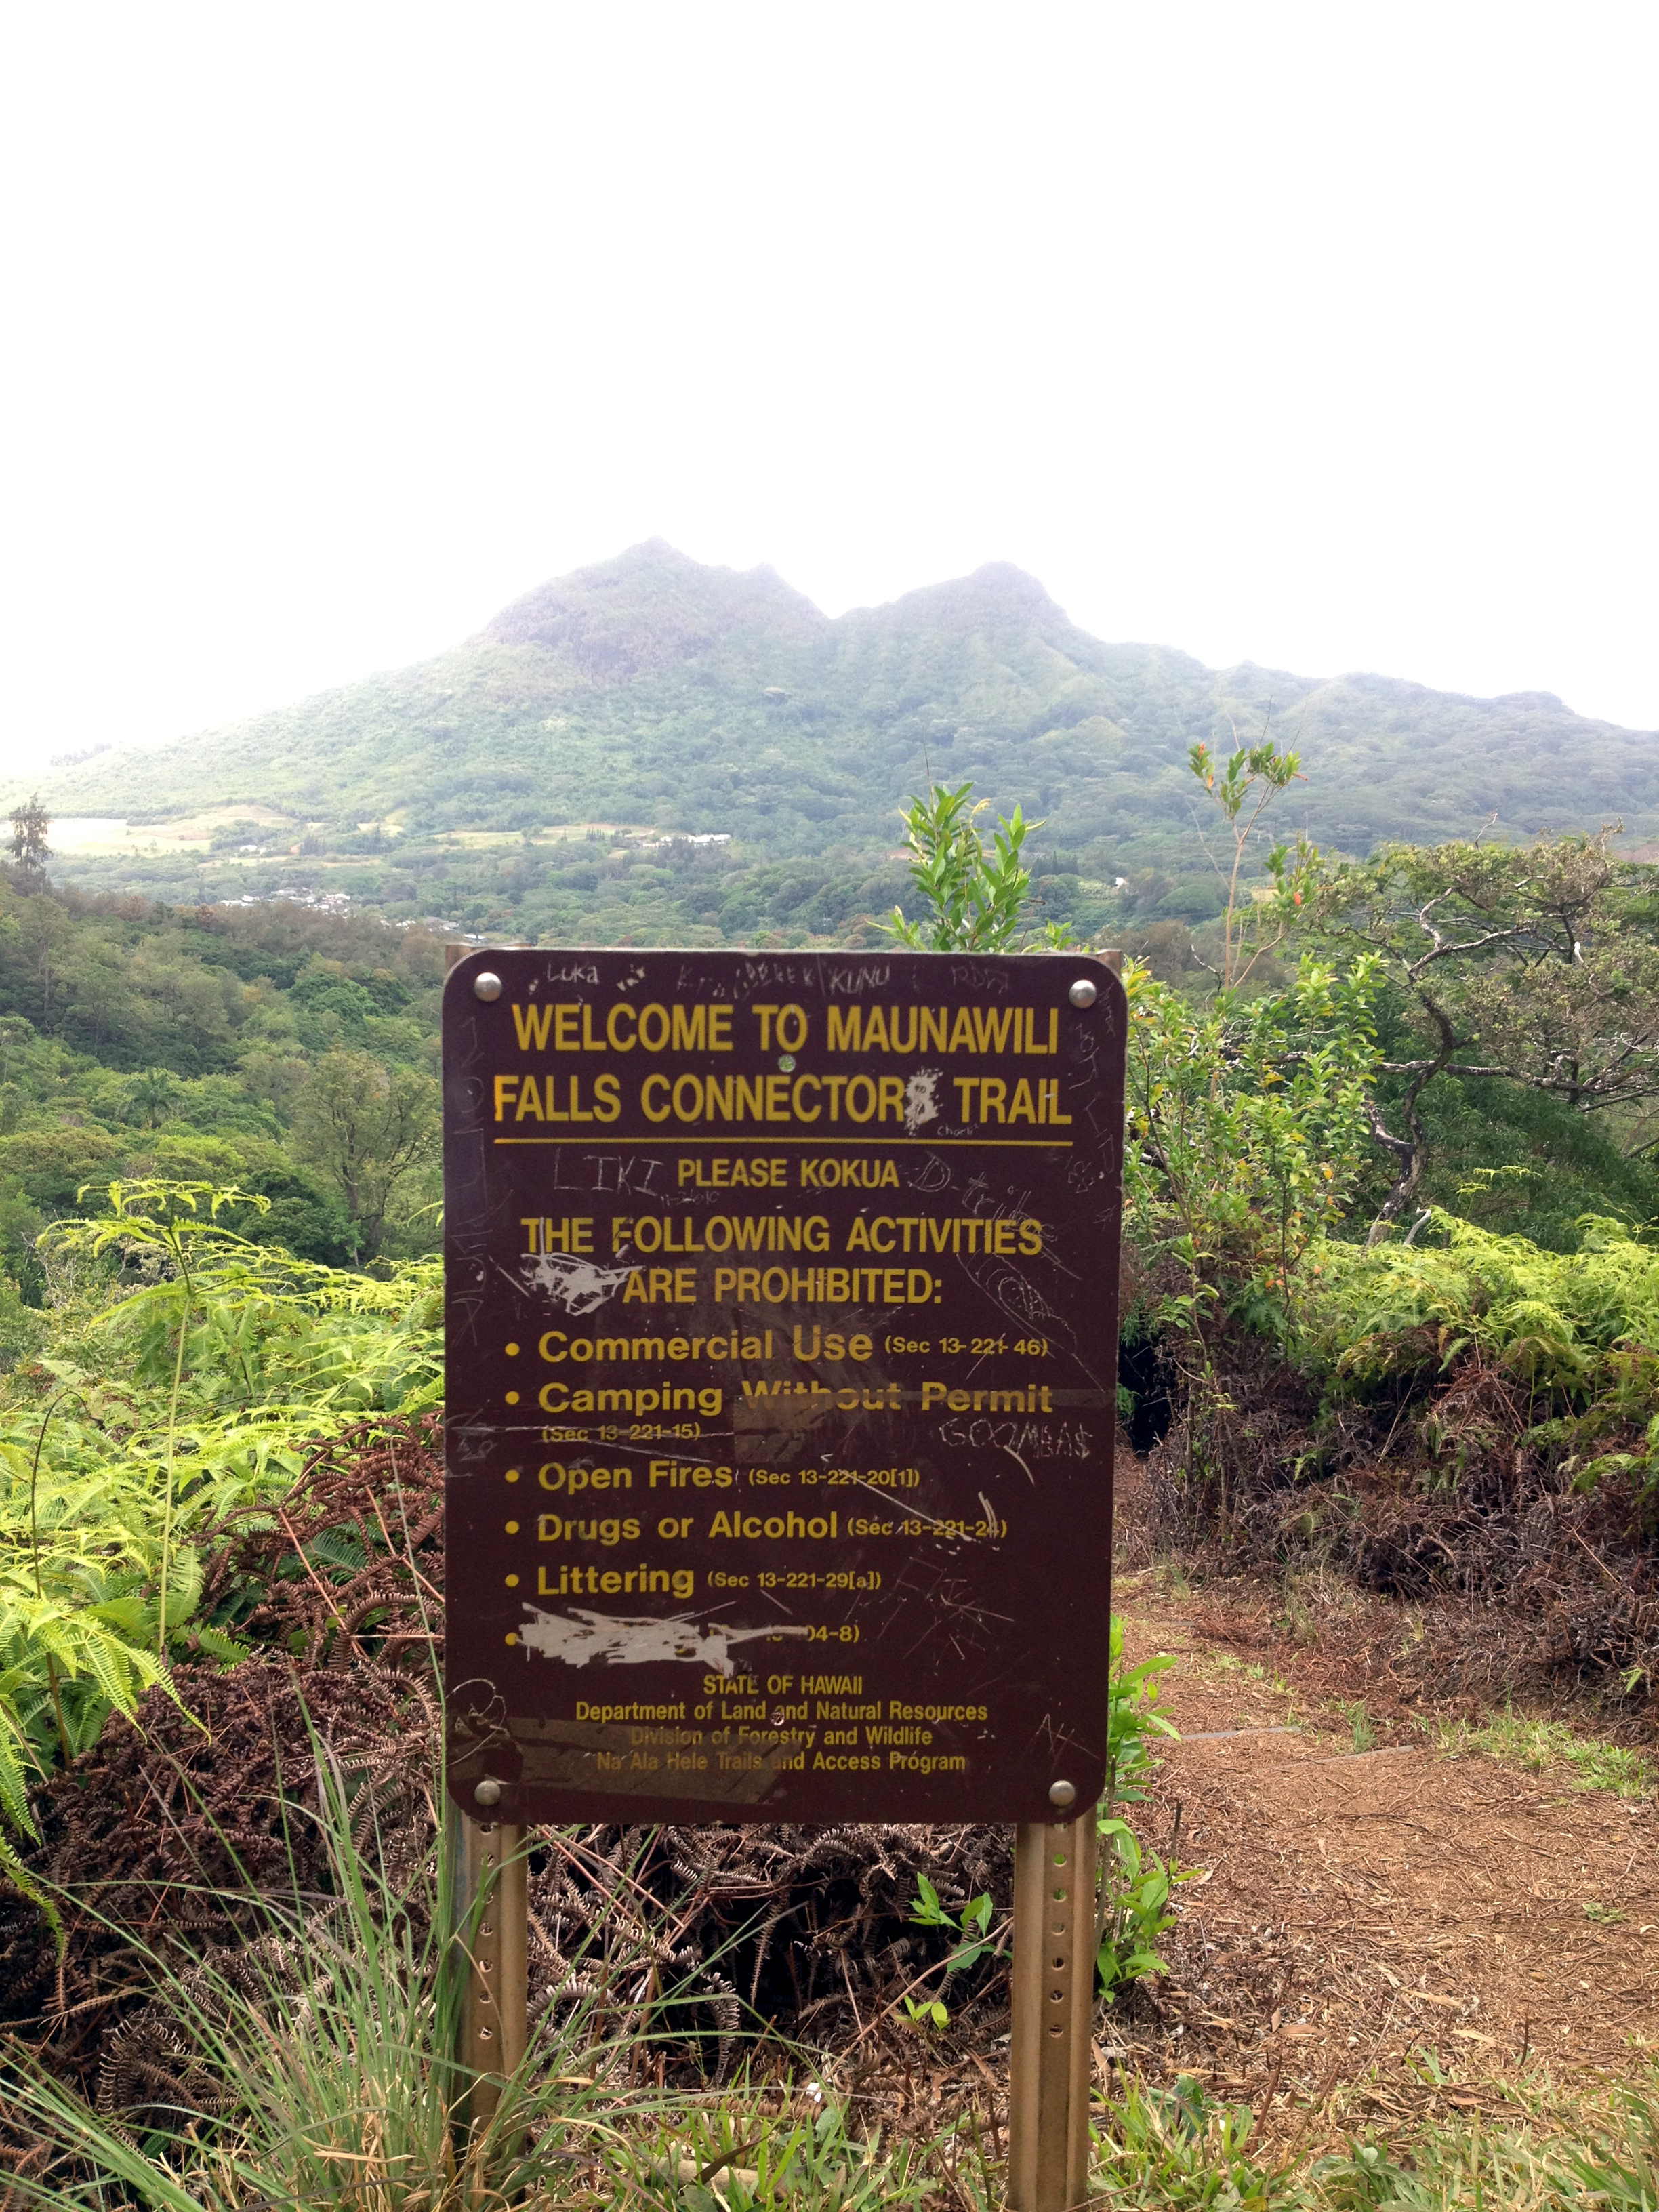 Somewhere in the middle, about 2 miles, you will hit an intersection with the Maunawili trail. This is a great spot to rest and take in the view. Strait out in front of you will be Olomana. You can actually see all the way down the Ko’olau mountain range to Makapuu point. A stellar perspective many never see. This point is where we head down into Maunawili.
 This clearly marked trail can be a bit slippy in sections. There are some stairs cut into the trail that help, but if there is much dry grass and pine needles about, you can slip. It is a neat section, for you are walking along the ridge of one of the fingers that start up on the cliffs. You can see both sides of the valley as well as the cliffs behind you. Stunning it can be, as it offers you a real sense of scale to the valley.
 Eventually you will come to a bench and another intersection. This is the spot where you can either head down to the falls, or head for the exit. If you choose to go to the falls, just head down the trail with stairs. It is pretty obvious how to get to the falls from here. Just head on down to the stream, cross over and up the valley. There is a trail up on the right that takes you along the stream bed. If it has been raining, it can be tricky. You will hear the falls soon and know you are on the right track.
 Yea! You made it! The water is cold! It is fresh rain water, so go figure. This is one of the most popular swimming holes around these parts. If you swim across there are plenty of rocks to jump from. It can be shallow, so do some exploring before jumping. Hate to see any boo-boos! I usually stick around for a while and talk to the hikers that come and go. Great place for a sandwich as well! Did I mention the water was “COLD”!!!! “BRRRRRRRRRRR”!
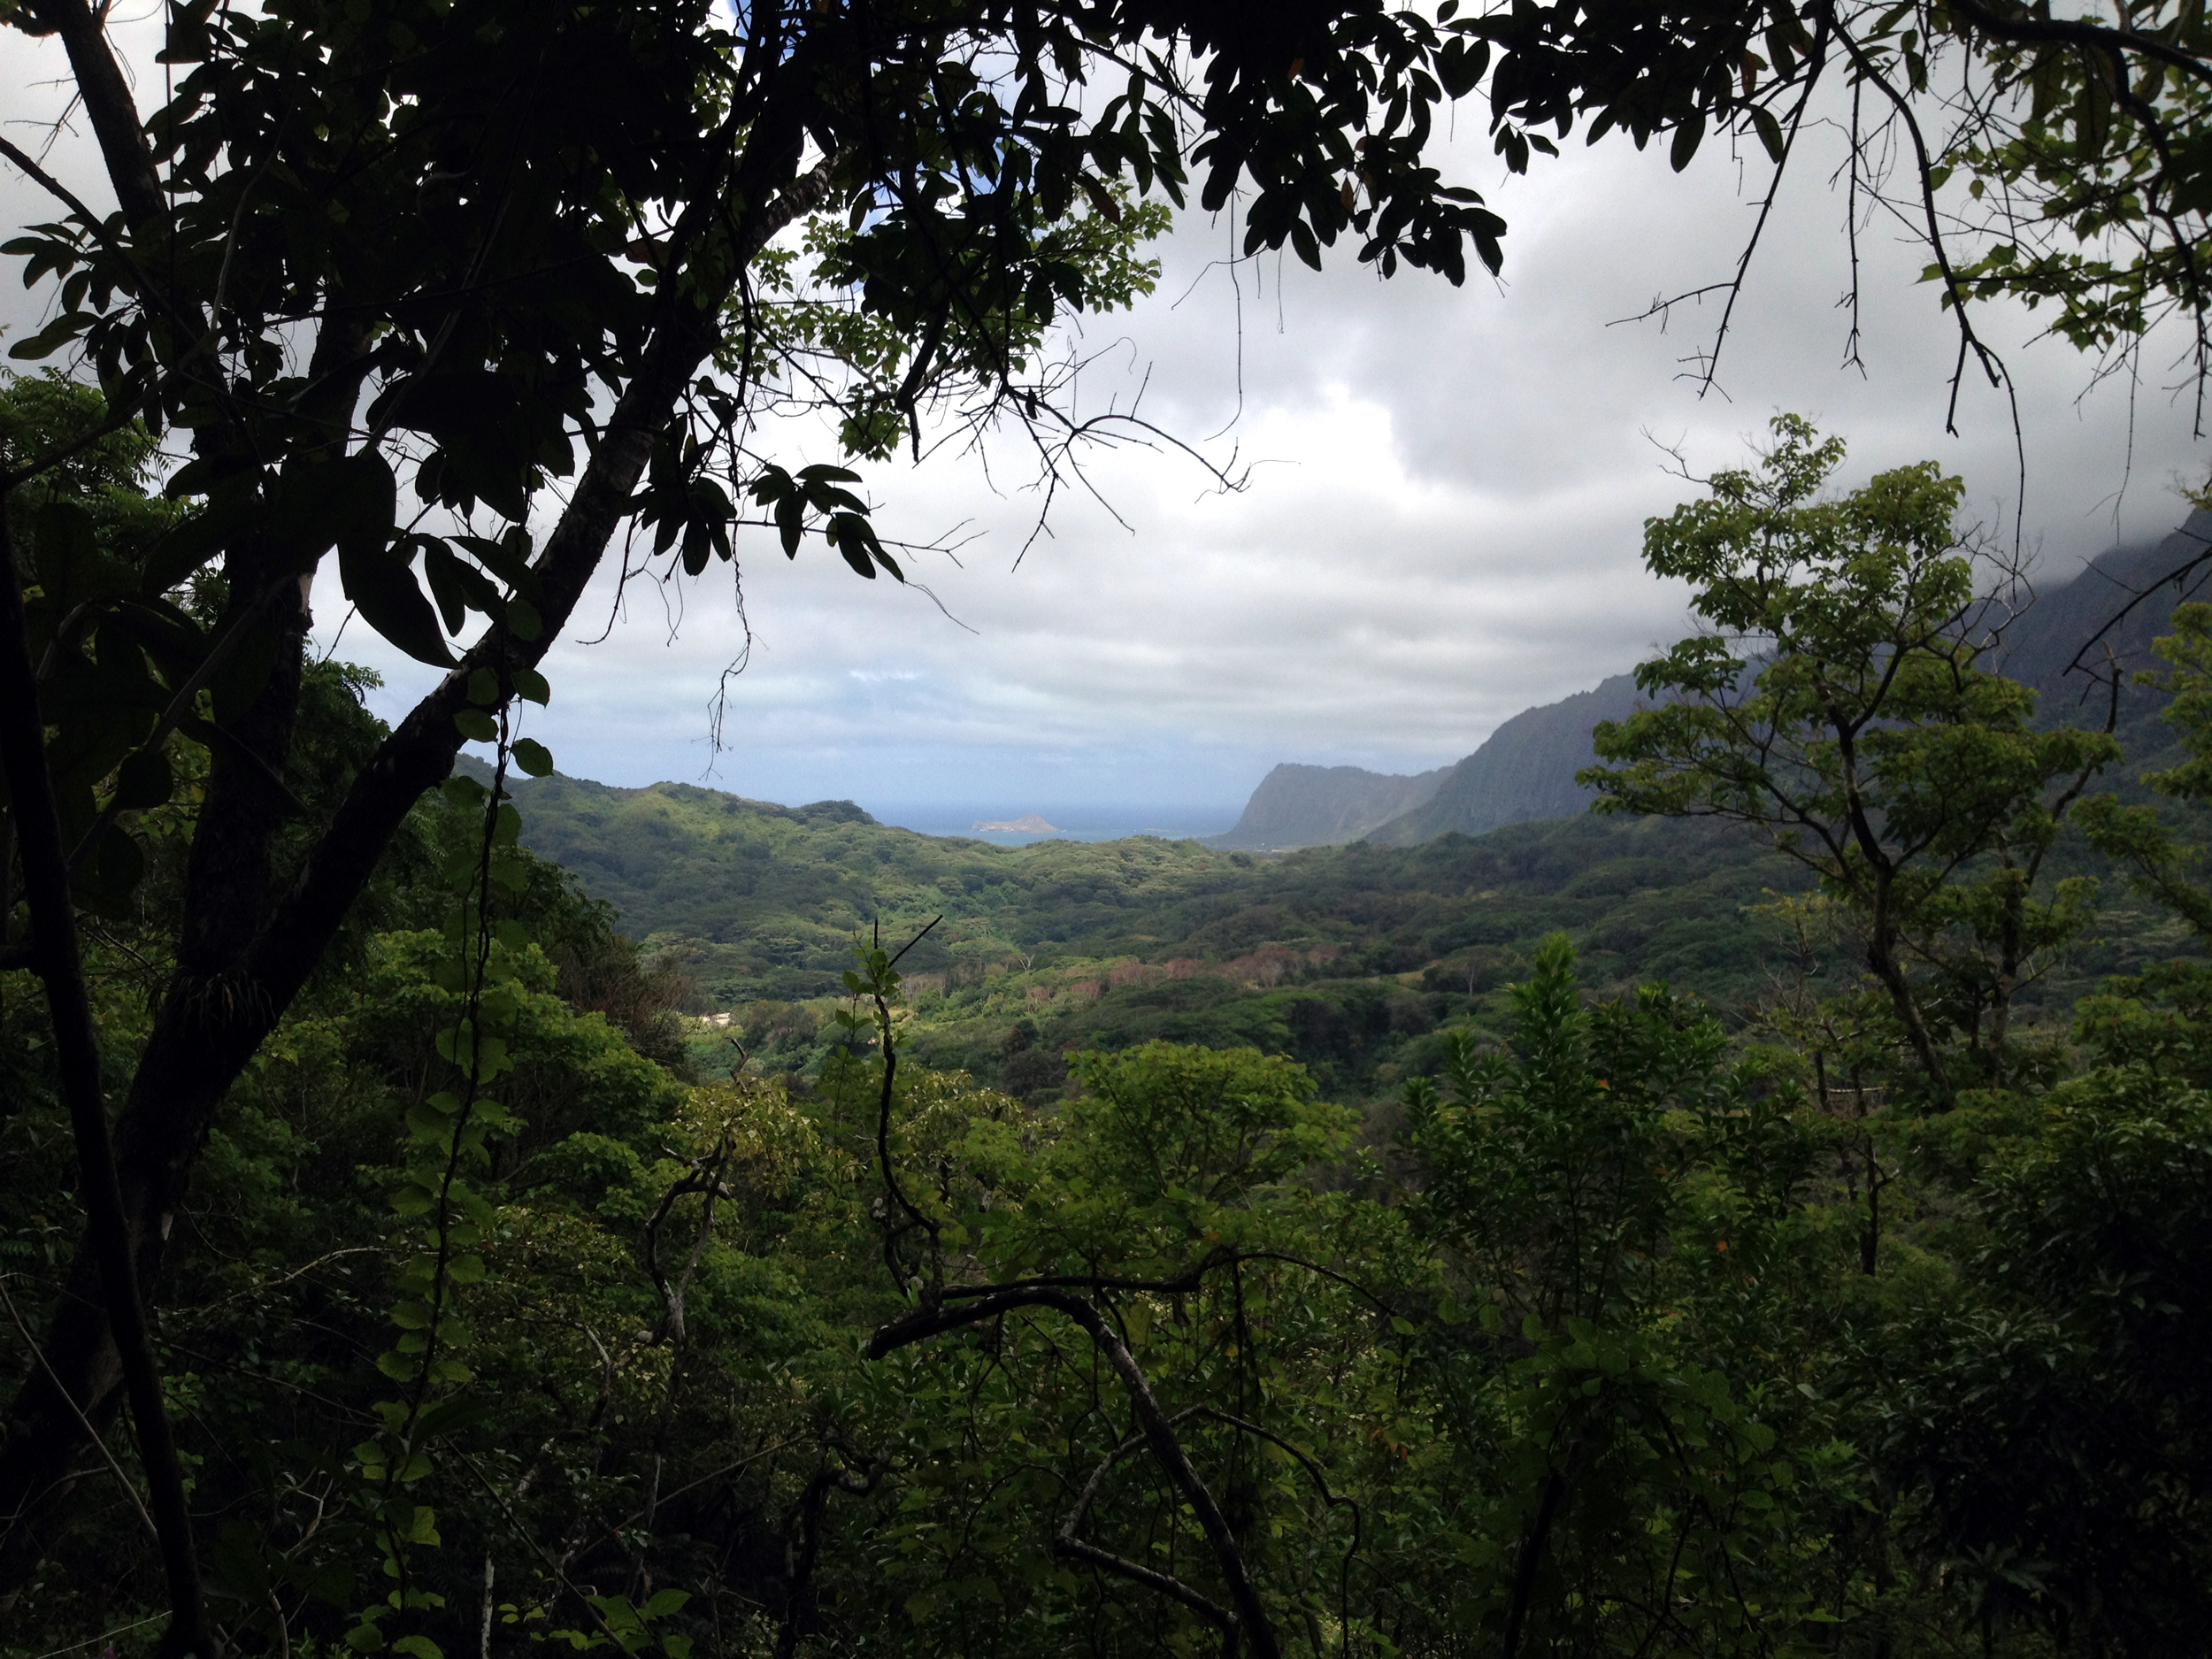 Ok, time to head out. Back track up the trail to the bench you came to earlier. Catch your breath and continue on the main trail down. There are plenty of side trails into the neighborhoods to your left, but I recommend just staying on the main trail. It is clearly marked. There are plenty of stairs cut into the trail to aid you in your trek. You will cross the stream several times. The areas closer to the stream and in low areas, can be “ULTRA” muddy! My advice is this: Don’t try to walk on the root tops. They are slick and can easily take out an ankle. As with many muddy hikes, your feet are going to get wet and muddy anyway. Try to step in the holes between the roots, grin and bear it! You will thank me. Besides, mud is a blast!!!!! Be a kid and play!!!!
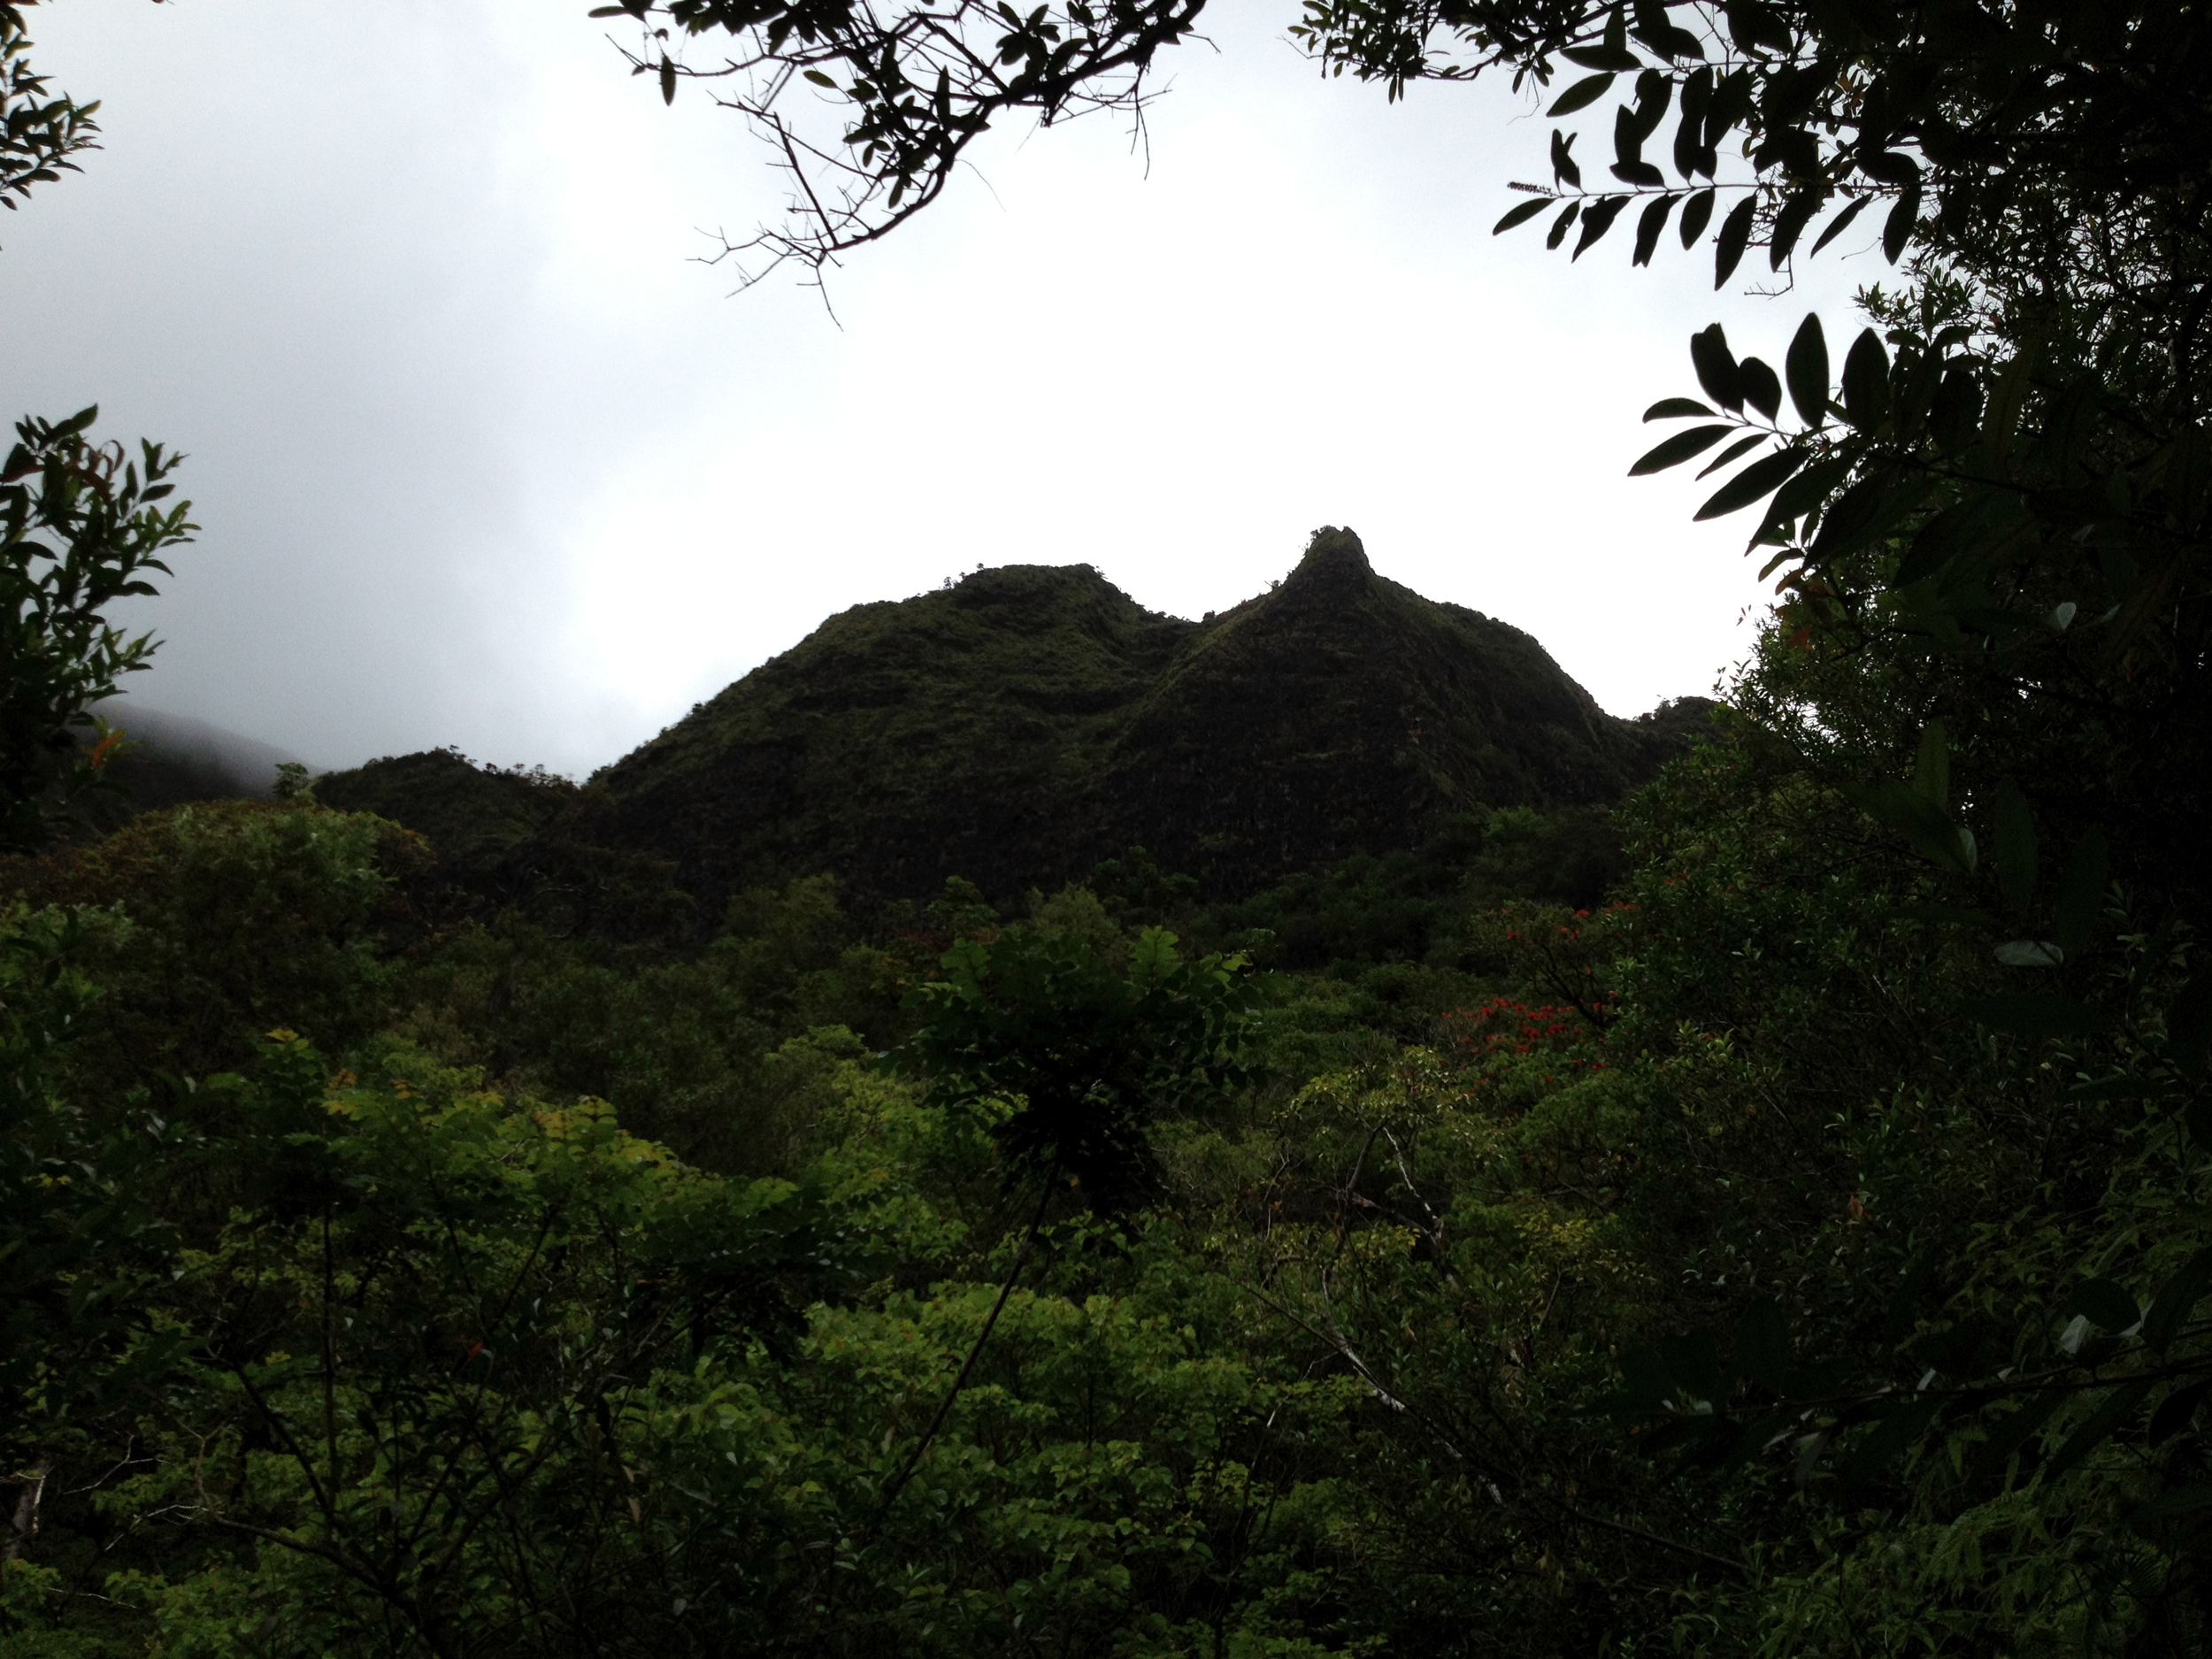 Soon, you will see signs of civilization again. At one point you will see a road through the trees. This is actually a driveway, believe it or not, so stay on the trail and don’t trespass. You will know you are at the end of the line when you run into a set of clearly marked signs. Step out on to the road and head on up to the main road. If you had parked here, you’re on your way to a taco and a margarita! If not, I guess you could go back the way you came, or call a Taxi!
What a great day… Do try this one out.
Happy trails ya’ll!!!
JWM
Record Review: The Cannonball Adderley Quintet in San Francisco featuring Nat Adderley
 In the words of Ani Difranco:
People used to make records
As in a record of an event
The event of people playing music in a room
 Now everything is cross-marketing
Its about sunglasses and shoes
Or guns and drugs
You choose
We got it rehashed
We got it half-assed
We're digging up all the graves
And we're spitting on the past
And you can choose between the colors
Of the lipstick on the whores
Cause we know the difference between
The font of 20% more
And the font of teriyaki
You tell me
How does it... make you feel?
Not so good. Until I dug up this essential gem!
From “In San Francisco”:1959: Riverside RLP 12-311
Players:
Cannonball Adderley – Alto Sax Nat Adderley – Cornet
Bobby Timmons – Piano
Sam Jones – Bass
Louis Hayes – Drums
Scale from 1-5. Sonics: 4 Performance: 4.4 Availability: 3.1 Recommend: 5+
It is so easy to forget the greats. It is easier to forget the not so greats, commercialized on today’s charts simply because they wear Revlon, or drive a Jaguar. This over commercialized business was all but nonexistent in the 1950s. Oh it was there, just not being screamed at you from the 80 foot LED screens at every corner. There was a “Word of mouth” thing going on in the jazz scene of the 50s. Like when we used to talk with our neighbors, and let the kids come home when the street lights came on. A time when names like Miles got you tapping your feet before even hearing the needle drop. One sax player would run into another at the barber and whisper in his ear, “Pssst, you know Timmons is gana dig with Cannonball in da ally tonight. Be there at 6:00 sharp. I’ll hode da door”… I wish I had been alive back then. I most certainly would have scraped up everything I had to make the trek to this session. There was no need for anything but a faded poster glued to the bricks out back. No LEDs, no Revlon, no BMW either. Just jazz…
 When Cannonball Adderley joined the Riverside label, he was assured that his still-unformed band would be recorded promptly, whenever and wherever he felt ready. The quintet, featuring Nat Adderley and Bobby Timmons, was assembled in 1959 and the promise was kept that October at San Francisco's Jazz Workshop. The memorable result is heard here and it's one of the most exciting, influential, and successful "live" recordings in modern jazz history.
Without a doubt this is an essential jazz recording. The  album was recorded live at The Jazz Workshop in San Francisco and released in 1959 on Riverside Records. Cannonball Adderley was just ending his extremely successful tenure with the Miles Davis Quintet (resulting in the classics “Round About Midnight”, “Milestones” and “Kind of Blue”) when his own group caught fire with this release. Joined by his brother Nat on Cornet as well as Bobby Timmons, Sam Jones and Louis Hayes, the group scored a monster hit with the Timmons track “This Here”. The rest of the album is just as solid and paved the way for a very fruitful period for Adderley and the various groups he would front over the next few years. Essentially, many said this recording was the “ONE” that made the man. I wasn’t around back then, but if I had been I would have had to agree. Having a name is one thing, but in this 50s jazz world, the proof was in the pudding.
 I would have to agree with the idea that this groundbreaking album launched "soul jazz", according to NPR, bridging "the gap between bebop and funk". Producer and jazz critic Orrin Keepnews described the album as "the birth of contemporary live recording" and in May 1960, Time noted that the album's then 50,000 copies sold was "phenomenal for a jazz record", raising the album to the bestseller charts. Music critic Scott Yanow describes the album as a "gem […] essential for all jazz collections." I couldn’t agree more. From the first few rhythms on “This Here”, I knew there was something special about to happen in my listening room. I was wrong; it hit me deeper as the tune began to grow. By six minutes into this twelve minute track, I was no longer sitting in my chair. I was standing back of it, in total bliss. I believe I picked up a set of drum sticks and just held them in front of me, eyes closed, frozen in the moment. Wow…
 The album was originally released by Riverside Records; the album has been reissued on CD several times since 1991 by Riverside and OJC. Remastered versions of the album include extended cuts of several of the songs on the original, including the retitled "(A Few Words by Cannonball...And) This Here". I have the original copy in front of me. I have listened to the CD release, yet firmly believe the vinyl is a far better way to take in this stellar record. In the late 50s and early 60s Cannonball enjoyed unparalleled popularity, marked by the commercially successful Riverside releases of first his quintet and later his sextet (Yusef Lateef was the 3rd horn). The sessions were frequently recorded live, included spoken introductions by the ebullient Cannonball, featured mostly "accessible" tunes, and showcased at least one crowd-pleaser (This Here, Sack of Woe, Jive Samba, Mercy Mercy) that was also released as a hit single.
 These sessions are memorable less for the individual solos than the fire of the ensemble, anchored and propelled by perhaps the best walking bass player in the business, Sam Jones. When I listen to these recordings, I can't help but lament the absence of such ensembles on the scene today as well as be reminded of the relatively tough times Cannonball would encounter in the late 60s and early 70s, when he had trouble booking the group. How is that possible? If only those clubs knew then what we do now. There is no doubt it would be the other way around with this sudden interest in 50s jazz amongst a younger generation now. A happy thing indeed, but possibly too late. Who do we have that can stand out like the musicians on this album today? Let me know if you find some. I need more!!!
"Live in San Francisco" is an exemplary session, certainly the equal of any of the other recordings by Cannonball with his own group. If a choice is to be made, another unnamed reviewer stated, “I would personally favor the recordings with Victor Feldman on piano, rather than Joe Zawinul or Bobby Timmons, the pianist on this particular session.” I can’t say I would agree. The group is the group on those numbers. You change just one element and it becomes something entirely different. One change and this album may have never been recorded. Regardless, with the renewed interest in "acoustic" straight-ahead jazz, any of the recordings should be required listening for the ensemble sound alone. Rarely have I heard such a synergy between members of similar groups today. It just worked…
 Like I said before, the tone was set with "This Here" and rocked the house with "Spontaneous Combustion". The solos by each member of the Quintet were fantastic. It was an opportunity to see Bobby Timmons who did the arrangements for "This Here" or as Cannonball stated he "corrupted" it to be "Dis Hear." What I liked about the LP (and now the CD) is that each song was not edited, the songs were allowed to the full length as was performed live. The unity of this group absolutely did bring down the house as, now the LP is doing the same in my home. It was amazing how the group would play in three quarter time with such precision that it makes a person jump-up and dance. (Or stand there with drool on your chin and a set of sticks in your hand like me. (Dork)
 Bobby Timmons solo on "Spontaneous Combustion," had more than a bit of "church gospel and R&B" in it. Putting hands in the air and letting out the occasional “Praise the Lord” is entirely acceptable behavior for this tune. It reminds me of when I would ride my bike down to a small black church on 17th street in Galveston Texas. It had a small white picket fence where I could lean up my bike, hop over and sit under a side window unnoticed. I could sit there for hours and hours, just letting the Sunday pass with the sweetest sounds of gospel filling my ears. I miss that time dearly and this brings it all home for me. Julian "Cannonball" Adderley and brother "Nat" Adderley complemented each other while playing together or on solo. The Quintet was welded together in all six of the selections and is great for the ears. "Cannonball" had incredibly rhythmic solos, "Nat’s" jubilant playing accented by drummer Louis Hayes and bass player Sam Jones on most of the numbers, really moved those in attendance inside and those outside of the Jazz Workshop. Now, it moves me all the way out here on the rocks of Hawaii. Modern technology “ROCKS”!!!
 I know I could live with this album for a lifetime. It is truly one of those rare pieces of history that changed everything. All jazz lovers will miss "Cannonball" and his brother "Nat." In the meantime we are given these beautiful recordings of the group’s appearance in San Francisco's Jazz Workshop. This album shows why Adderley's group was a pacesetter in funky soul-jazz and proving that they could outswing most of their competition. DO NOT pass this one up while flipping through the stacks at the record shop. It is an absolute MUST for any Jazz collection. Actually, for any collection period… This gem is essential!!!!
Keep your records clean ya’ll!!!
JWM
PS. The recording itself, is stellar as well…
Associated equipment: Analog: JWM Designs LLC MAG-lv/VPI/Rega/SL-1200/Funkfirm/SME Turntable (Custom built) Shelter 201, Ortofon 2M Red and 2M Blue, Shure 97XE phono cartages Hitachi FT-2 Tuner (Custom modified JWM Designs LLC) Digital: Oppo HD 980H, HP dv7-4183cl Notebook (extensively modified JWM Designs LLC) Amplification: Musical Fidelity XA-1 (Custom modified JWM Designs LLC) McIntosh MC2105 and MC2125 amplifiers (Custom modified JWM Designs LLC) Sound Craftsman DC2215 Differential/Comparator Equalizer Speakers: Klipsch Cornwall II (Custom built)Front Klipsch Tangent T50 (Custom built) Rear JWM Designs LLC JMSW12 Servo driven subwoofers (X-2) Each with 1,340 watt custom built HYPEX digital amplifiers Cables: Audio Quest Columbia and Colorado interconnects Kimber Kable 12HT speaker cables Audio Quest NRG-4 IEC power cables Dedicated 200A power source from mains panel feeding PS Audio Power Port Classics 20A 1 bottle of Barefoot Moscato!
Why Analog?
 So, I have several friends asking me why I am still so adamant about analog recordings and playback. After about 3 seconds of vinyl from my system, they say “OH”! “That’s why”! Then, usually a few “ARE YOU KIDDING ME’s”, ”THAT’S A RECORD’s” come out. Something happens in the room. Nine times out of ten, after a few short moments, the conversations in the room diminish. The talk of politics, fine wine, religion and the blow-by-blow of the cruise your friend just got back from are silenced. You see, there is something magical about analog playback. It demands your attention. So rarely have I seen this same reaction when a CD, or file is being played. The conversations continue with music simply becoming a white noise back ground to the evening. Not so with records or LP’s. Something happens to the air in the room and the music takes front row to the evening. People listen… I have many jargon laden theories for this, but I‘ll try not to get too technical here. Instead, I’ll Just Try to keep it simple and possibly spark an argument about why analog is so beautiful.
Why analog? We live in an age where so many amazing machines are capable of reproducing some of the most amazing sounds. We live in an age where bits are bits rite? Not so fast amigo. We live in an analog world don’t we? To this day, with all this technology and I’ve heard the best, we still have not been able to conquer absolute nature and physics as it pertains to vibrations in sound. After all, that is what sound is. Vibrations in the air. Air that is excited by the instrument being played. Not just one vibration though. Many vibrations working with and against each other either in harmony, or in conflict. The conflicting and resonant values that emerge ARE what make the difference between “Live” and “Memorex”. I call this “Harmonic Conflict” Some engineers call it “Dynamic Harmonics”, others “Dynamic Resonance” or “Emotional Dynamics”. Something the digital world has yet to see, or “HEAR”.
 If we cannot reproduce all the small nuances of each and every “Harmonic Conflict”, we lose the “Live” performance. These small details ARE what make the sound “LIVE”. For example, we hear a live band and get an emotional contact with the performers. This is not only due to the performance, but to the environment we are observing the performance within. The echoes from the back of the hall. The small reflection of sound coming from the rear of the bass stack that bounces off the front of the bass drum at just the right angle. The vibrations in the plastic seats. The cough, the clinking glass, the flutter and squeak of rosin that may not be heard on the digital kit, but cannot escape the magnetic tape. Well, you may hear the squeak, but not the way that squeak bounces about the room and the air that surrounds it. Even more difficult in the digital realm is that air around the squeak. The color and texture of it. Something that comes natural in the analog world.
 Yes, magnetic tape I say is absolutely just as analog as the vibrations in the air. You see, the tiny flecks of magnetic material are there to be laid out in a pattern which reflects exactly what the live performance is. An analog copy of the air that is being exited by the instruments on the stage. Vibrational butterflys caught in a magnetic net if you will. In a perfect world, which this can be, the wings of that butterfly can be observed over and over again without damaging there iridescence. Yes! That’s it! Iridescence of the sound is what the digital world has yet to conquer! (Ahhhh, that took some time.)
 Why, you ask? It’s not a simple answer, but I’ll try. You see, vibration is complicated. When we are talking about live music, we are dealing with many layers of vibration. Layer on layer on layer, perhaps till 1,000 layers or more, for the simple sound of rosin on a bow. To recreate the sound of something as simple a E string on the guitar, there may be as many as 10,000 layers! Now, Take these layers and lay them out on a graph. First at the bottom, 10,000 at the top. Left of the graph is 0 seconds; right of the graph is 5 seconds. (Big exaggeration for this purpose)When we first pluck the string, there is a wave that is created. That wave is made up of many vibrations. Each is dependent on the material of the string, the way it was plucked and the fingernail polish the musician put on this morning, amongst other factors. Part of that wave at 1.5 seconds may react as a harmonic or conflict with a vibration at 1.9 seconds. This meeting of vibrations is bound to create another vibration all together! Then another at 2.5 second, 3.4 seconds 4.7 seconds and so on. (Again, big exaggeration) Each of these will create the “E” we are so familiar with. Now add the acoustical environment itself into the mix. Each of these original vibrations must now react with the room. That room has its own set of resonant frequencies as well. We call these modes. In other words, That “E” aint just an “E” after all. This is the iridescent sound I spoke of earlier. Not just one wave of equal vibration, but an ever growing and evolving tone which slowly builds within the room, then decays into silence again. Try to picture this mixed with 300 more plucks of the strings in different scales. It becomes an absolutely absurd amount of information. To this day, no digital device has been created that will take that 1.2 second wave and harmonize it with the 3.7 second wave, account for the room modes and the color of polish on the musicians nails. Instead, all those processors see is a constant flow of ones and zeroes. No nuance, no emotion, just dots and dashes.
 The digital realm is getting closer as processing speeds get faster, but any “Live” sound we hear from this format is usually an algorithm created by a programmer or engineer. In the case of DCS, a fantastic digital company on the cutting edge of digital reproduction, (and a few select others) it has become an art form all its own. Effectively so, at that! I have yet to hear better or closer to analog from any other machines other than DCS. In other words, I am not opposed to digital in any way! It is a fantastic tool that gets better every day. Unfortunately, there will always be a limit to this madness. In the analog world, there is no limit what so ever! All those layers on the graph are able to dance about as they wish, with no limit to the amount of bits and bytes they can be compressed into. “LIVE”! Nowhere in nature, did a super computer dictate just how loud and with how much attack and decay Krakatoa would erupt.
 Nowhere in nature was there a hard drive that stated, you can only record between 20 and 20,000 HTZ. And at 98 dB for that matter. Analog has no limitations on the nuance of a real performance. The only limit is to the dynamic capability of the medium. As technology has it, even in 1955, we could have recorded the sound of Krakatoa, quite believably and with little effort. With modern tape we could have scared the crap out of God. No joke. This is simply not possible in most modern digital studios though. I say most, for there are machines that could do it well, just not with the reality of the actual Dynamic Conflicts of such a sound. It’s just too big for anything but analog. HA!
 Now, the play-back part. Analog is all about real world sound. Not digitized fax printed in dots and dashes, or ones and zeros. Again, we live in an analog world don’t we? Is the sound of a slightly out of tune Oboe playing 5 rows in front of you a digital image? No. Is the dog barking just over the fence a digital recording played through a small speaker hanging on his colar? No. So is music vibration? Yes! Vibration that is, if properly recorded in the ANALOG realm. A well-tuned turntable and cartridge/preamp/amp/speaker kit will pick up those EXACT same vibrations. This is true recording/play-back as the rules of physics and nature dictate. Not some processor in a laptop. (Don’t get me wrong, I record most of my albums from my turntables to a hard drive. This is for convenience only. I like to hear vinyl at the beach as well!) LP play-back is a tiny needle picking up those same vibrations from a groove in a record. That vibration is transmitted up the cantilever to a magnetic coil, much like the tape I mentioned earlier. That signal is then sent to the rest of your kit, ultimately ending up in another magnetic device called a transducer. (Your speaker)That speaker vibrates the air just like the instrument vibrated the microphone on the other end of the chain! Simple!!! Analog!!!
 Trouble with this business is, the majority of LPs sold to audiophiles are old titles. VERY old titles. A catalog in which one sees an overabundance of such christian names as Miles and Jimi and Ella and Pink: Great old stuff, but we already have it. Some great new stuff is available on vinyl, too: Bonnie Prince Billy, the Spoons, Joanna Newsome, Punch Brothers, Michael Tilson, Thomas and the San Francisco Symphony. Trouble is, all of them are digital recordings. And while I’m grateful when a record company prints a small percentage of their titles on vinyl, the miracle is scarcely different from when book publishers print a small percentage of their books in large print additions. The vast majority though, are released as crappy MP3 or some other compressed format. But even that is not such a big deal: I may be thin skinned, but as long as I can buy what I want, I don’t particularly care why it is being sold. The problem is, an analog pressing of a digital recording is still a digital recording. And the “Better” the mastering job, the more digital the results will be. If you leave a pointillist watercolor out in the rain, dots will run. But there still just dots.
 Between the years of 2005-2007 there was no magnetic tape being made. PERIOD. In 2008 an American company called ATR began making tape, primarily for the pro market. THIS WAS GREAT NEWS FOR THE ANALOG FANS!!!! Now in its fourth year-the company also services and remanufactures AMPEX ATR 102 studio decks, (standard of the industry) and has done so since 1991-the company has yet to turn a profit, but a number of grateful engineers and recording artists have praised there work. GOD helps them to carry on the good work…
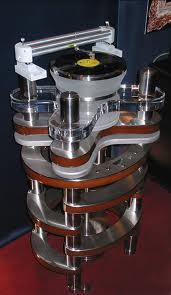 When looking for vinyl, used or new, I look to see if the recording was made in the analog realm originally. Not hard if you are a 1950s jazz nut like me. I also look for the company who pressed it and the producer who put down the final mixed goodies. All make a difference. One silly rule of mine: if I find two copies of the same record, one pressed in the US between 1965-1988, and the other pressed in Europe at any time, the one pressed overseas is the choice. Generally they are 180-200 gram vinyl and are of a much higher quality. These days, most of what you see in re-prints, whether from the US or not, is in 180-200 gram vinyl anyway! I have to give props to this latest generation of engineers for this trend. More and more are being pressed in a phenomenal quality here at home in the USA!!! The pressings I have experienced lately are fantastic! Better than ever as far as I am concerned. Bigger grooves, more released in 45Rpm versions! Quieter and blacker backgrounds yielding more room for the music and system to sing! This is really looking promising for us fans of the big black disk! There are many more things to look for when buying records, but I’ll leave that to a later blog.
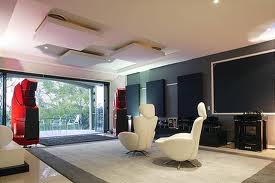 Look, I guess the simple answer to whether analog, or digital is the way for you to go is, does it move you? Does it bring back a memory? Can it suck you in and evoke an emotional response? Does it make you smile, or frown and sniffle in other words. Does the music demand your attention? Do the guests in the room go quiet and just listen? That is what music is really supposed to do. It can be either medium as far as I’m concerned, just as long as it gives me that sense of “LIVE” I crave. I just happen to get that feeling from the big black disk. More now, than ever before. So, "Is it real, or is it Memorex"? End of story? Perhaps not…
Keep your records clean ya’ll!
JWM
Kalaheo Ridge Line Hike: Kailua, Oahu, Hawaii.
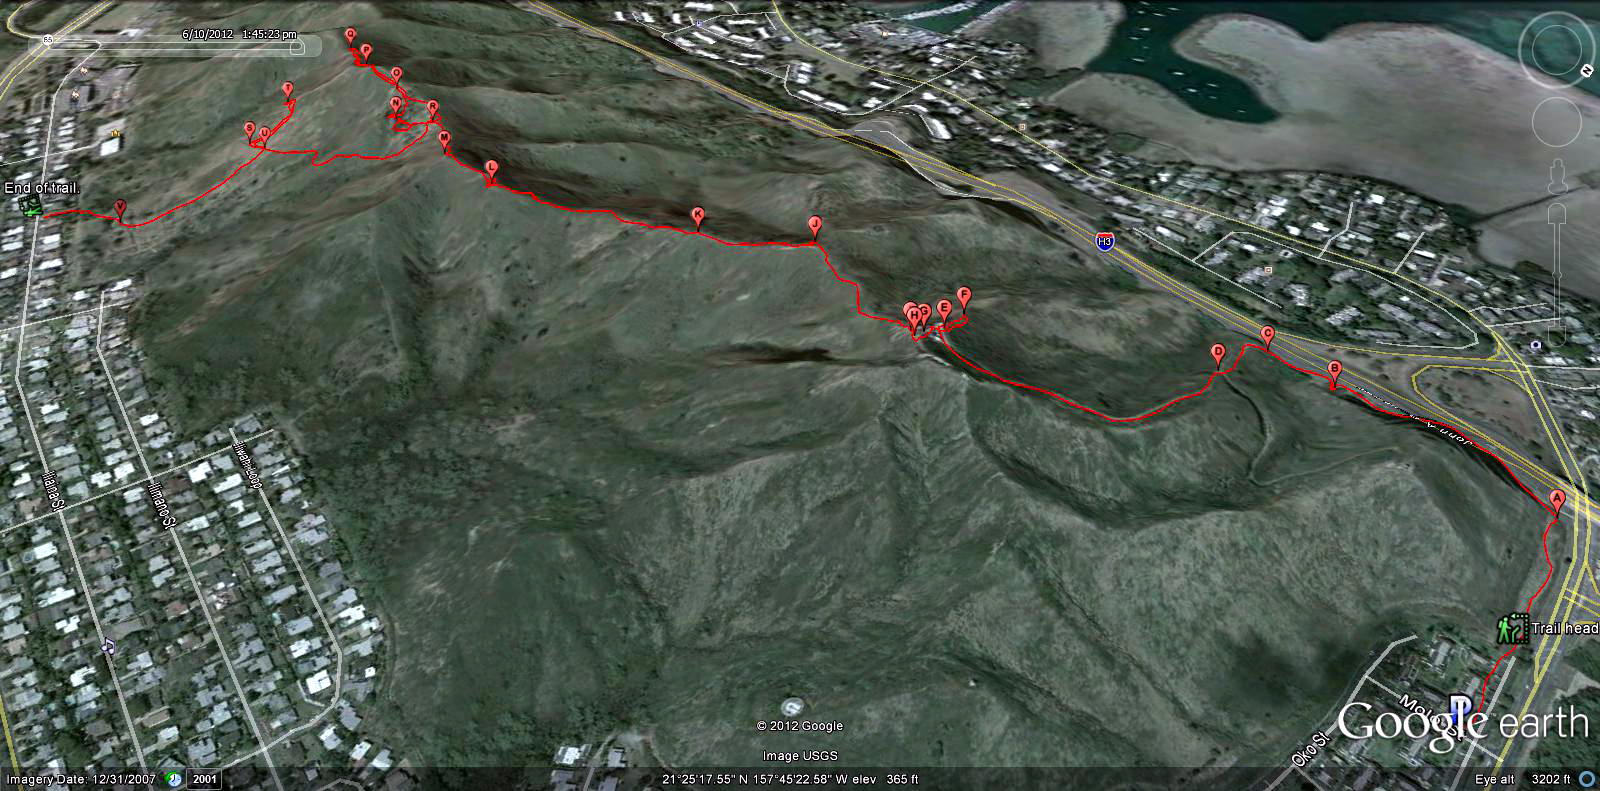 A short non glamorous, but beautiful ridge line hike from Kaneohe to Kailua.
Distance: 2.66Mi.
Elevation: 43ft.-459ft.-34ft.
Time: 3h. 36m.
Water consumption: 42oz.
Caloric output: 1,800-2,100 calories depending on pace.
Difficulty: 2.8-3.4
Geo Cache: 5
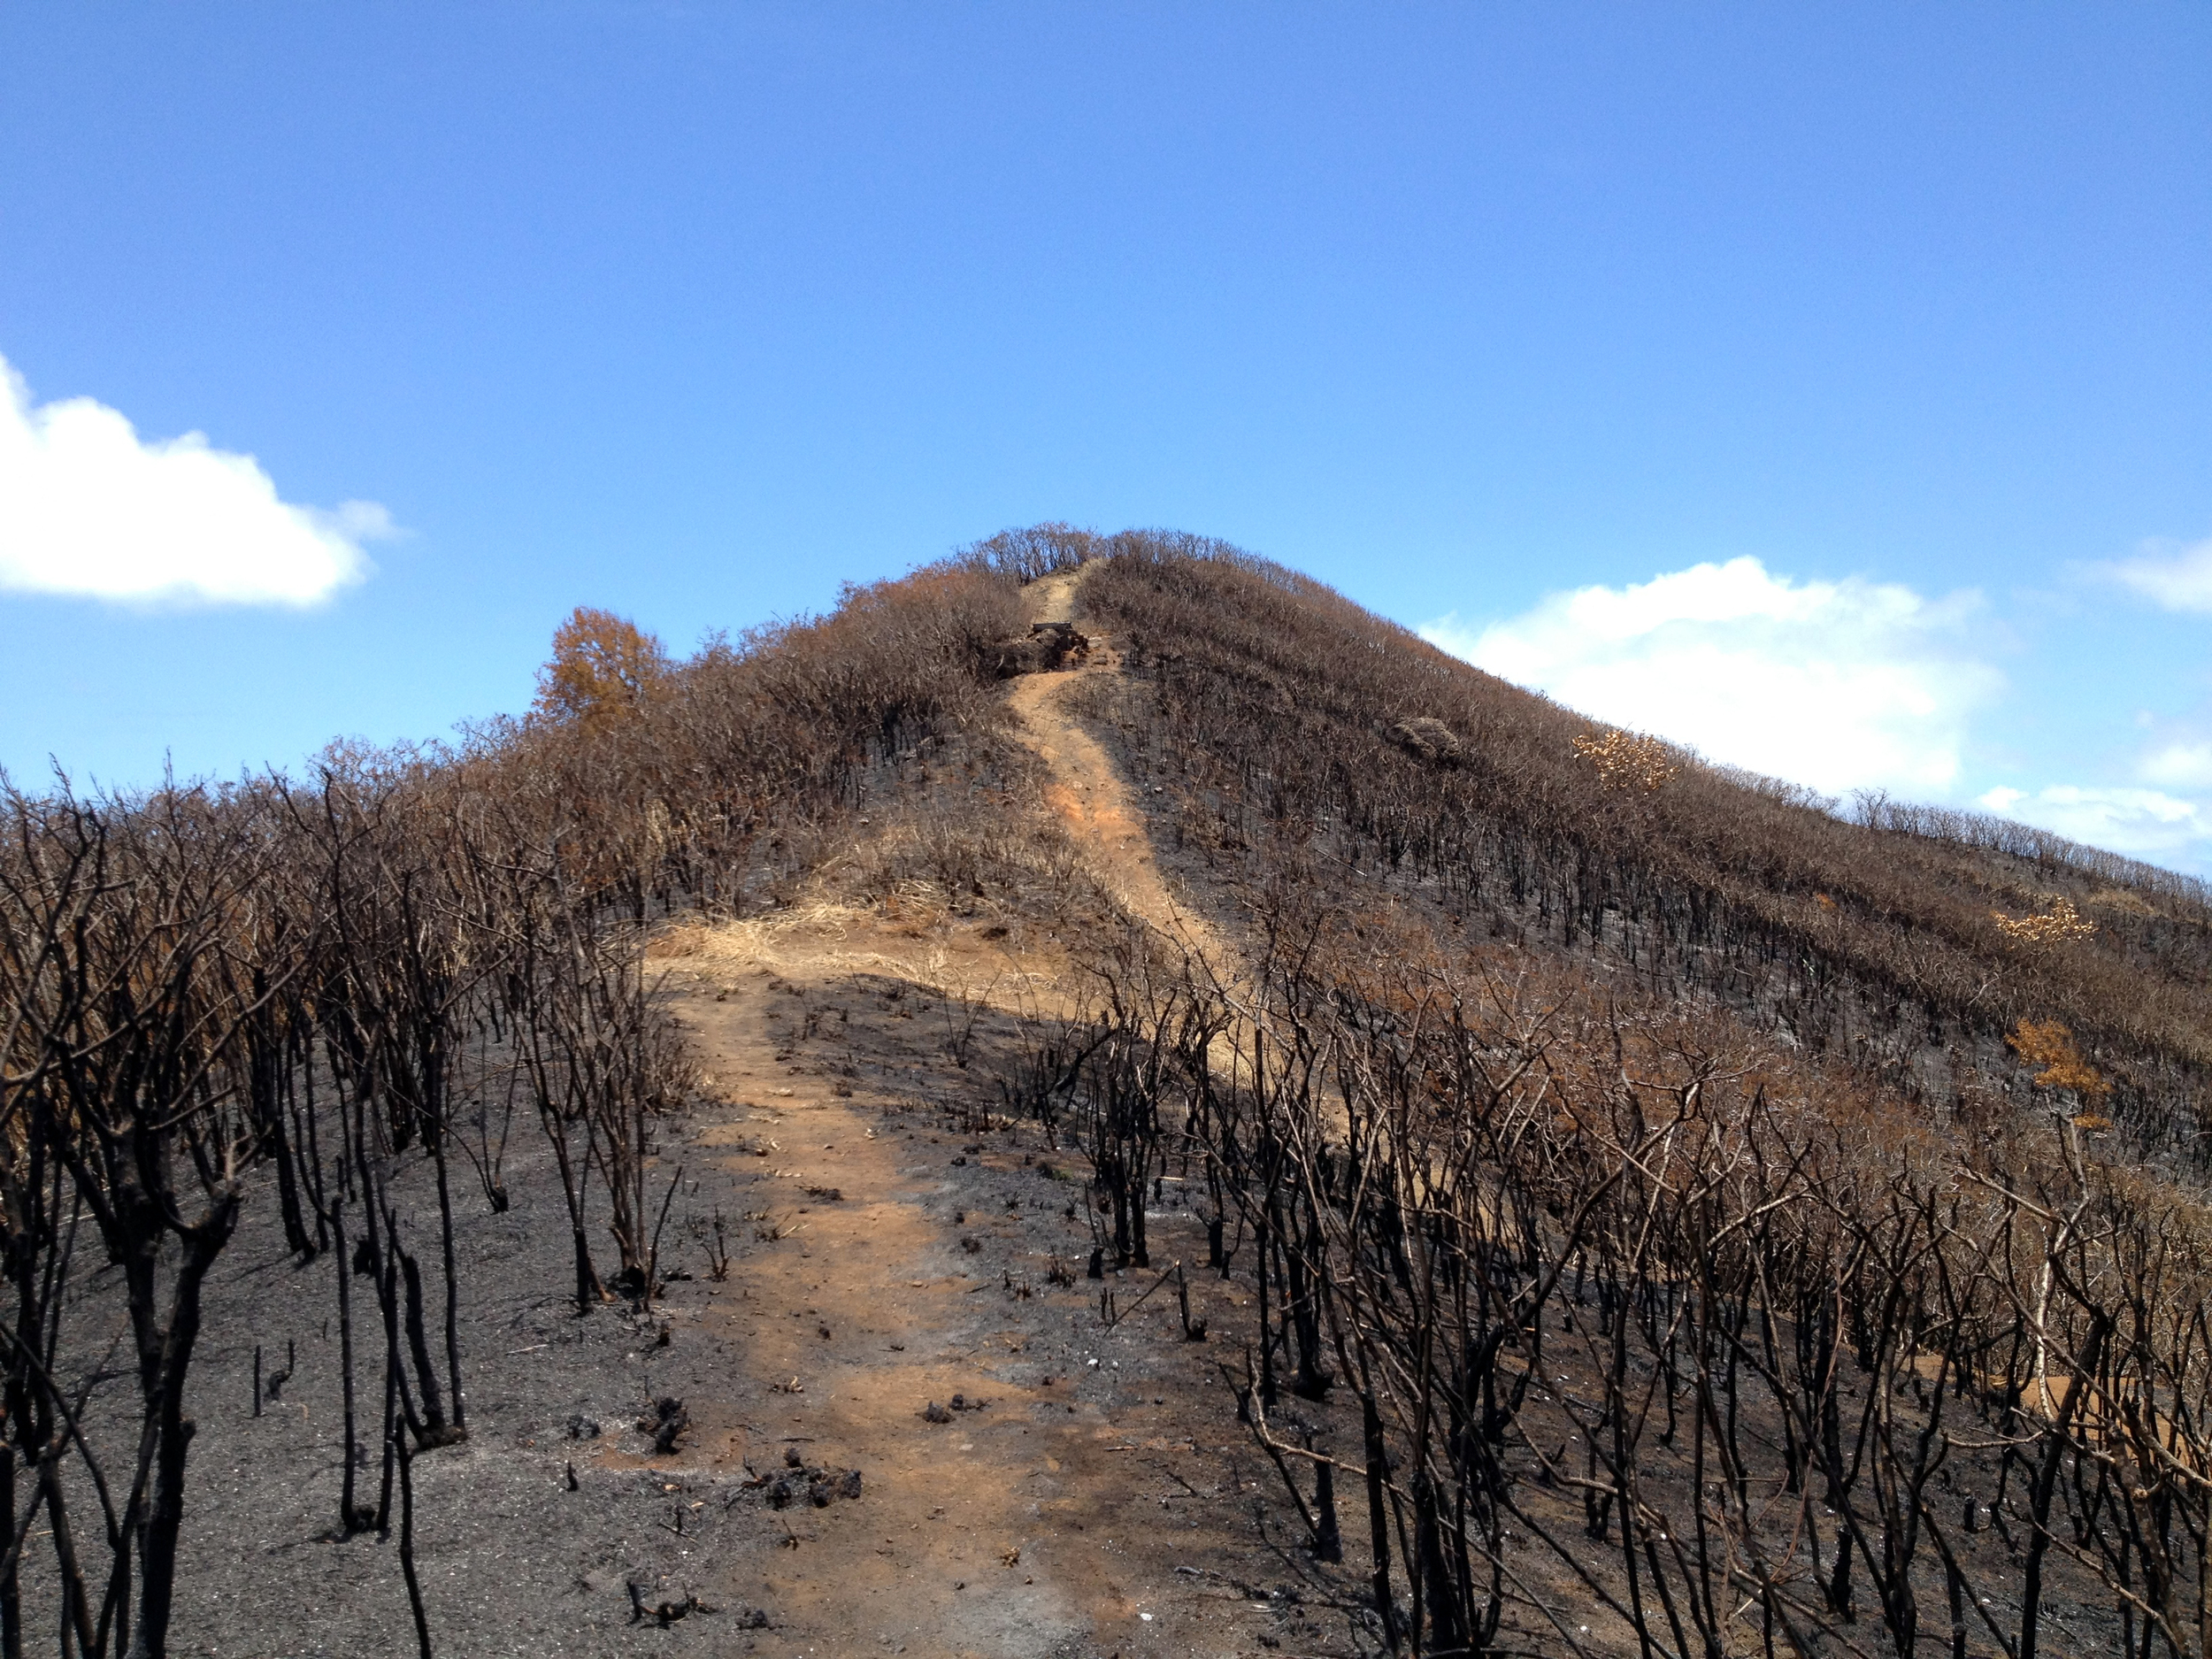
Way points: Parking. 21°25'38.65"N 157°45'24.18"W
Trail head. 21°25'39.18"N 157°45'28.34"W
A: Fence. 21°25'39.07"N 157°45'34.89"W
B: Climb a tree! 21°25'31.08"N 157°45'37.50"W
C: All up from here. 21°25'28.30"N 157°45'38.59"W
D: Fork in road. 21°25'27.48"N 157°45'35.14"W
E: Side track to view. 21°25'19.95"N 157°45'27.97"W
F: Rocks with view. 21°25'19.91"N 157°45'29.54"W
G: Fence. 21°25'19.62"N 157°45'27.10"W
H: Stairs. 21°25'19.44"N 157°45'26.78"W
I: Off road begins. 21°25'19.12"N 157°45'27.09"W
J: Nice view 1. 21°25'13.09"N 157°45'30.56"W
 K: Peak. 21°24'48.84"N 157°45'30.72"W
L: Peak. 21°25'0.20"N 157°45'26.61"W
M: Peak. 21°24'57.04"N 157°45'27.19"W
N: Tree house! 21°24'52.32"N 157°45'28.92"W
O: Peak. 21°24'51.26"N 157°45'30.19"W
P: Peak. 21°24'48.84"N 157°45'30.72"W
Q: Turn. 21°24'45.82"N 157°45'32.43"W
R: Trail down. 21°24'53.87"N 157°45'29.65"W
S: New trail. 21°24'46.09"N 157°45'25.43"W
T: Rock out crop. 21°24'45.81"N 157°45'28.19"W
U: Trail down. 21°24'47.21"N 157°45'25.38"W
V: Ramps. 21°24'45.06"N 157°45'18.73"W
W: Out. 21°24'41.64"N 157°45'17.38"W
X: End of trail. Same.
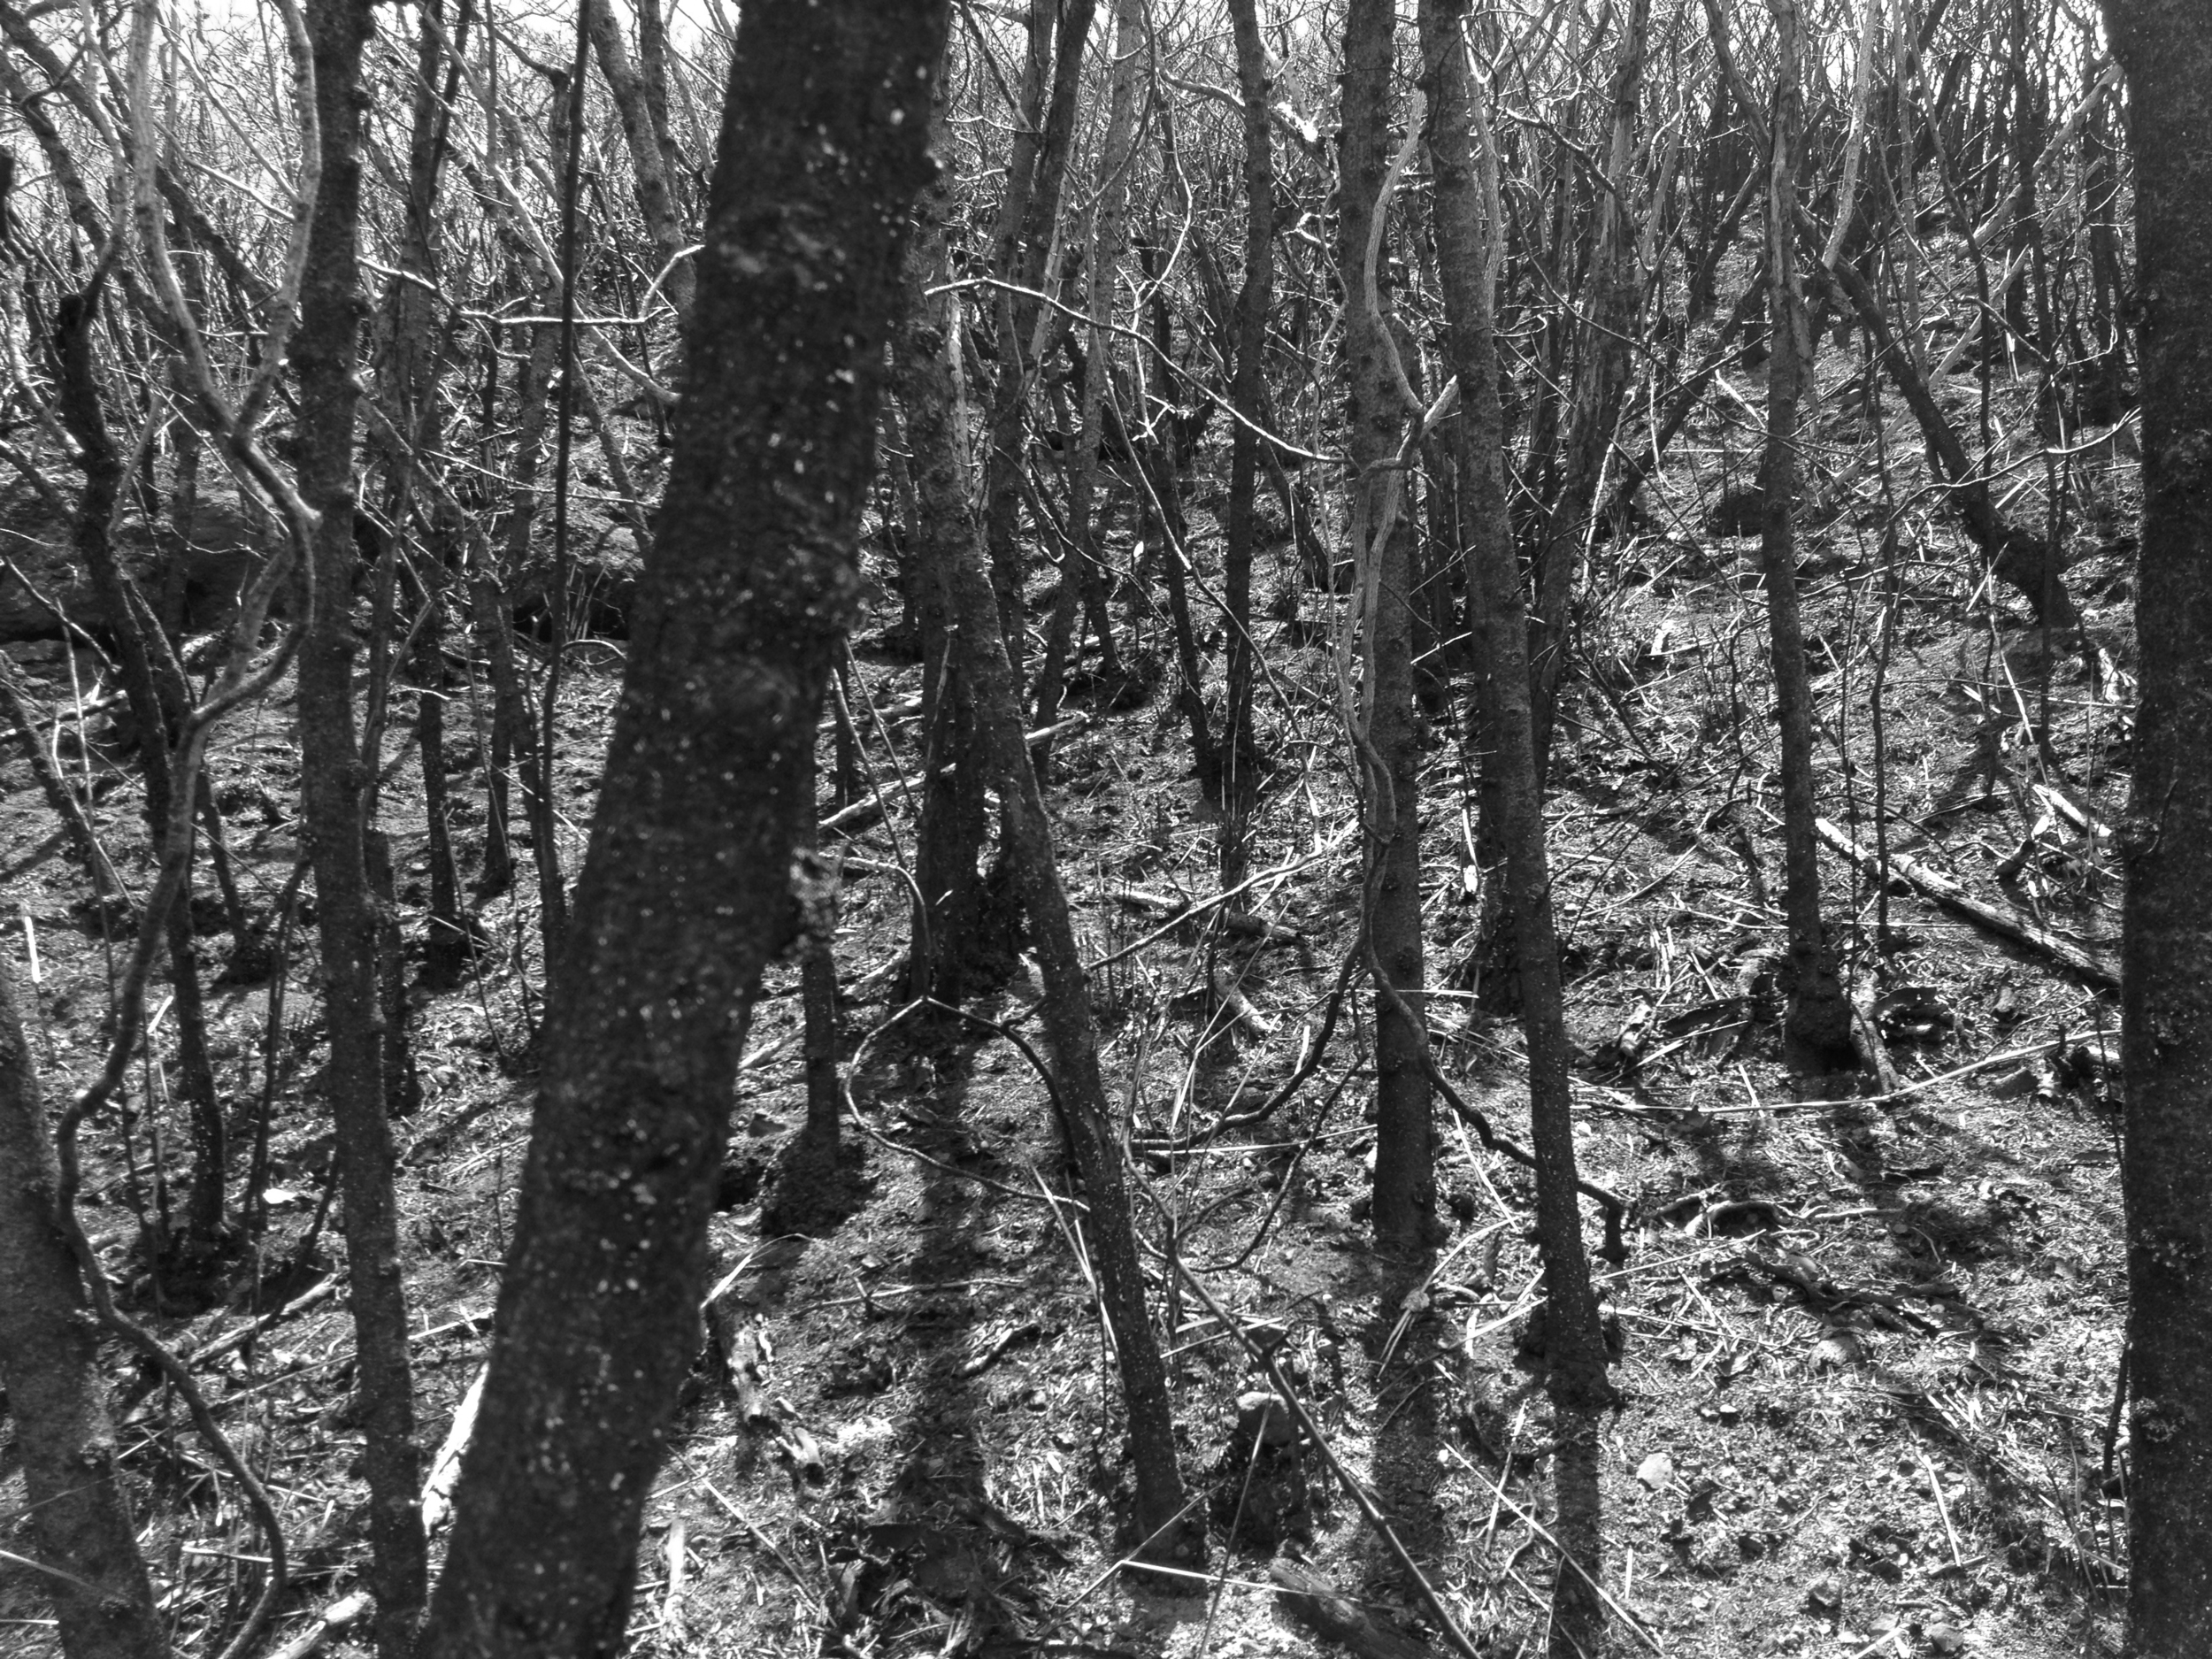
For my next adventure, I decided on a not so glamorous trail. Well, I say that because the flora and fauna has been burnt to a crisp with a wild fire that broke out in the area a few weeks back. (Kids playing with matches) On the other hand, fire has a way of replenishing the ground and a phoenix is sure to rise from this area soon. There is a beauty to all this ash. Already, there are tiny green grasses poking out of the blackened hill sides. A re-birth is eminent.
So, here we go. I started out by parking at some condos on Kaneohe Bay drive. They are kind enough to have plenty of guests parking available. Not for hikers per say, but hey, “Thanks guys”! Please tread lightly so they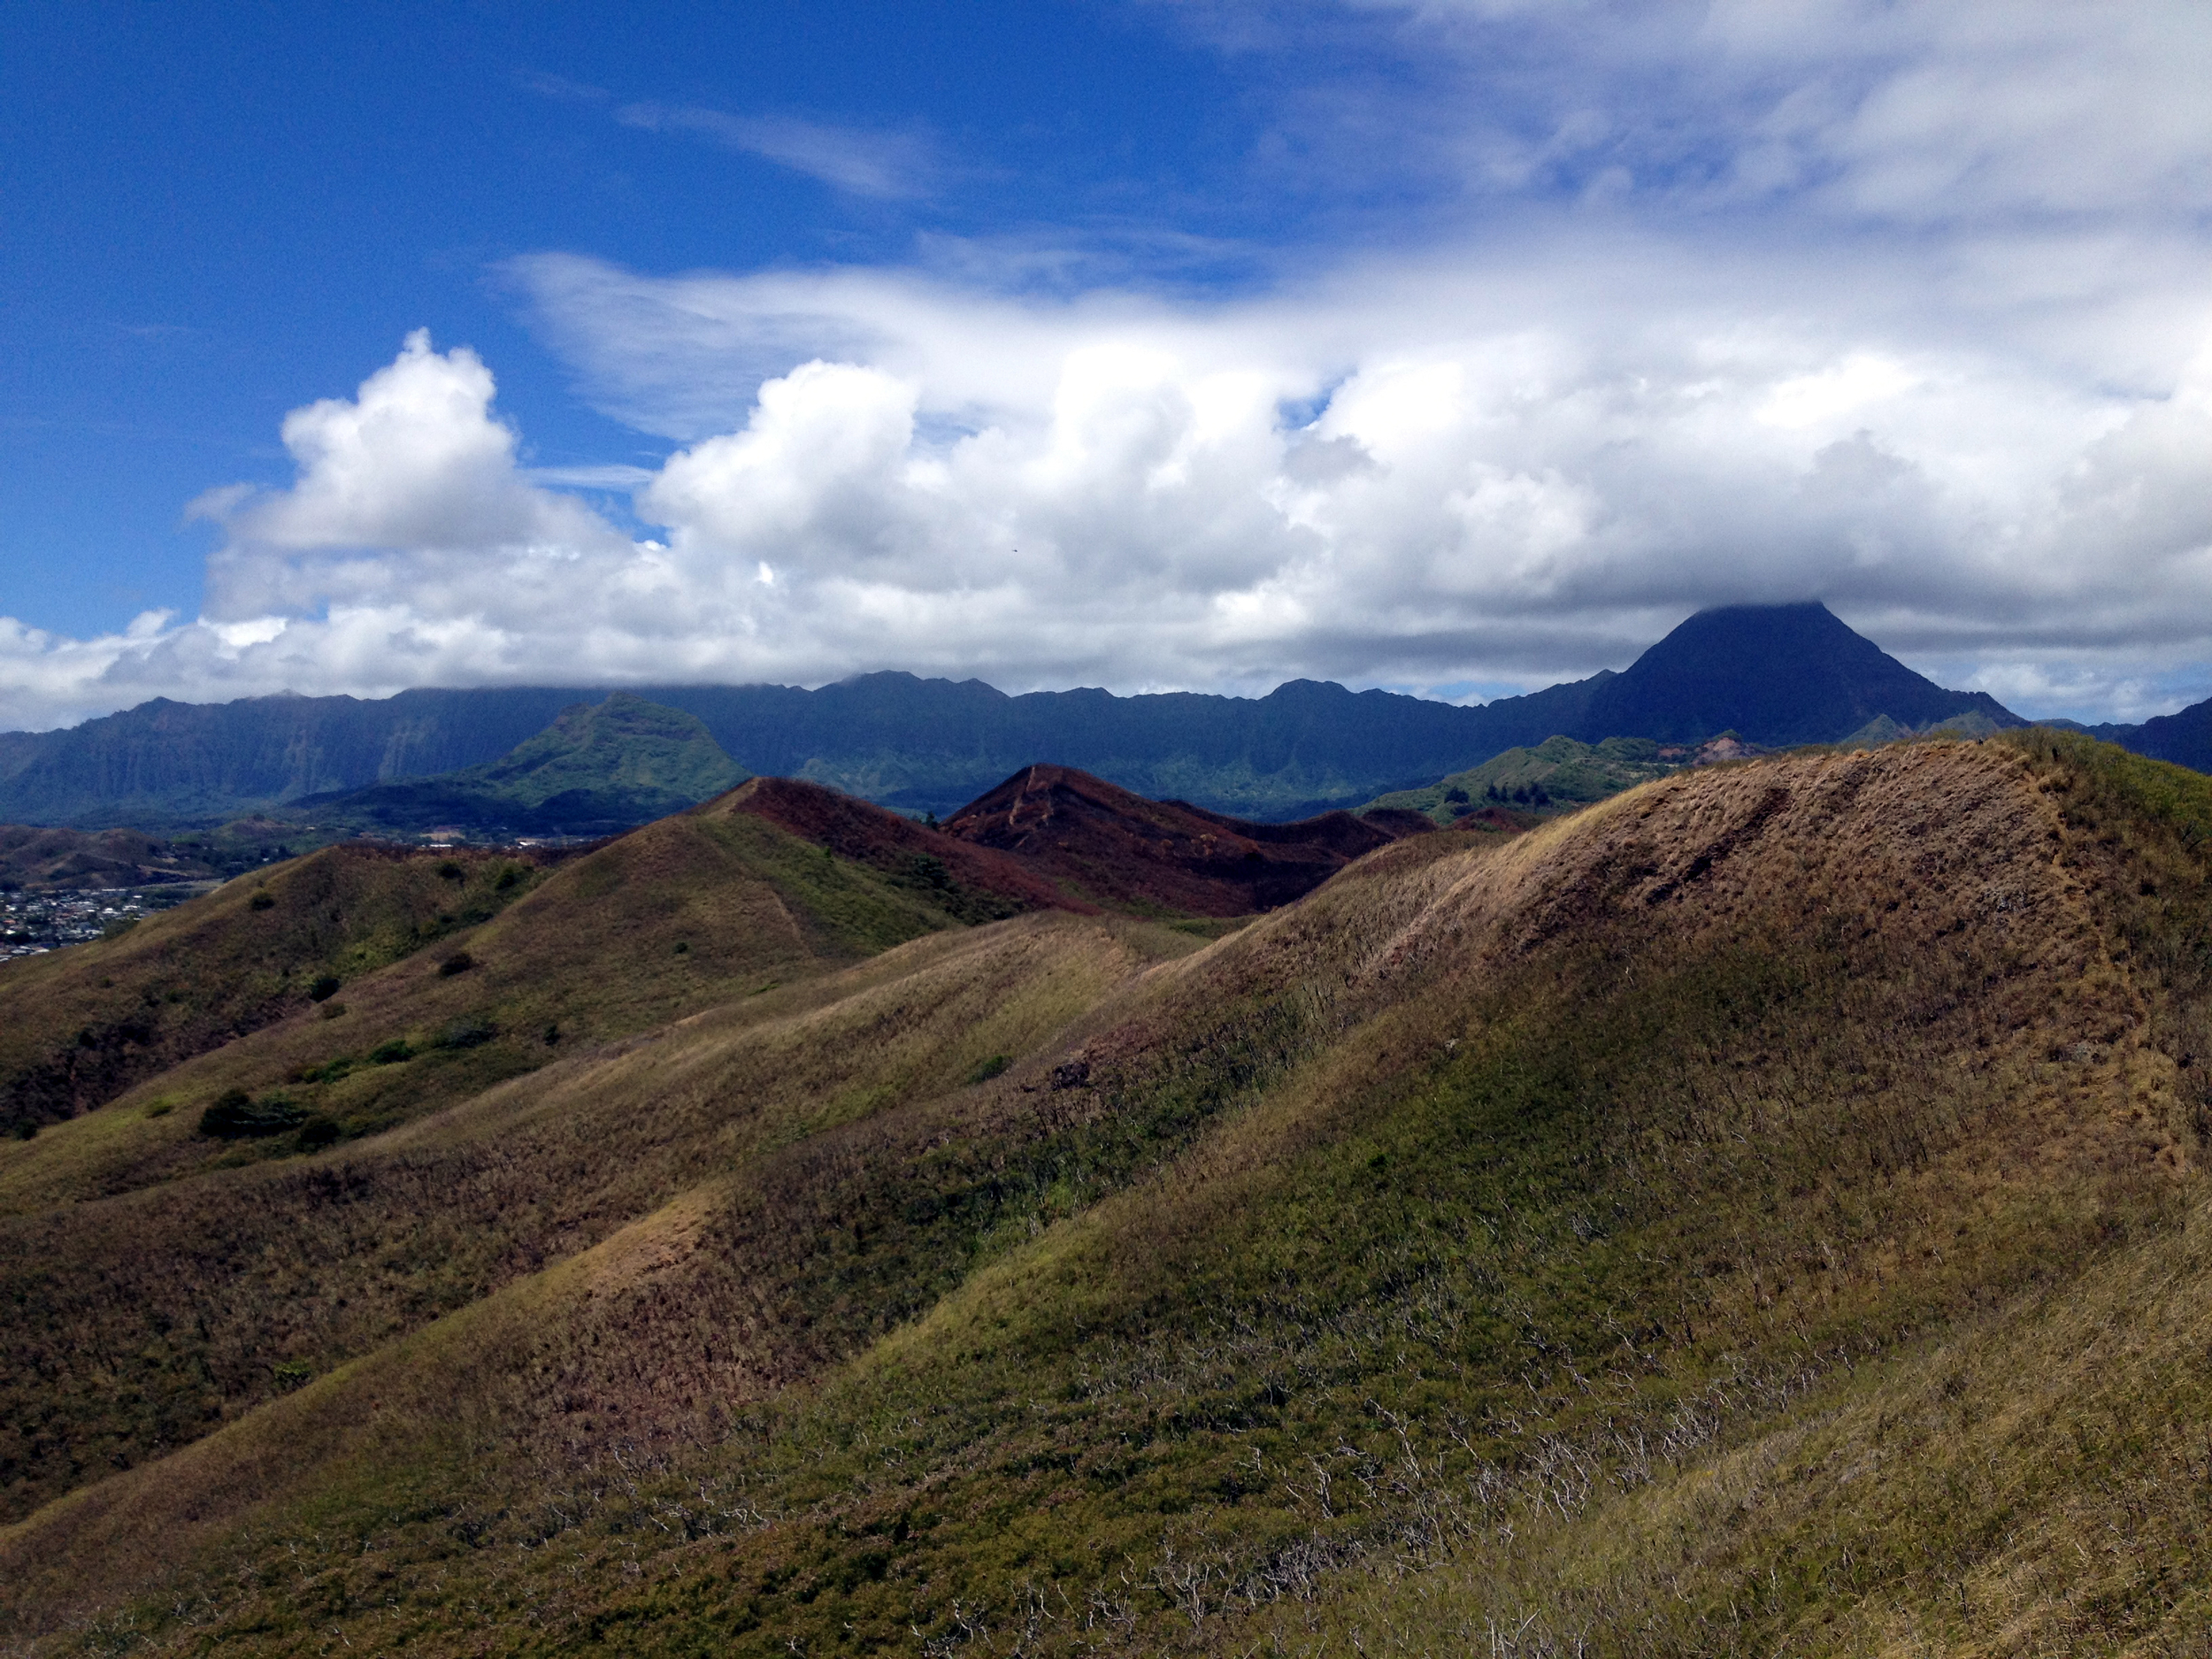 don’t start towing us. From here, you can cruse across the parking lot to a gravel and dirt road with a chain across it. Hop the chain and head to a link fence with a gap in it. On the other side, there is a service road that leads up to some cell towers and microwave antennas. This will definitely get your heart rate up for it is a steep road to the top. Be sure to take the fork to the rite about half way up. Soon you will arrive at a switch back to your left with another chain link gate. There is a path around the gate to the left. As soon as you pass this, you will see a set of metal stairs up to the right. Head up to the landing and walk around the power module to a steel railing. You will see the trail from here. Drink some water, gather your strength and hop over for a fun ride!
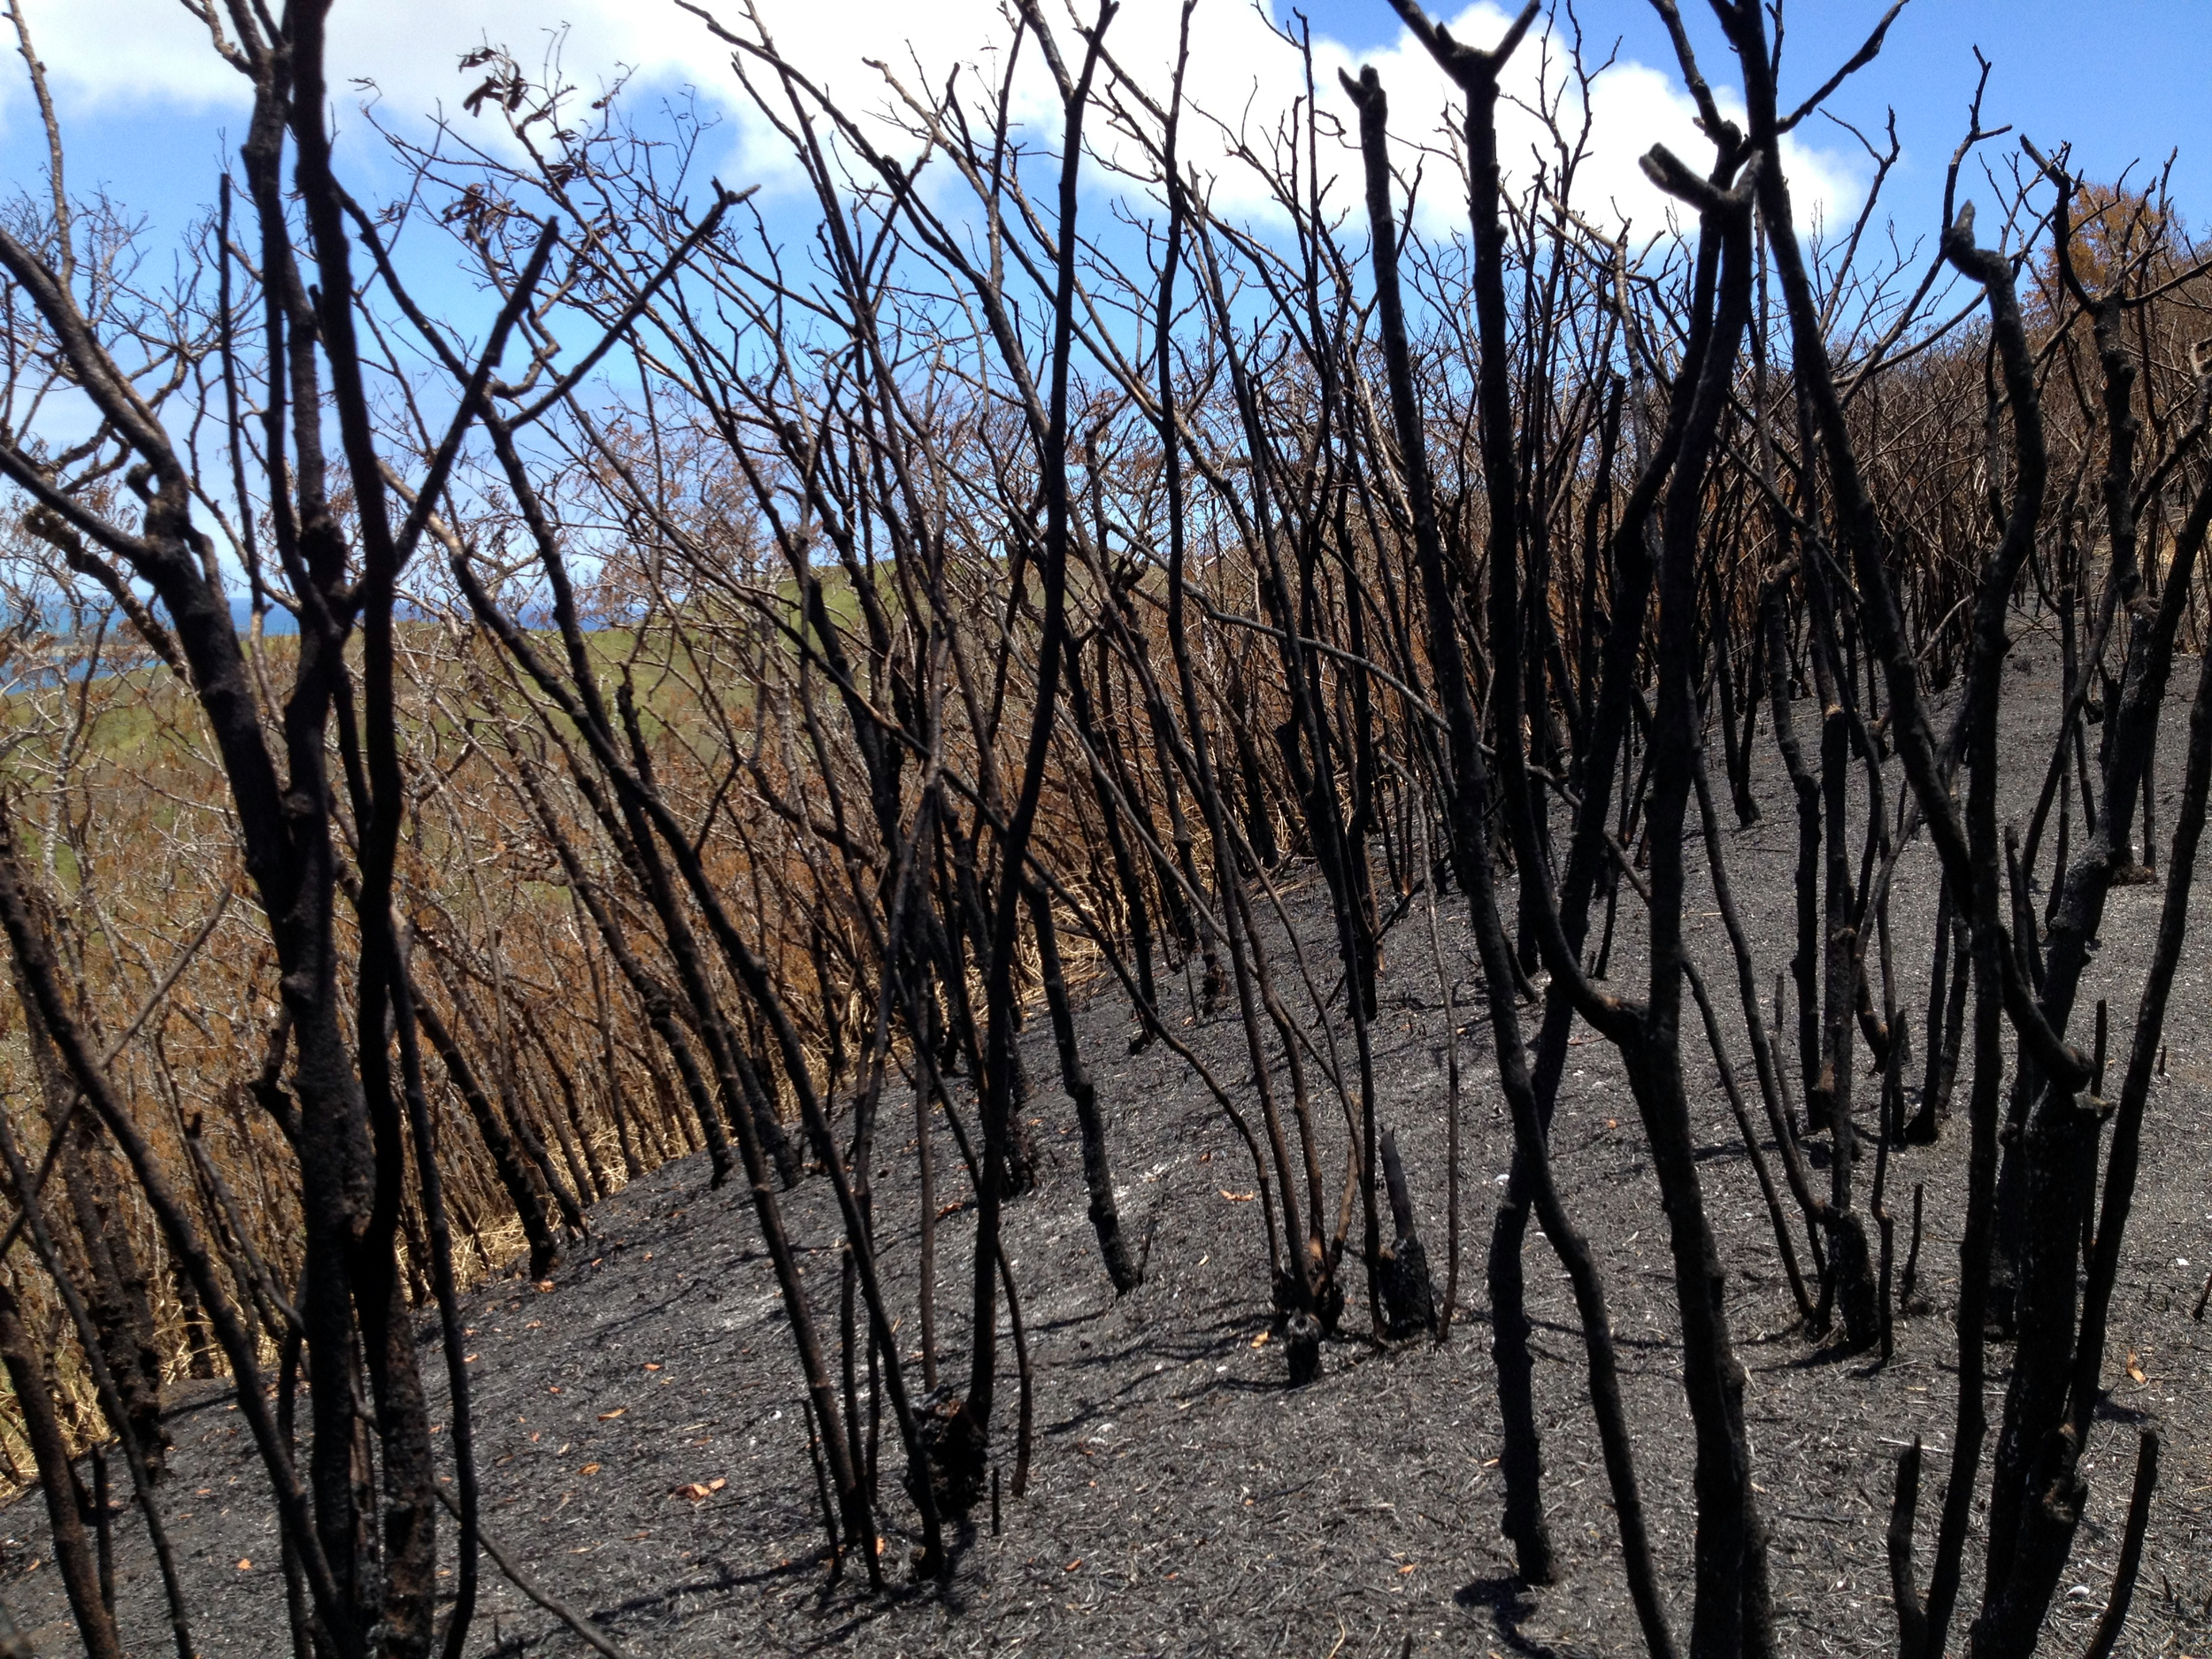 This is a hot and dry hike y’all! Some parts are very dusty and slick. These ups and downs can really be ankle breakers and butt bruisers, so please take your time. Plan your steps. I find side stepping in these areas works well. Try to step on the tops of larger stones going down. While going up, I try to dig my feet into the softer areas to make steps as I go. After a few minutes, you will find your own method. This is not a race, so take some stops along the way and see the spectacular views of Kaneohe Bay to your right and Kailua Bay to your left. Stunning…
As you move along the ridge, you will see a few smaller trails leading off to your left. I recommend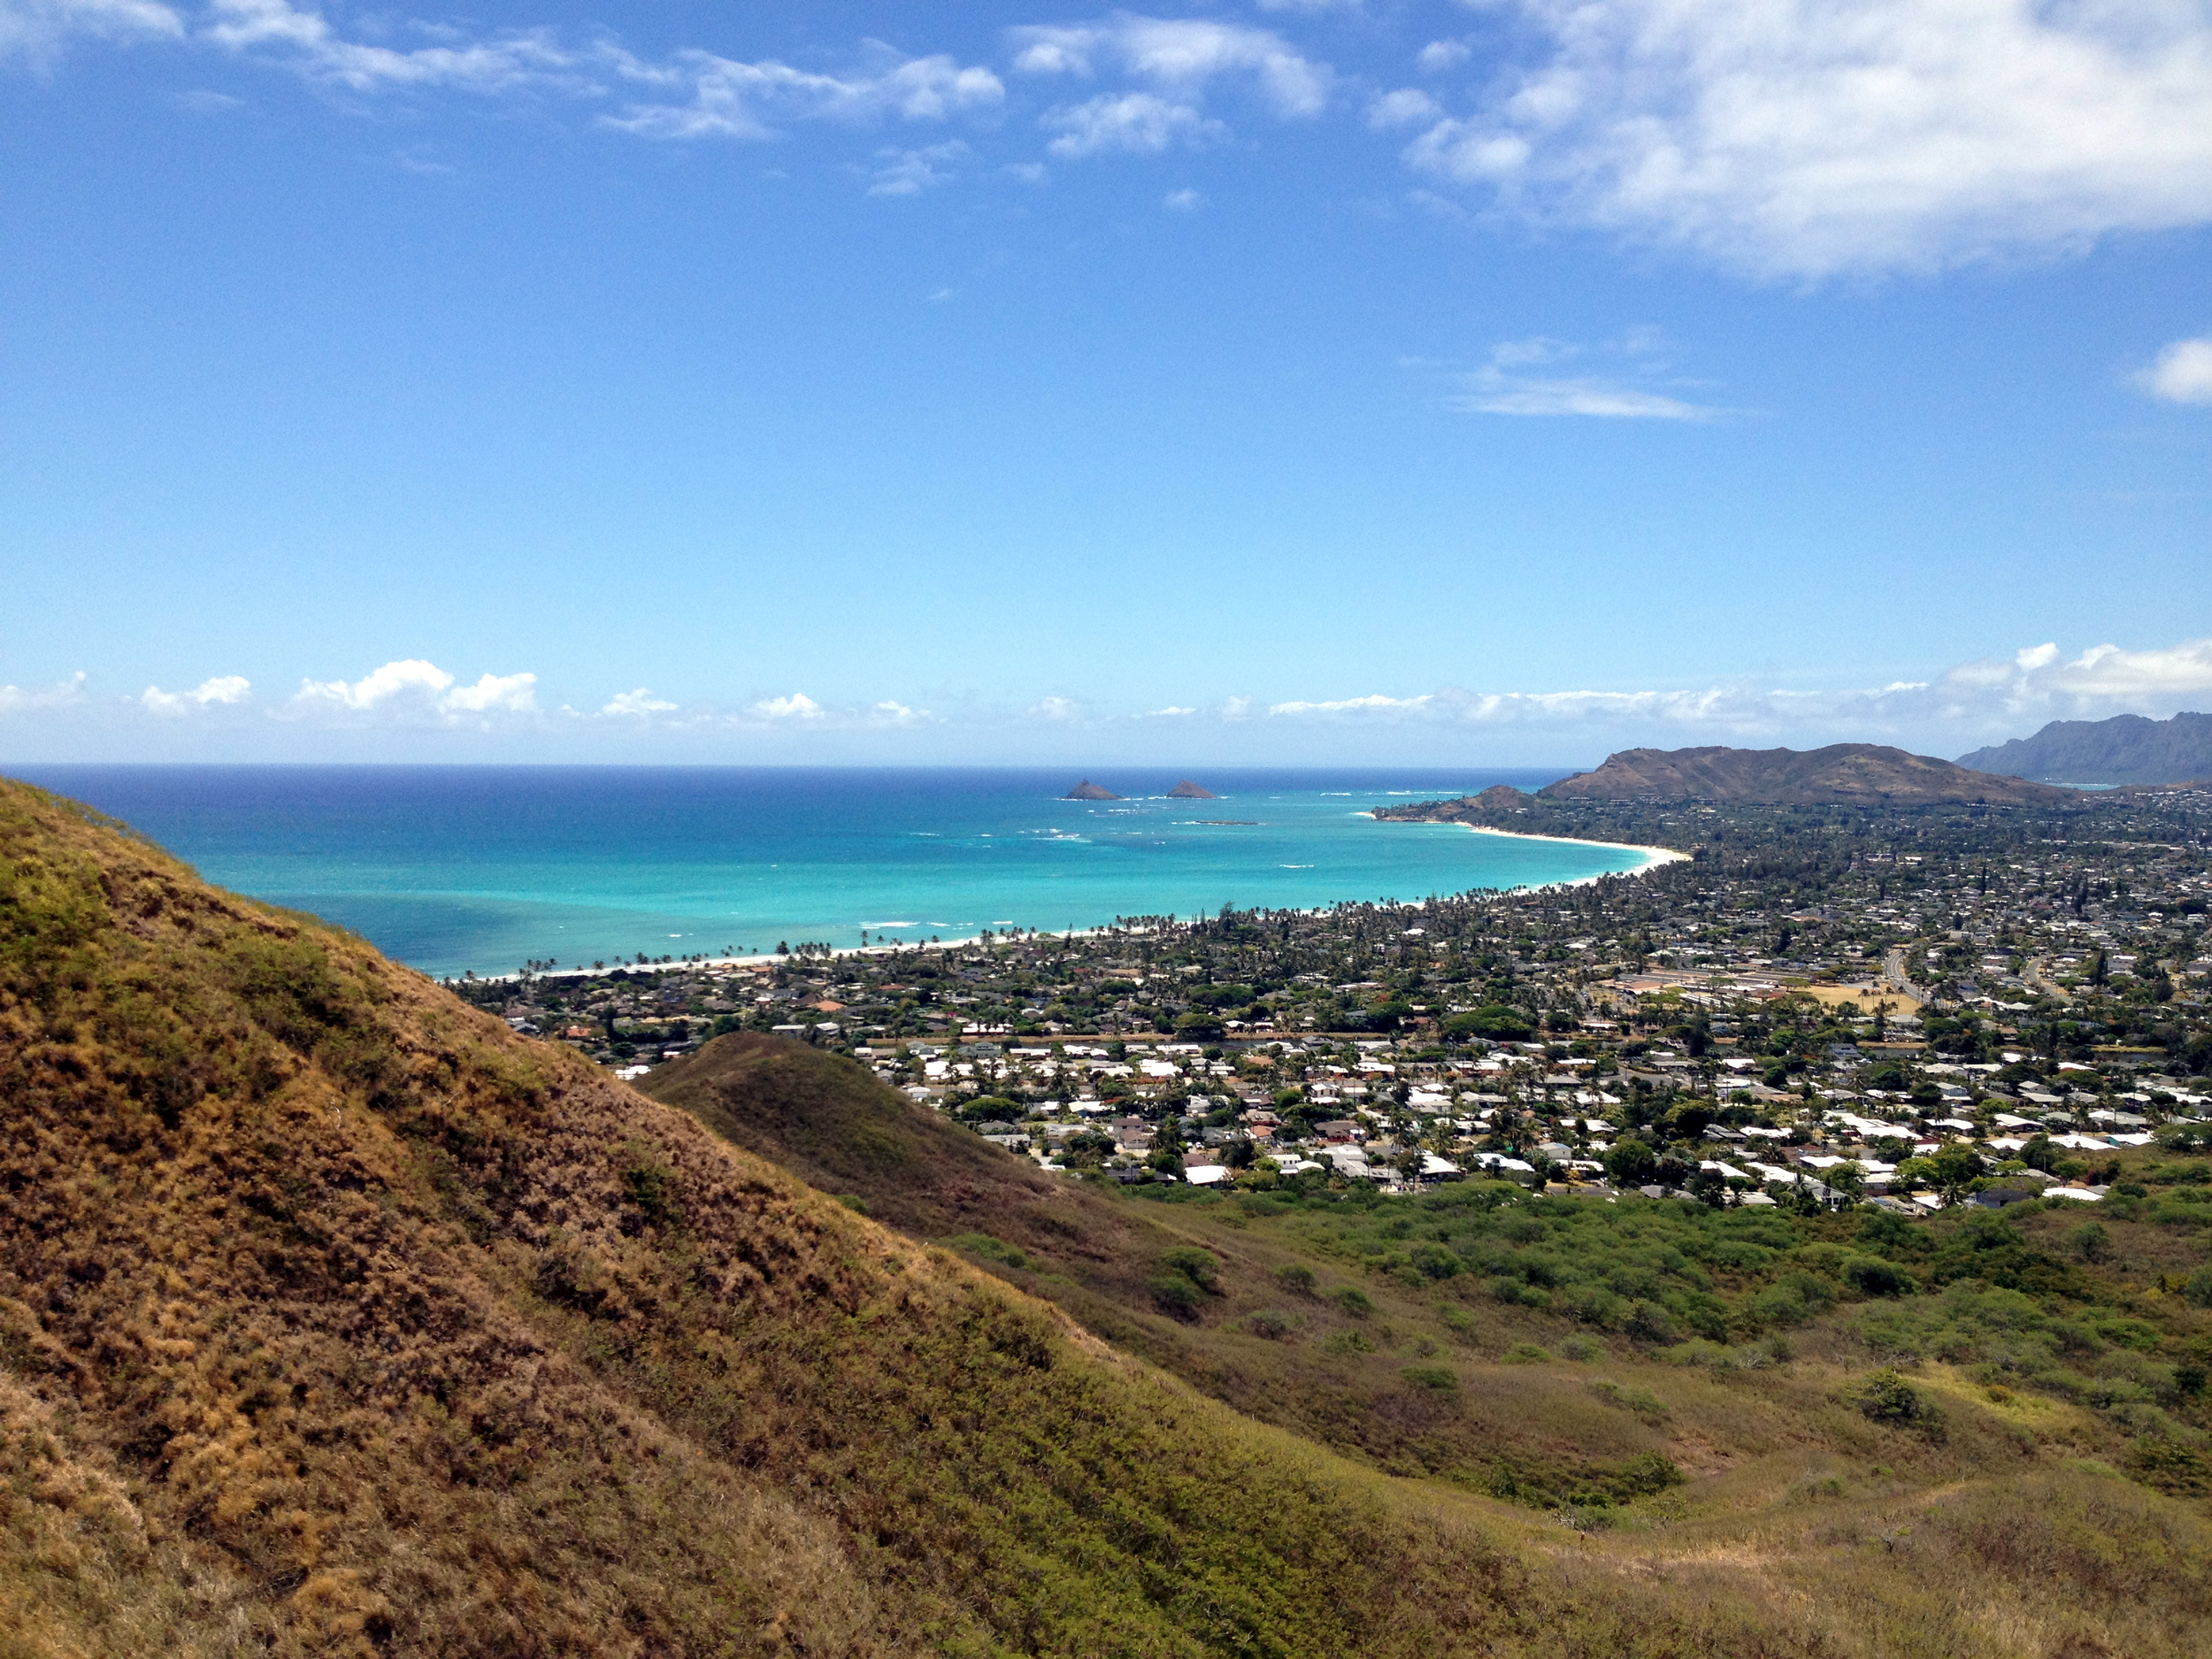 staying on the ridge though, for I have yet to explore and map them. There is an old barbed wire fence on your right that will guide you. At each peak you will find another great view where you can take a rest and burn up some film. Soon you will begin to see tons of trails down to your left. Most of these have been generated by local mountain bikers. If you feel the need for speed, this is a killer area! Riding this area is defiantly on my list of “TO-DOs”. This area was also where the brunt of the fires took place. If the wind is kicked up, you may want to ware eye protection. Ash tends to burn the eyes after a while. I’m sure it will calm down after a few more rains wash it down.
 I found some interesting indigenous structures along the way. Cool tree houses and half melted beer bottle sculptures. In my mind, I like to think of them as alien dwellings that were attacked by the military to destroy their glass breeding pods! Well, it worked! The fires left fresh ground to grow more earthly flora. LOL! At any rate, if you have the means, try to grab a few “PODS” and take them out with you. I’m sure the local earthlings would appreciate it.
As you can see on my map above, I turned back at one point to find a trail down to the bottom. This is easy enough. There is a maze down there, but just head for the houses and eventually you will find your way. If you get a chance, there are some amazing bike ramps down there. HUGE are some of them. Makes we want to come back and ride! AND I WILL! You will find your way to the neighborhood after the ramps. This is where you can leave a car, or phone a friend for a ride. The walk back to the condos via the street is about 2 miles. Not bad, but a friend would happily accept a margarita and a taco for a ride wouldn’t they?!?! That’s exactly what we did!

Enjoy the hike and “HAPPY TRAILS Y’ALL”!
JWM

